Anyway, I'm glad they do, because whenever I get stuck or pointed in the wrong direction, one of them is sure to pipe in with an incredibly helpful suggestion. That happened last week when Larry B. wrote to tell me I'd made a wrong turn by going round too early. It's much faster, he said, to taper a spar or chair leg while it's still square.
When you spend hours doing something the wrong way, you gain enough experience to recognize valuable advice. As soon as I read Larry's email, I slapped my head, knowing he was right.
Larry's idea also solved another problem that I'd been wrestling with: how to join the two ends of the boomkin.
My current boomkin has a fairly complicated stainless steel fitting, with two round sockets that fit over the ends of the spars, tying them together.
I wanted to taper my new boomkin, which meant making a new fitting. But if I left the ends square, I could join them with a much simpler knee or breasthook. I could make it out of oak, mount the fittings for the stay and block right on the knee, and bolt everything together with some threaded stainless steel rod.
That seemed like a really smart idea, so I set to it.
The first thing I did was make a design for the taper.
 |
| Tapered shape of boomkin |
The diagram above shows a cross section of the boomkin at 4 'stations': as it emerges from the transom, at the end, and at two points equal distances down the boomin.
The circle shows how big the boomkin was to start with.
Again I tried various tools to get the spar from round to octagon, but the best was my trusty spokeshave. The low angle of the blade prevents it from digging up the squirrely, reversing grain in my hickory. If it was a smoother, straighter grained wood, a normal plane would have been quicker, no doubt.
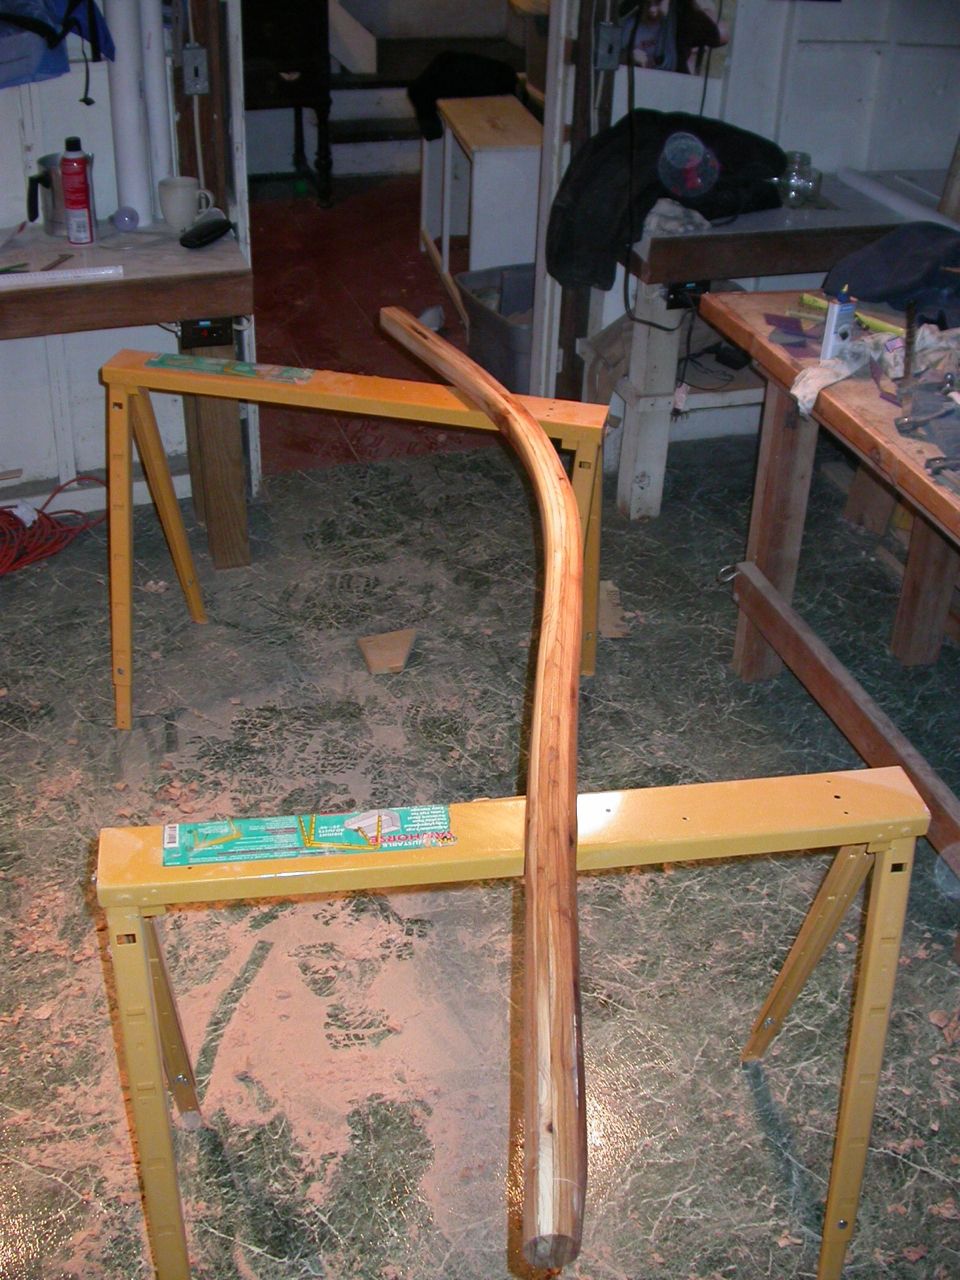
Once it was square, I used the spokeshave to taper the spar to the shape described above.
I won't say this was a quick job, but I managed to complete it in three evenings, whilst simultaneously boosting the muscle mass in my biceps by 23%. Not a bad deal, really. Two aspirin and a double scotch -- administered by my private nurse, Helena, at the end of work -- helped manage the pain.
Obviously, this was all extra work, as I intend to prove with the second spar, but the end result was worth the effort.
 |
| Tapered boomkin, ready for varnishing |
This picture does not really do justice to the smooth, tapered beauty of this spar. It changes shape from round at the transom end (to fit the pre-existing round hole in my transom, and round socket mounted in the cockpit), to octagon for most of the midsection, to square for the last 12" or so.
Here's another picture that also doesn't capture the whole thing, but you'll get the idea, I hope:
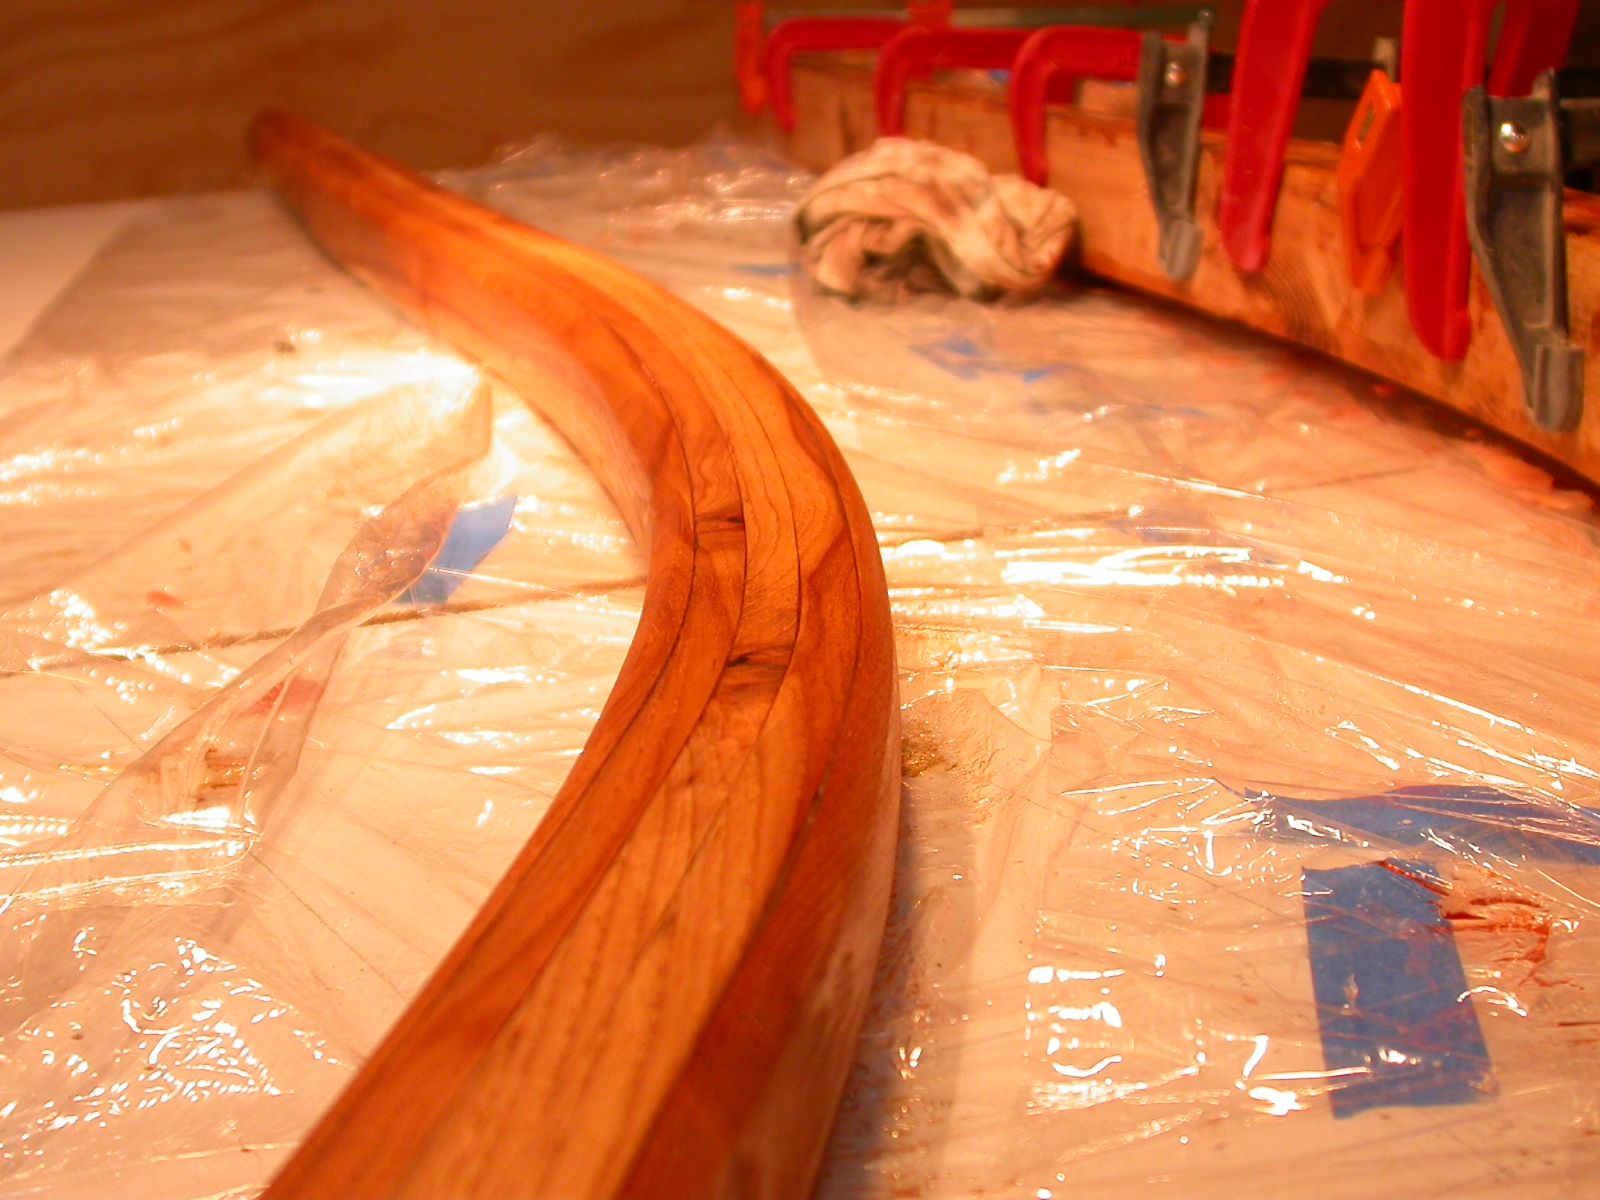 |
| Luscious curves... Note boomkin #2 already glued up, to right... |
Once it was tapered, I had to use such a lot of sandpaper to get it smooth, although I eventually figured out how to use the spokeshave to get the surface almost perfectly smooth, so the sanding was minimized. I still used a lot of sandpaper, though, going from 80 grit to 220 grit. I had to take a photo of the pile:
 |
| 80-200 grit sand paper |
So this baby is ready for varnishing and I'm ready to start the second half of the boomkin, armed with 132 ideas on how to do it better. More on that, next time.
Finally, I'm pleased to announce that I've finally started writing my "Unlikely Voyager" book. Helena (and a number of kindly readers) have been kicking my butt for the last year, but it all needed time to marinate in my brain, I guess. A few weeks ago, I suddenly felt it was time, and I've been writing like a demon ever since. I just passed the 1/4 mark, so hopeful will be done sometime this summer. More later on this highly unlikely book.
>>> Next Episode: The Right Way
John, Wood rasps and a cabinet file will reduce the sand paper expense. You can clean out any epoxy that clogs the file with a file card (industry name for a steel brush that cleans the file). We use them all the time in the shop. Fast and easy to use.
ReplyDeleteYou have more patience than I do. Great work.
ReplyDeletedave
another way to clear buildup out of a file's teeth is to use the edge of a bit of Al (or brass) sheet about 1/2" wide, held at an angle & pushed along the the line of the teeth. It will be cut to conform to the teeths' profile & do a nice job of scraping out the gunk. A gentle application of heat can also help with epoxy.
ReplyDeleteDon
The only rasps I've had any luck with are those new micro planes. They are fast and easy to use. I've tried some traditional wood rasps, but either they were dull or poor quality, or I didn't know how to use them. Are they tricky to use, or do I need to find a good one?
ReplyDeleteGlad to know you've started your book. Good luck with it. I'm sure it will be highly interesting and informative.
ReplyDeleteGloria