The reason is purely cosmetic, as far as I know. Because it needs to be cut from a fairly thick piece of wood, for the reasons described in previous posts, the breasthook has a fairly clunky look if you don't cut a bottom camber. At least to my eyes.
But just hollowing out the bottom of the hook would both be difficult and weaken the wood. Is there a better way?
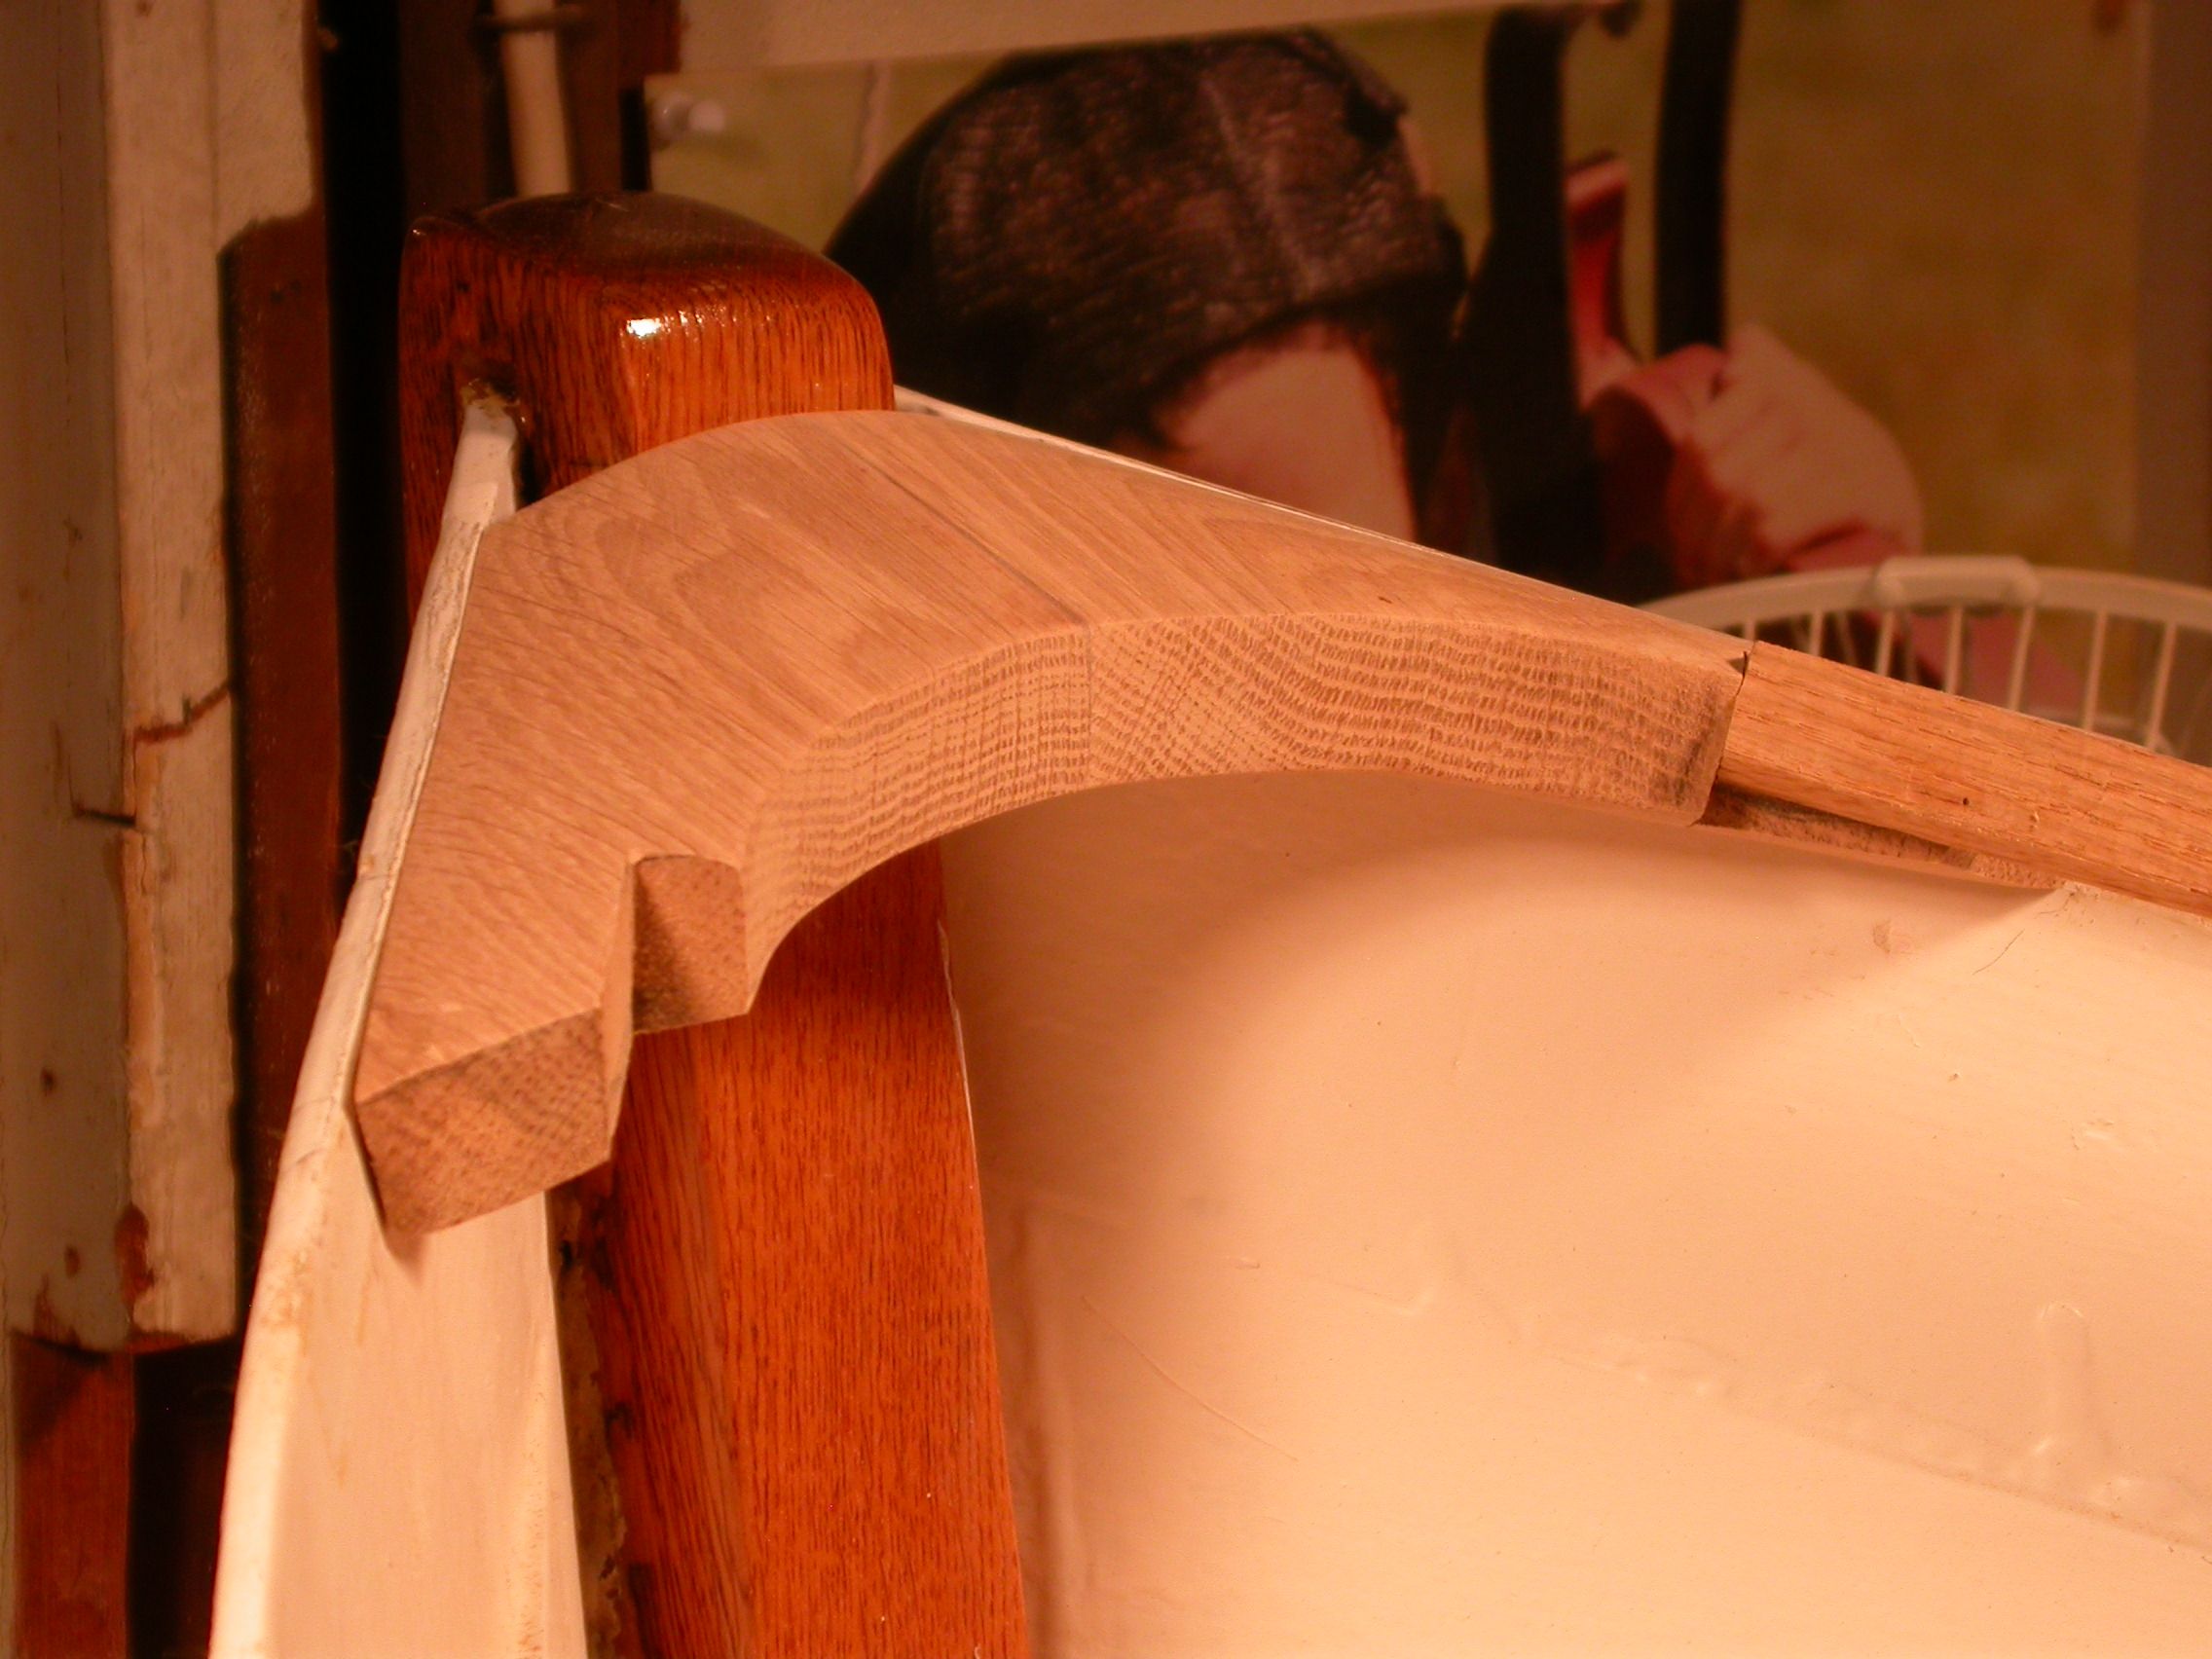
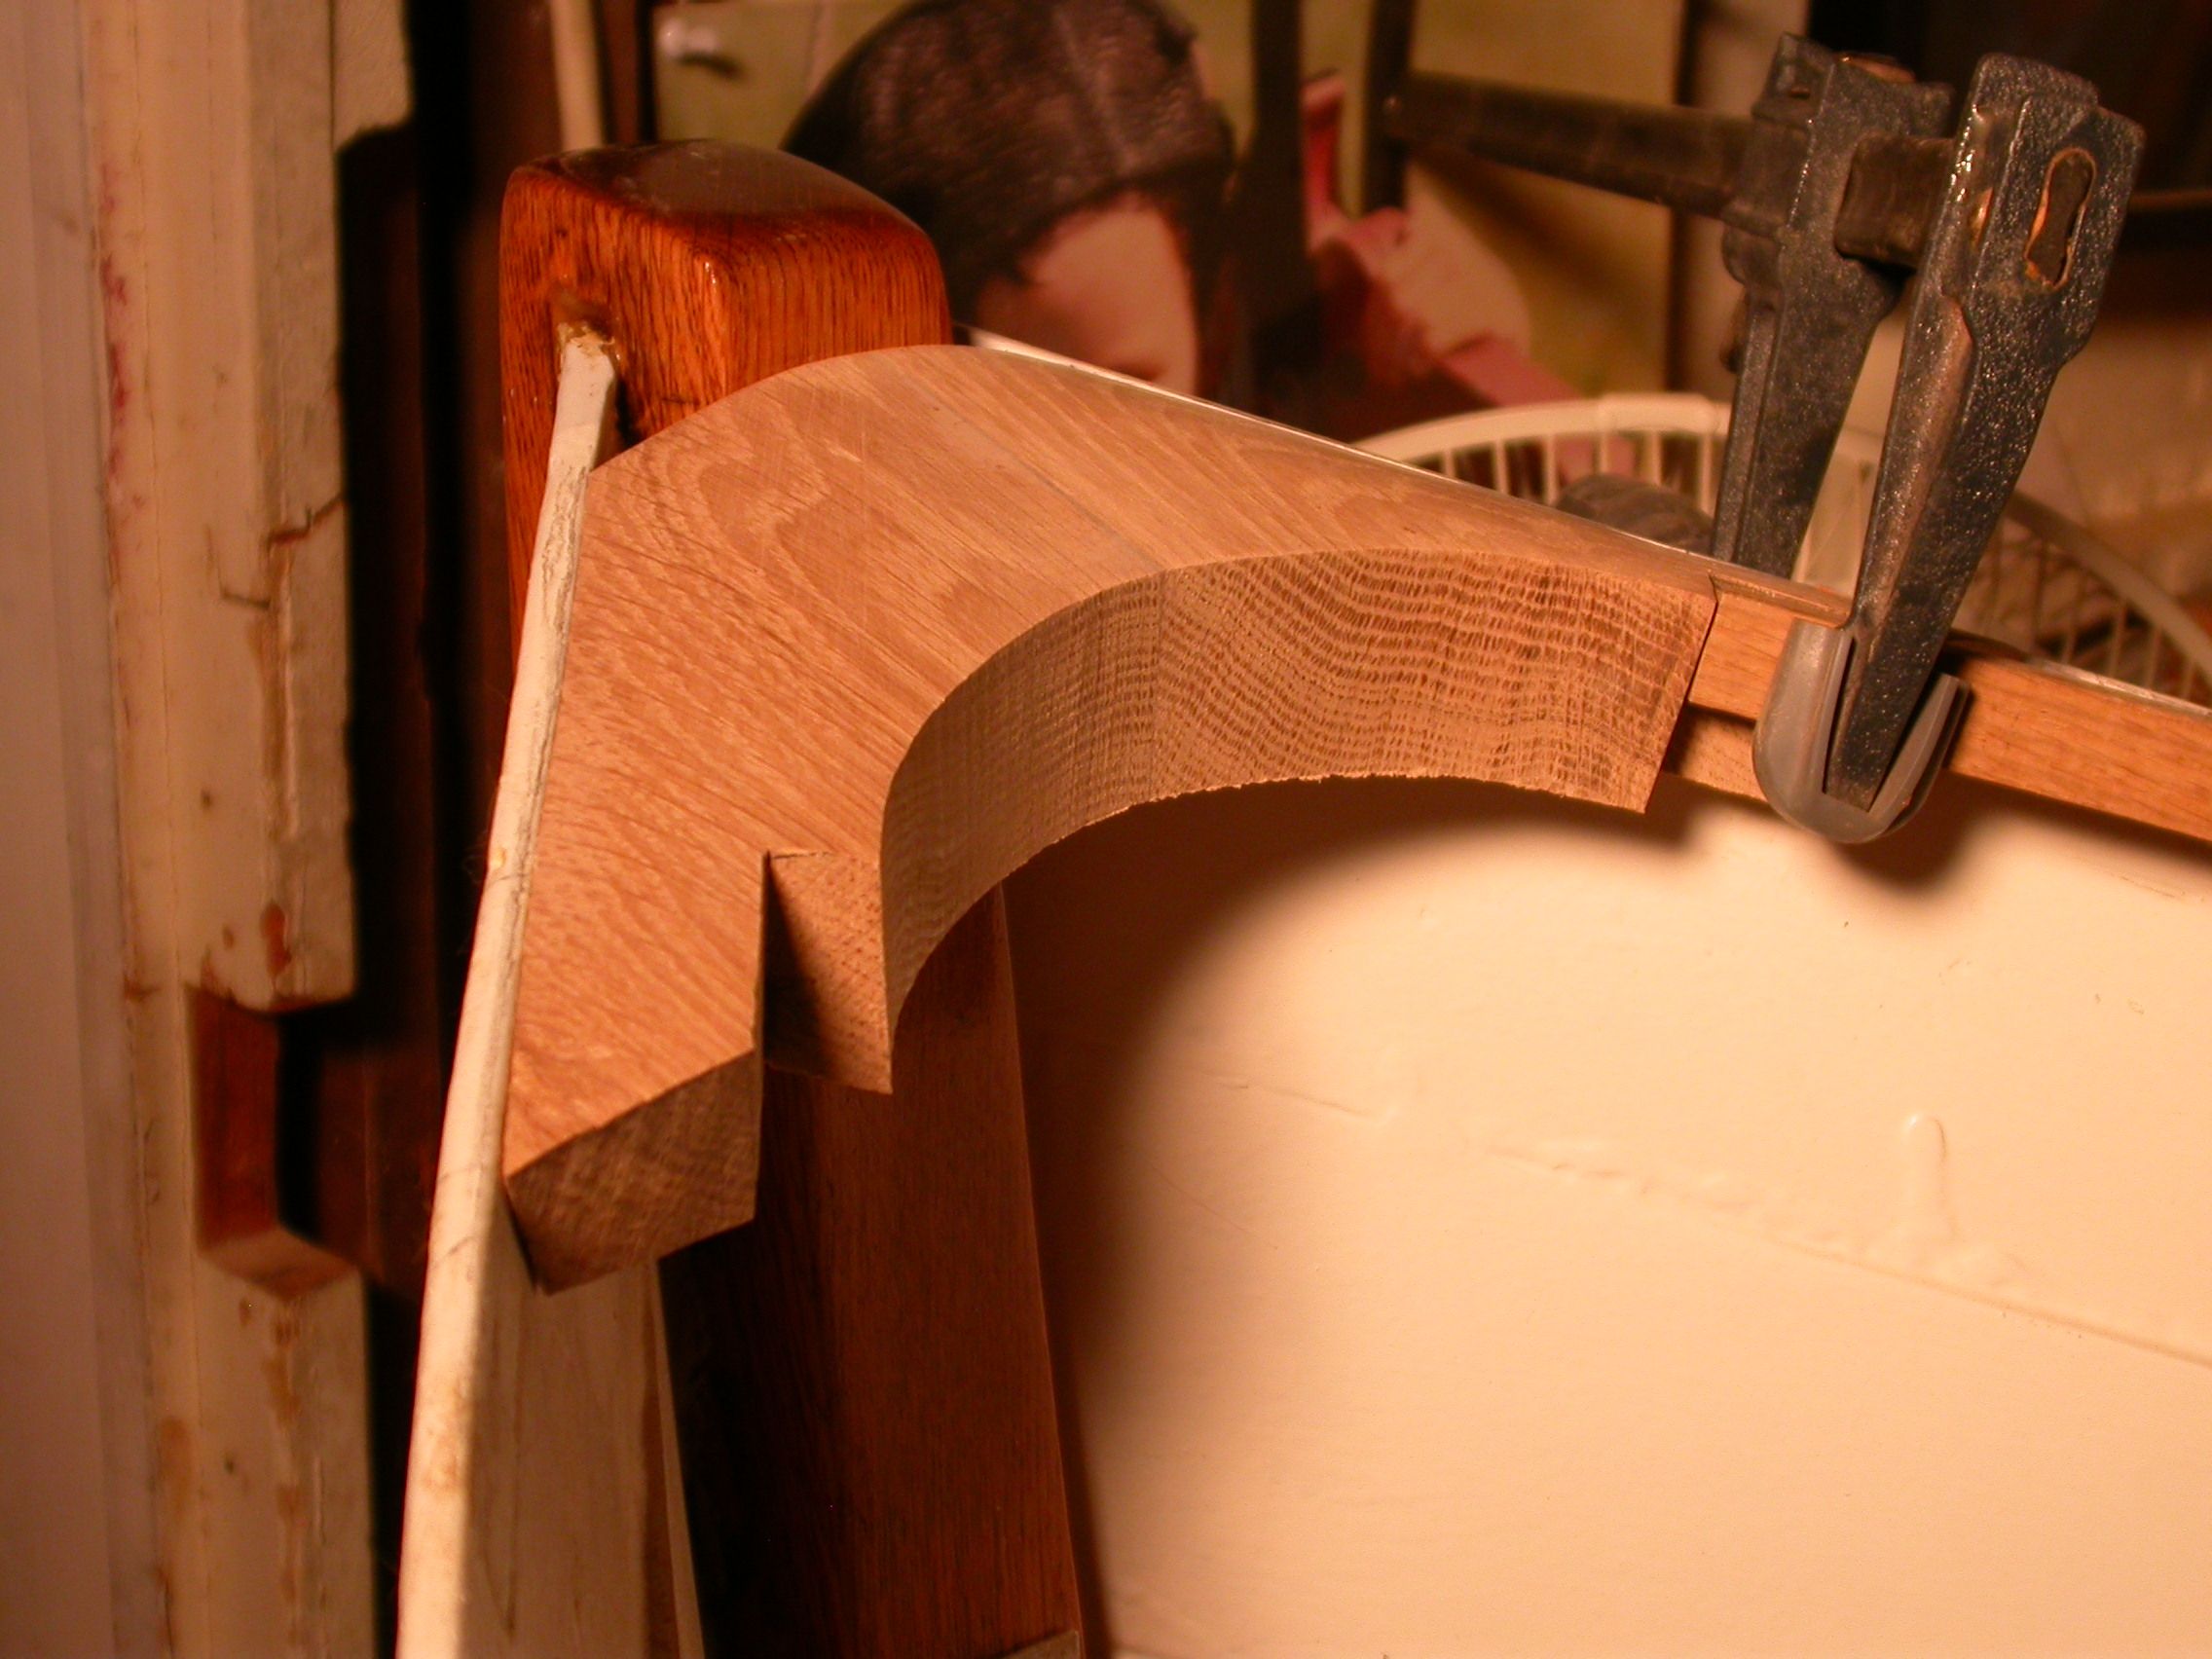 |
| Hook before bottom camber is cut |
The chamfer, correctly executed, will give the appearance of a cambered bottom, while still retaining most of the strength of the original hook. As a side benefit, it's simple and easy to cut with hand tools.
The first step is two draw the two lines that will define the edges of the chamfer.
The first line is drawn along the curved edge, parallel with the bottom, about 1/2" from the bottom. Unfortunately, I forgot to take a picture of this line, but the line will be clearly shown in the photos below. I used an ordinary carpenter's marking gauge to draw this line.
The second line is drawn on the bottom, in a curve that follows the curve of the back edge. I drew this line with a pair of dividers, opened to about an inch. You can see this line in the photo below. Click on the photo for a closer look.
The chamfer must be wide enough to remove much of the wood in the notches, below the inwales. You want the curved back edge to be about as thick as the inwale, so the inwale and hook look all of a piece.
Then it was a simple matter of connecting the two lines with the chamfer, but cutting away the wood in between. This was easily done with my old, but very sharp draw knife. This tool scares the bejesus out of me, but there is no doubt that it gets the job done.
The draw knife removed most of the wood. I followed up with a spokeshave, and then sandpaper, to smooth the cut.
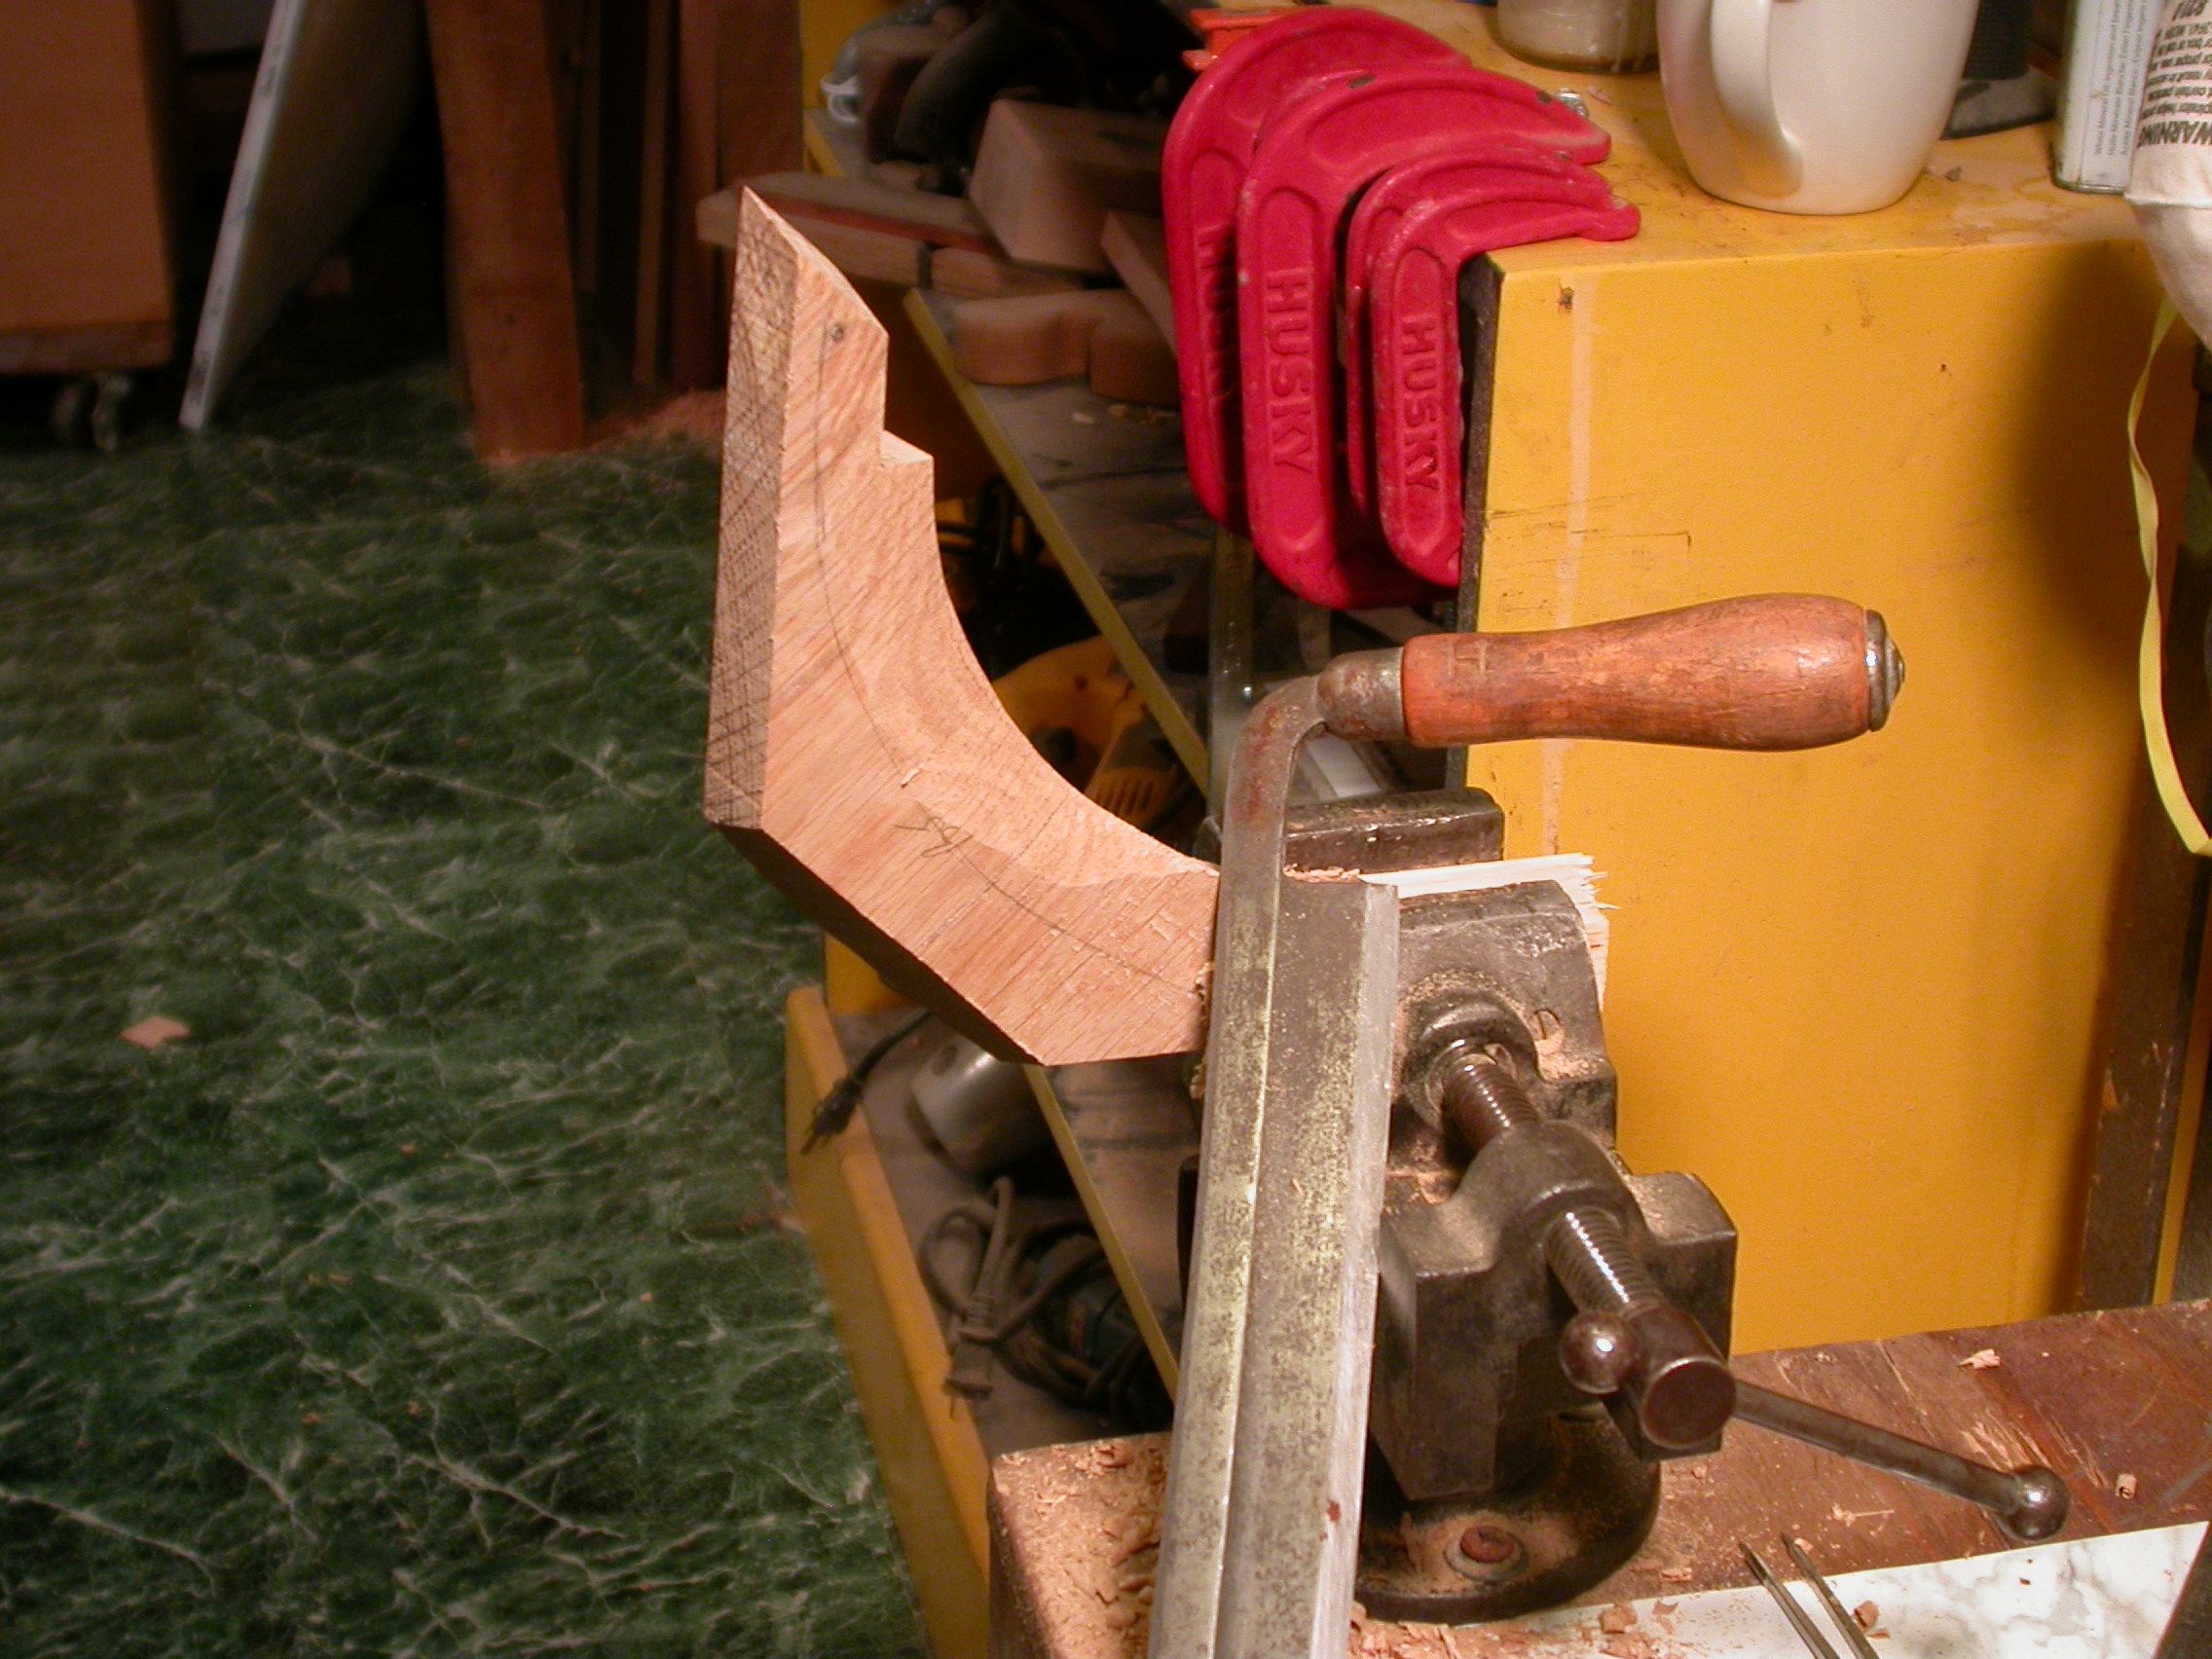 |
| Cutting chamfer with draw knife |
You can see that very little wood was actually removed. It only took a few minutes to do both sides. The key, as usual with hand tools, is a good, sharp edge, a steady hand, and a bit of patience.
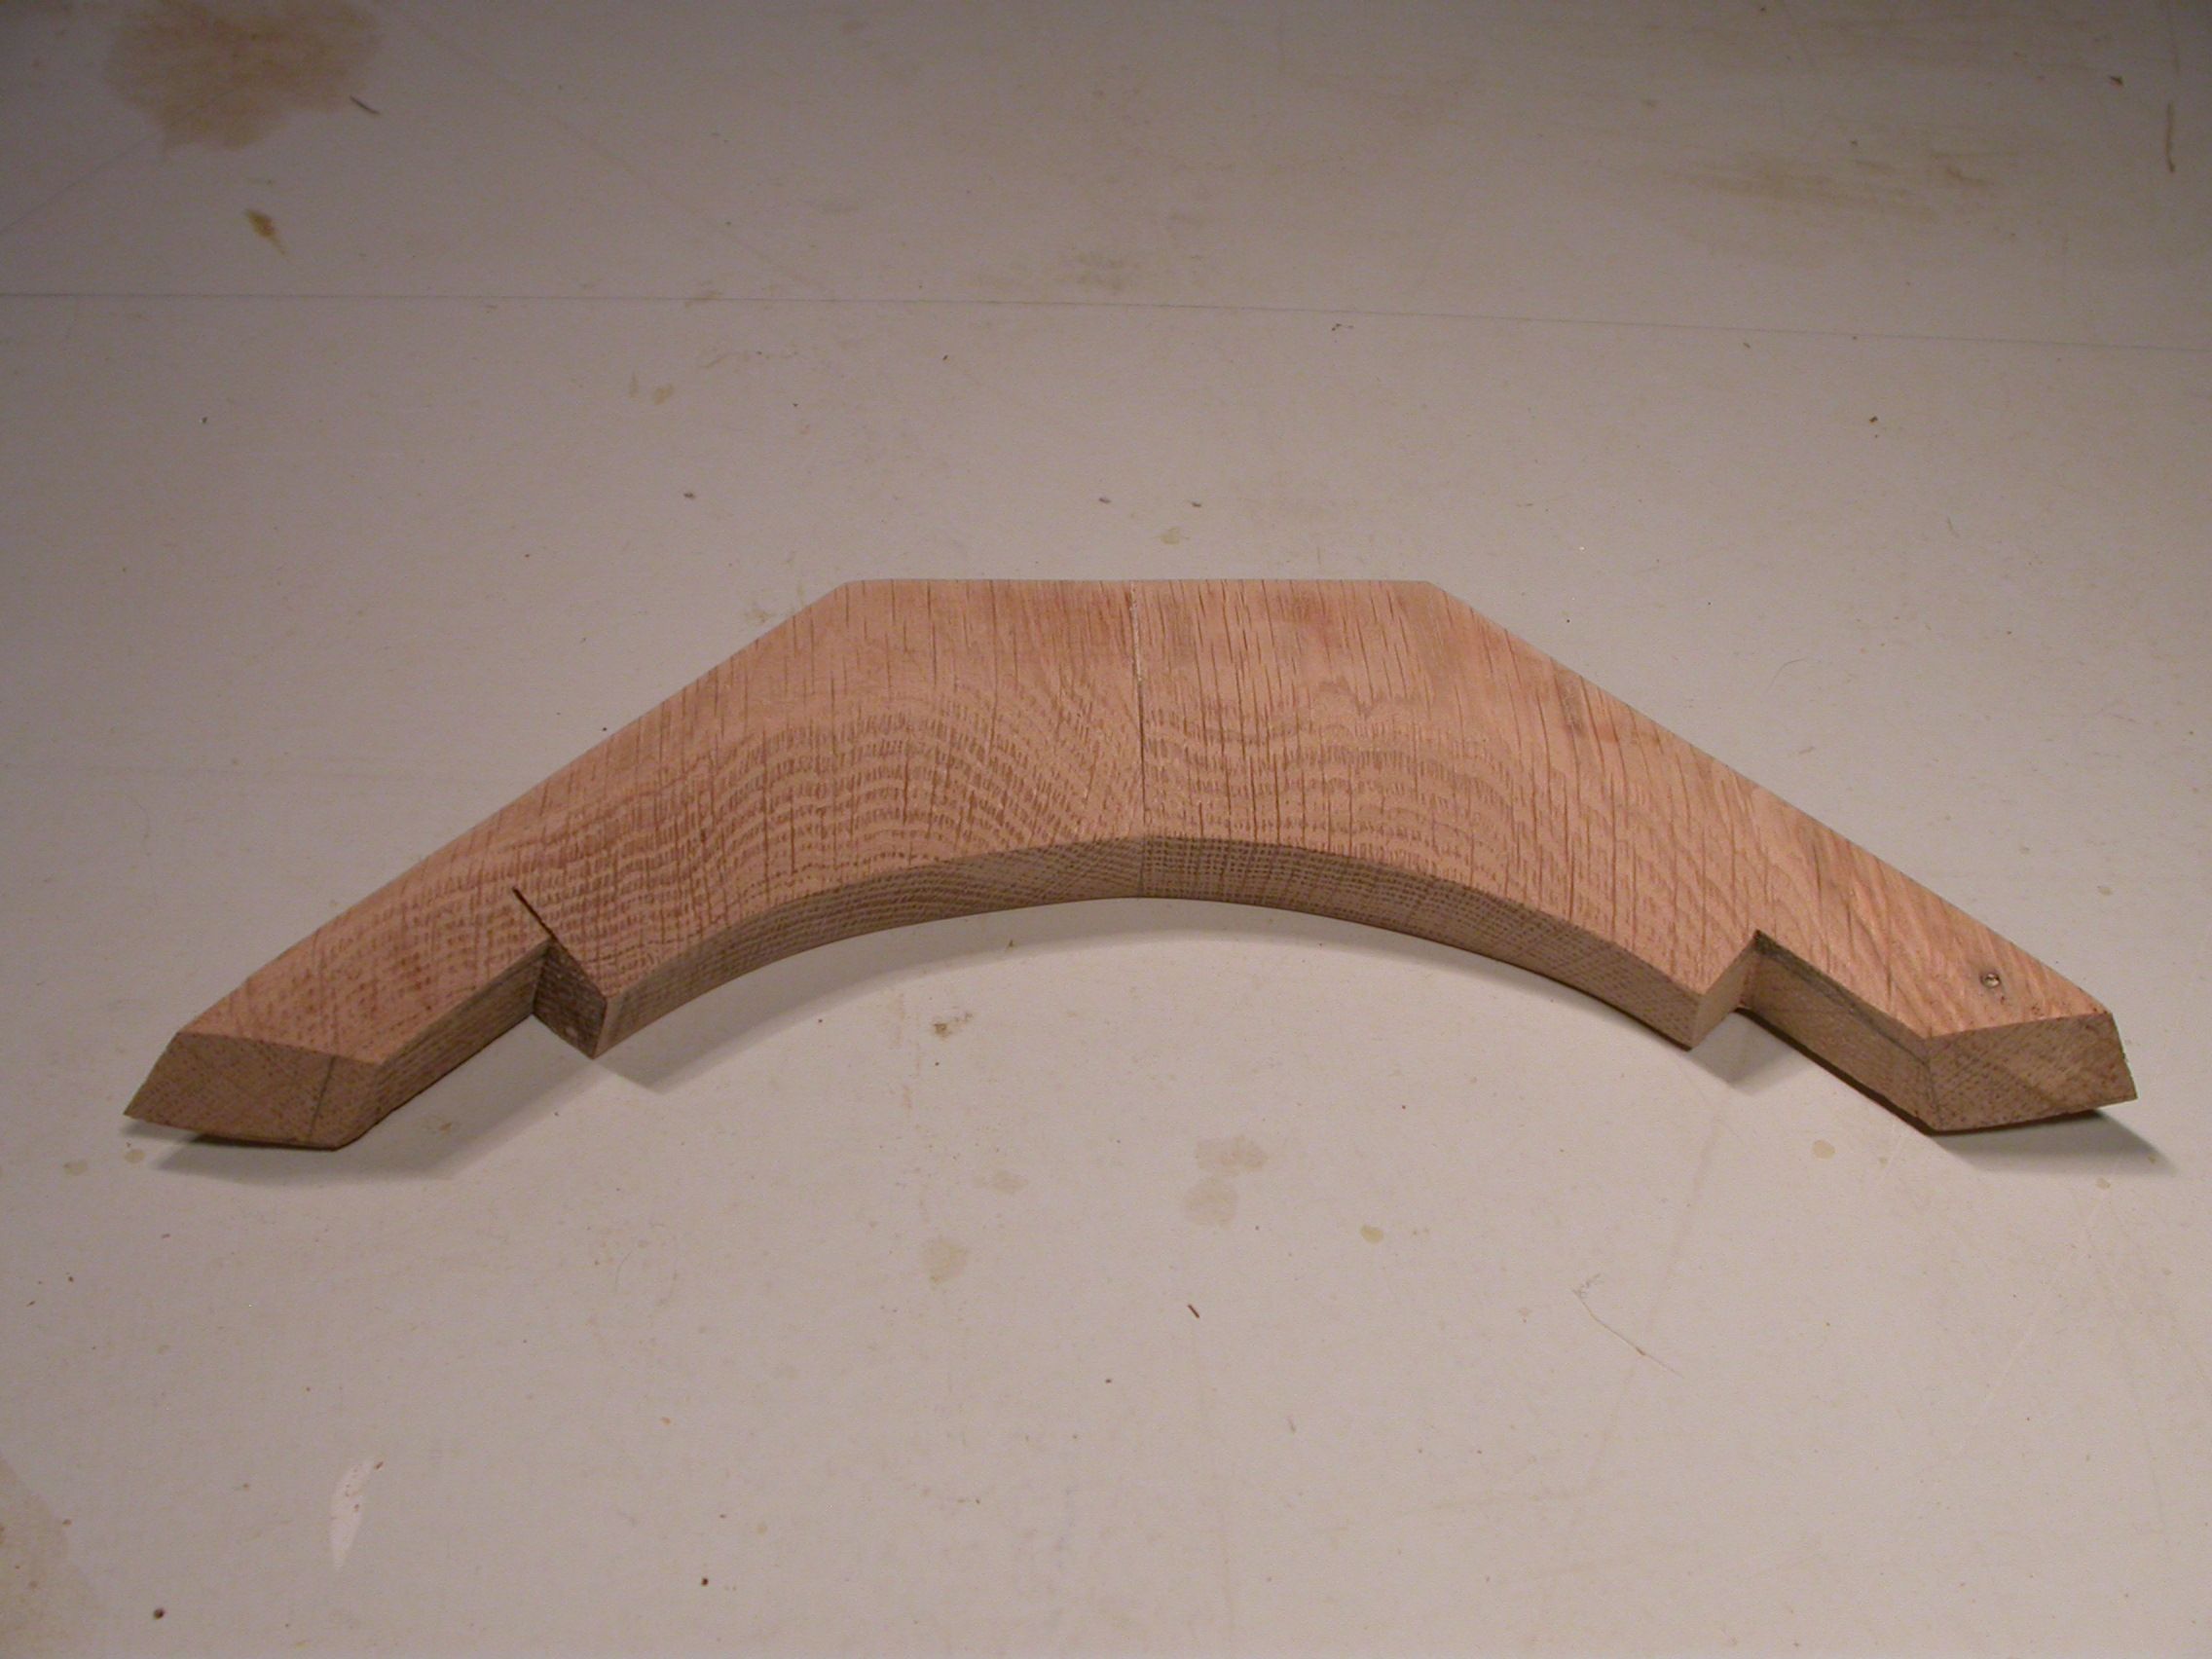
Here's an end-on shot showing how little wood I actually removed.
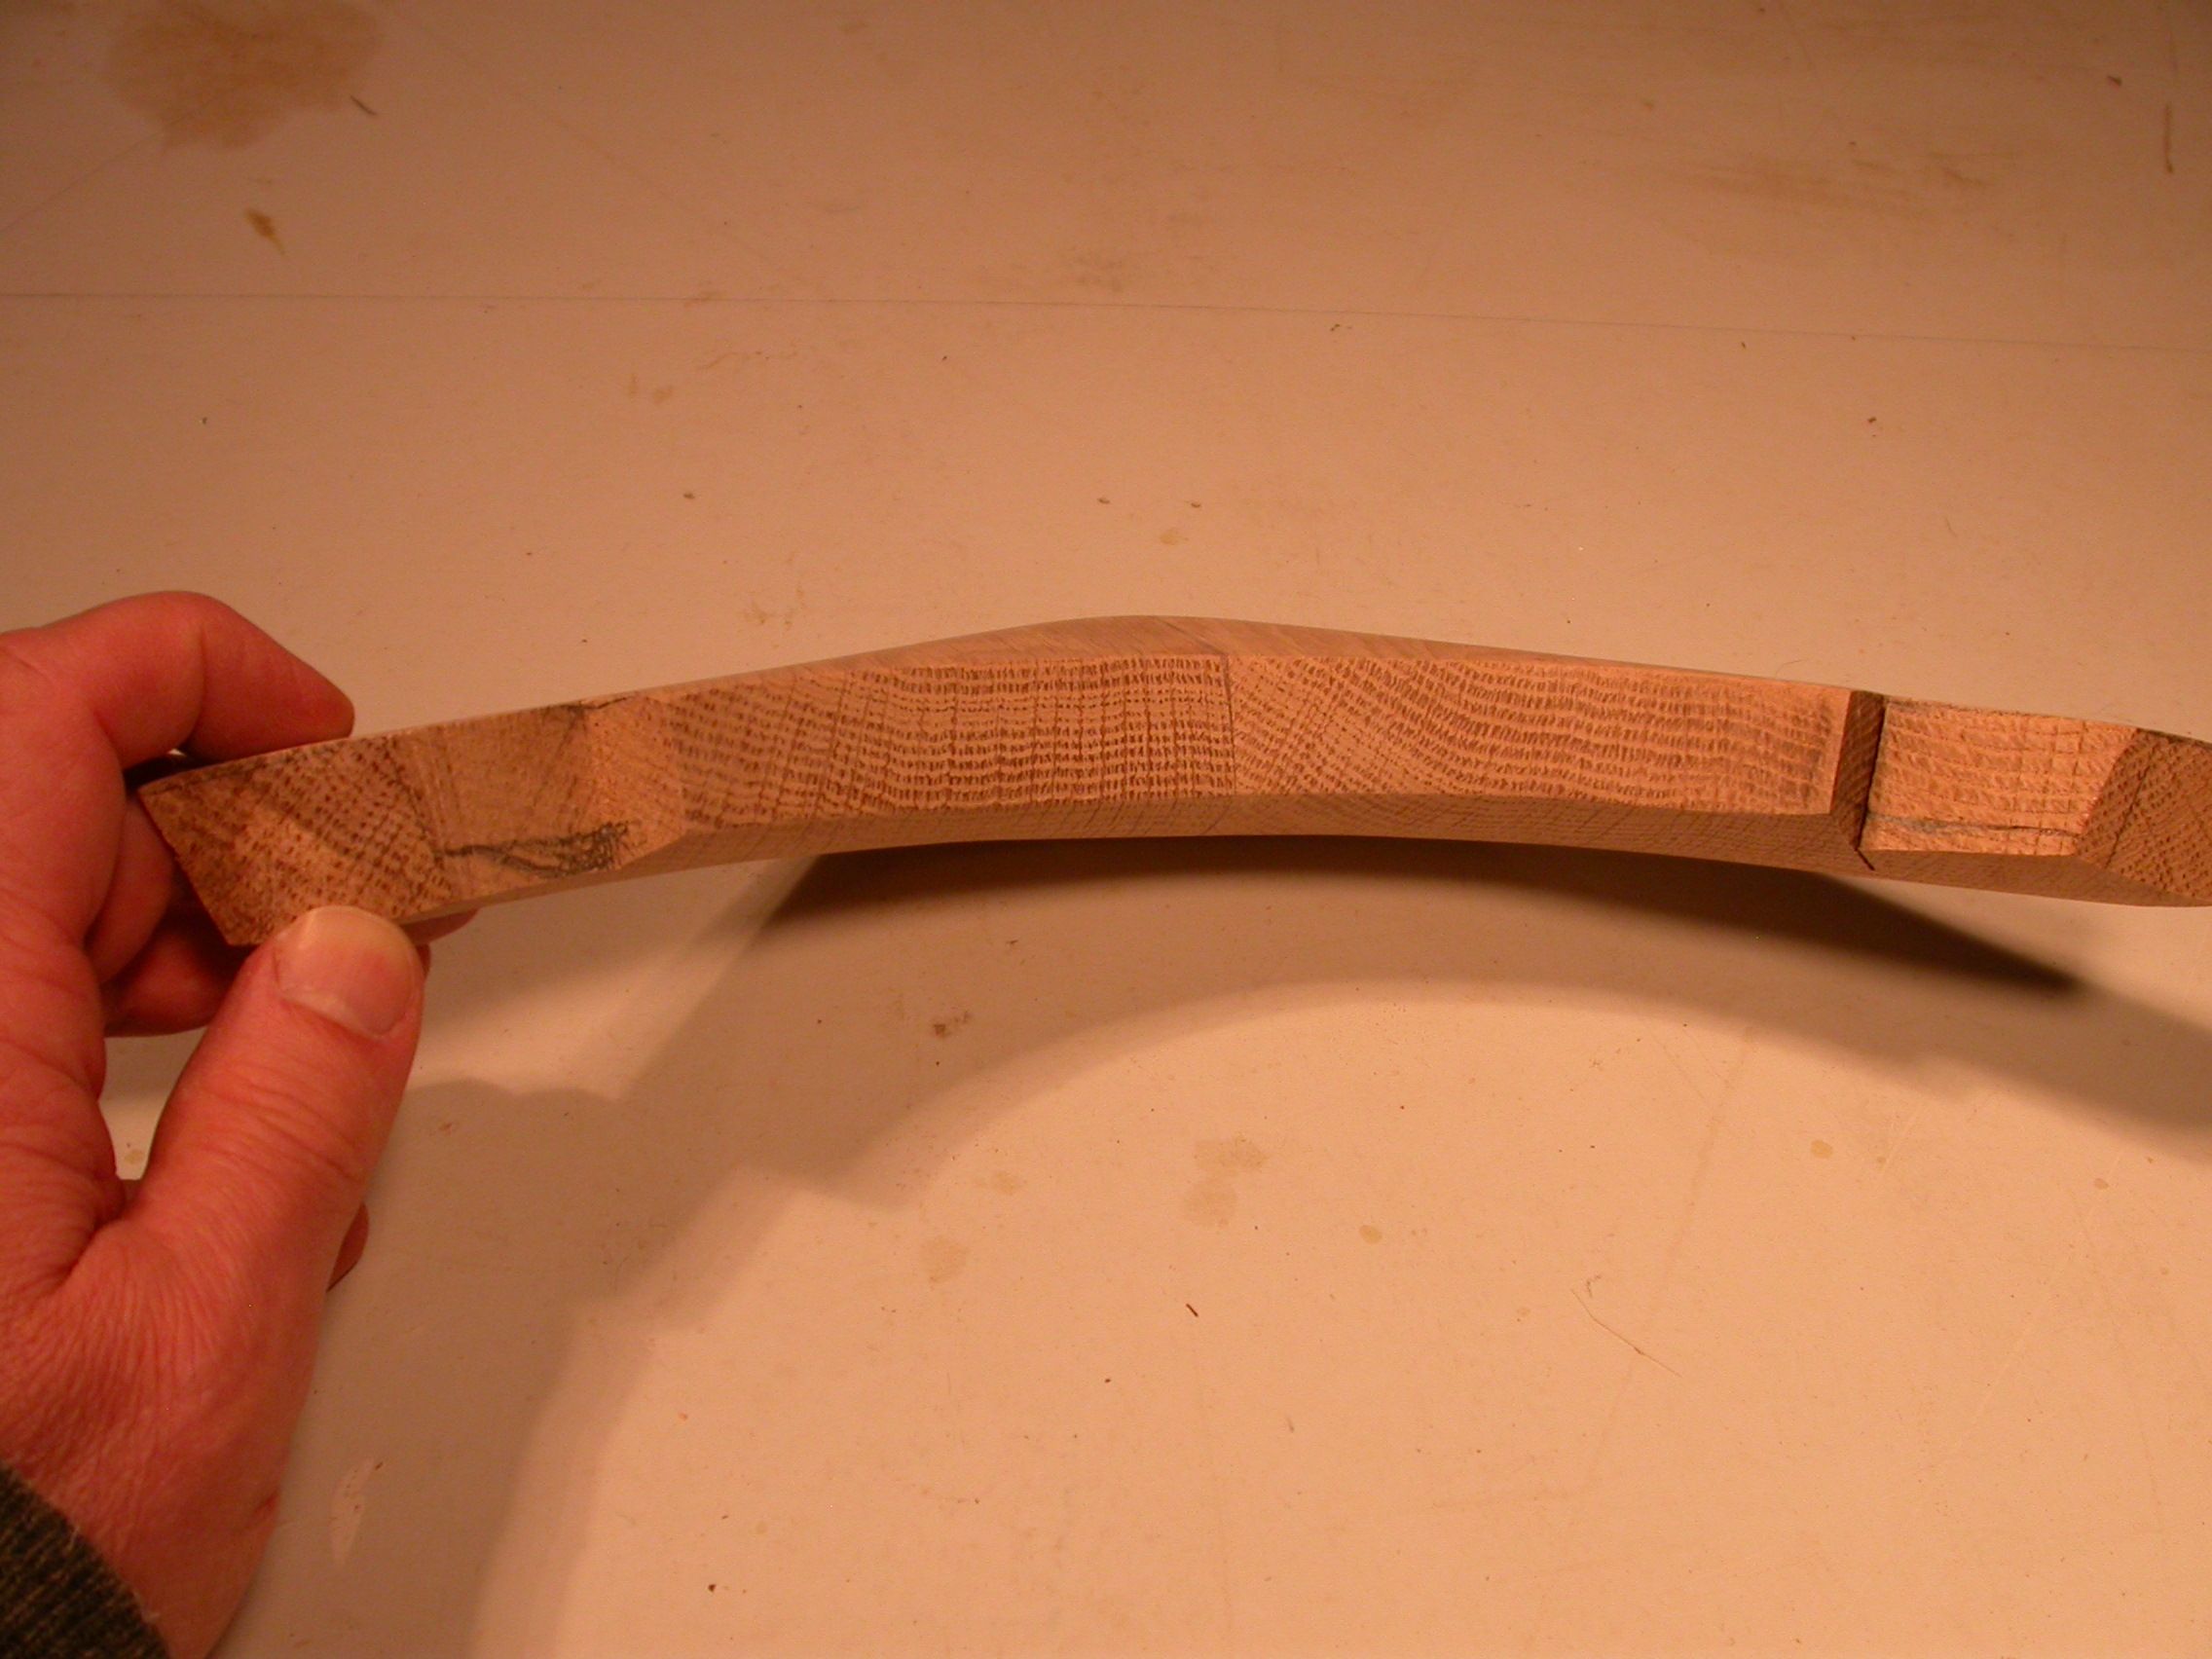
However, the effect is fairly dramatic. From a normal viewing angle, the hook looks much thinner than it is, because you can't see the chamfer. In other words, its an optical illusion. The hook is still very thick and strong. It just doesn't look that way.
It's hard to tell from the photo above, but the curved back edge of the hook is now about as thick as the inwale. So when the inwale is twisted into position and fastened, it will blend nicely into the curve of the hook.
So that turned out to be easier than expected, thanks to a boatbuilder's trick passed on to me through the Wooden Boat forum. A great resource.
Next up, those pesky knees at the other end of the inwale. The ones I have are weak and don't fit well. With my new-found breasthook skills, I should be able to fit a pair, but I'm not sure I have enough oak left in my shop to build them! Time to start digging through my scrap box...
Next Episode: Don't sweat the small stuff
Thanks for sharing ...
ReplyDeleteThanks for sharing ...
ReplyDeleteGlad you liked it, George. I know this is fairly hard-core stuff, and not everyone's cup of tea.
DeleteSummer is coming, though, and I hope to switch to voyager-mode, soon!
Gorgeous work, John! Although you usually advise against it, I'm saving these breasthook posts for reference for when I have to make one.
ReplyDelete