With the breasthook fitted to the strakes and stem, it was time to let the inwales in on the fun.
The inwales come into the breasthook parallel to the strakes, so the angle needed is the same as that needed for the outside bevels. In fact, if I'd been more experienced, I could have marked and cut the inwale bevels at the same time I cut the strake bevels, since the bandsaw was all set up at the right angle. Next time I'll know.
There are many ways to scarf the inwale into the breasthook. I decided to keep it simple and saw the end of the inwale off square. That means that the cut out must be at a 90 degree angle to the bevel. I just used a square to mark the 90 degree angle. The inwale 'scarf' will be 1 1/2" long.
Here are the angles drawn on the hook. Remember that this is just a 'test' breasthook.
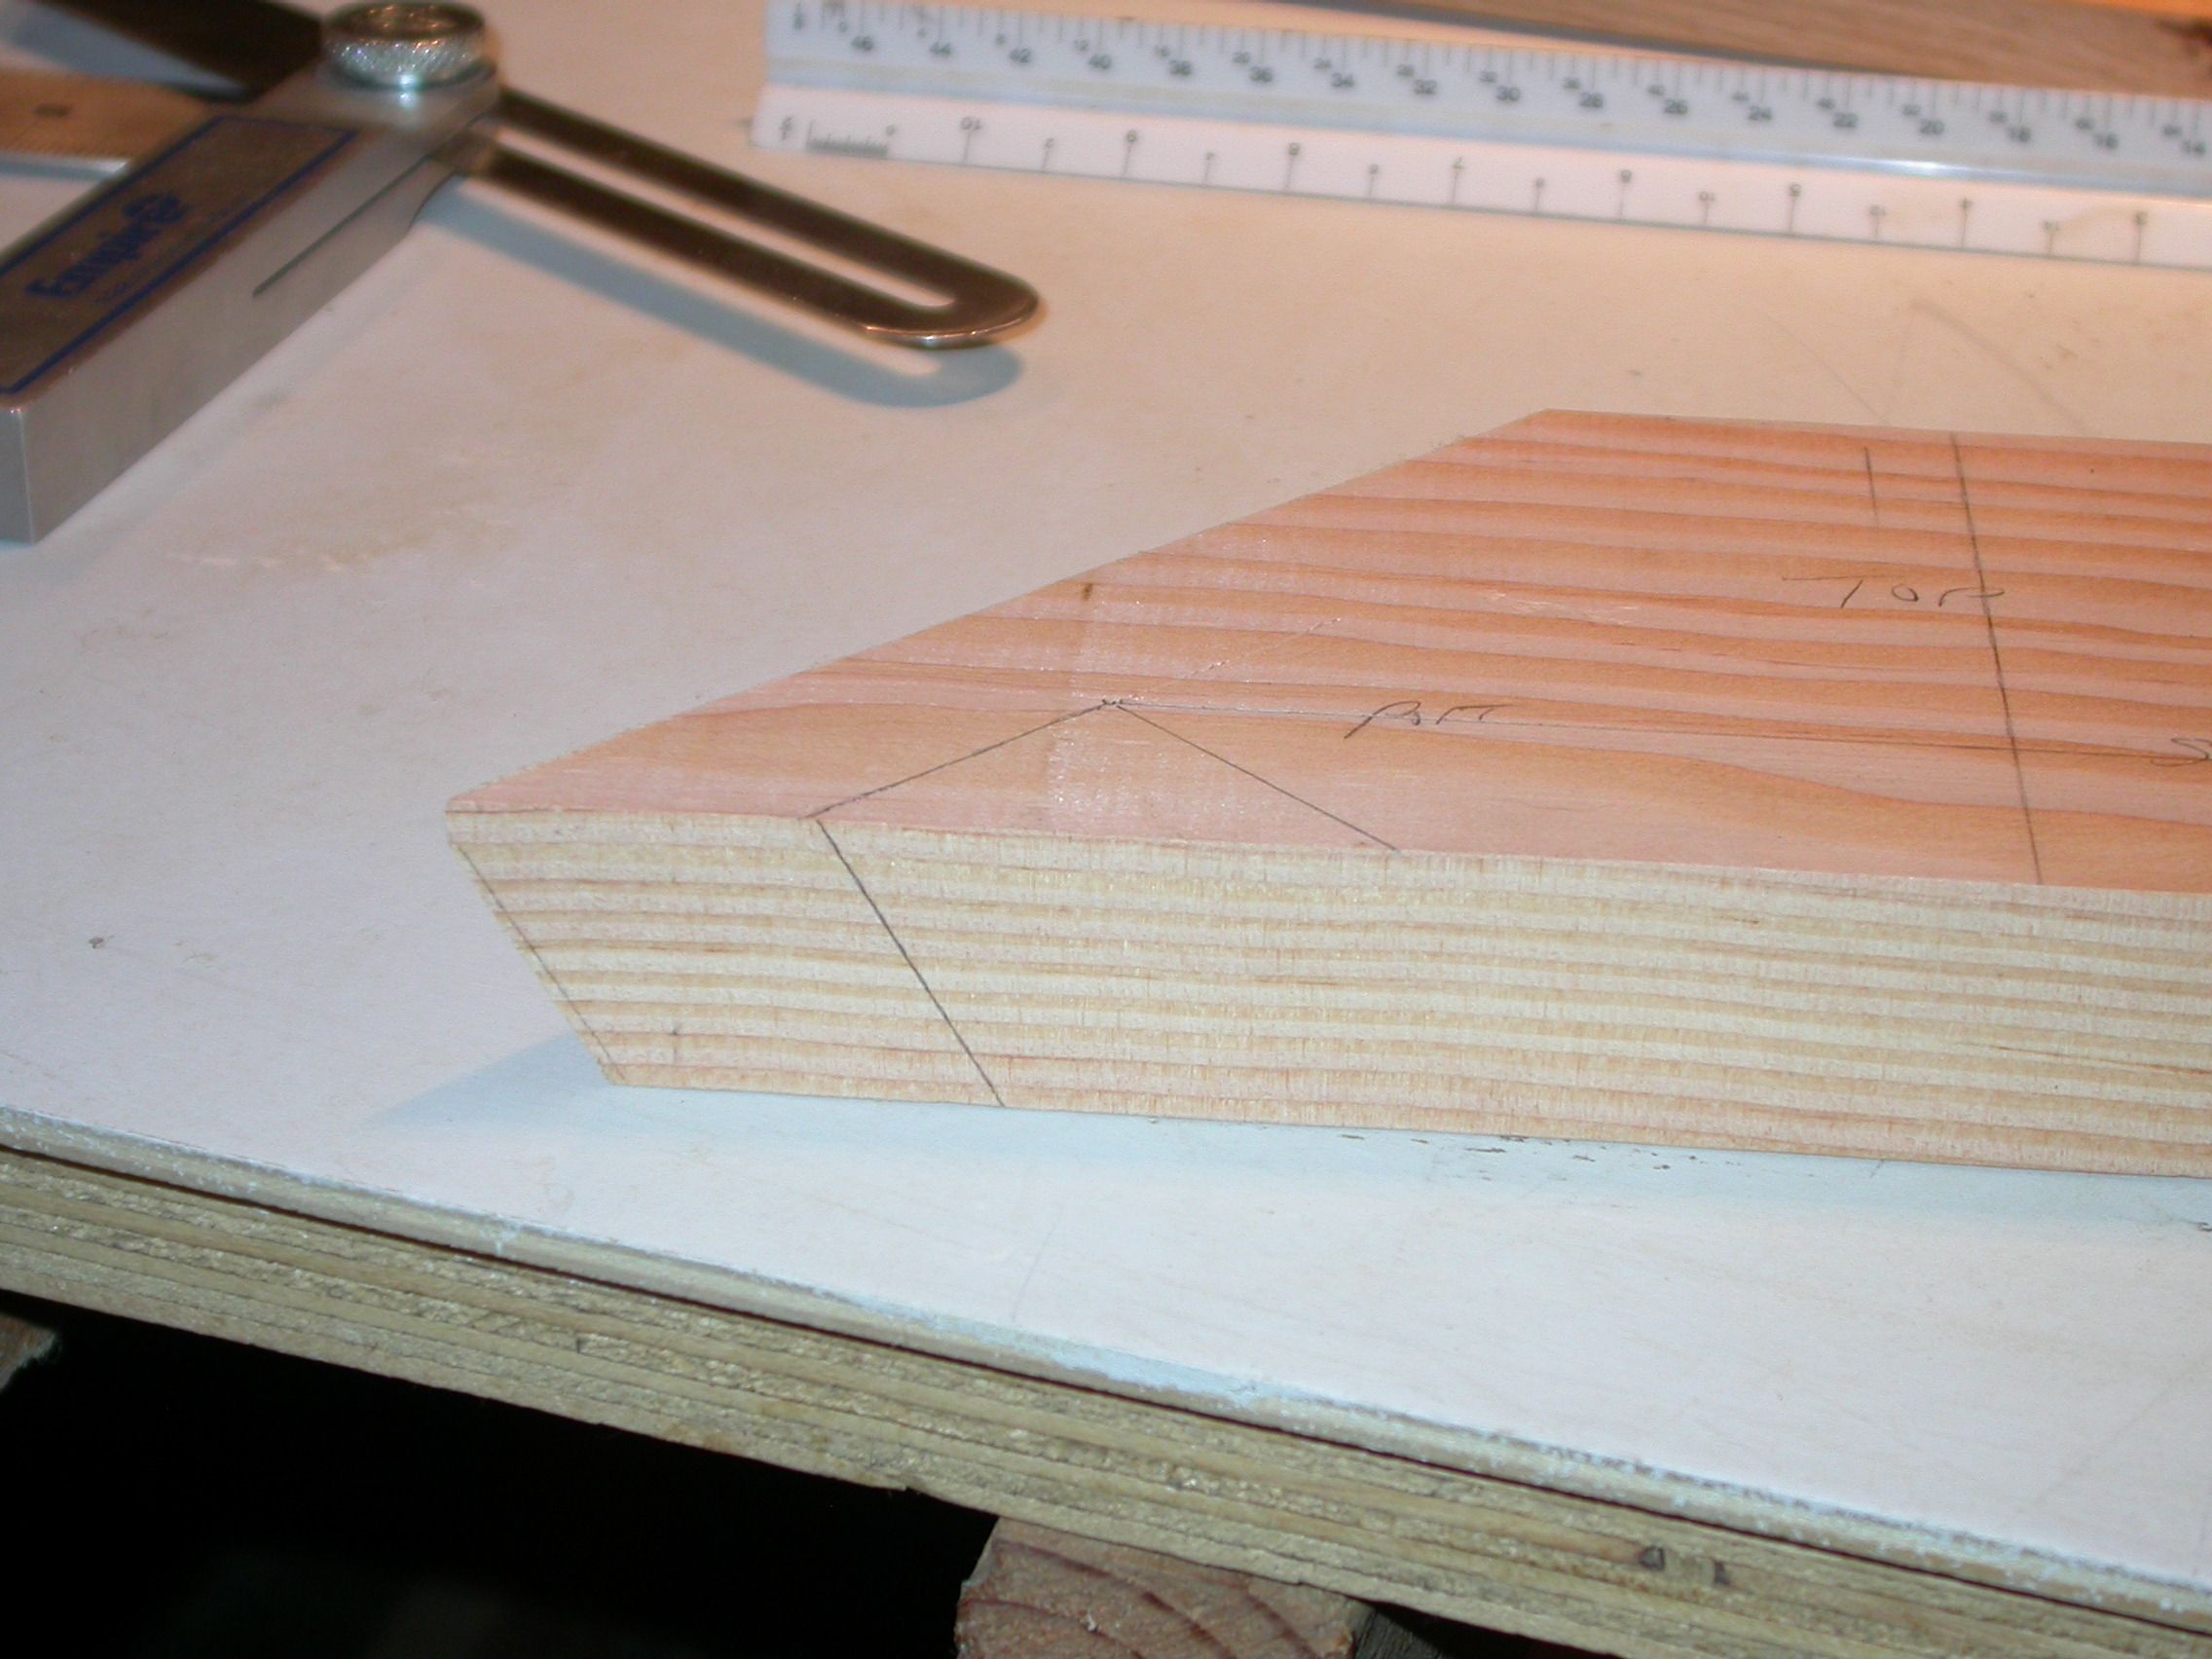 |
| Angles marked on breasthook |
And here are a couple shots showing how the inwale will fit into the breasthook. The inwale fits snuggle into the notch cut for it without bending or twisting. Almost like it was made for it.
The bottom line on the breasthook roughly shows the bevel that will be planed into the top of the breasthook to create the crown. This angle follows the angle of the top of the inwale, so the top surface will be continuous, without planing the inwale.
The breasthook must be set up fairly high to allow for this crown. Actually, a lot higher than I though. I will take this into account when I make the 'real' breasthook. I'll also make the breasthook a bit thicker, 1 1/2" thick, rather than 1 1/4", to allow for this higher 'sit'.
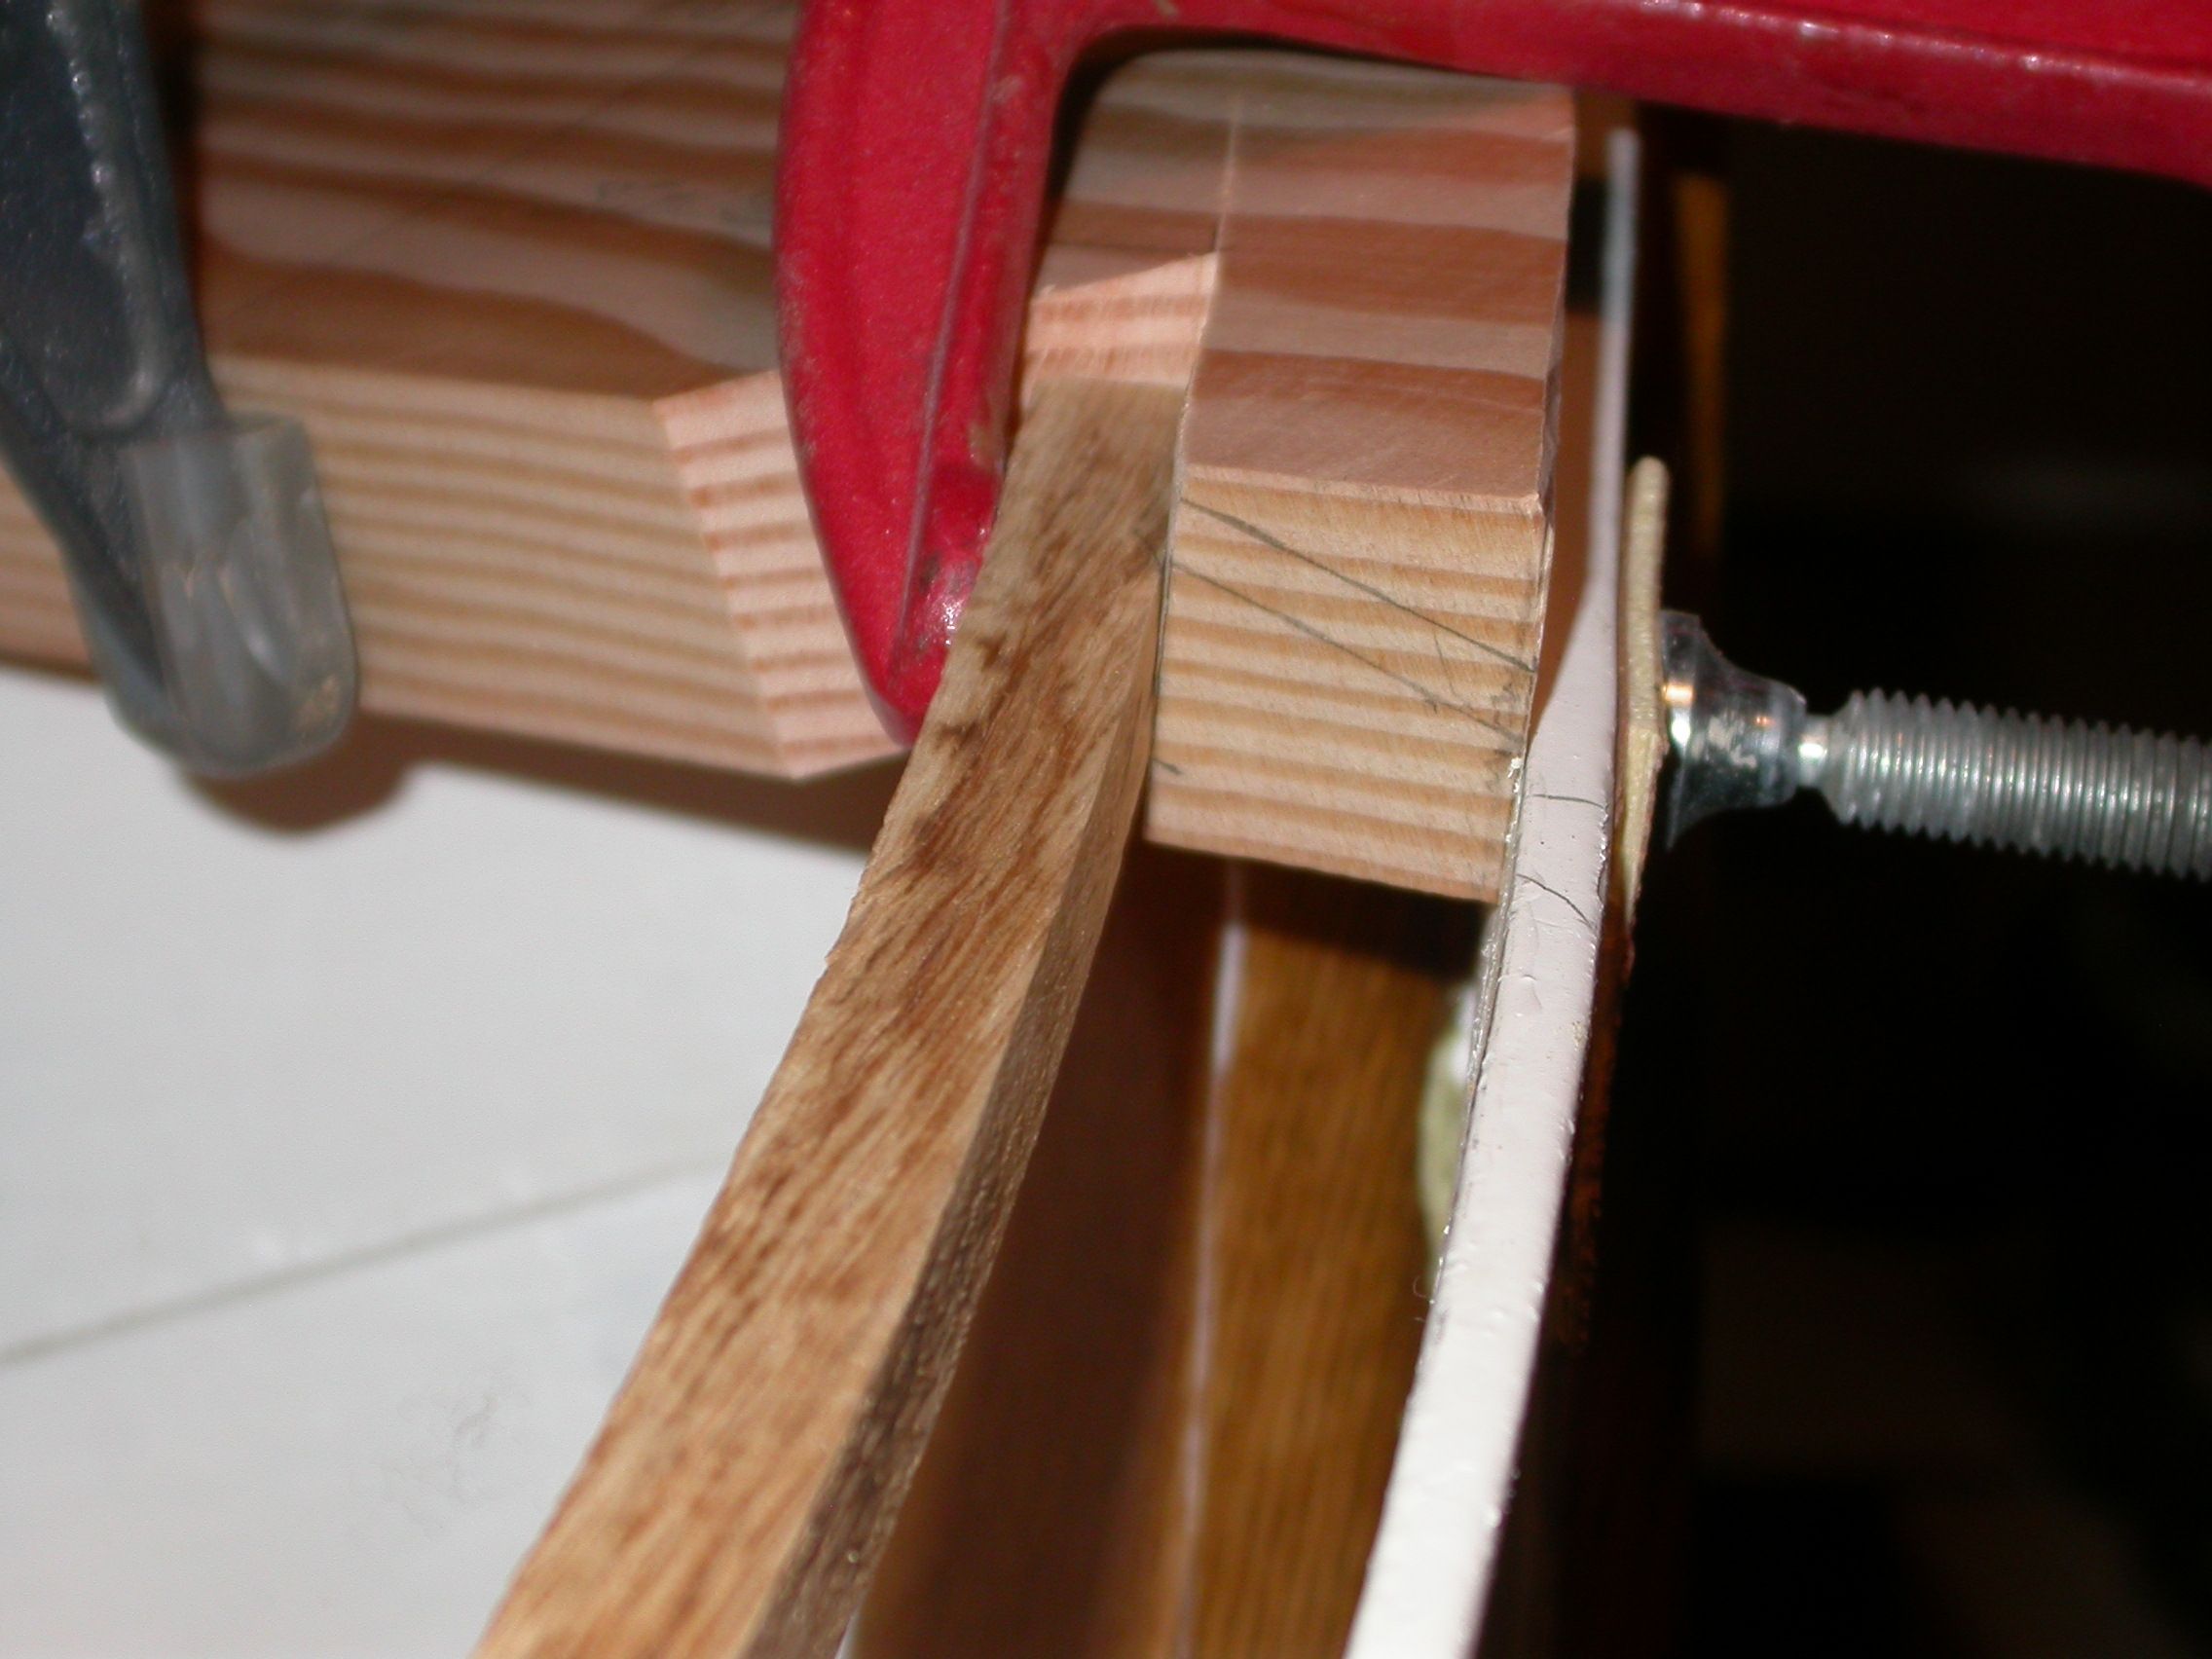 |
| Inwale fitted into breasthook |
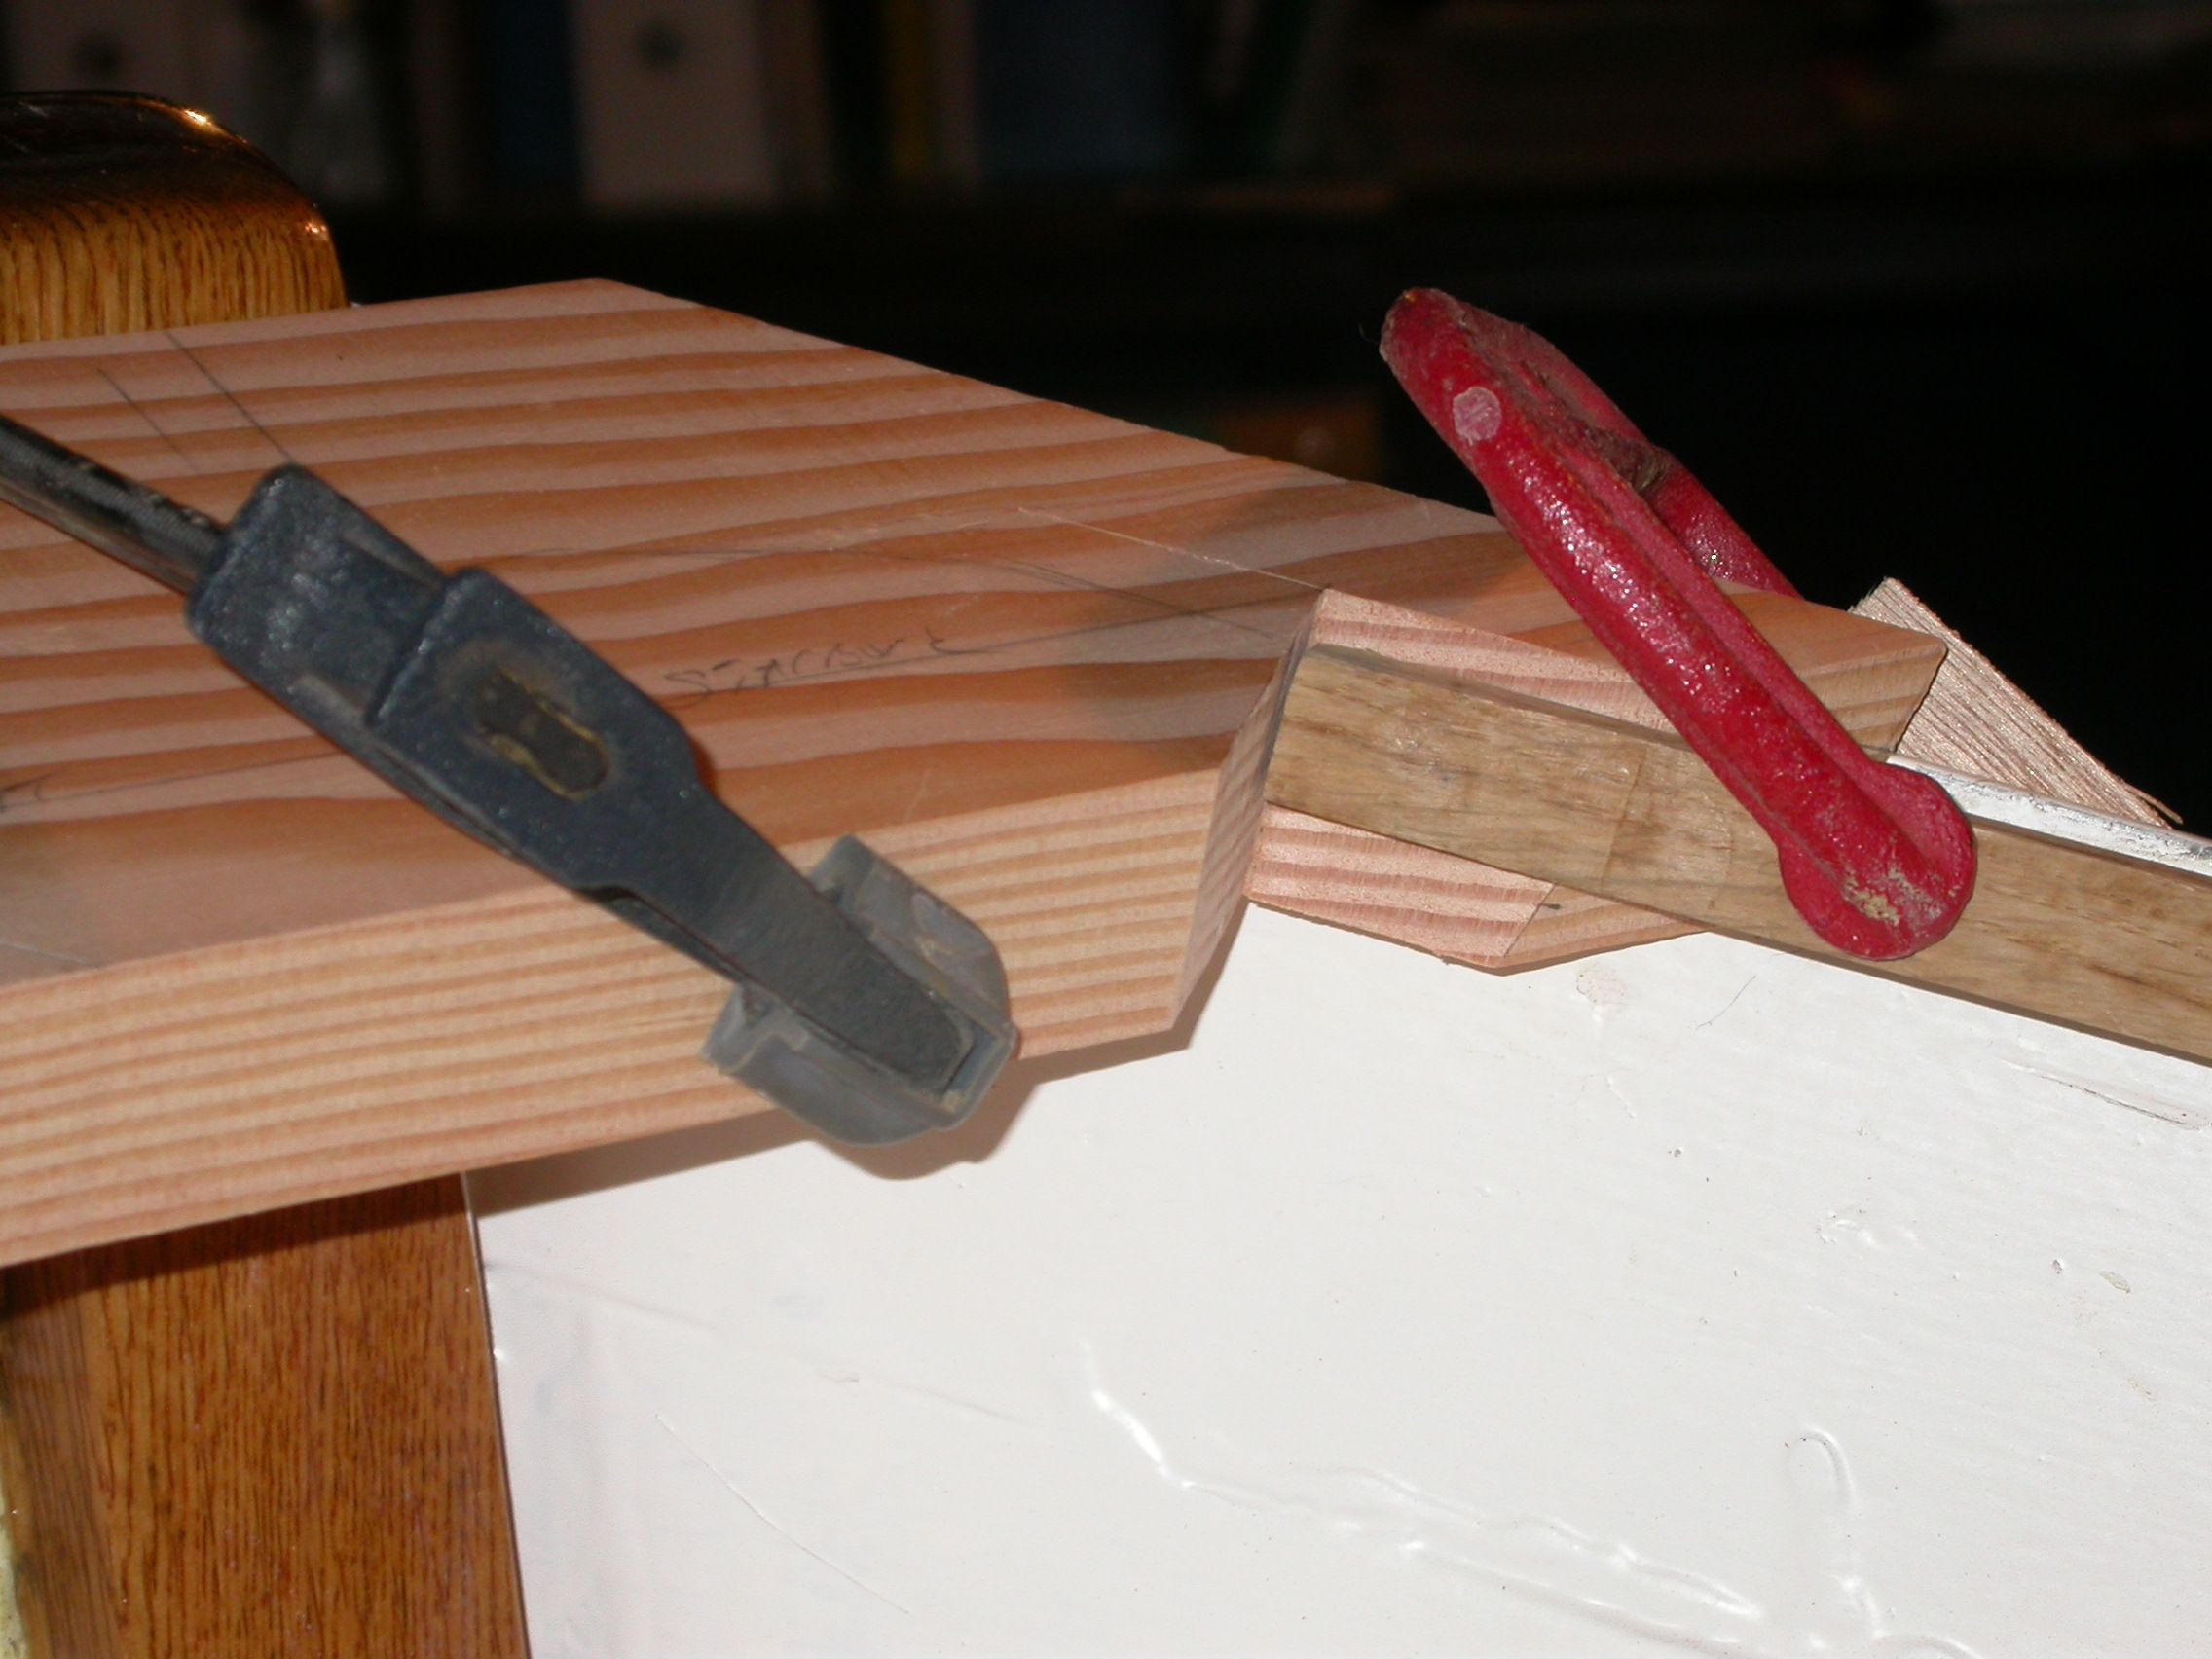 |
| Another shot. The simple angles make it easy to make a tight fit |
Speaking of real wood, the next step is to either find a crook that I can use for the breasthook, or laminate something so the grain is running the right way.
More on that, next time.
Next Episode: Into Oak
No comments:
Post a Comment
I'd love to hear from you. Please comment!