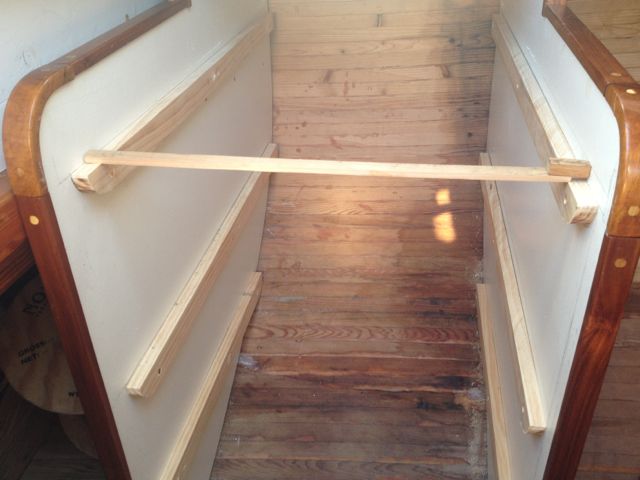
Well, duh! Yes, that worked. Worked so well in fact that my blog is now falling far behind the actual work. So this post will catch me up to the present time, and the very next post should have a picture of the completed galley.
Last time, I had the shelf cleats installed, and it was time to take measurements for the shelves. This sounds like a simple process, but of course it isn't because not one of the shelves is remotely rectangular. Because of the round shape of the Blue Moon's hull, the two bulkheads are not actually co-planer with each other. They are a bit closer together inboard than they are outboard. That is, the shelves are a bit wider in the back than they are in the front. And because of the way the hull curves, the left edge of each shelf is shorter than the right edge. I don't know what the name of this odd shape is (update: it's 'quadrilateral'), but it's not 'rectangle'.
I puzzled about how to capture the shapes of these shelves so they would be a snug fit, and then chose another form of tick-stick magic.
 |
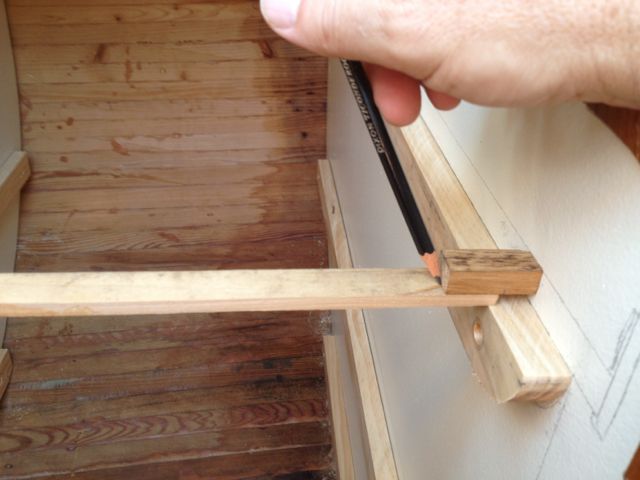
| Using tick-stick to capture width of top shelf, in front. |
In brief, you need a stick and a rectangular block. The stick must be a bit shorter than what you want to measure, as shown above. The block should span the gap, plus a bit more, also as shown above.
In the photo above, I've pushed the left edge of the stick against the left bulkhead. Then I put the block on top of the right end of the stick, and pushed the block up against the right bulkhead. I then marked and labeled other end of the block on the stick.
 |
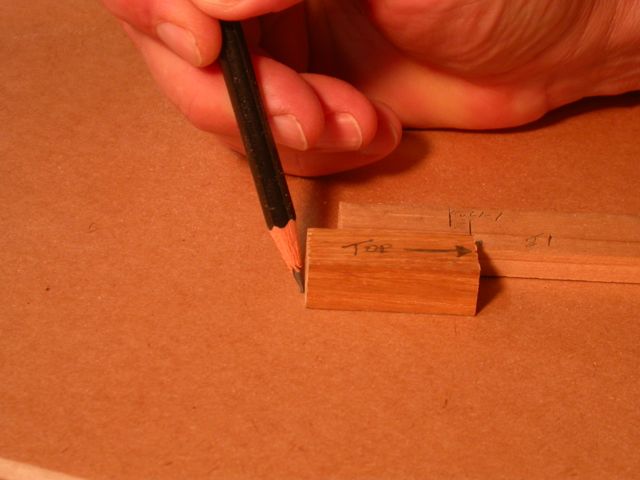
| Making a tick |
It's important to label each tick as you make them. For example, I labeled the above tick '1F', for 'Shelf 1, Front'.
Then I took another tick at the back of the same shelf and labeled it '1B'. Since the back of the shelf is a bit wider than the front (about 1/4"), the 1B mark is about 1/4" further out towards the end of the stick.
This captured the width of shelf 1 at the front and the back. Then I used a tape measure to measure the depth of the right and left sides of the shelf, from the hull to the front rail. I actually want the shelf to be 1" inset, but it was easier to measure to the front rail and then deduct 1" from the measurement.
That gave me two widths (front and back) and two depths (right and left) for each shelf. It is then easy to transfer these measurements onto plywood:
 |
| Transferring the tick-stick measurements onto plywood |
Basically, you just reverse the tick-stick process. Back in the shop, you lay the block alongside the tick-stick, line up the end of the block with the tick, and mark the other end. This form of measurement is much more accurate than you could ever take with a tape measure. It's basically accurate to the width of a pencil line. Can't ask for more than that (as long as you keep the pencil sharp!)
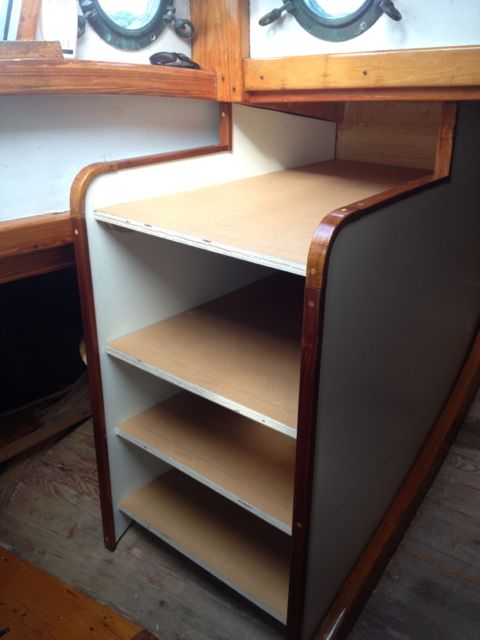 |
| Test fitting shelves |
In reasonably short order, I had the shelves cut out and back on the boat for a test fit. Amazingly enough, they fit beautifully. Just one or two spots had to be trimmed up with a block plane I'd brought with me.
It was then time to start working on the fiddles -- the 1" high 'lips' that will keep things from sliding off the front of the shelves.
Being not-so-happy with the factory cut trim pieces on the bulkheads, I decided to cut my own fiddles. After doing a bit of googling, I ordered a mighty slab of teak for nearly the same price as I would have paid for the finished trim pieces.
 |
| Teak in a box |
Hard to believe, but you can order wood through the Internet. Even big pieces. This one came in a big box via UPS. It was quite a thrill to unpack it, I must confess...
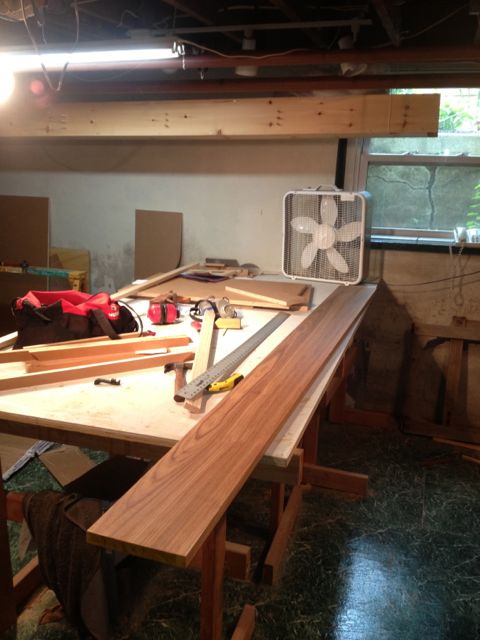 |
| 8'x9"x1" Teak Board |
The first word that popped into my head upon seeing this hunk of wood was 'luscious'... I must be spending too much time in the basement. But, God, it was beautiful.
I needed about 8' of trim (4 x approx. 2') so cut a rabbet along the edge of the board with my old rabbet plane. It took longer to sharpen the plane than to cut the rabbet. I am finally getting the hang of this simple but tricky tool.
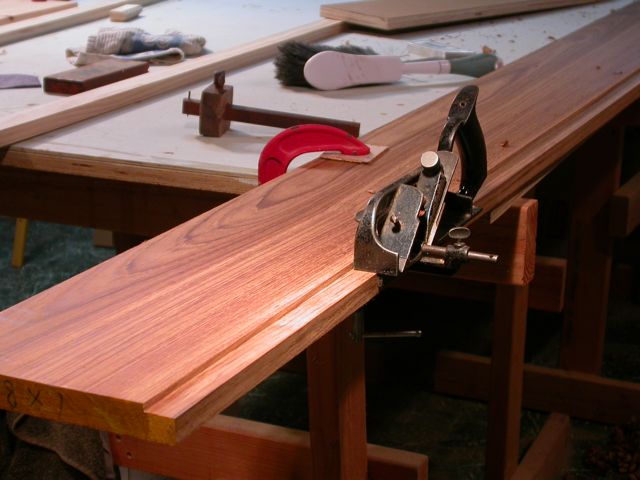 |
| Cutting the rabbet |
With the rabbet cut, I ripped out the fiddle stock with my circular saw... another tool I'm getting better at using.
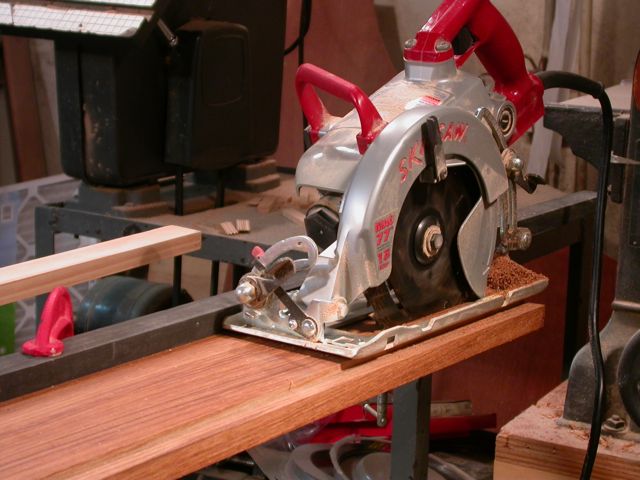 |
| Cutting long, straight line by pushing saw against a clamped-on fence |
Much easier to make this cut with a circular saw than with a table saw, in my opinion. I might feel different with a better table saw, but with the equipment I've got, this set up gives me the straightest cut.
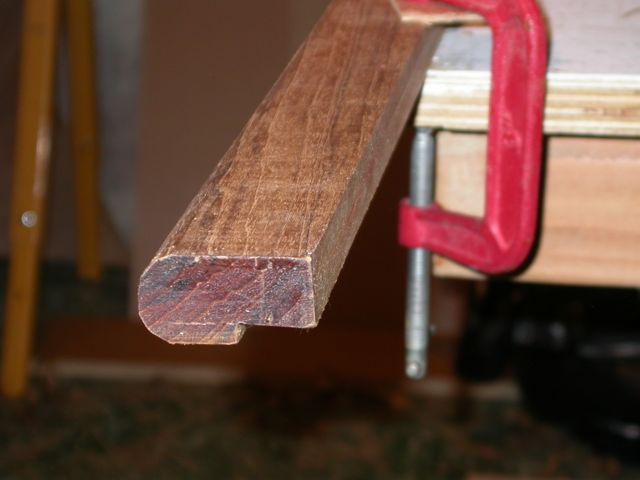
I then had a long, 1" thick rectangular stick with a rabbet cut on one side. How to round-over the top edge without a router?
Everyone -- and I mean everyone -- I talked to urged me to use a router on this one. Only one problem: I don't own a router! No matter. I clamped the 8' long stick to my crummy bench and planed off one corner. Then I turned it over, and planed off the other corner.
 |
| Turning 3 sides into 5 sides, with a plane |
This literally took 7 minutes. I timed it. Starting with three sides, I ended up with 5 sides.
Then I then planed the 4 corners... just a bit. That gave me 9 sides. Another 3 or 4 minutes gone.
 |
| 9 sides... practically round |
A few more minutes with a sanding block and I had a perfectly rounded edge. One of these days I do need to buy a router, but not until I really, really need one. So far, I just haven't needed it.
 |
| With a bit of sanding... |
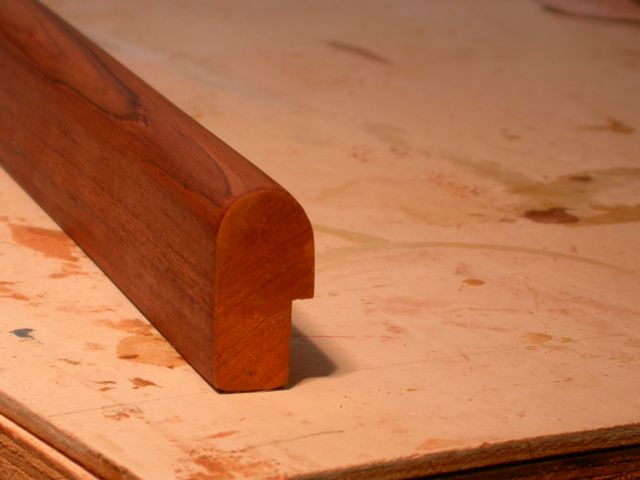
Then it was just a matter of cutting the fiddles to length. Here is one fitted for size...
 |
| Fiddle dry-fitted to shelf front |
And then I had a whole lot of pieces to paint and varnish. Here they all are. The photo doesn't show all the cleats that I removed from the shelves, which also need to be finished.
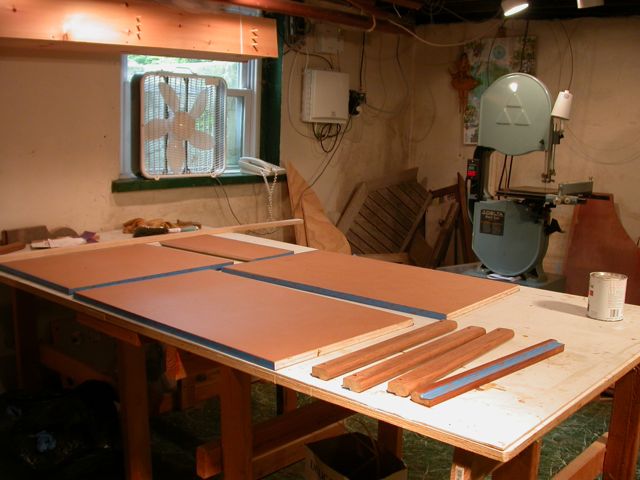 |
| Shelf pieces taped for finishing |
I taped any edge that is going to end up glued, so that I have wood-to-wood glue joints.
You might also notice the latest addition to my shop -- a 14" Delta bandsaw. I already had a pretty good Craftsman saw, but the Delta was such a great deal, I couldn't pass it up. A big upgrade in the bandsaw department.
Okay! So I am off to Florida to visit my mom, but next time I'll be assembling the galley and moving on to the settee. No more serial-building!
Next Episode: Speed Finishing
Cool stuff, John.
ReplyDeleteMy shelves more often resemble the tick stick and added rectangle. Not the measurement, but the actual shelf.
Thanks Dewey... I know exactly what you mean ;-)
DeleteJohn - Everything looks so beautiful! ox
ReplyDeleteThanks... Pat? That reminds me... I have something for you.
DeleteI have two routers. The second one was bought as a put-you-on when the first developed a fault. I don't like using them, you are much better off sticking to hand tools wherever you can. Hand tools give you more control, and do a better job. Setting up the router takes forever, and mistakes are truly disastrous. Hand tools are usually much quicker overall. YMMV of course.
ReplyDeleteI think you are probably right. Every time I think, 'today is the day I buy a router', I always end up doing the job by hand. It just seems simpler. I might feel different if I was doing this for a living, of course.
DeleteOK, I am almost embarrassed to ask this question, but I am new to sailboating. I have NEVER done any fabricating on board a vessel in my life and do not want to destroy anything. I am going to install new cabinets and shelving in my Jensen Cal25. Here is my almost dumb question. How do I attach the cabinets and shelving to the sides of the vessel? I'm so confused! ike I said, I'm new and have no clue and I'm doing this on my own.
ReplyDeleteOn a fiberglass boat, you use epoxy and fiberglass to attach the bulkheads to the sides of the boat. Bruce Bingham has an excellent book on the topic, but it’s out of print. I’m sure there are many others that show the technique. Good lick!
Delete