Since my last report, I've given everything a good sanding, including sanding out the worst bits of chafe on the sheer strake and transom. The results are not perfect but as my old professor used to say, perfection is the enemy of good enough.
I've also decided what to paint and what to varnish. There's far too much bare oak in Cabin Boy at the moment. I once hoped I could keep the oak 'bright' with oil -- which means some sort of linseed oil concoction. But after trying oil on various oak bits, I'm thoroughly disenchanted with the results. Either the wood dries out, or it mildews.
So I'm giving up on oil. I'm going to paint most of the bare wood and will varnish the few bits that I leave 'clear'. I had great results with varnish on my boomkin, and I'm now convinced that varnish is a lot lower maintenance in the long run than oil.
But before I can paint I must finish building the interior out. First up is the fore an' aft rowing seat.
 |
| Rowing Seat |
If you have a passenger, she sits in the sternsheets and you can slide your weight forward to balance the boat, moving the oars to a second pair of oarlocks if necessary.
Three people is probably too much for Cabin Boy, unless it is a very calm day and the rower very careful.
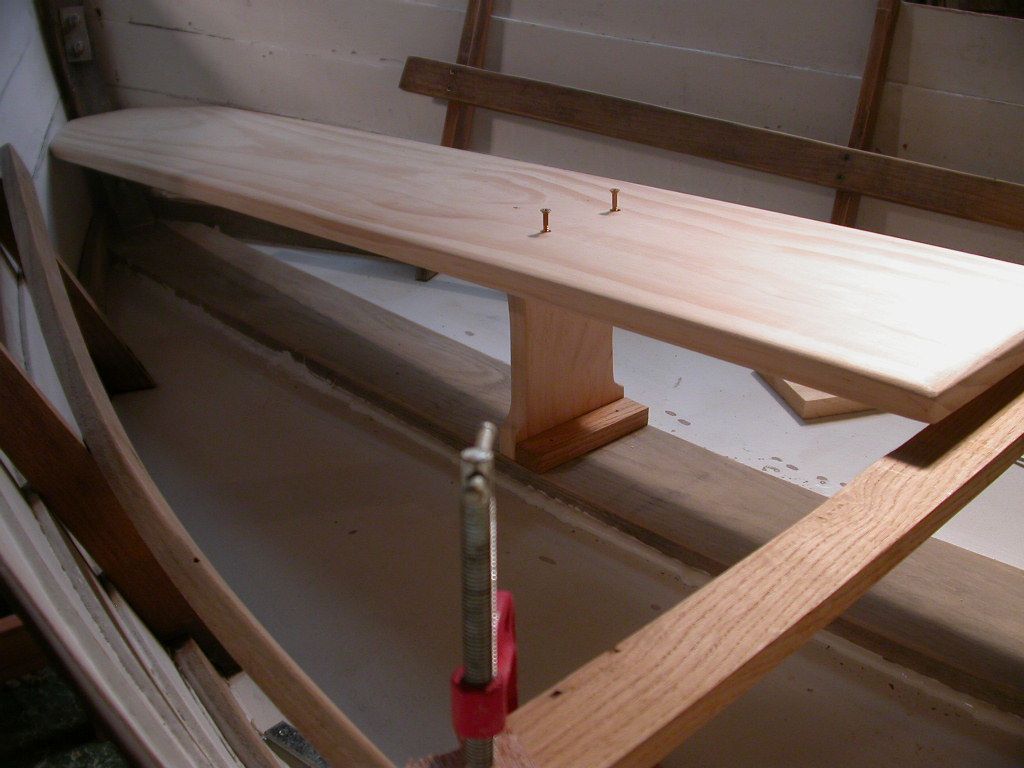
I'm determined to complete Cabin Boy's refit using scrap wood that has gradually accumulated in my shop. The seat is an offcut of white pine that was almost exactly the right size. I've got another scrap that should be just right for the sternsheets.
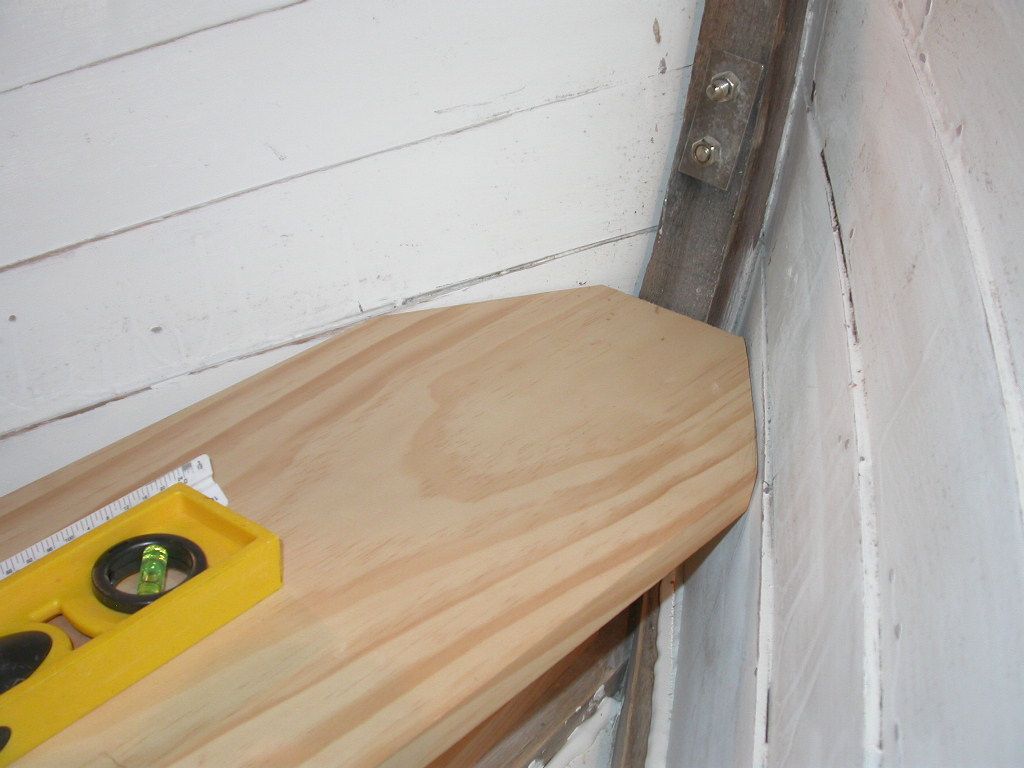
The only tricky bit was shaping the forward end to fit CB's not-exactly-symetrical bow. This was just trial and error fitting with a block plane. I thought I had a later picture, but you get the idea. Eventually, I got a fairly good fit.
 |
| Fitting to the bow |
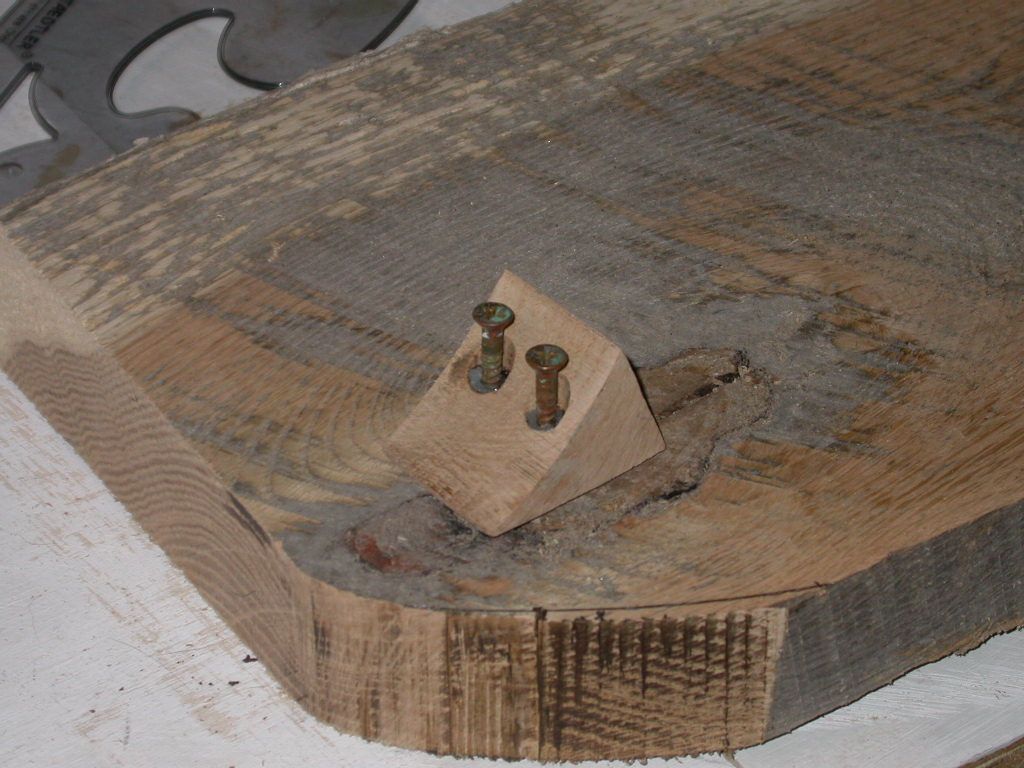 |
| Oak support bracket |
As you can see, I even used recycled bronze screws. A little green patina doesn't make them any less screwy.
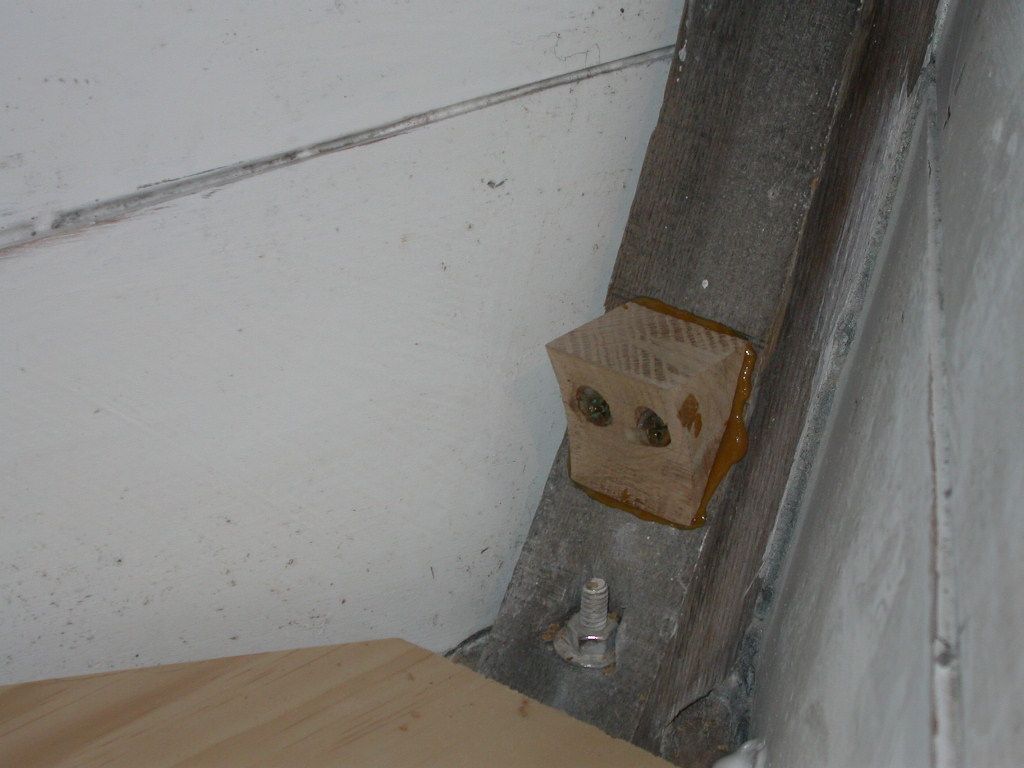 |
| Bedded in |
I thought about epoxying it to the stem, but I'm a bit off epoxy at the moment, so I just bedded it in with Dolphinite. The two screws into the oak stem should be more than enough support.
I made the other support out of another scrap of white pine. A simple straight piece would have been good enough, but what's the point of having a bandsaw if you don't have fun with it?
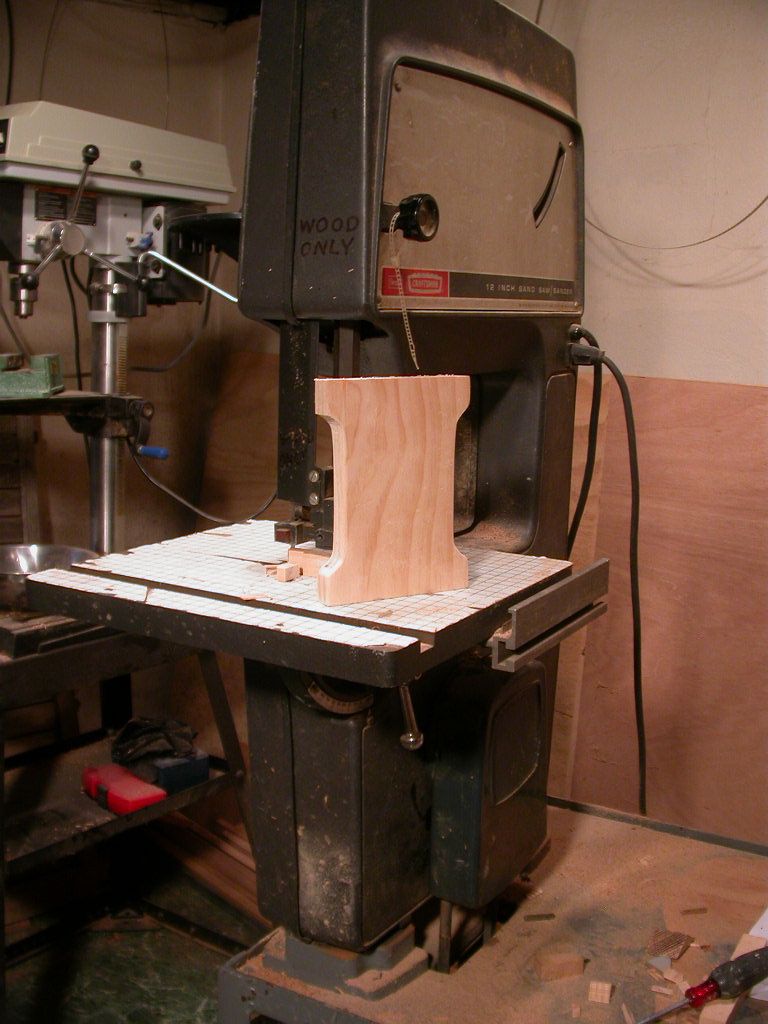 |
| Support 'strut' |
|
| Strut and cleats |
The cleats will actually be forward of the strut where they will be more or less hidden from view.
I keep finding uses for a router. For example, for rounding over edges. Unfortunately, I don't have one, so I did the rounding with a block plain and sand paper. It came out 'good enough'. I guess that's why I don't have a router, yet.
The long oak beam across the boat is just to support the seat when I'm working on the strut. It will be removed when the installation is complete.
So that's the current status. More soon.
>>> Next Episode: Varnishing
No comments:
Post a Comment
I'd love to hear from you. Please comment!