I mentioned last time that the next step was to install all the varnished bits into Cabin Boy. In particular, I wanted to install the breasthook and quarter-knees, so I could measure and install the gunnels. This turned out to be an 'interesting' (i.e., highly instructive) exercise requiring the construction of two tools.
Warning: this is a classic UnlikelyBoatBuilder How-Not-To blog post. Make sure you read to the end before following in my footsteps!
While dis-assembling Cabin Boy's interior for the refit, I could not help noting how lucky I was NOT to have epoxied all the bits in place. I don't remember why I installed the seats and knees with screws and bedding compound -- probably I was just in a rush -- but it sure made disassembly quick and easy.
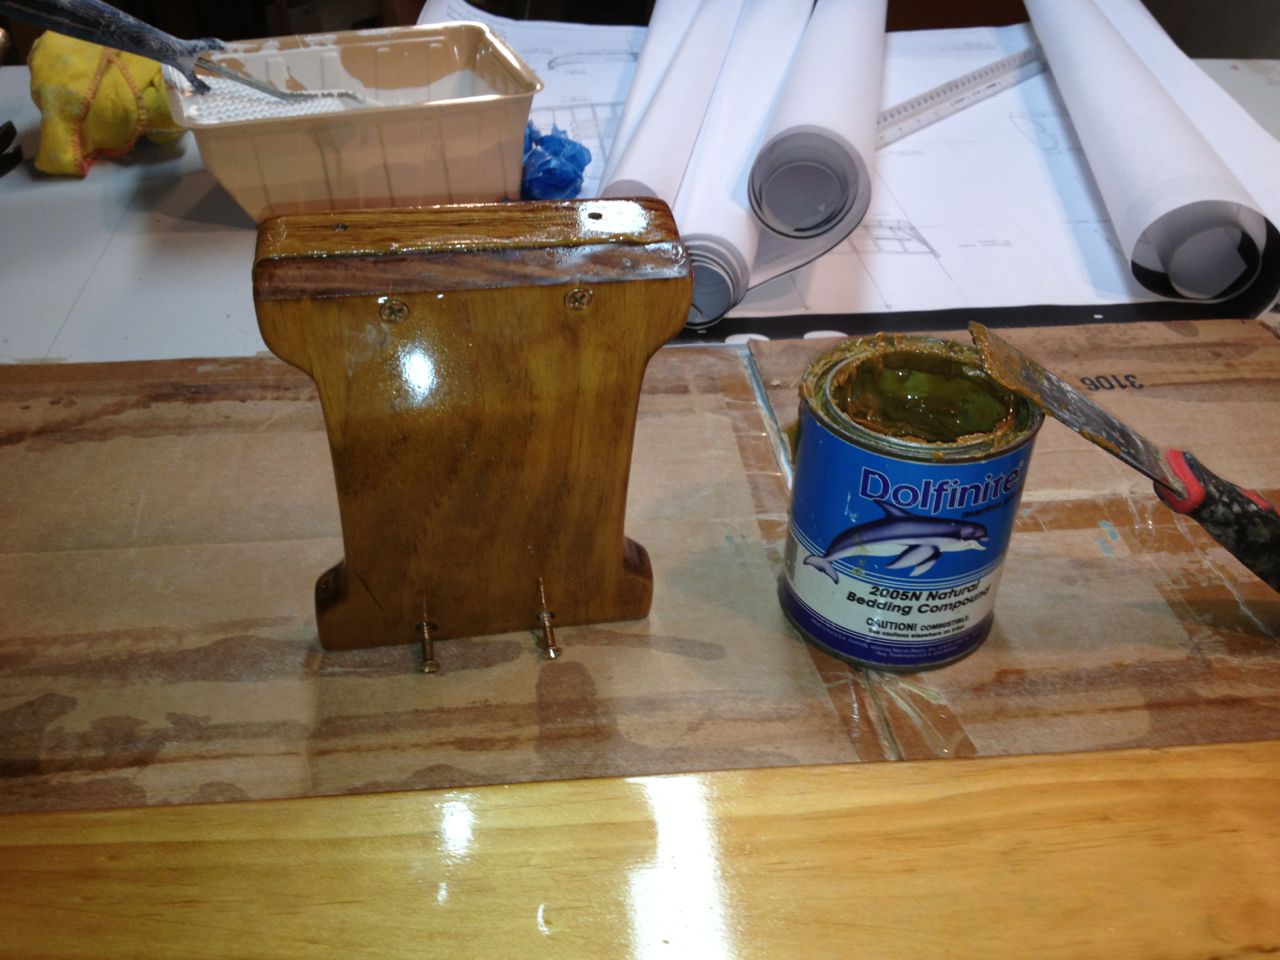
So when it came time to re-install the shiny new bits, there was no thought of epoxy. Just bronze screws -- many reused from the previous install, green with verdigris, but otherwise sound -- and a thin layer of Dolfinite, a classic bedding compound.
By the way, the little can of Dolfinite shown in the picture is now about 18 months old and is about 1/2 gone. I have used little dabs of this stuff to bed down all sorts of things, from cleat and eye straps on the Blue Moon, to the thwarts on Cabin Boy, and the contents of the can are still plenty usable. I would have needed a dozen tubes of the modern goo to achieve the same results, because once you've opened a tube of 4200 or whatever, the usable life is from a few hours to a week, depending on how carefully you seal it up. I never seem to have anything else to bed down in that time, so it hardly matters: after using the first few dabs, I always end up throwing away the rest of the tube.
Dolfinite does not have that problem. Just make sure to clean the lid so you can close the can up tight, and it seems to last forever. A couple years, anyway. It works just as well as the new goop, as far as I can tell.
 |
| All bits bedded with Dolfinite |
After a bunch of screwing and gooing, the seats and knees were installed, and looking pretty good, if I do say so myself. That fore-and-aft rowing seat feels very solid and secure. I can't wait to try it out.
What I plan to do is to launch the boat, find the balance point with me as a single rower, and mark the location for the oar locks.
Then I will have Helena sit in the sternsheets and shift my weight forward until the boat is balanced again, and mark the location for the second set of oarlocks. This will make it easy to balance the boat 95% of the time, and when carrying other passengers, I'll just shift my weight a bit fore or aft to balance.
That's the theory, anyway. Check back to see how it works.
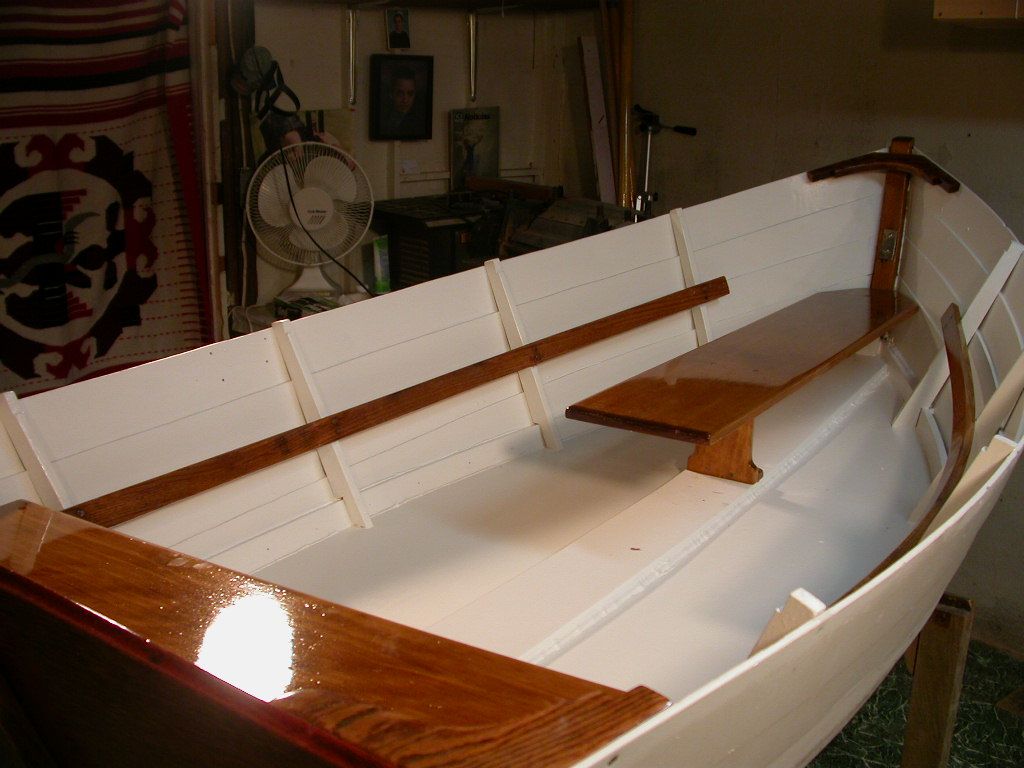 |
| Seats, breasthook, & quarter knees installed |
A perfect excuse, in other words, to fire up my new planer.
I'd never actually used a planer -- any planer -- to cut 'real wood', so I approached the task slowly and methodically. My goal has been to do Cabin Boy's refit using wood on hand, and this was the only piece I had long enough for the gunnels, so I did not want to ruin this piece of wood.
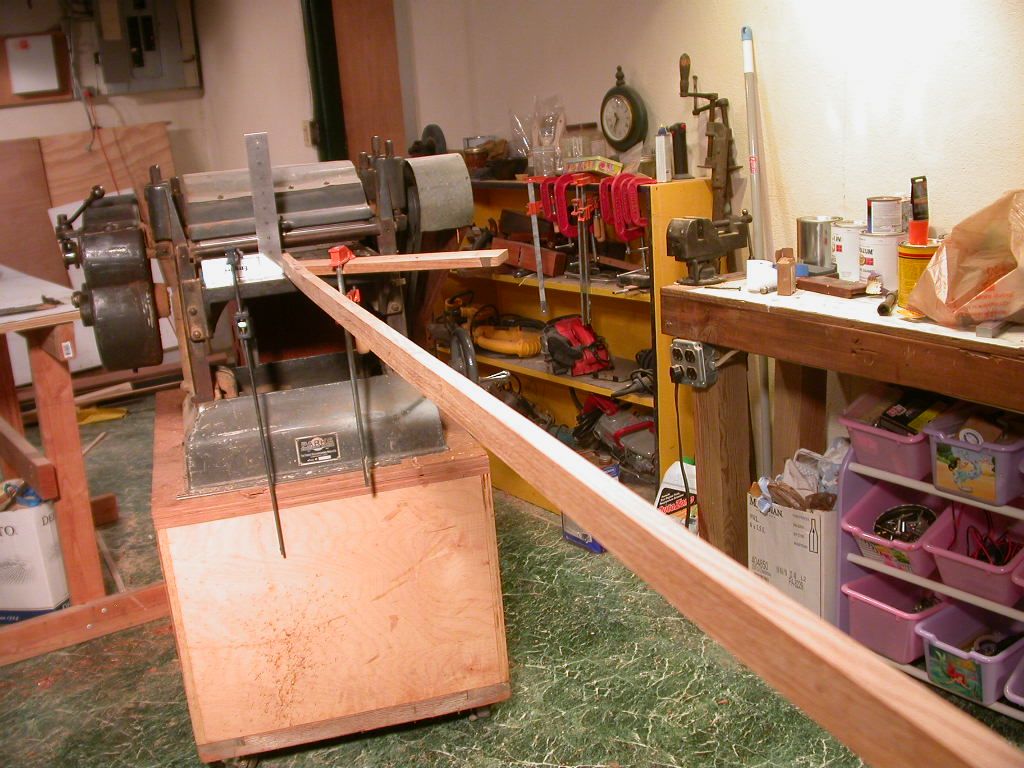 |
| Milling off-cut for gunnels |
As you can see below, I clamped a square to the infeed bed and held the piece against the square edge with a feather board that I was constructing for my table saw. I can't say for sure if this jig was necessary, but it worked and I think it was worth the slight effort. I ran the piece through the planer 4 times, reversing ends each time, and taking off about a millimeter on each pass.
Slow and steady wins the race, they say, and in this case it worked. The planer removed the wavy bandsaw edge, and the piece ended up square and exactly the right size to rip into two gunnel strips.
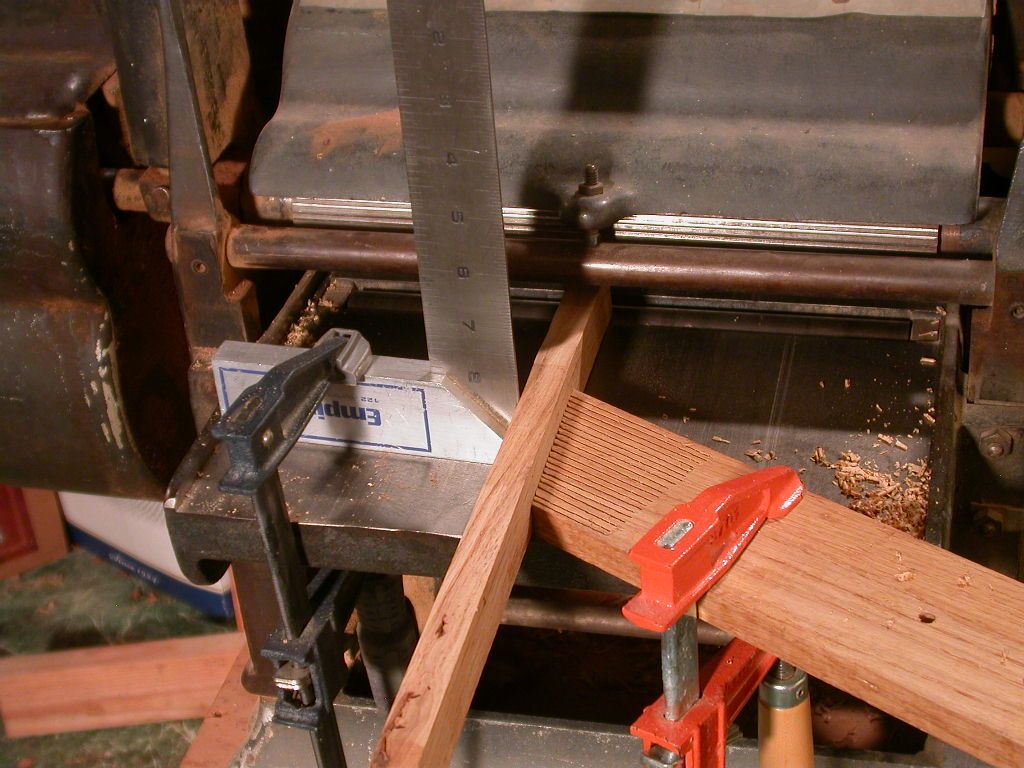 |
| Keeping piece vertical with square and feather board |
Instead, I made two feather boards to hold the piece in place as I fed it through the saw. I built the boards to a plan written by Gord Graff on lumberjocks.com. I can't describe the process better than Gord, so if you are interested, check out his blog post.
Suffice to say that the feather board is held on the table by a hardwood runner in the table's miter slot. When the board is positioned properly, you just tighten up the knob (or wing nut) and the board is locked into place. A fun project to build in an afternoon, and a very useful tool.
The second feather board is simpler... I realized I needed another one to hold the piece down on the table, so quickly made a second feather board from a piece of scrap. I cut all the 'feathers' with my bandsaw. Quick and easier than on the table saw.
Anyway, after all this prep, it was a simple job to run the strip through the saw. I ended up with two identical -- and square -- gunnel strips.
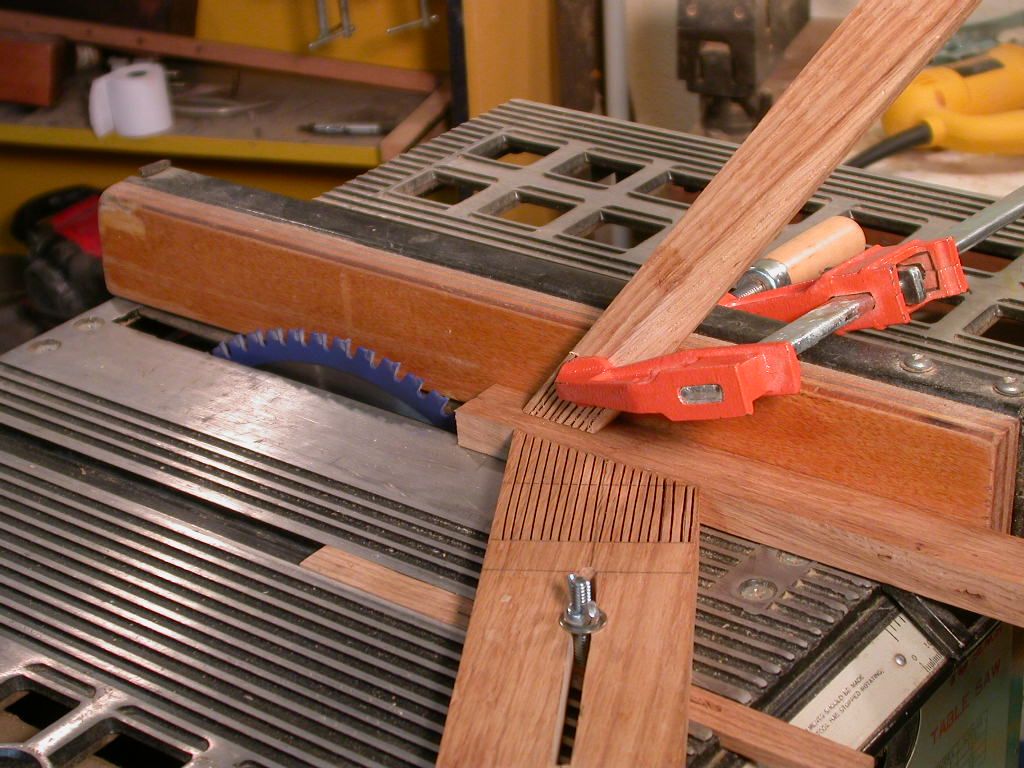 |
| Ripping piece right down the middle... No hands, ma! |
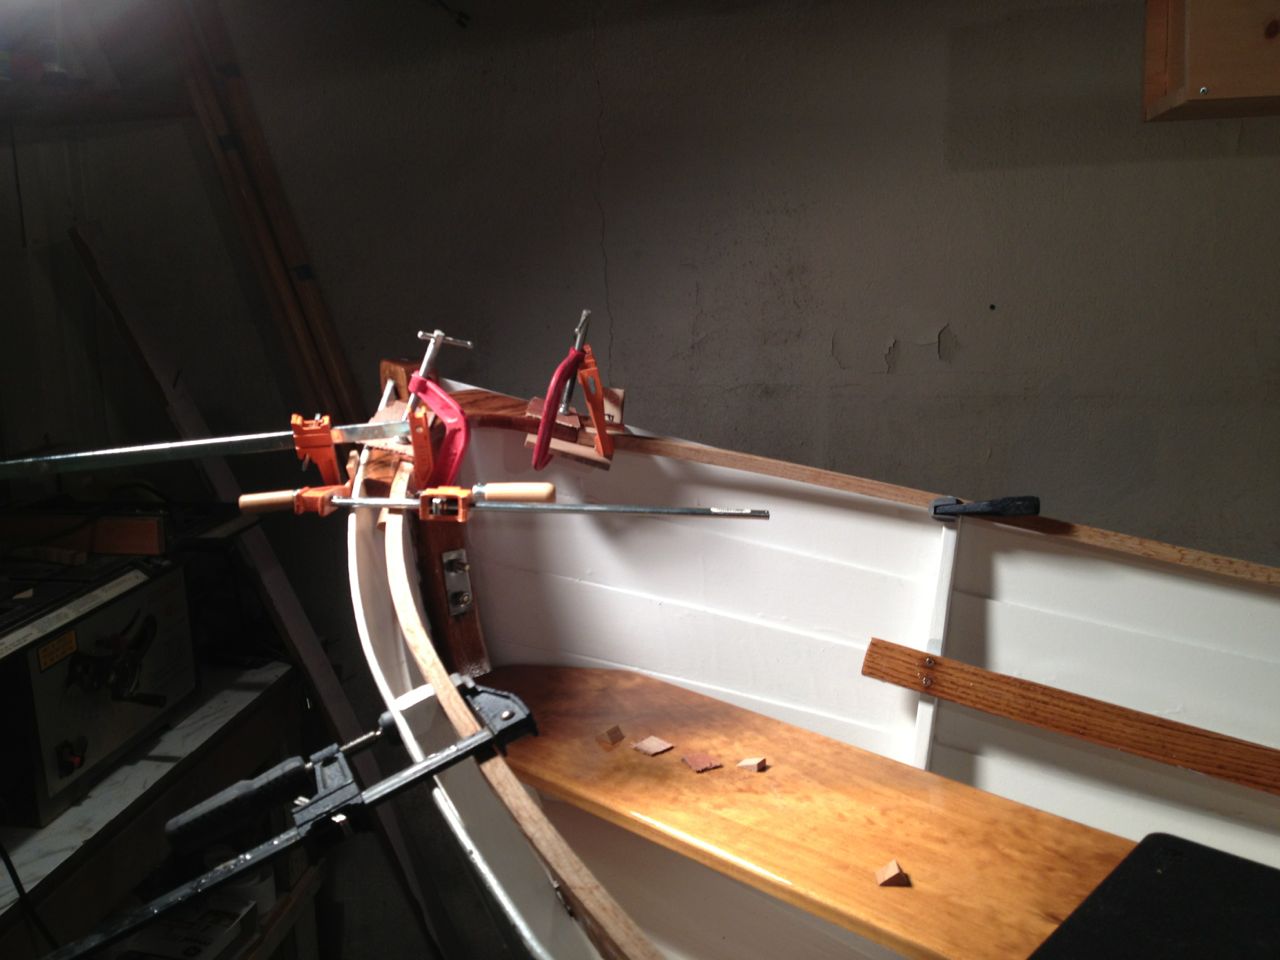
The problem was with the breasthook. It is hard to tell from the photo, but the gunnel comes into the breasthook at a slightly wrong angle. To make the gunnel 'fit' the slot cut long ago, required some serious bending and twisting of the end.
"No problem!" I thought. "I'll just steam them!"
Steaming white oak is a miraculous process that I find fascinating, so I jumped at the chance to try a new technique: soaking. Actually, far from being 'new', soaking wood in boiling water is probably the oldest technique for bending wood. No doubt it's been used for thousands of years. So I figured I could do it.
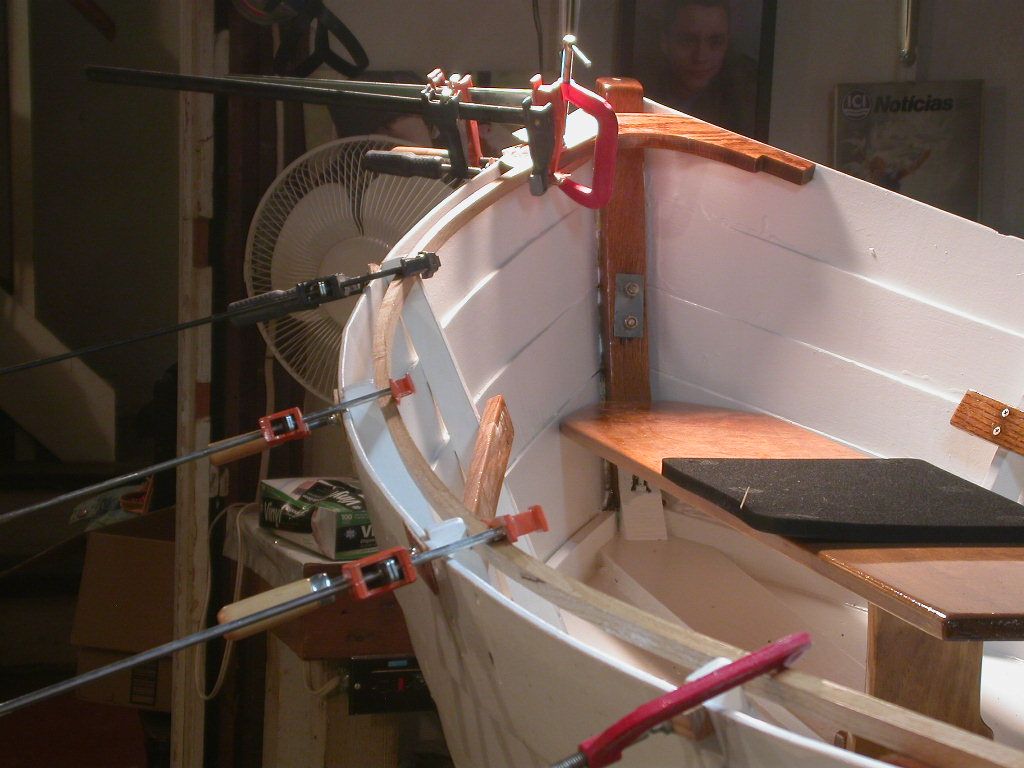 |
| Cutting to length & trial fit... Something not quite right... |
I lined a polytarp with 4 or 5 old towels (not having a buffalo hide handy) and boiled the water in an electric kettle. These are not so popular in the US, but are a standard piece of kitchen gear in the UK. Having become addicted to tea from spending too much time in the UK, I have one, but of course any kettle will do.
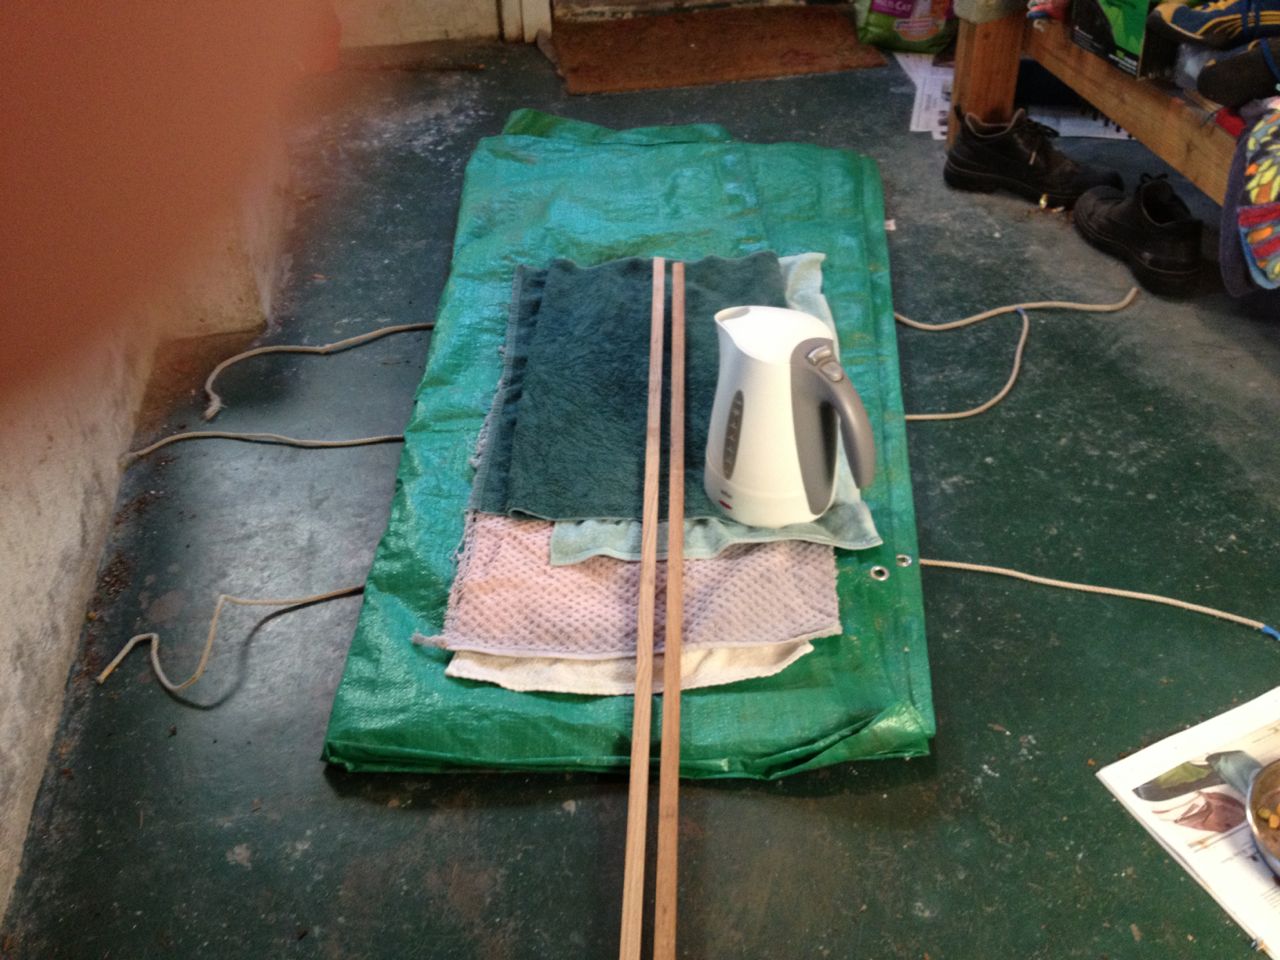 |
| Soaking the ends |
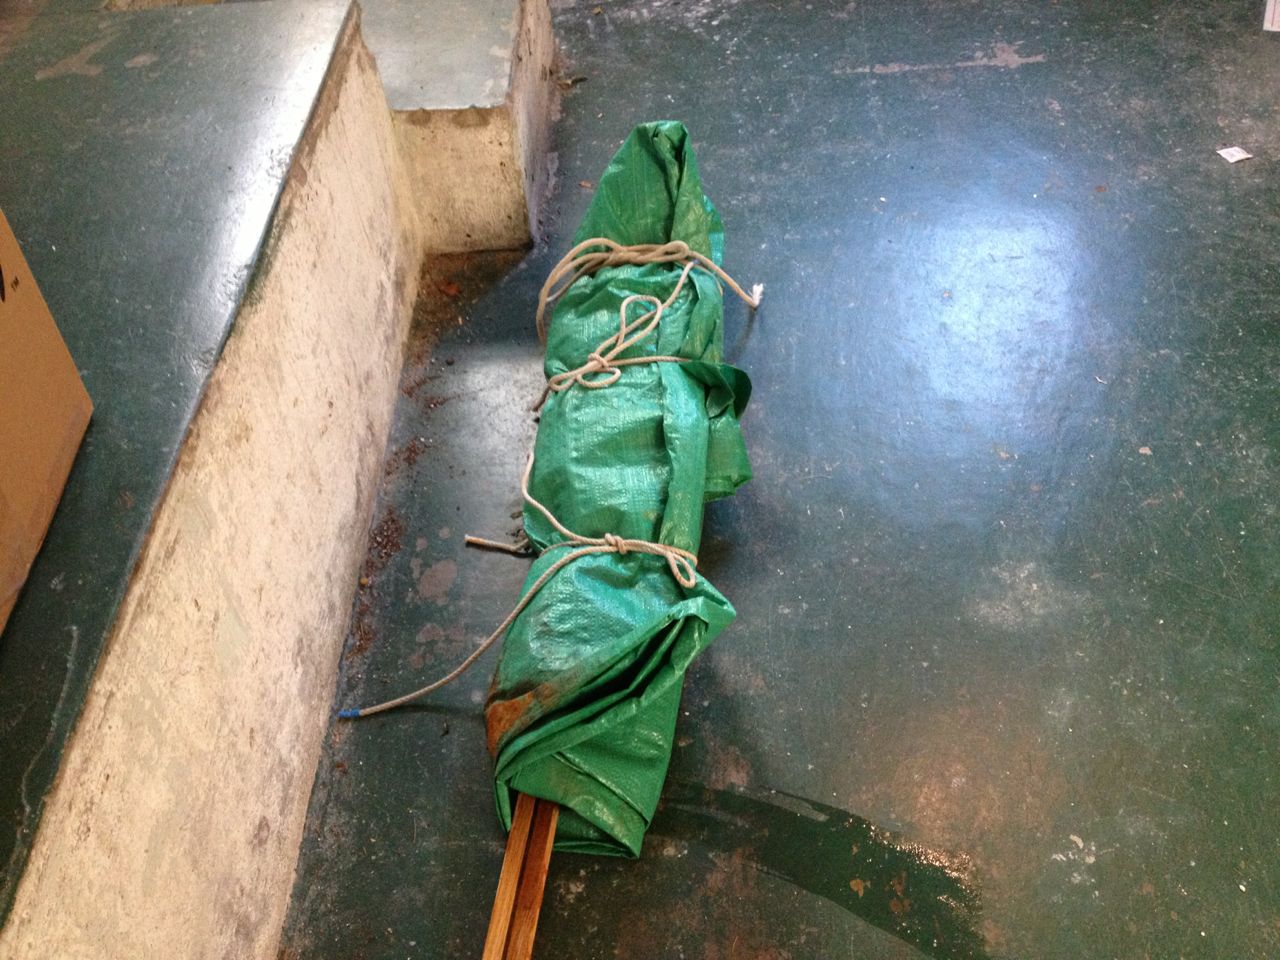 |
| Bundled up... Don't forget to elevate above cold concrete floor. |
When 'done' you can pull out one piece at a time and clamp into place, keeping the other warm while working on the other.
One steaming was sufficient for these light gunnels, but after twisting and clamping into place, I couldn't help thinking: "I wonder if I've done something wrong?"
 |
| Bending into shape |
Of course, some old pros will be laughing at this dilemma. But I needed a couple days in my 'thinking' chair, as well as a careful perusal of all my boat building books, to discover where I'd gone wrong.
This must be one of those things that is so obvious to the writers of boat building books that they forget to make it explicit. But it certainly wasn't obvious to me.
What had I done wrong? I'd installed the breast hook and gunnels in the wrong order. To fit the breasthook and knees properly, you must install the gunnels first, then cut the breasthook and knees to fit both the sides of the boat, and the gunnels. There are about 57 different angles involved. It's practically impossible to get all the angles right, if you build and install the breasthook and knees first.
Duh.
So, I am now back in my moaning chair, looking at my ill-fitting, steam bent gunnels and those carefully varnished breasthook and quarter knees and thinking: "Should I really just throw them away and start over?"
I'm pretty sure I know the answer, but I need another day or so to come to terms with all that wasted effort. Will anyone really notice? Besides me, I mean?
Stay tuned...
Next Episode: Scarfing
Thanks much for the "Do as I say, Not as I do", cautionary tale.
ReplyDeleteSome things are so obvious *after* you've done them... One good reason for taking boatbuilding courses...
DeleteGreat piece, loved the bit about the kettle.
ReplyDeleteOne of those tools you can't live with out, once you own one ;-)
DeleteJust wondering, what do non-englishized Americans use for an electric kettle?
DeleteGreetings from Europe, Erwin.
Most Americans use a 'Mr. Coffee' style drip coffee maker for coffee. Tea has been out of style since 1773 (Boston tea party) but tea-drinking rebels mainly use a stove-top kettle, just like they did in the 18th century.
DeleteI've been following for some time now, and enjoy your blog. I love the contrast of paint and bright on cabin boy. Nice looking work.
ReplyDeleteI have a blog post regarding a quick and cheap steamer I made for building my bed. Steaming doesn't get the wood any wetter while soaking can.
It's hard to tell from the picture, but your blade looks high on your table saw. They're much safer if you only have 1/2 a tooth or a fuzz more above the work piece as you rip.
Cheers,
Conall
conallsboatbuild.blogspot.com