As long as I didn't count the time, of course!
Since my own collection of cutting boards were looking sad and bedraggled, I decided the perfect gift to make for loved ones would be a cutting board. So I started looking for a simple design that a duffer like me could build. I soon discovered that cutting boards, like boats, come in a dizzying variety: from rustic platters sawn from a plank:
 |
| What type to make? Simple? |
 |
| Or complex? |
As in all woodworking projects, the first -- and perhaps the hardest -- step is sourcing the right wood for the job. As you will see, the board I selected required two different types of wood. One, I knew, would be hard maple. The other, I wasn't quite sure of.
It had to be a hard wood, of course. And one that wasn't oily or poisonous. You don't want deadly tropical oils leaching out of your cutting board into the Sunday roast. In the end, it was a matter of going down to my local hardwood vendor and seeing what he had in stock. After picking through his rack, I selected two rough cut boards, one of hard maple, and one of black walnut, both about 8 feet long, 8 inches wide, and over 2 inches thick.
I'm still enough of a newbie to enjoy just looking at slabs of rough cut lumber. There's something still in them that evokes the majesty of the whole tree, but somehow I forgot to take a picture of them, strapped to the roof of my car. Here is a pic of what's left of the black walnut board:
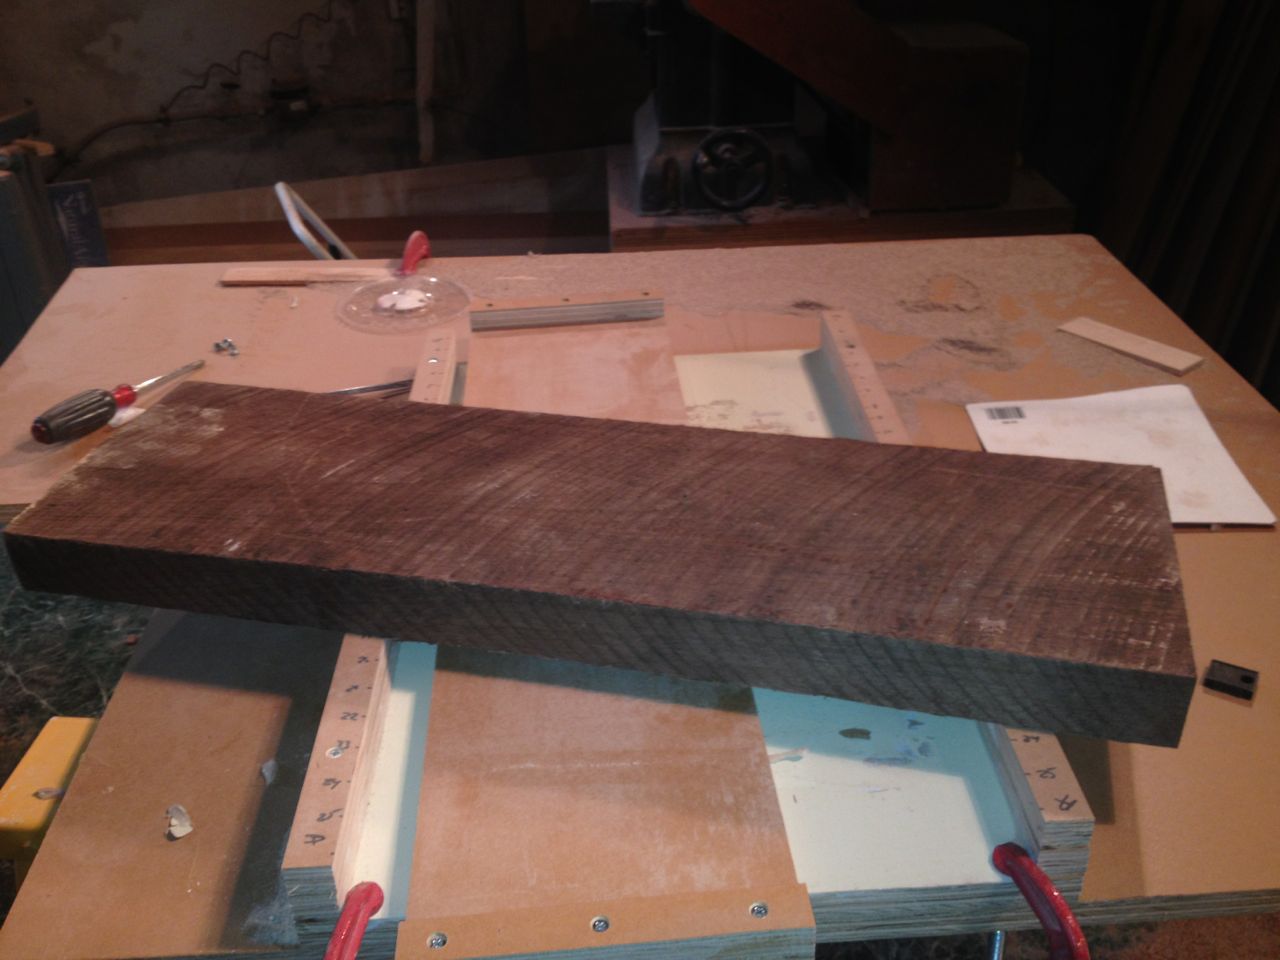 |
| Remnant of 8' long board of black walnut. |
After the wood arrived -- unchecked -- in the shop, I ran it through my planer. This is sometimes a disappointing step... I can't say that I am very good at buying rough cut lumber yet. What looks great to me in the lumber yard often turns out to be flawed in unexpected ways. But in this case, I chose well and both boards were relatively straight grained and knot free after planing. Phew.
Then it was time to chop the boards into the right sizes. For the design I'd chosen (see this excellent Marc Spagnuolo video for details), I needed eight different sized pieces, 4 of each in both maple and walnut.
Since I wanted to make four cutting boards, I turned my shop into a production line, cutting four sets of pieces, all at once.
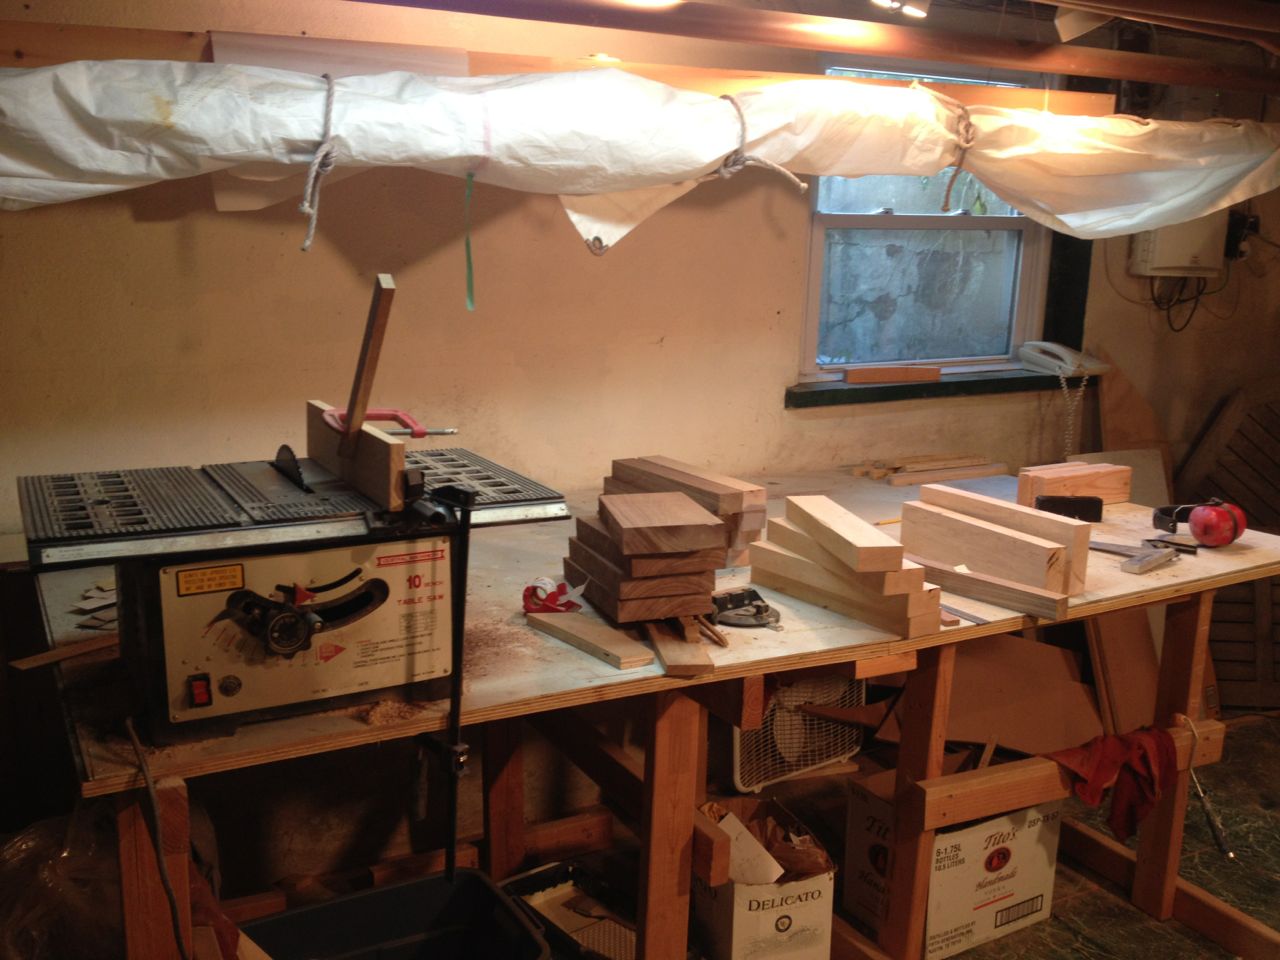 |
| Table saw clamped to bench |
Then it was time to plane each piece to the right size. Because of the design, it was critical that each piece be the same thickness. This took quite a long time to do properly, but the results were worth it.
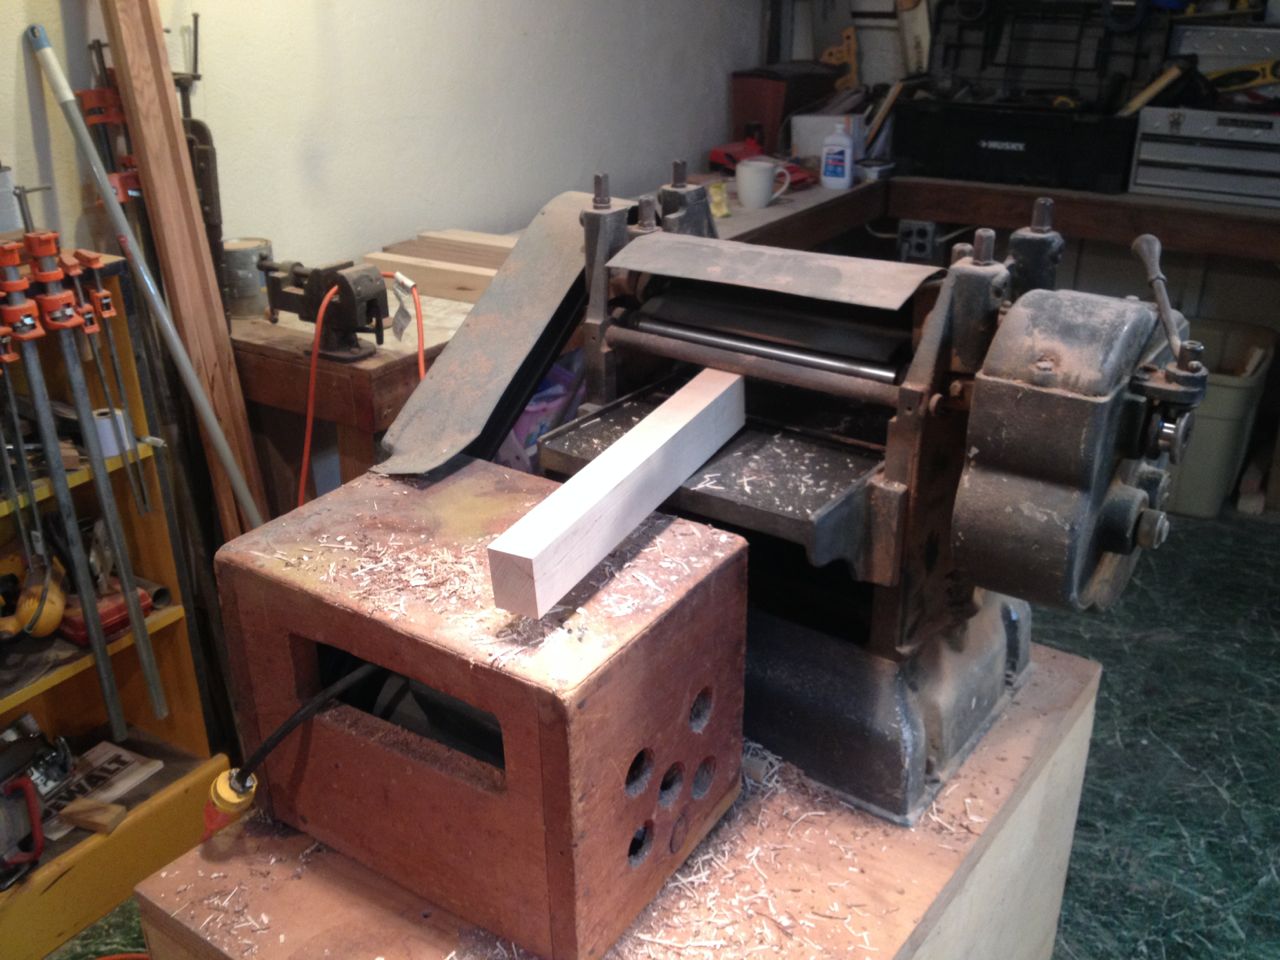 |
| Trimming for thickness |
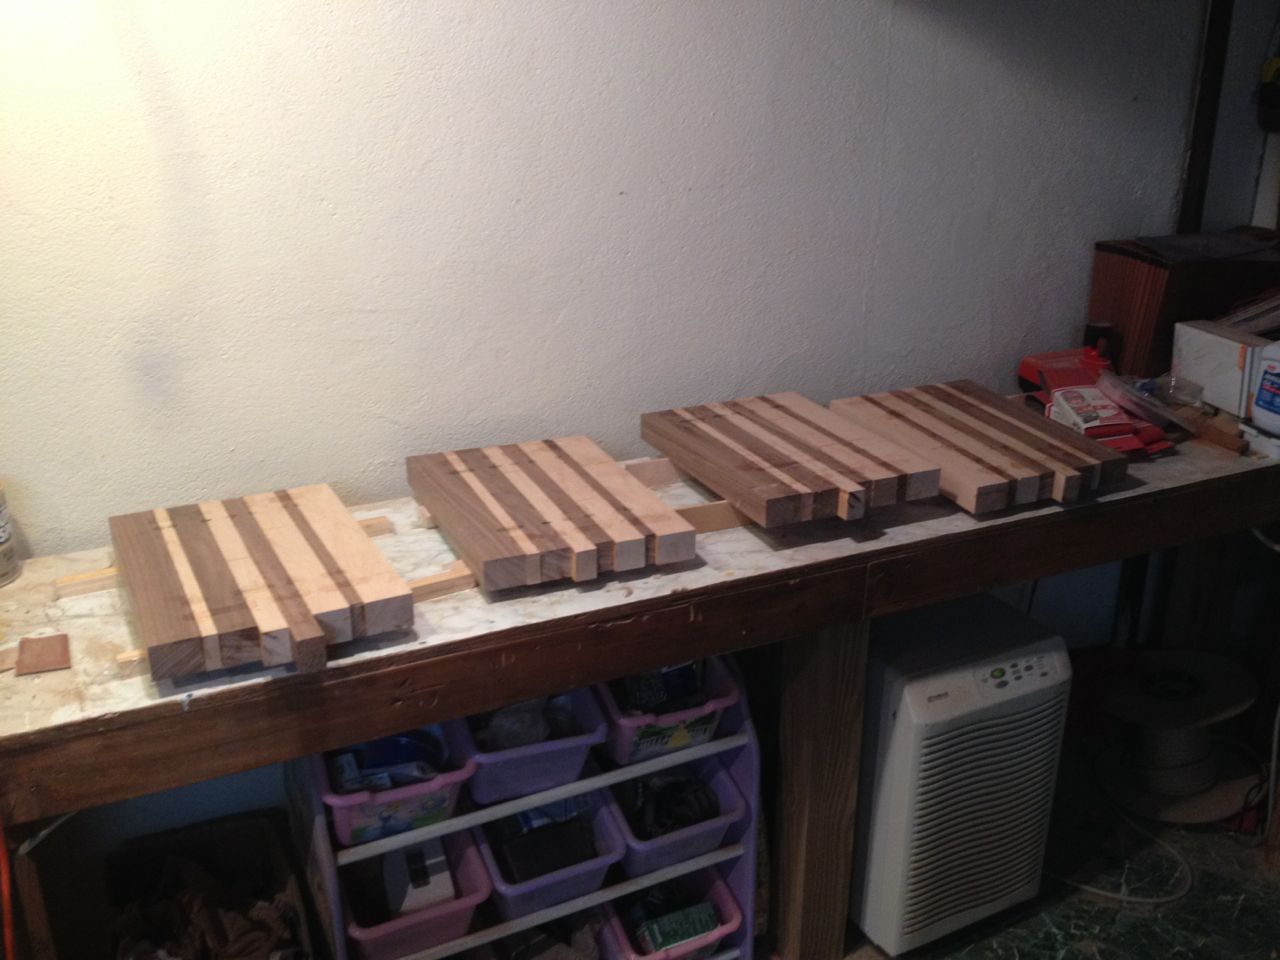
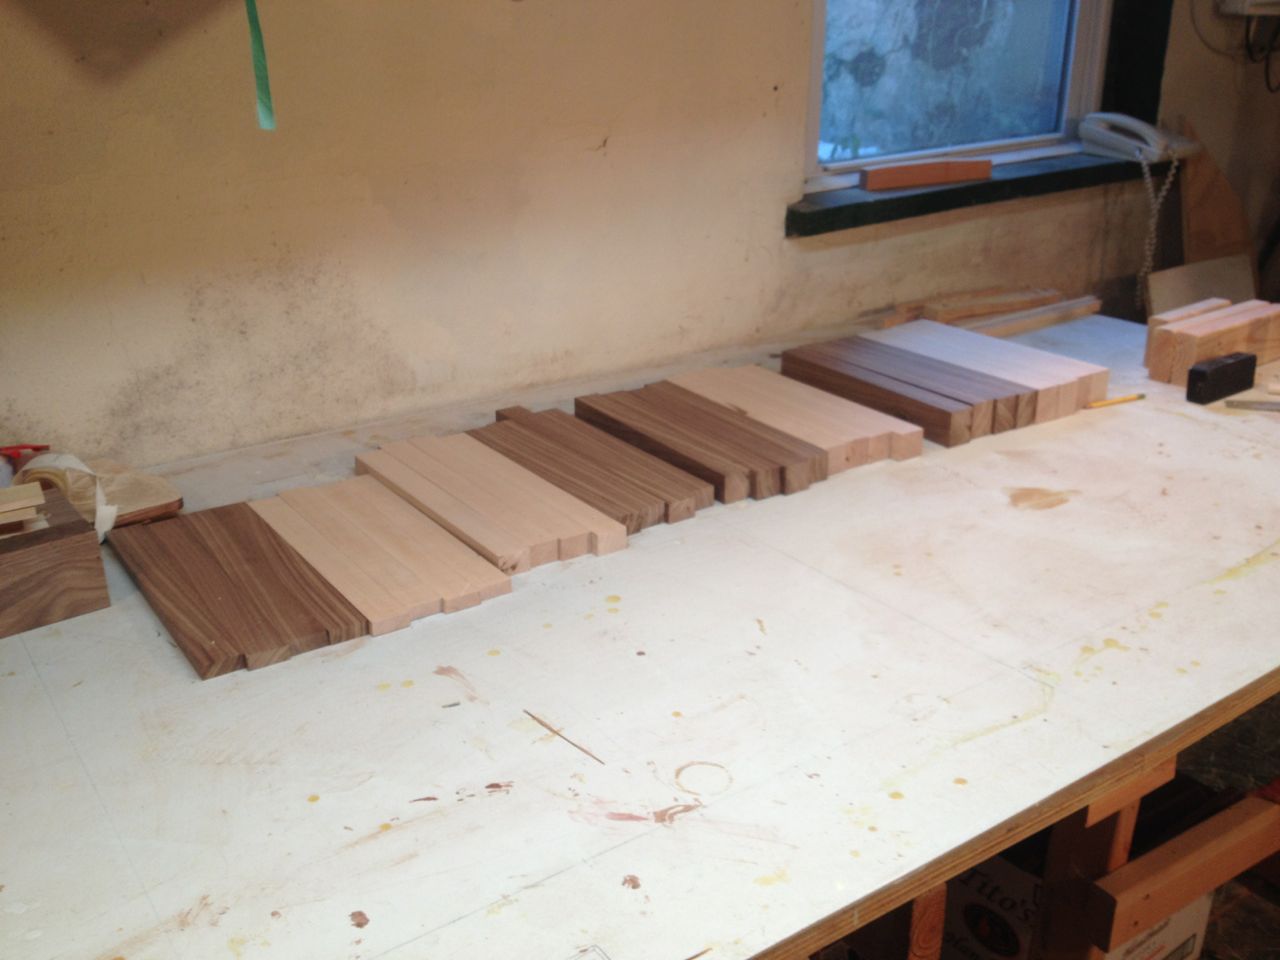 |
| All the pieces ready for gluing |
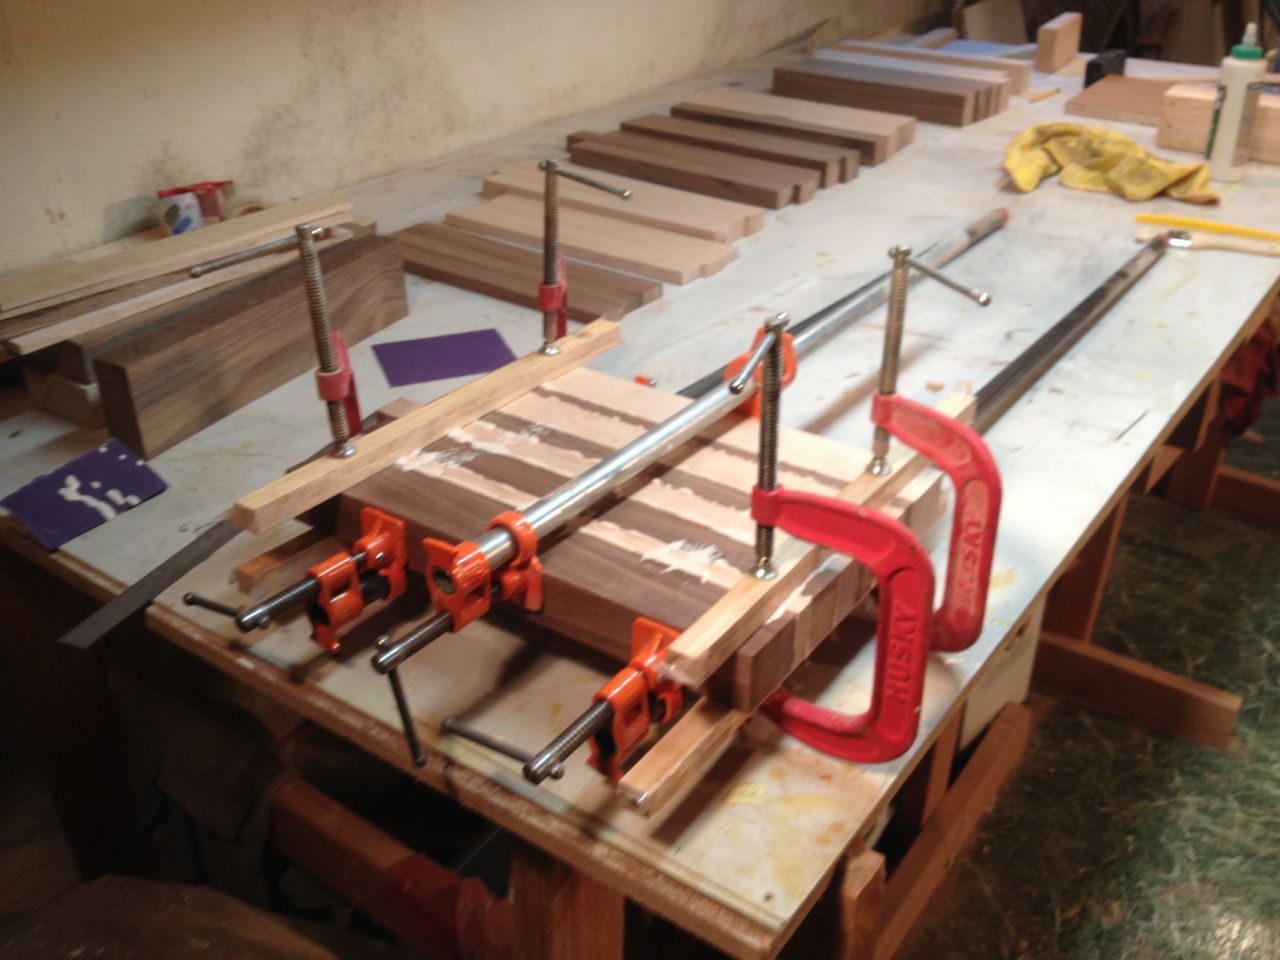 |
| Pony clamps are perfect for the glue up phase |
 |
| After first glue up |
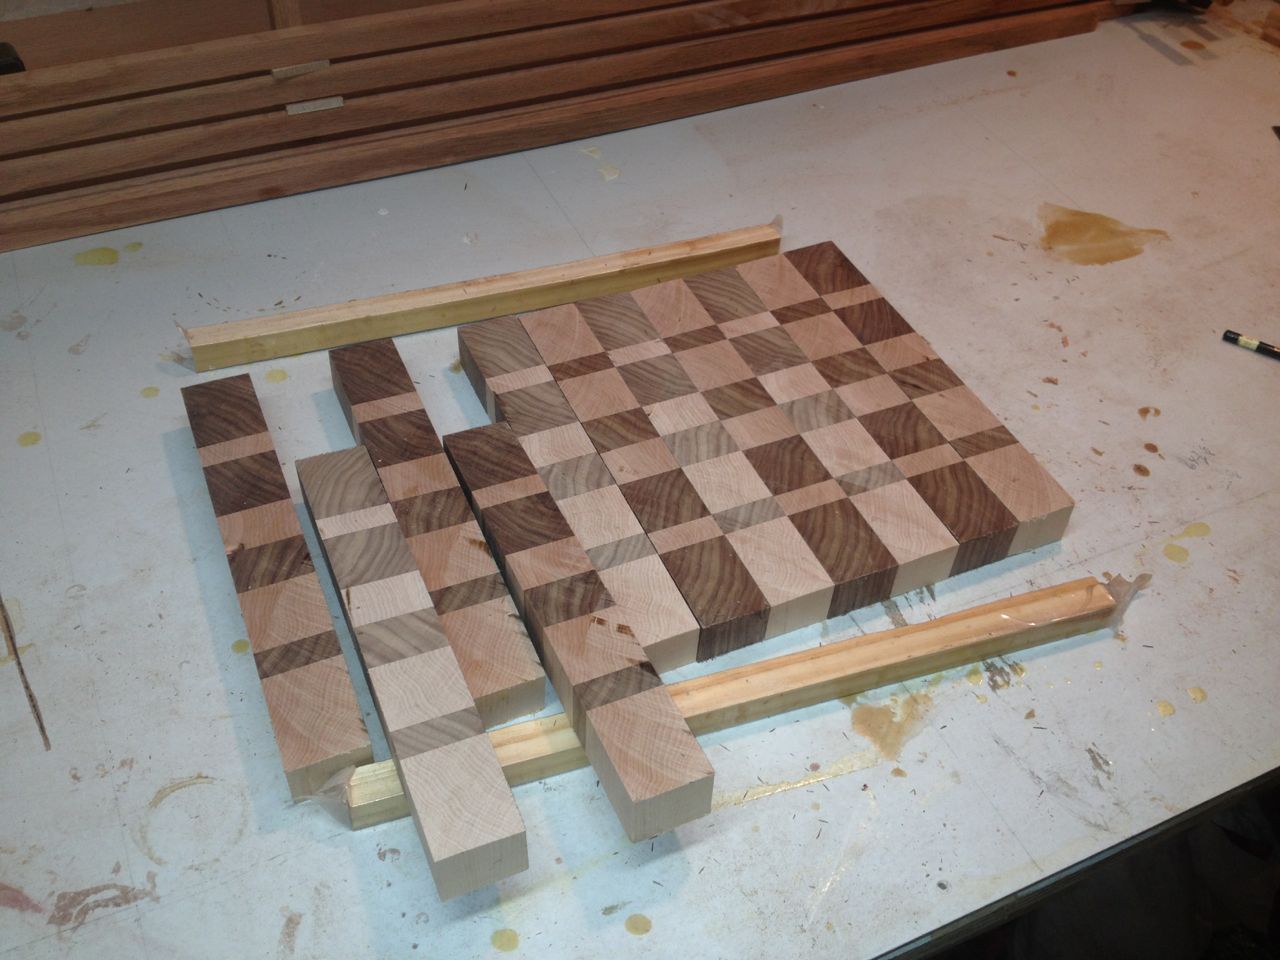 |
| Original board, sliced into 11 pieces flipped on their sides to expose the end-grain |
Because the tops and bottoms of the boards were now end grain, I could not simply run the boards through my planer. That would have made short work of removing the smears of dried glue and evening out the surfaces, but everyone -- and I mean everyone -- I talked to said this would end in disaster. Either the planer would cause massive tear-out, or it would throw the board against the concrete wall of my basement, through me, if I was stupid enough to be standing in the wrong place.
I wasn't sure I believed it, but I wasn't ready to risk the hours of work I'd already invested in the boards, not to mention the valuable wood. Plus Christmas was rapidly approaching. I couldn't afford to start all over again.
And anyway, at the end of Marc's video, he casually mentioned that because the end-grain surface was harder than normal, sanding would just take a little longer than normal. That didn't sound too bad, so I got out my random-orbit sander and went to work.
 |
| My first selfie... ready to do a little sanding. |
After doing a bit of googling, I decided to use my belt sander on the next board. With a 60 grit belt in the machine, leveling both sides of the board only took only an hour, but it took another hour with the random orbit sander to get the board smooth.
Also, with all that sanding, it was very hard to keep the board flat. It was all to easy to sand too much on one end or one side, sanding a rocker into the board. And one thing you don't want is a cutting board that rocks.
Plus, sanding is boring. Really boring. And it coated everything in my shop with a quarter inch of dust. There had to be a better way.
After a lot of research, I found what is probably the best way to finish an end-grain cutting board: to use a router and a home-made jig. I didn't own a router because, frankly, I'd never really needed one, but this particular job finally tipped me over the edge. Since I have a new rule about buying the best quality tools I can afford, I bought the standard mid-size router: a Porter Cable 690, and a Freud T-slot router bit.
This bit is over 1 inch wide and cuts flat on the bottom. To use it, I built a jig that holds the router and allows you to take nice, controlled passes over the board, flattening it with the top of the bit in a way that's hard to describe, but beautifully shown in this Fine Woodworking video.
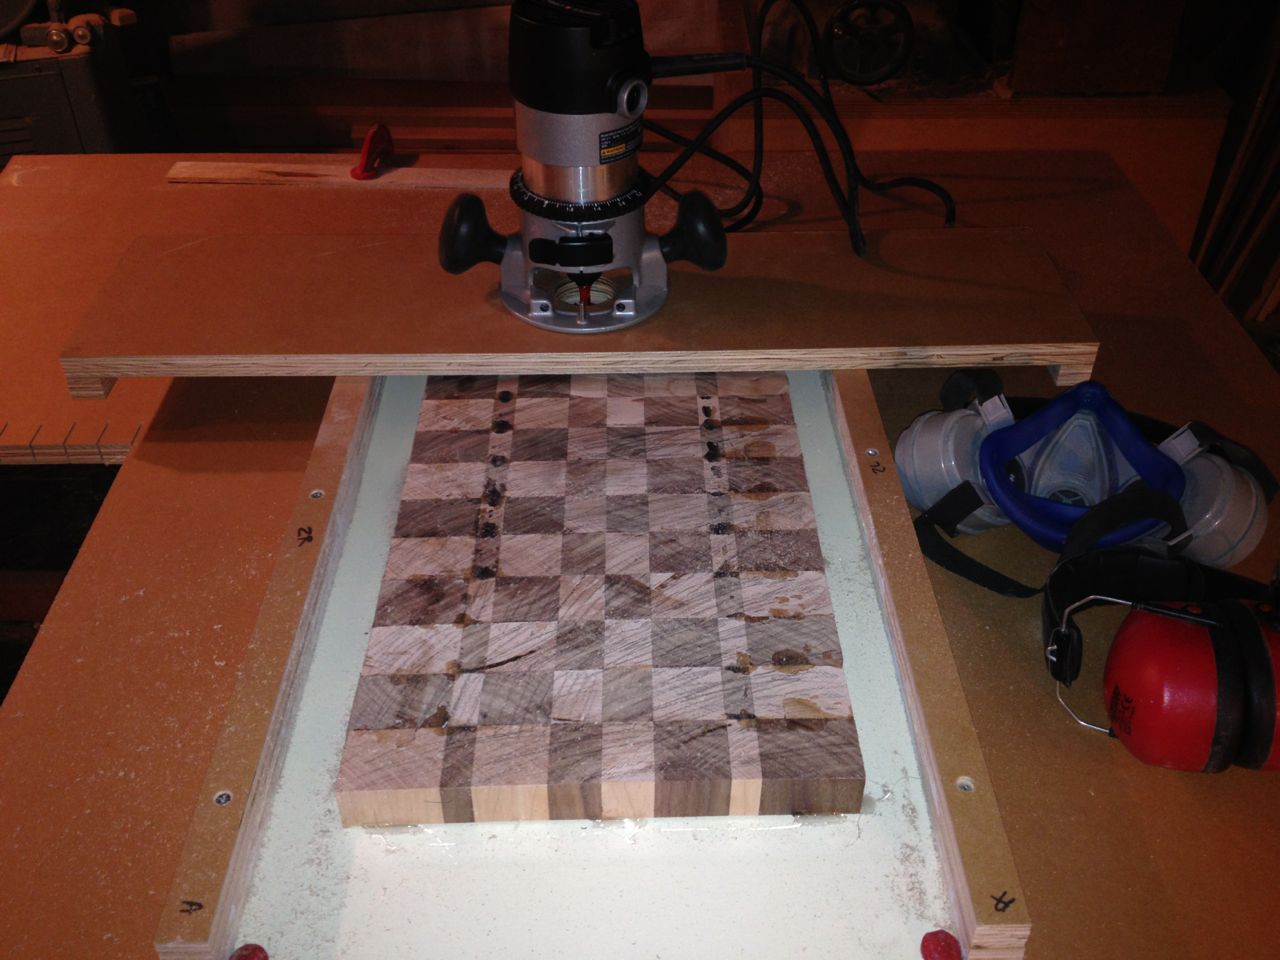 |
| Cutting board flattening jig |
Once the board is flattened, which typically takes about 3 passes with the router, each time taking perhaps 1/32", the board is quite smooth, so you can finish the job fairly quickly with a random-orbit sander and 120 grit paper.
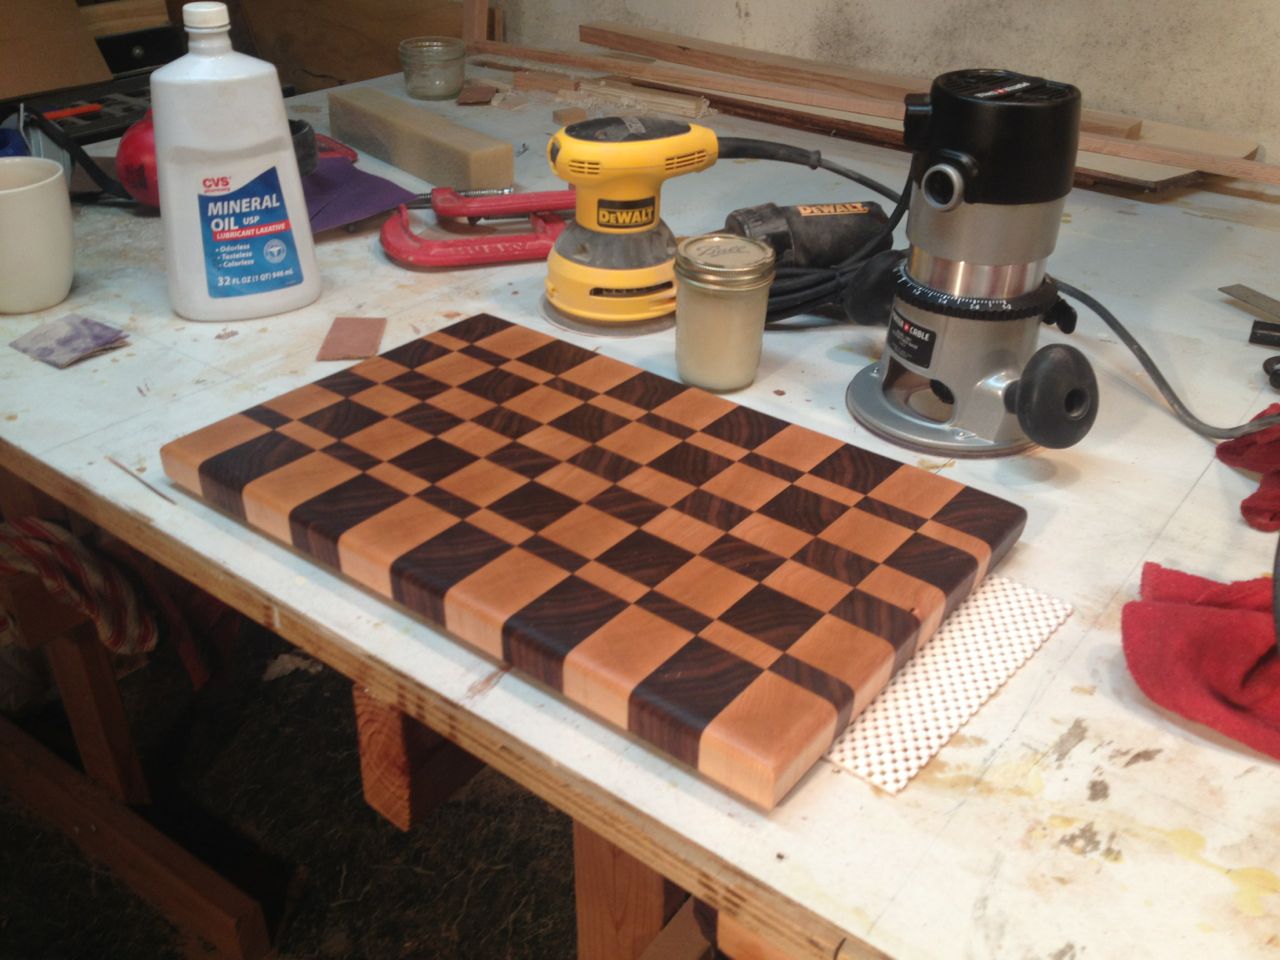 |
| The final stages... sanding, easing the edges, and oiling |
Since I had the router, I also bought a Freud 1/4" radius round-over bit to ease the edges.
Now, one of the reason I hadn't bought a router up until now is that so many people warned me about how difficult a router is to control, how dangerous they are, and how a round-over bit would rip huge hunks out of the end-grain edges.
Bunk, bunk, and bunk.
After years of being afraid to buy one of these (very common) tools, I was amazed to discover how easy they are to use, and what a great job it can do.
I don't know if people are buying too powerful a router for hand use, but the Porter Cable 690 was quite easy to handle -- powerful enough to do the job, but not so powerful that it felt like holding back a wild animal. And the Freud round-over bit worked beautifully, cutting very smoothly and never threatening to tear out the end grain.
I'm sure they can be dangerous, if not respected, but if you are usually careful with power tools, as I am, I don't think they are any more dangerous than many. Certainly safer than a table saw, anyway.
I'm glad I finally got up the nerve to buy one.
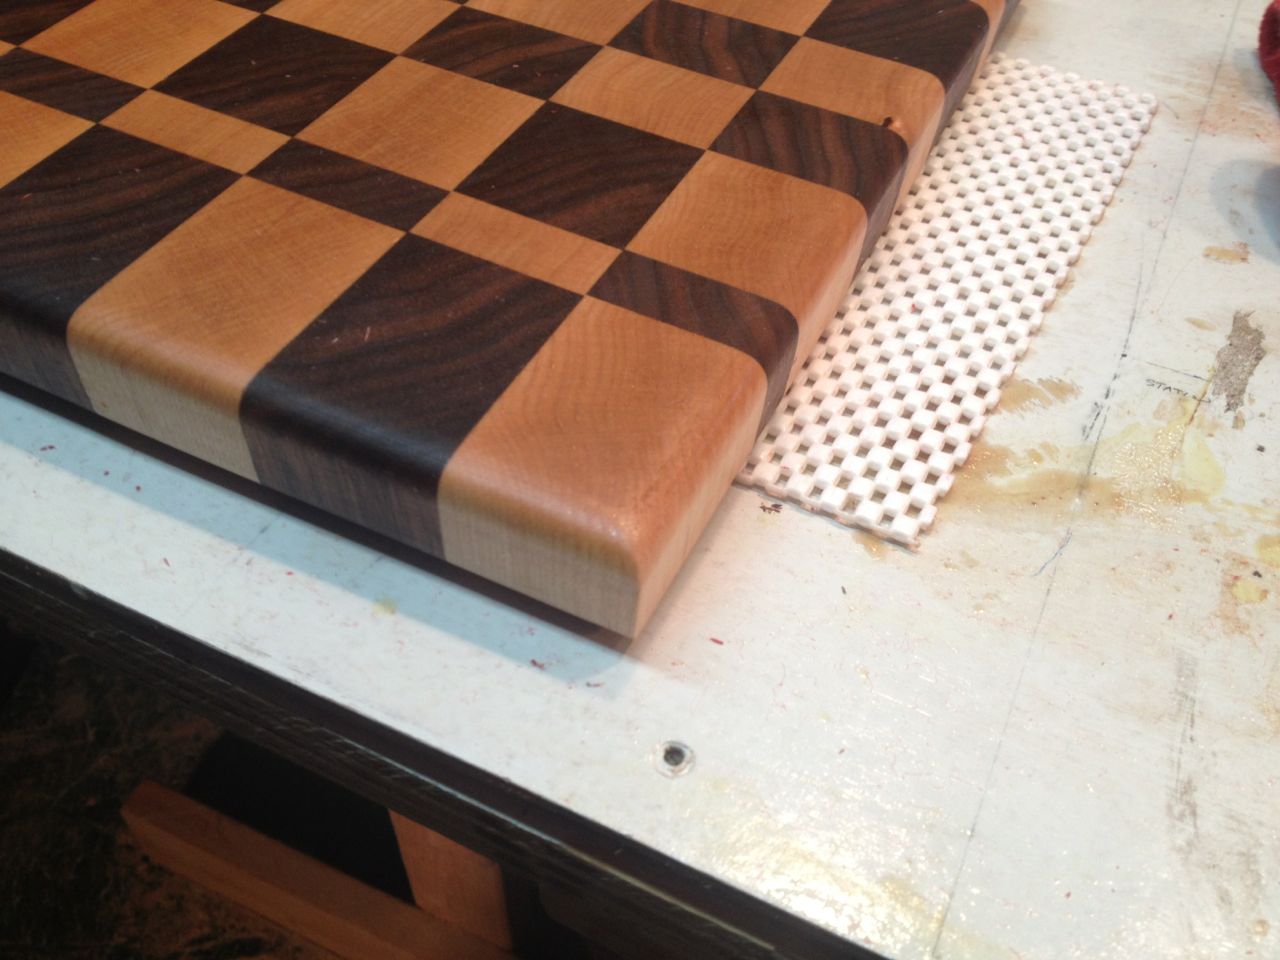 |
| Beautifully rounded-over edges |
The final step was to finish the board. What you want is a food-safe finish that won't go rancid on you. You can use any sort of oil, like olive oil, for example, but they tend to go rancid, or so I read.
A more stable oil is food-grade mineral oil -- the kind you can buy at any pharmacy. This stuff is meant to be drunk by the tablespoon (something I vaguely remember from my childhood), so it's perfectly safe on a cutting board.
I put three coats on, straight, allowing the board to soak in as much oil as it could handle, then finished off with a mineral oil/beeswax paste that I cooked up myself. One of Helena's student's parent raises honey bees and provides me with bees wax. I just melted the beeswax and mineral oil together in a pan at a ratio of 1:6 (1 wax, 6 oil), poured it into a jar, and let it cool to a soft wax. This is easily spread onto the board, giving it a soft, shiny finish that is easily renewed.
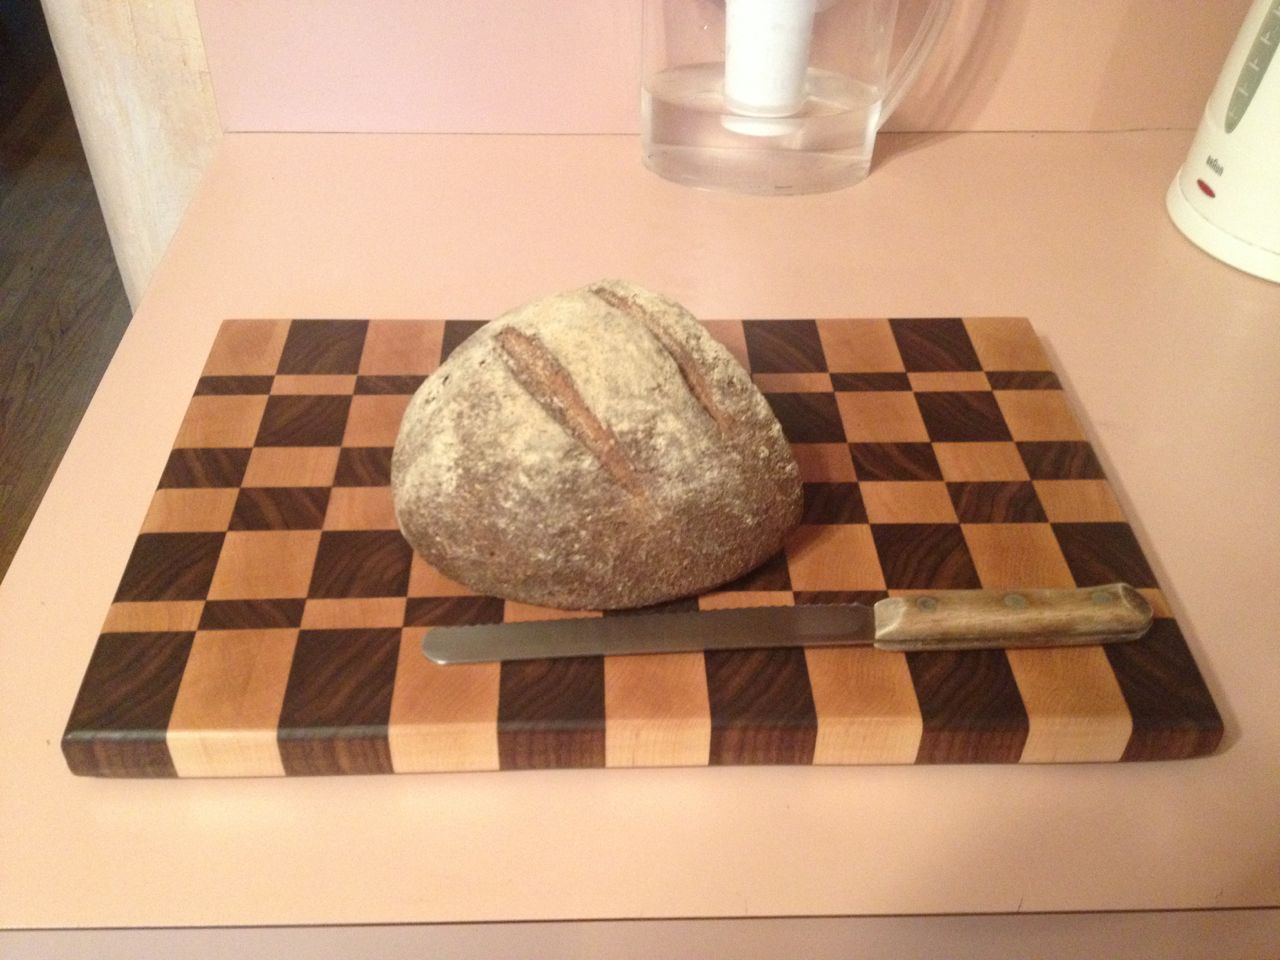 |
| In the kitchen, ready for use |
So that's it for my Christmas interlude. I've already started working on my first winter boat project -- new drop-boards for my companionway. More on that next time.
Next Episode: Outboard Stand
John - The board is just BEAUTIFUL! OX
ReplyDeleteJohn, What a beautiful, useful piece of craftsmanship. I love mine.
ReplyDeleteMom