Helena's 'simple' radiator cover posed several challenges to the newbie woodworker, not the least being: how to cut the many front strips perfectly flush with the sides?
The more I worked on this project, the more I recognized that straight, square lines were critical to the look of the finished piece. I normally like to round-off edges, even just a bit, to to soften them, and because paint and varnish are most likely to crack on sharp edges.
But the look of this cover seemed to depend on nice, crisp lines. I had to saw the ends of the strips off squarely, so they'd be perfectly flush with the sides.
But how? Every time I'd tried to saw something -- like screw plugs, for instance -- flush, the saw teeth had scratched the surface all around. I certainly didn't want to do that with this piece.
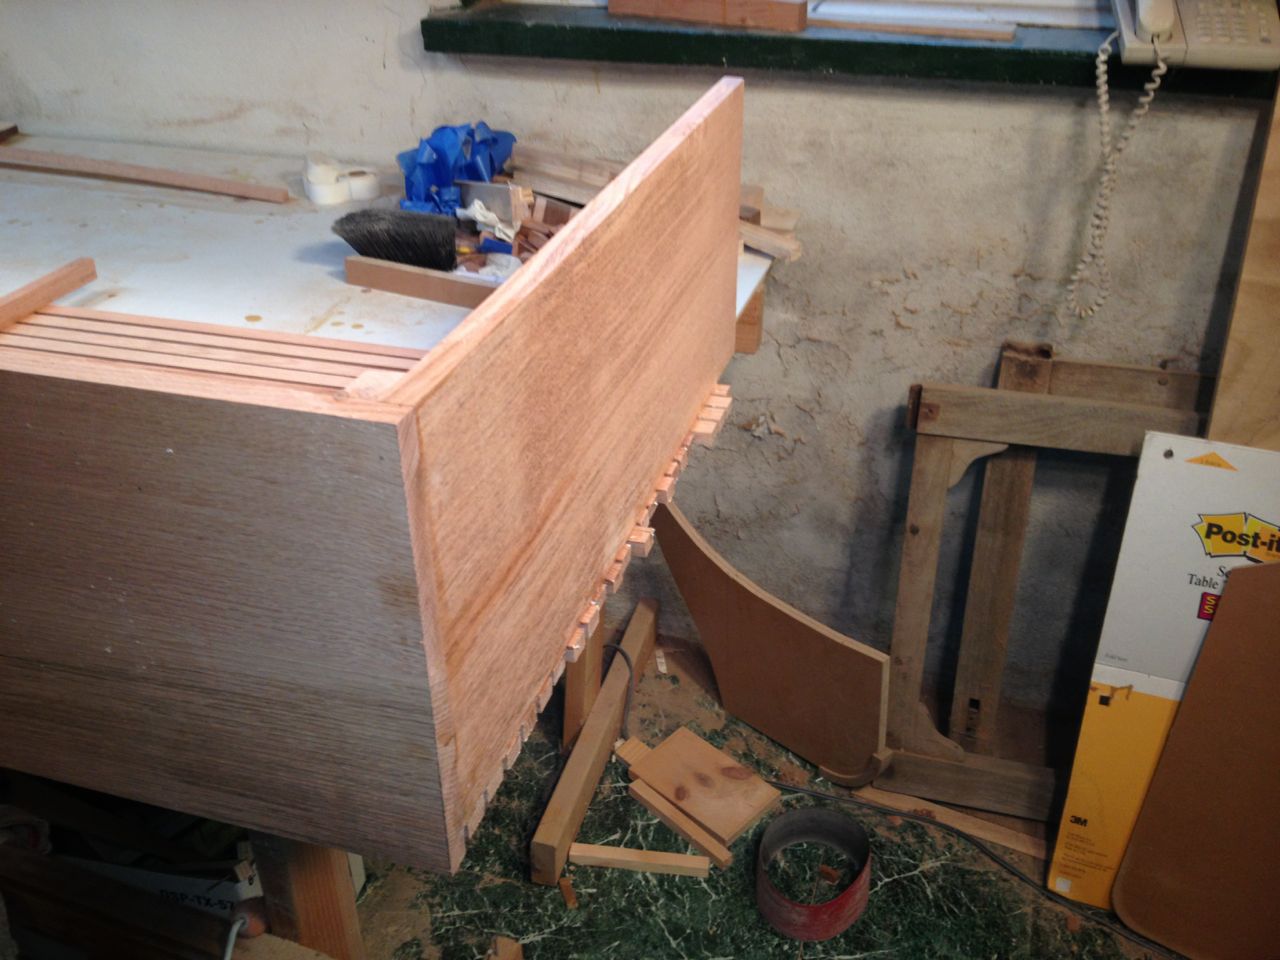 |
| Strips need to be trimmed flush |
It took a bit of digging on my part, but I eventually discovered that, yes, there was a tool for that, and had been for hundreds of years: a flush cut saw.
On most saws, the teeth are bent outwards slightly, alternating to the right and left. This 'set', helps the saw make a cut that is wider than the saw, so the saw blade doesn't get stuck in the cut.
The teeth on flush-cut saws are not set, so -- theoretically, anyway -- when the blade lies flat on wood, the teeth don't dig or cut into it.
There are expensive furniture-making flush-cut saws, but Japanese style flush cutters are now popular and relatively inexpensive, so that's what I opted for:
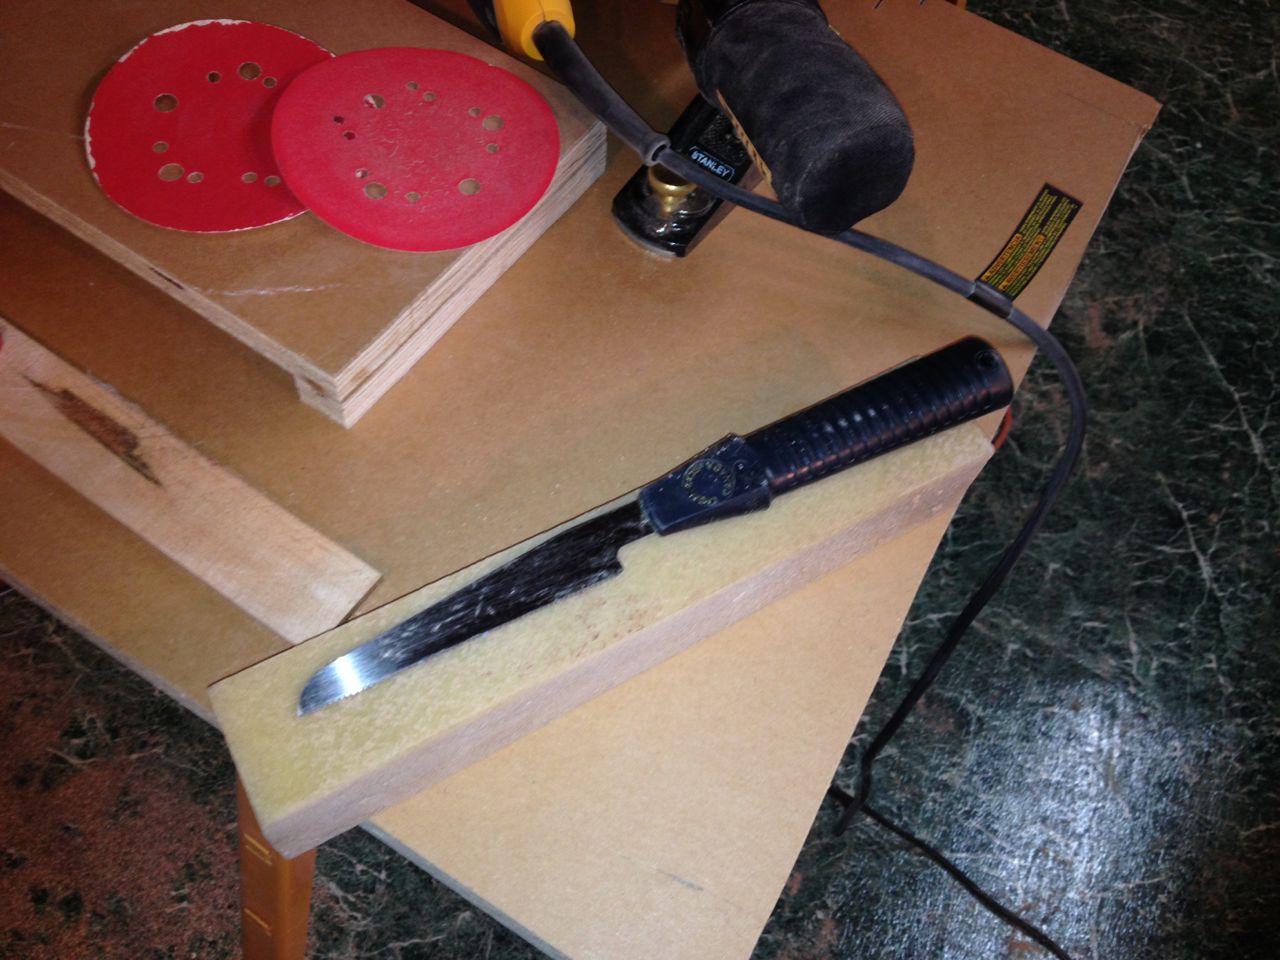 |
| The tool of the job: flush cut saw |
The flush cut saw makes it easier to do this job without scratching the wood, but not so easy that you don't need any skill to use it. I found it quite difficult to cut the ends off flush without doing some damage to the side, so I taped the side. This lent some protection, but more importantly, served as an early-warning device... when I started cutting the tape, I new I was doing something wrong, and could stop before I did any real damage.
I also didn't try to cut the ends exactly flush... I left about 1/32" of wood protruding from the end... just enough to give the saw teeth a bit of breathing room.
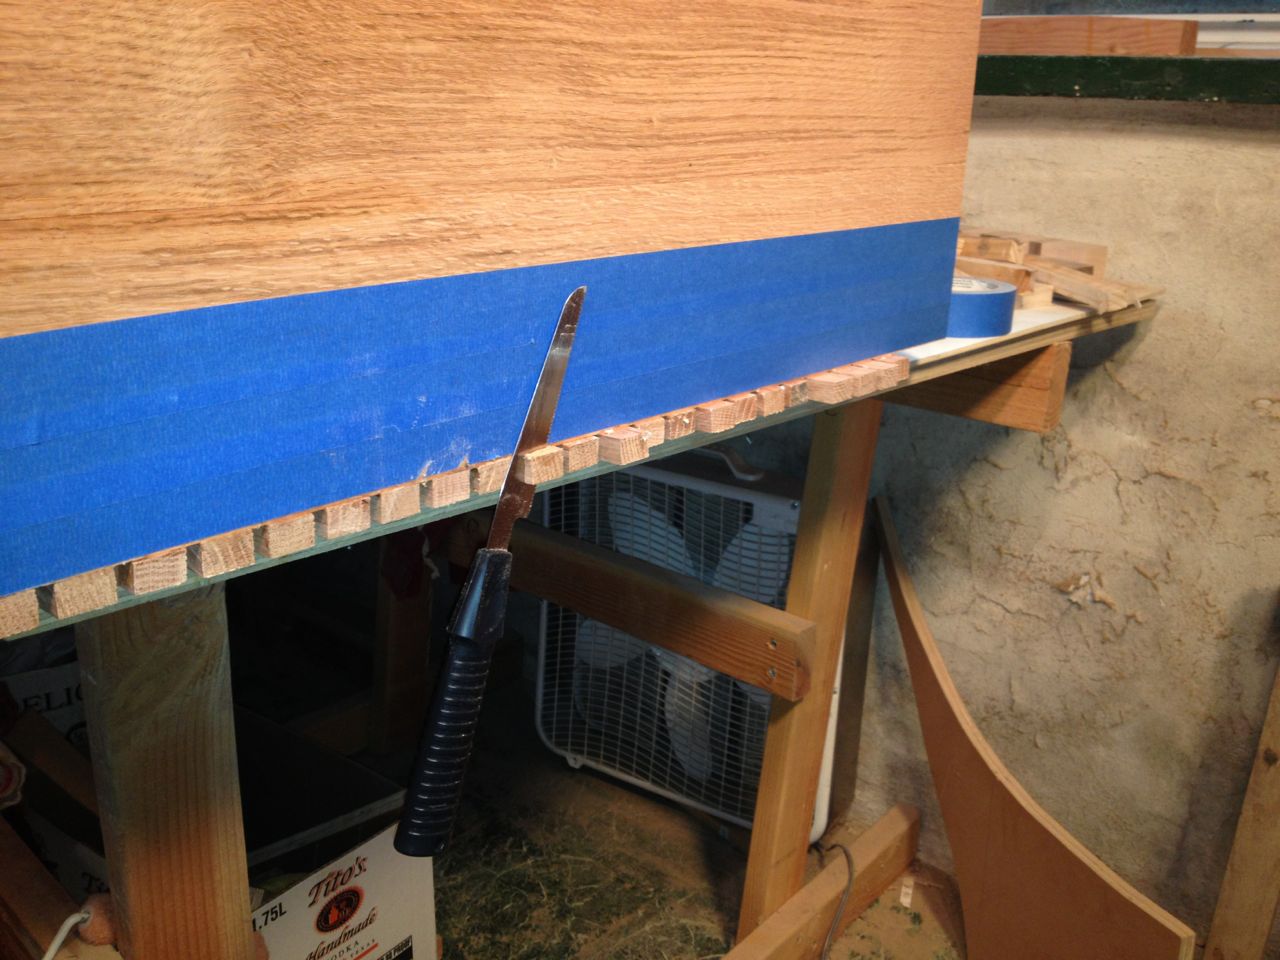 |
| Saw in action. Tape prevents even little scratches. |
After the ends were cut close, but not perfectly flush, I used a random-orbit sander with 80 grit paper, to sand the ends perfectly flush. This went much quicker than I expected and yielded a perfectly flush cut with no damage to the sides.
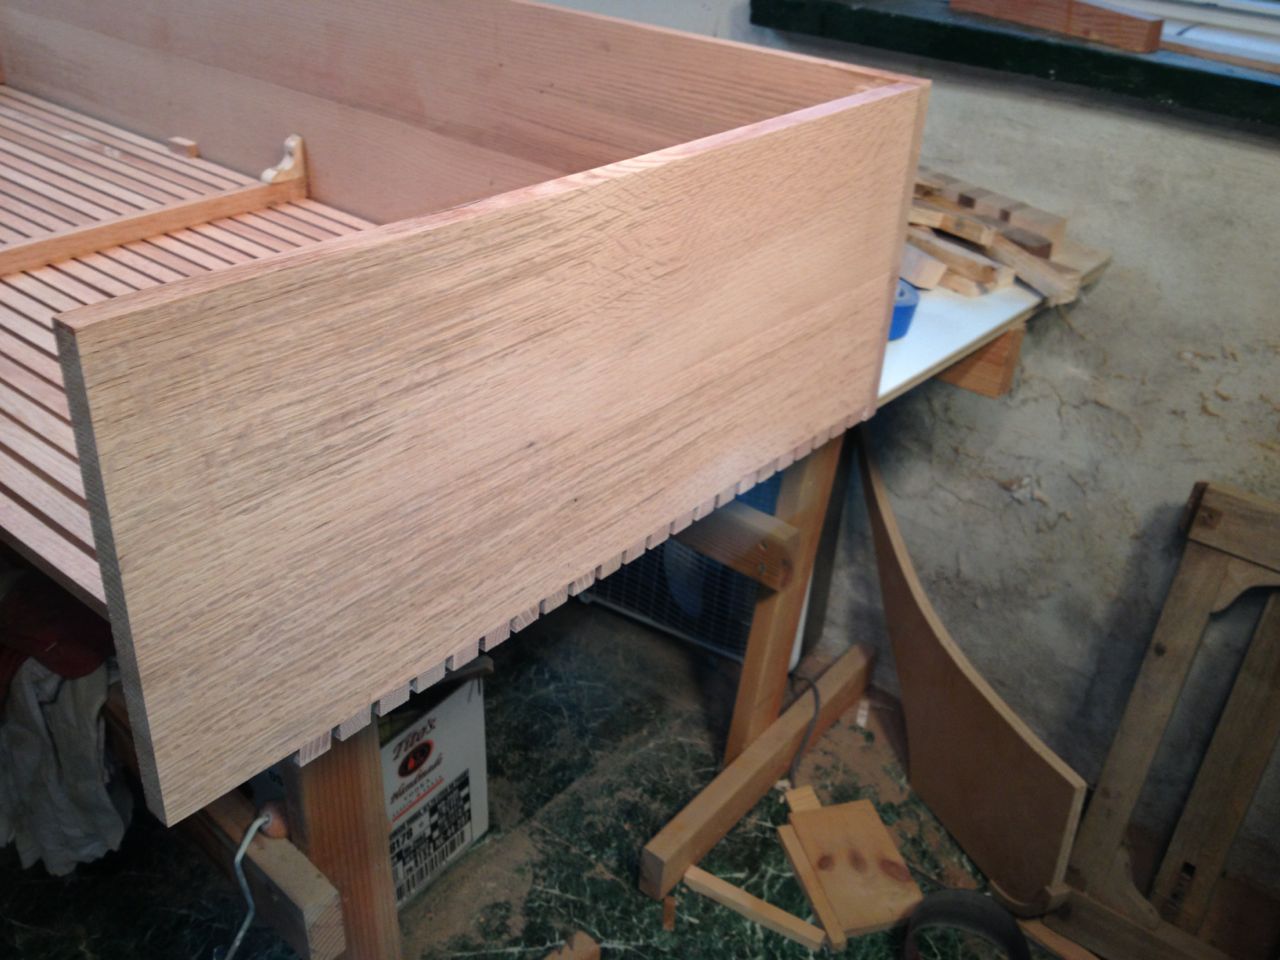 |
| Finished with random orbit sander |
With both ends trimmed, I sanded the whole thing with the random orbit sander, first 80, then 120. I didn't think it needed more sanding that that.
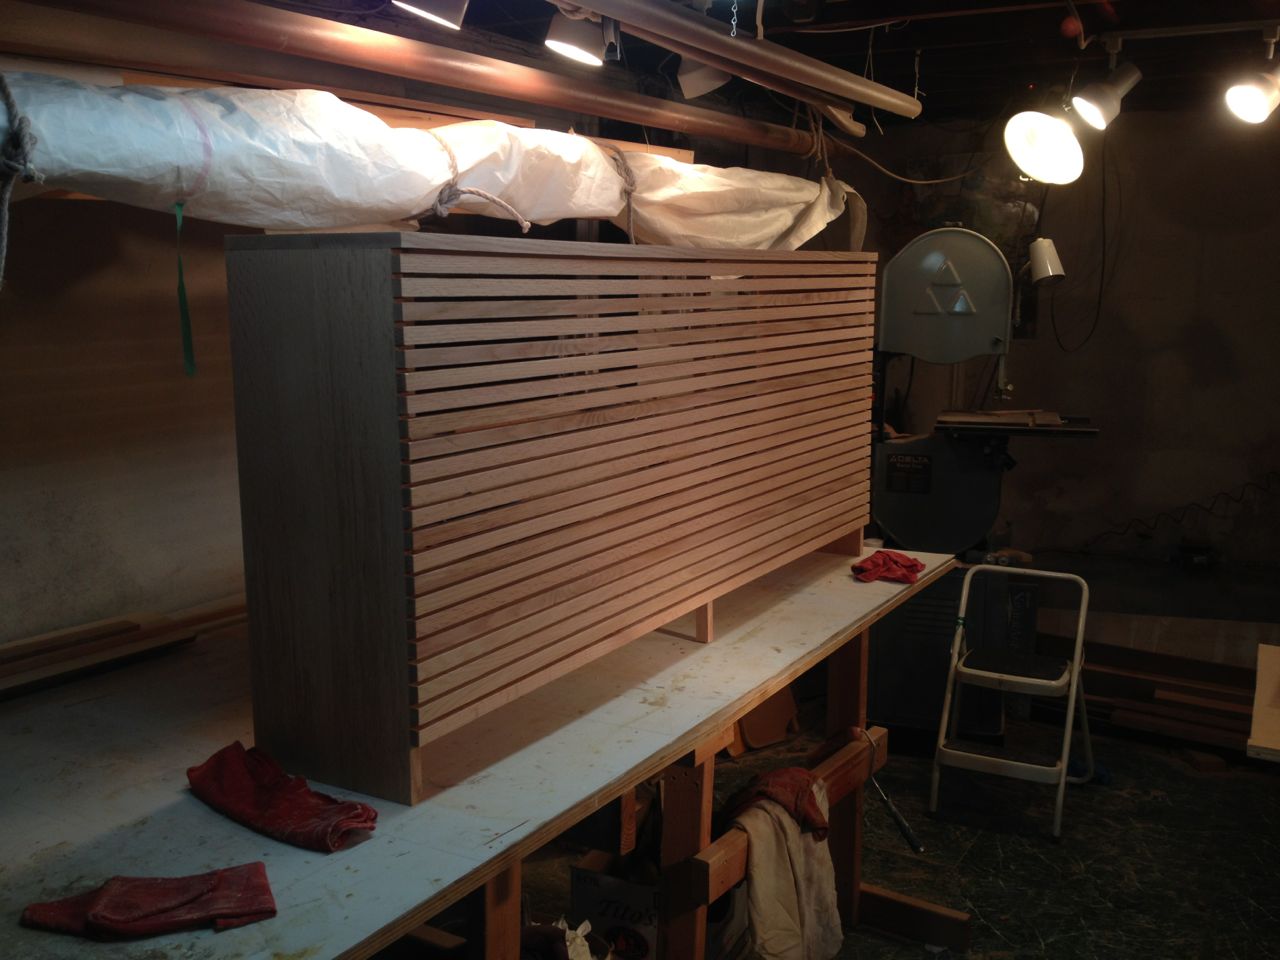 |
| After a complete sanding... looking pretty good! |
Then I gave it a good oiling, inside and out with linseed oil The wood was very thirsty: it absorbed more than a pint of oil. The next day, I gave it another drink, and it happily took in another cup.
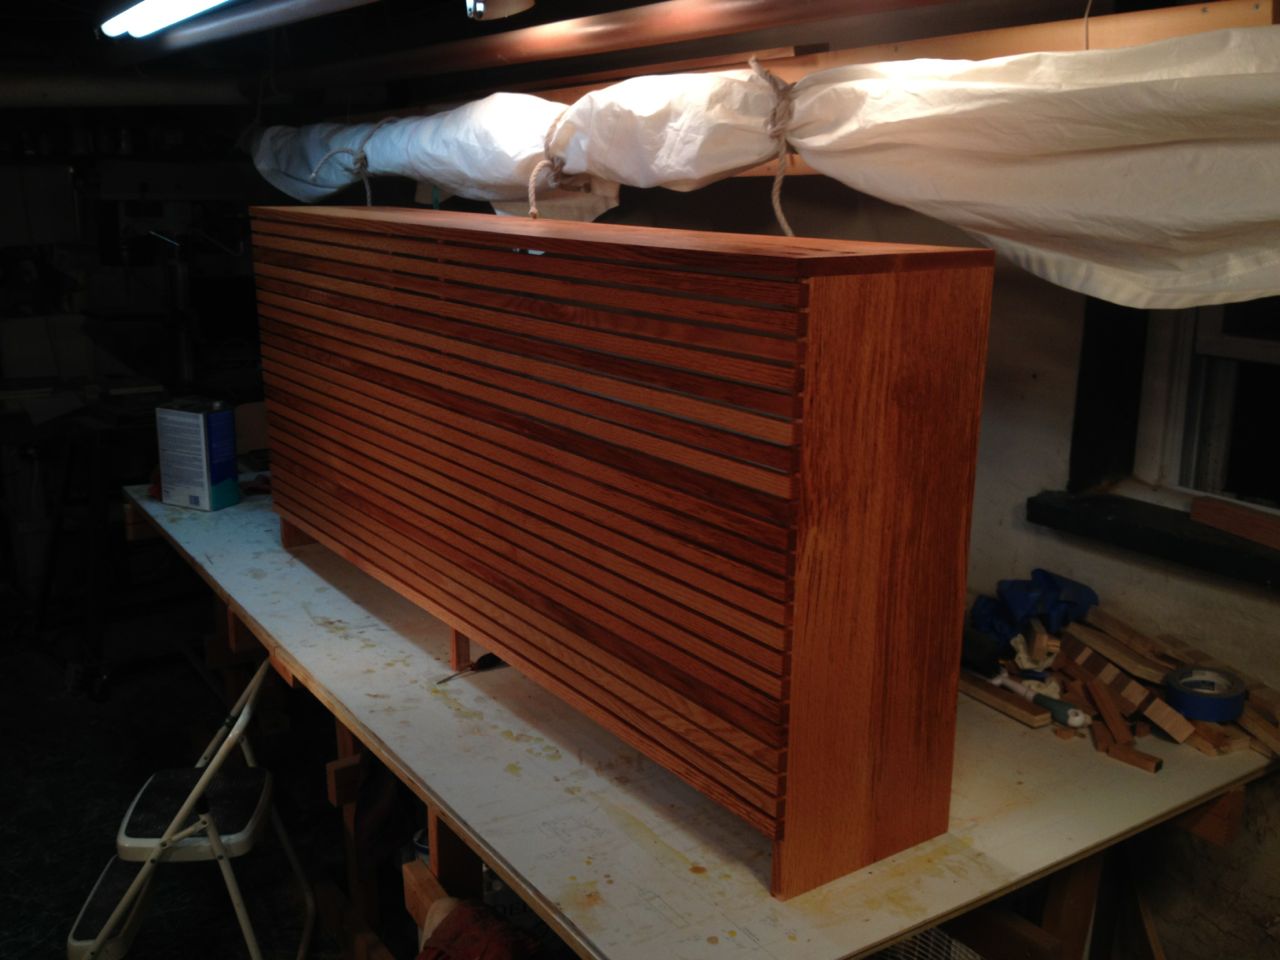 |
| With a coat of linseed oil. |
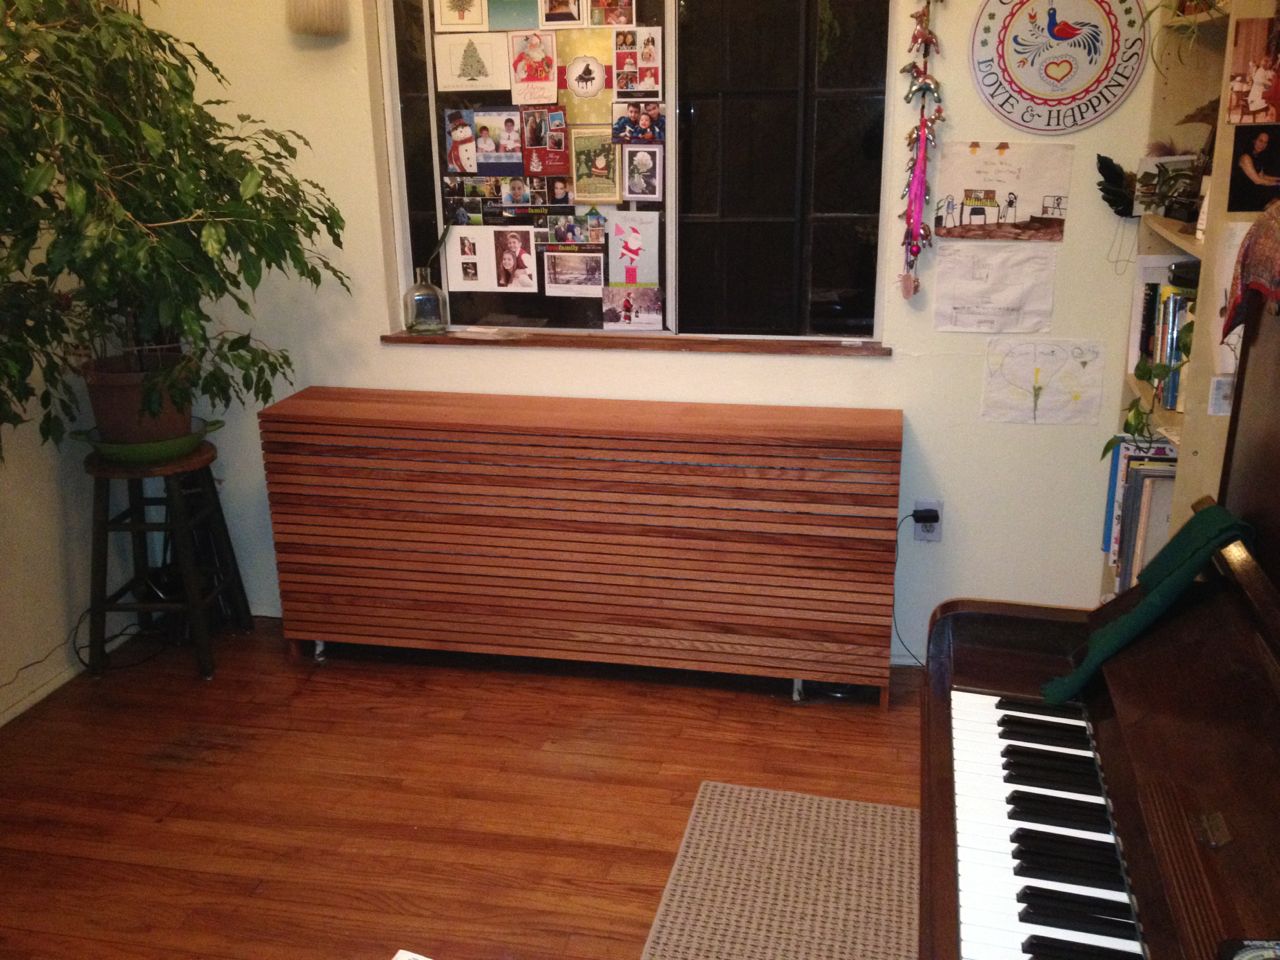
Then it was time to carry it upstairs to surprise Helena. Happy Christmas, sweet heart!
 |
| Installed in piano studio |
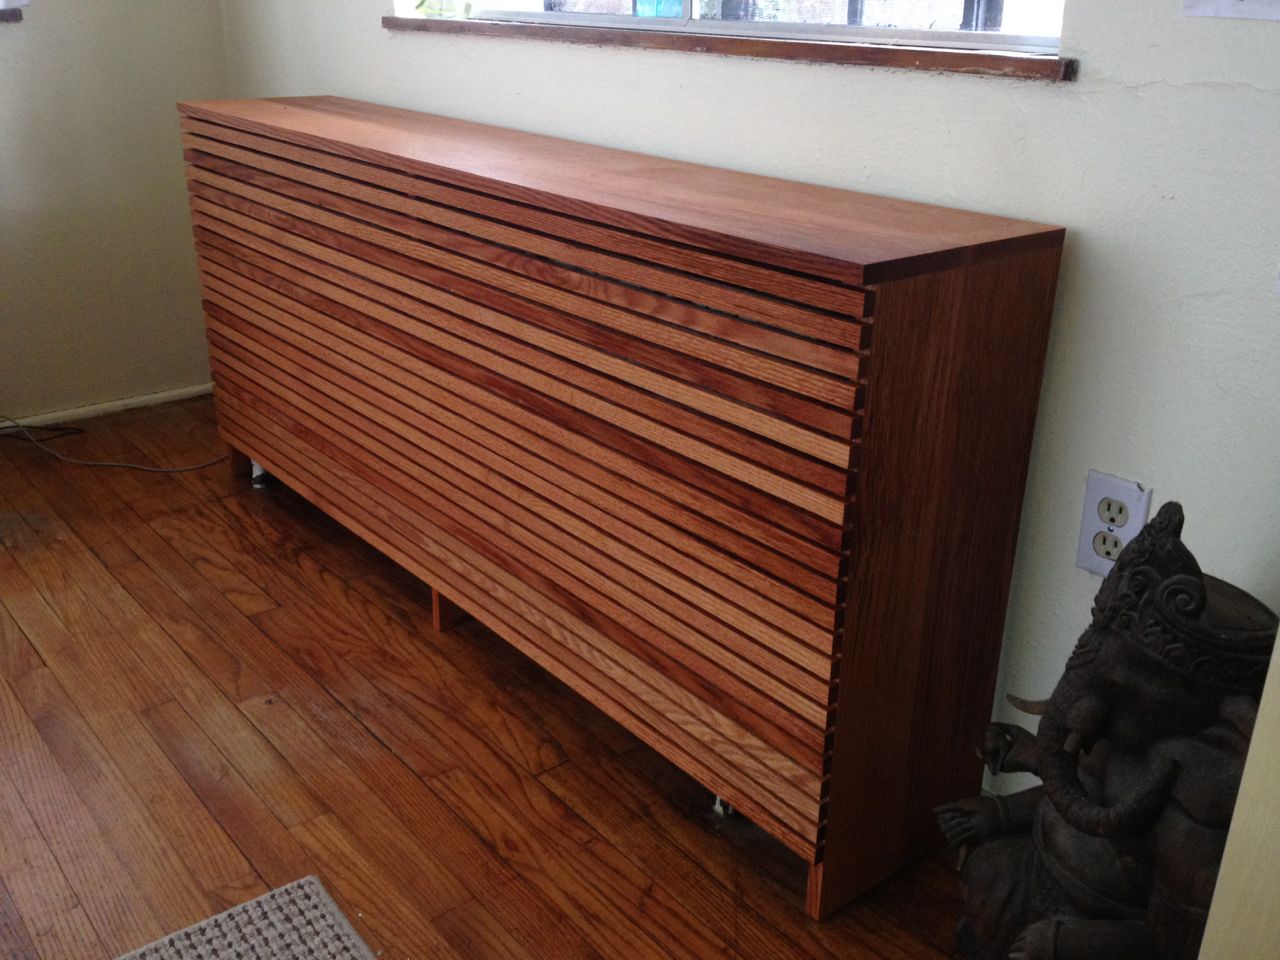
Actually, it's not *quite* finished in this photo, because once I had it in place, I realized I forgot to cut quarter-round bits out of the bottom back corners, to accommodate the molding on the floor, but a few minutes with a coping saw solved that problem, and the cover now fits snuggly against the wall. I'd also forgot to trim the center post, so here's a pic with the unit complete:
 |
| Center post trimmed |
So, that's one big project done. It's great to have it out of the shop, finally. I'm going to give the shop a good clean up and then start on my winter boatbuild list... and it's quite a long one.
Next Episode:
Cutting Boards
Very nice! You are becoming a wood-worker.
ReplyDeleteShhhh! Don't tell Helena.
DeleteIt is remarkable blog. I wanted to learn such type of the things that I have got from here at one platform. Thanks.
ReplyDeleteI am also a woodworker. And i love your this DIY project. Please share with me your next projects. Thanks!
ReplyDeleteReally nice post.. Thanks
ReplyDeleteYou got lucky you didn't oversand the ends with your sander though. In these cases i like to apply some elbow grease and go all manual - but still good work! Love the finish, keep it up :)
ReplyDelete