The first obvious candidate was sanding -- a necessary job that is nevertheless a grind.
Get it? A grind?
Yes, well, that's one of the good thing about sanding: you have plenty of time to think up cruel and unusual jokes.
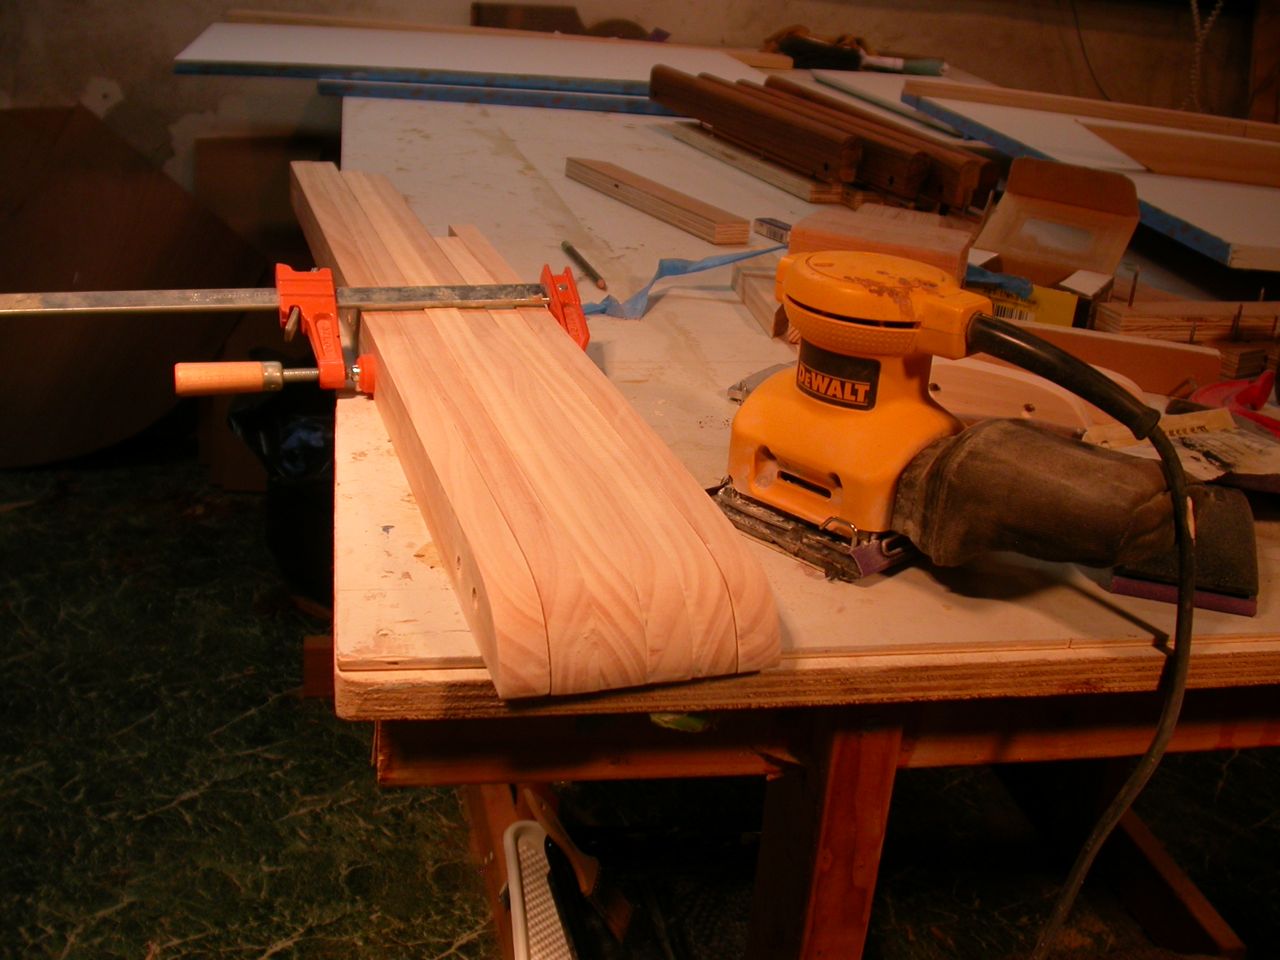
One trick I discovered was to sand several pieces at once, whenever possible. Not only does this cut down on the time spent, it allows you to give all the pieces the same shape.
For example, I drew the curve on the leading edge of the shelf cleats using a pattern, but inevitably, when cutting out the shape on the bandsaw, each curve came out slightly different. But after a few minutes with a sander and 80 grit paper, the disparate curves blended together.
 |
| Sanding 6 Cleats At Once |
 |
| Ditto, Bench Slats |
As soon as I paint or varnish something, all other work in the shop comes to a halt as I wait for the piece to dry. No sawing, no drilling, no sanding... In short, no progress!
By not stopping to paint or varnish, I was able to cut, plane, drill, and sand non-stop until I had all the pieces ready for finishing. Eliminating what I call 'serial building' was a major time-saver.
But with all the pieces measured, cut out, fitted, and sanded smooth, I was ready to start painting and varnishing. I laid the pieces out on my bench, marveled at their number and varied shapes, and dutifully started slathering on the goops.
And that's when the depression set in, Doc. Every piece had to be painted or varnished on both sides. That meant painting one side, letting it dry for 24 hours, flipping the piece over, and painting the other side...
There must be a better way, Doc!
It suddenly occurred to me that I could cut the finishing time in half by painting both sides at the same time.
"Yes, zat is obvious... but how will you do zat Herr Boatbuilder?"
With a bed of nails, Doc! No, wait... keep that straight jacket away! No!!!!
Now, I am sure I'm not the first to come up with this idea, but it is brilliant, I think. The idea is to make a 'bed' for each piece, consisting of a flat piece of scrap wood with enough nails banged through it to keep the piece stable and off the bench.
For example, I made this simple bed of nails for the bench slats:
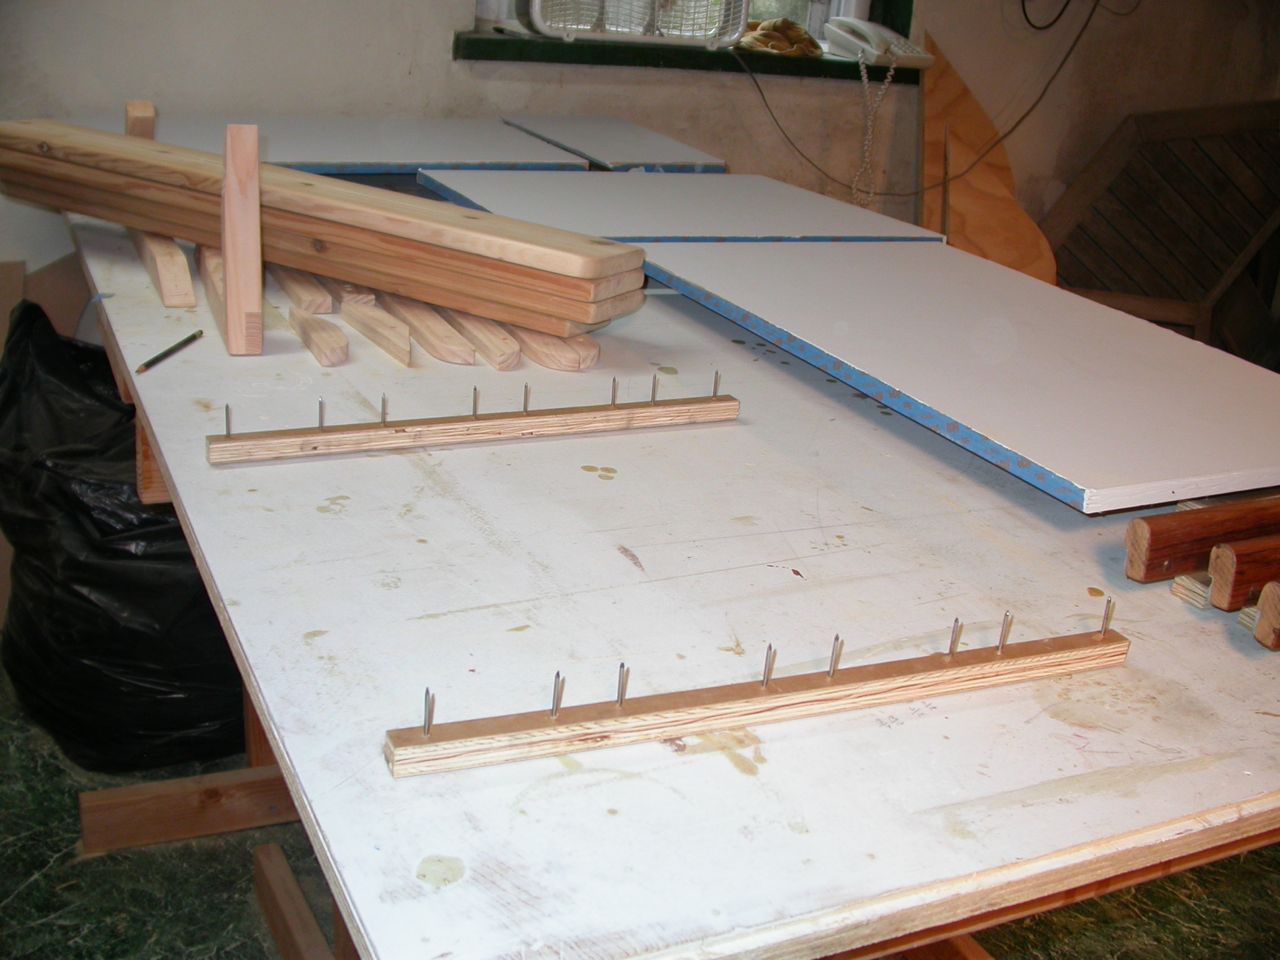 |
| Bed of Nails |
In fact, it was impossible to even see the nail pricks without a magnifying glass.
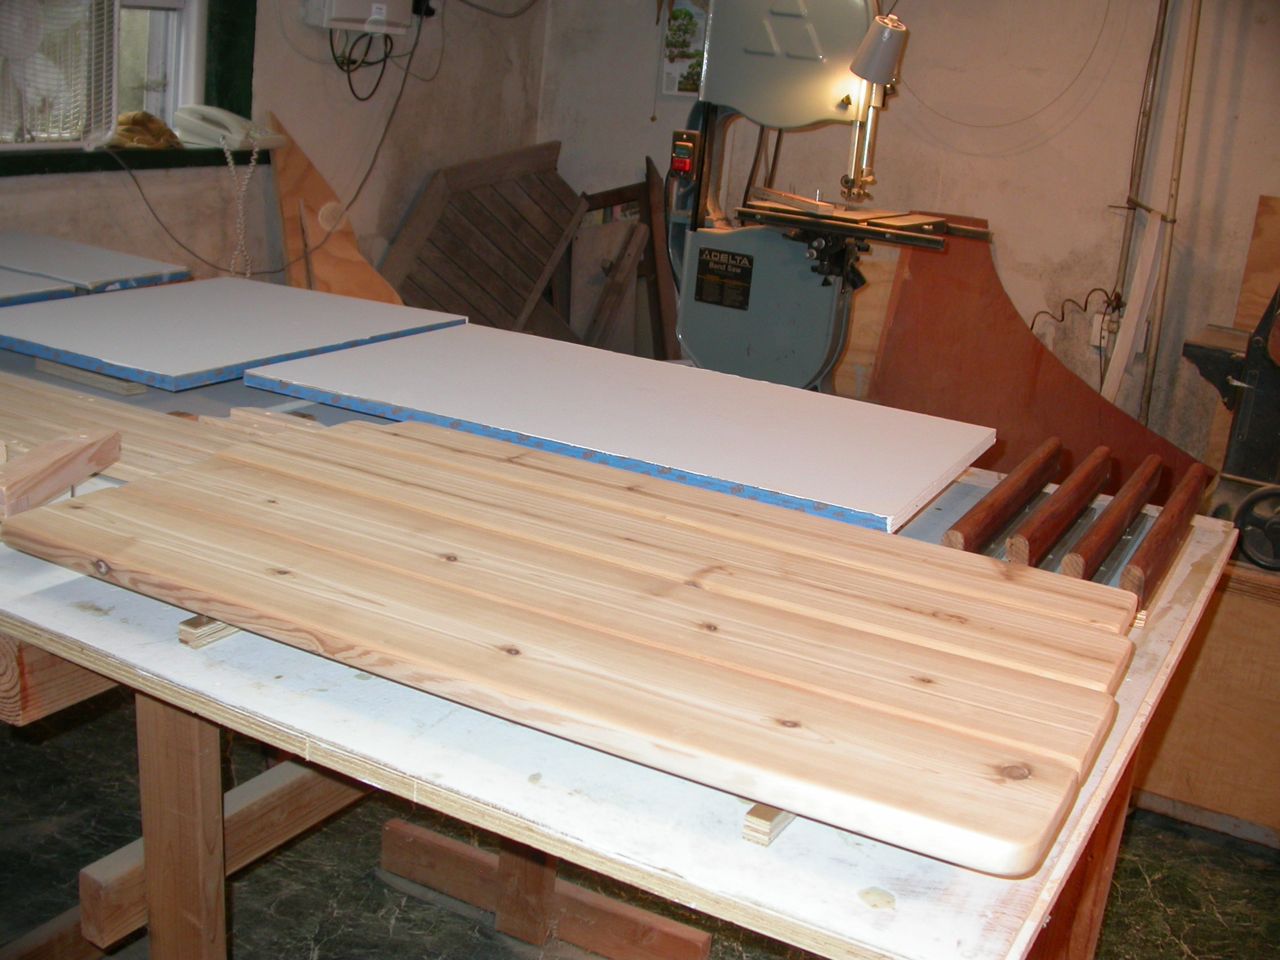 |
| Planks on Bed Of Nails |
Each set of pieces had their own specific requirements, like the teak rails, below, but since each bed was made of scrap wood and a few nails, they were easy to bang up.
For the big pieces, like the shelves and slats, I painted the 'bottom side', then flipped the piece over and laid it on its personal bed of nails. Then I painted the 'top side'.
For the little pieces, like the cleats and fiddles, I just slathered the finish over the whole piece, holding it delicately in my rubber-gloved hands, laid it in it's cradle, and brushed out the finger marks.
Most of the pieces had one or two edges I left unfinished as gluing surfaces, so there was usually some place to hold each piece without getting too gooped up. Naturally, I was a bit too sticky to take pictures of this painting process, but you get the idea.
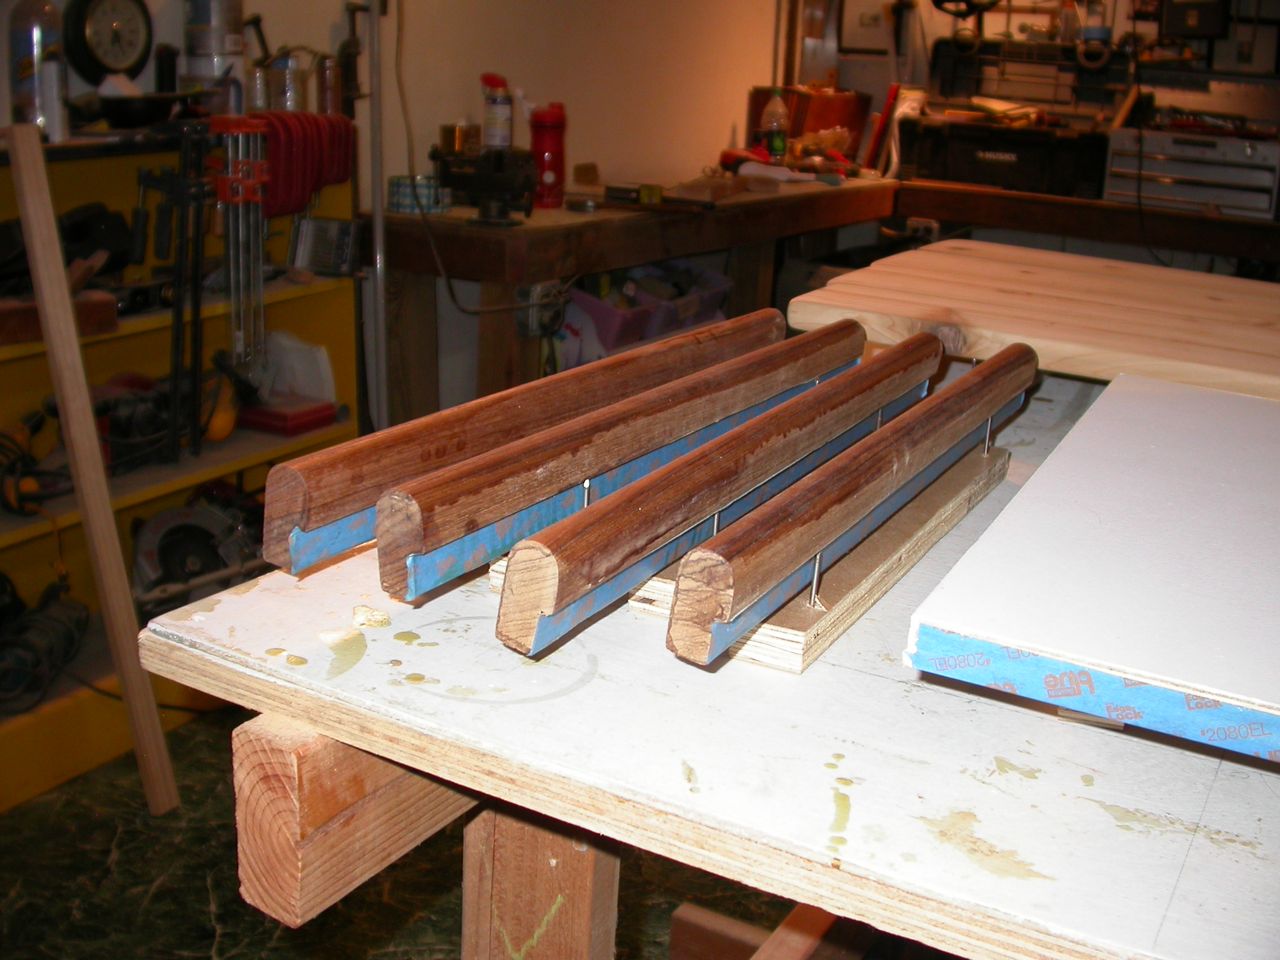 |
| Custom Beds for Odd Pieces |
Then it was finally time to assemble my work.
I decided to glue and screw each joint, to make the structure strong and solid. I considered several different types of glue, but in the end went with epoxy, mainly because I knew it would work, and I had it on hand. I used bronze screws for the assembly, which is actually overkill, but again, I had them on hand.
It was again the kind of sticky and finicky job that makes me forget to take pictures, but as much as I hate mucking about with epoxy, the results were very gratifying.
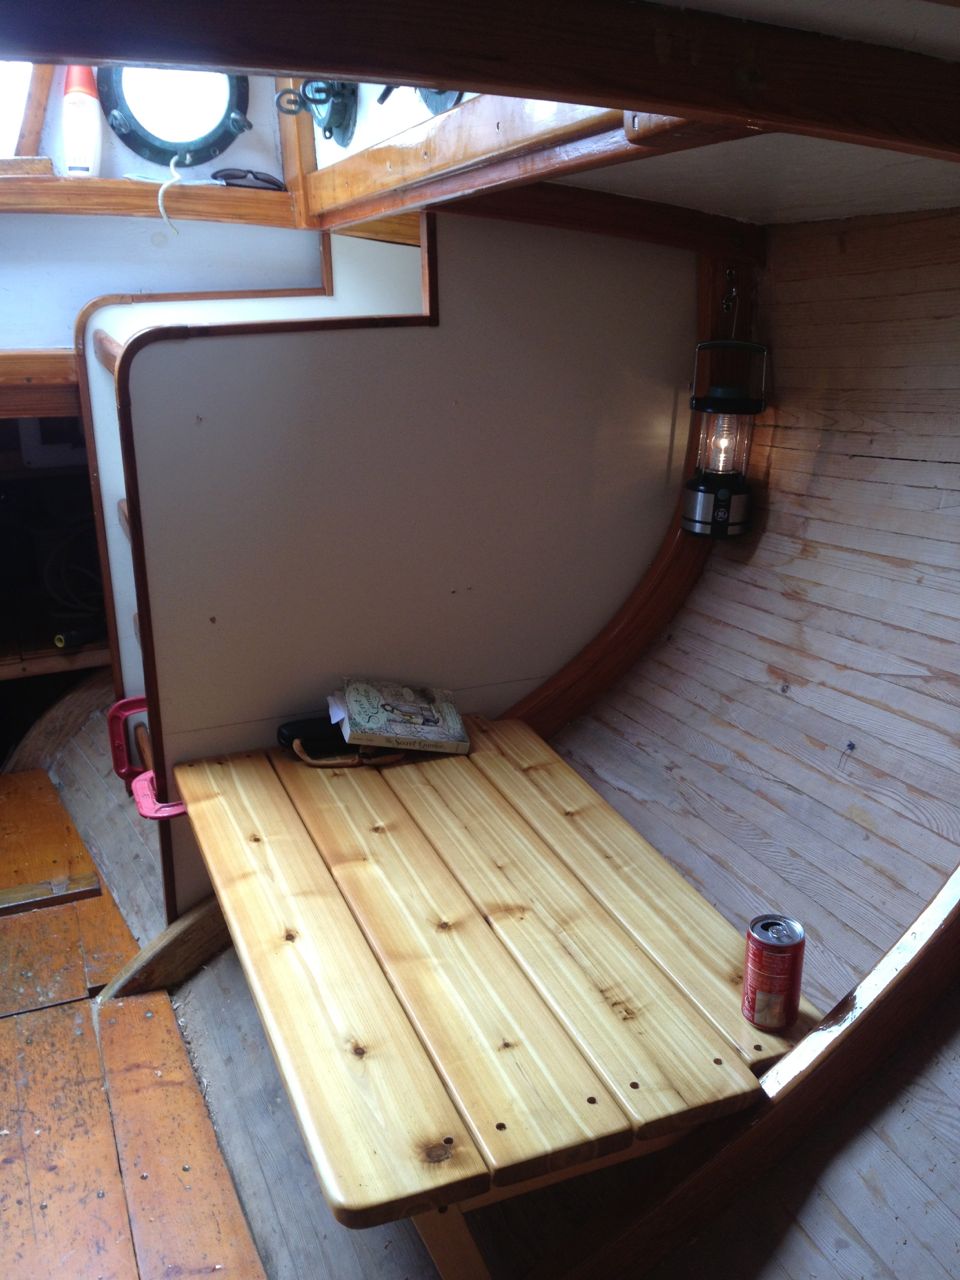
Here is the galley, glued and screwed. You might be scratching your head, wondering how those 1" fiddles are going to keep things on the shelf, but all will be made clear, eventually!
 |
| Horizontal Surfaces! Oh Joy! |
 |
| Sitting Headroom! |
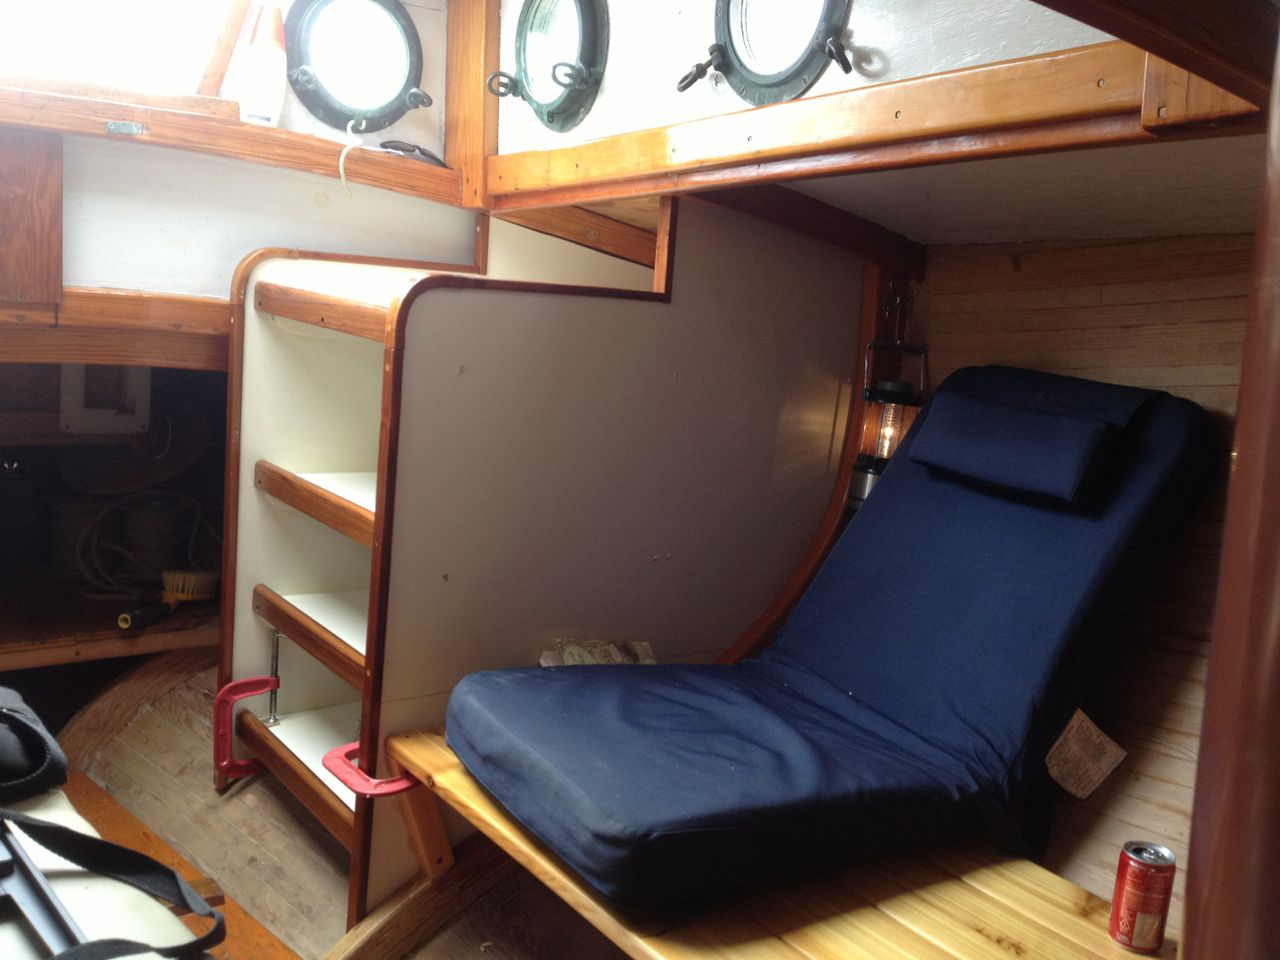 |
| Temporary Cushion -- H'mmm.... Very Comfy! |
So where will I sleep? That's what I was working on, upstairs, in my sewing room (i.e., dining room) while waiting for paint to dry. But that story will have to wait until next time. Meanwhile, here's a sneak preview:
Next Episode: Root Berth
Where you plan to screw and glue predrill for the screws, test assemble then pull apart and put the screws back into the pieces to be coated but only finger tight. Now you have nice little feet on the underside of each piece. If unstable run the screws through a small strip of ply first.
ReplyDeleteAh, yes... that's a good variation on the idea.
DeleteLooking Nice.
ReplyDeleteBrilliant! I am filing this permanently in the back of my head right next to "What were ya thinkin?"
ReplyDeletegreat!!!
ReplyDelete