After valiantly following in the Blue Moon's wake for 2000 miles... in turns taxi, cargo ship, and conversational ice breaker... on three occasions -- one critical -- the little boat that carried my extra anchor to deep water, allowing me to warp the Blue Moon out of a nasty situation... for all these reasons and more, Cabin Boy will always be more friend than boat.
When Helena and I pulled Cabin Boy from Huntington Harbor on the day before Thanksgiving, 2010, he had a quarter inch of green slime on his bottom, rusted rowlocks, and bare wood that should have proved to me, once and for all, that linseed oil is NOT a practical finish for wooden boats. (Of course, I needed more convincing, but that's another story.)
He was also 20 lb. overweight from the salt water he'd absorbed on the trek from Jacksonville, FL -- the last time he'd had a good dry out.
After car-topping him home, I'd scrubbed the gunk off his bottom and carried him into the basement where he's been resting on saw horses for over a year and a half, while I refitted the Blue Moon, which was in more urgent need of scraping, painting, and re-rigging.
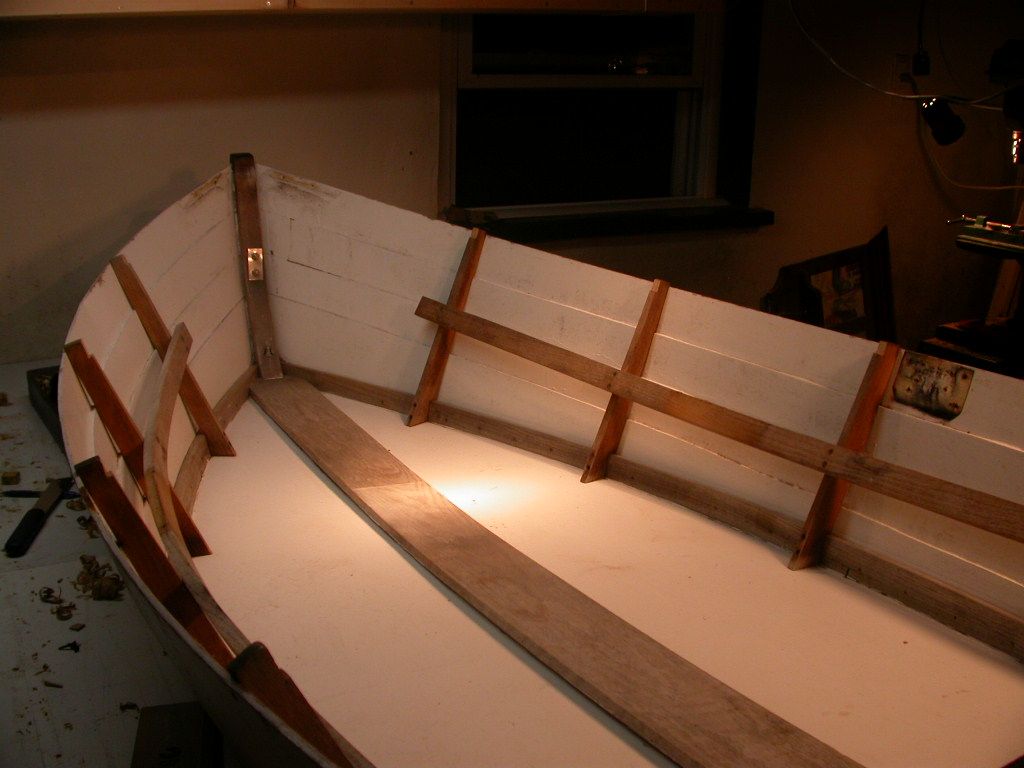
However, with the Blue Moon now in pretty good shape, it is definitely time to give Cabin Boy the TLC he so richly deserves. Helena and I move him to my workbench a few days ago, where I could put some light on him, and finally take a good look at the scars left on him by King Neptune.
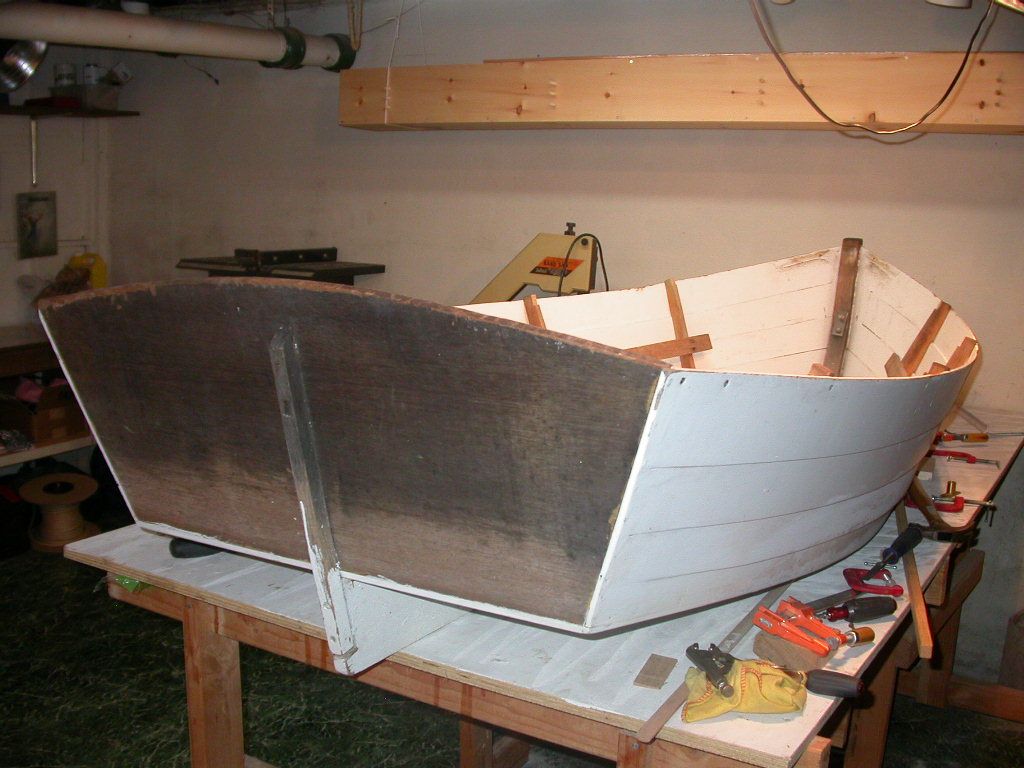 |
| An old friend ready for some TLC |
First, the good news. As I'm sure I mentioned back in the day, the John Atkin designed Cabin Boy has never leaked a drop. The combination of white oak, quality marine plywood, and glued lapstrake construction resulted in a mighty strong and water-tight boat. I carefully inspected all his seams under the light, and could not find a glue joint that looked worse for wear. And that is despite the fact that I did not understand the need to use fillers with epoxy. All the joints on Cabin Boy are straight, un-thickened epoxy. Either I've been very lucky, or I did a darn good job on making those joints fit tight. (I'm betting on luck!)
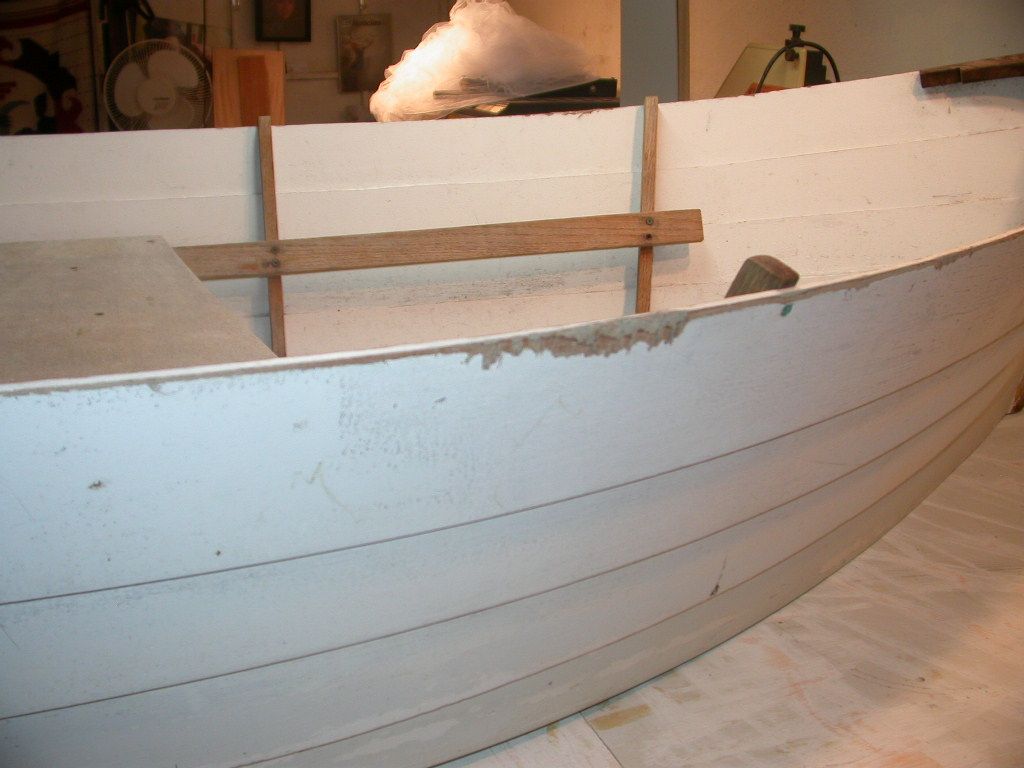
Cabin Boy's transom is a single mahogany board. You will recall I didn't have time to varnish it, so I tried using linseed oil -- a finish some boat builders swear by, but I swear at.
I did try to keep up with it, re-applying the oil whenever I could, but it just wasn't good enough. I probably should have painted it a long time ago, but never had the heart. The plan is to give it a good sanding and many coats of the varnish it has been waiting for.
The seats were another rush job that just barely did the job. They were cut from some leftover marine plywood. Left unfinished, except for a few linseed oil treatments, they've weathered but are still structurally sound with no de-laminations, despite sun, rain, and general mistreatment. Another testament to quality marine ply.
The seats were always a stop-gap measure; they will be pulled out and replaced by comfy sternsheets and a fore-and-aft rowing seat that I'll no doubt discuss in detail in a later post.
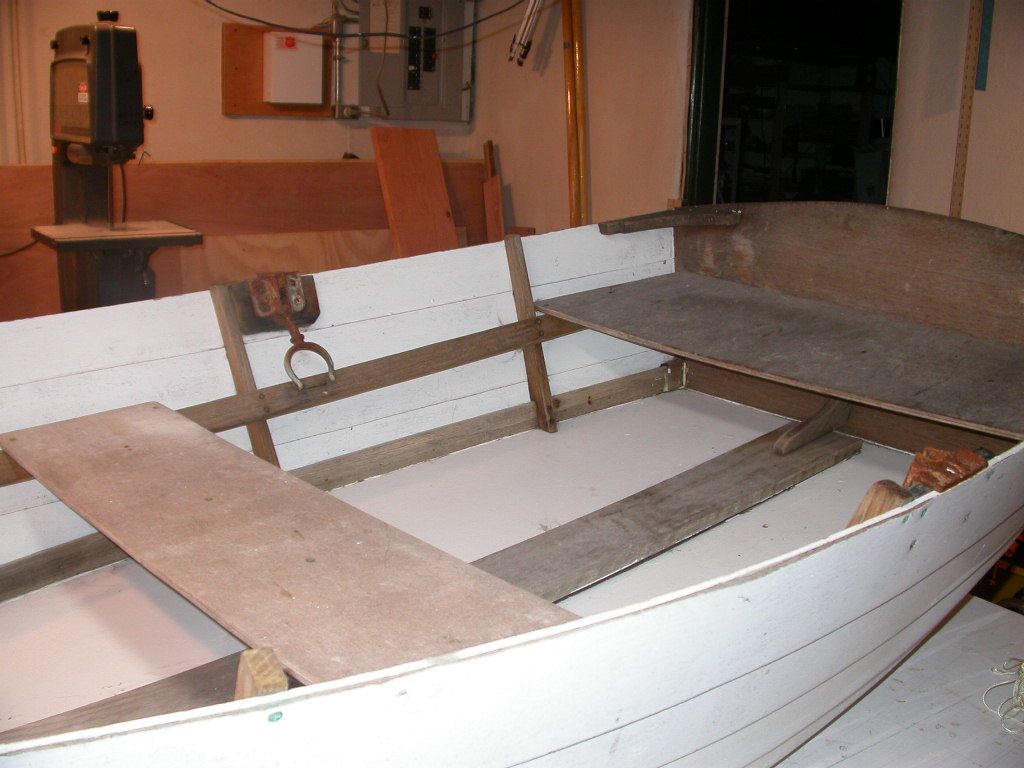 |
| These lousy plywood seats gotta go! And the galvanized rowlocks, too! |
 |
| Slightly cupped keelson needs to be fastened to the bottom. |
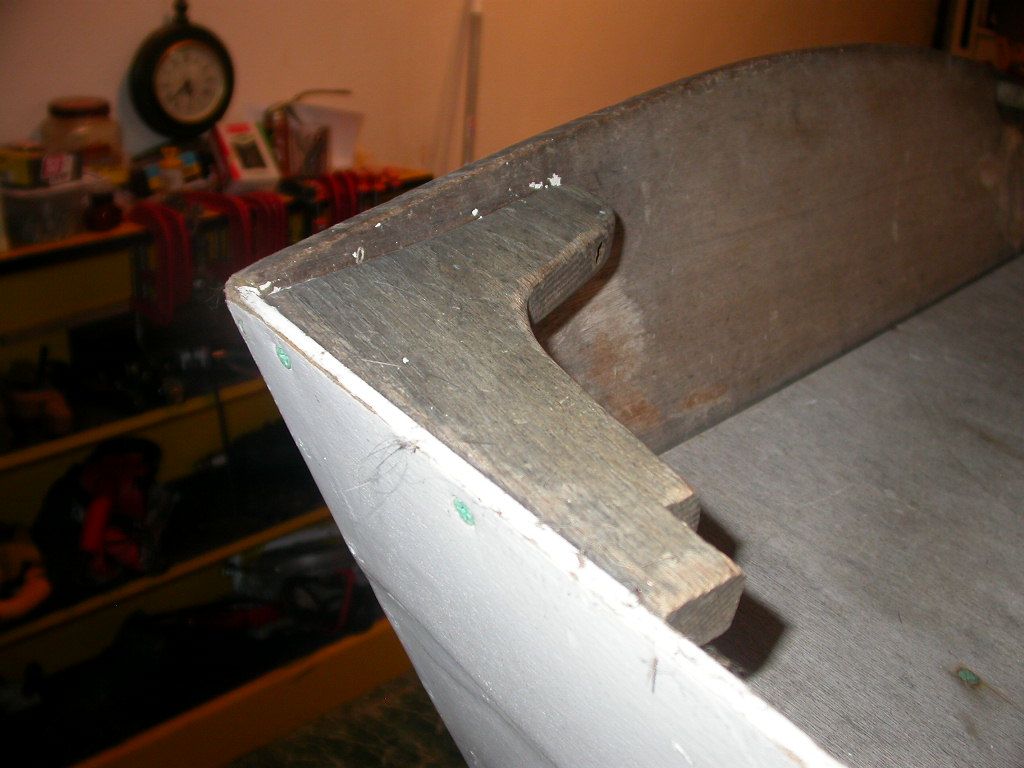
Another oddity is a mysterious gap between the sternpost and the skeg. I have looked at this, and looked at it, and cannot figure out how it got there. I'm sure it wasn't there on Cabin Boy's launch day, but I just can't see how the gap could have opened, unless the skeg expanded in width somehow by 1/4".
Very, very mysterious, but easily fixable.
Another unfinished project were the gunnels. I never did get around to fitting the inwales or outwales. The poor unvarnished knees with the notches cut out but unused were constant reminders to me that everything takes longer than you think -- especially in boatbuilding.
Cabin Boy is so stiff, he doesn't really need gunnels, but I want to install them anyway, just for looks. But should I replace these knees or do they just need a good sanding? I'll soon find out.
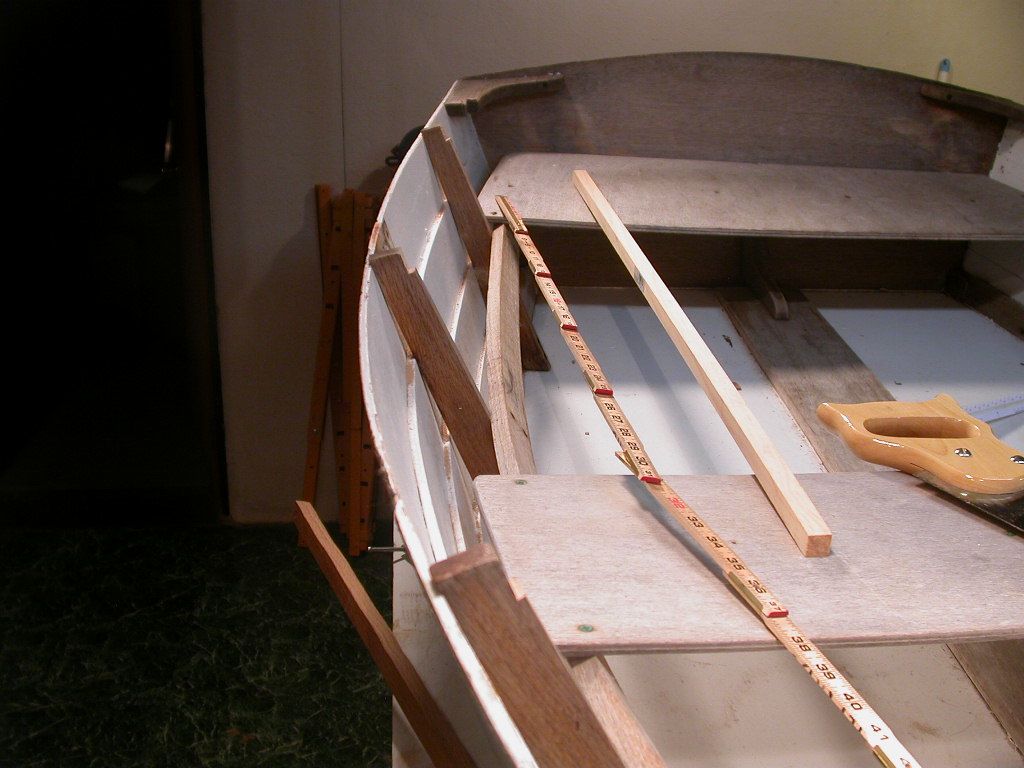
So that's an outline of the project. The first thing I wanted to do was to remove everything that could be removed for sanding and varnishing, but before I removed the seats, I wanted to measure and cut those inwales.
One reason I didn't finish them 2 years ago was they proved more difficult to fit than I expected. Cabin Boy's sheer twists and curves in a complex shape and I could not figure out how to fit the inwales properly. I gave it a few hours, but had to quit in disgust and head down to Steinhatchee.
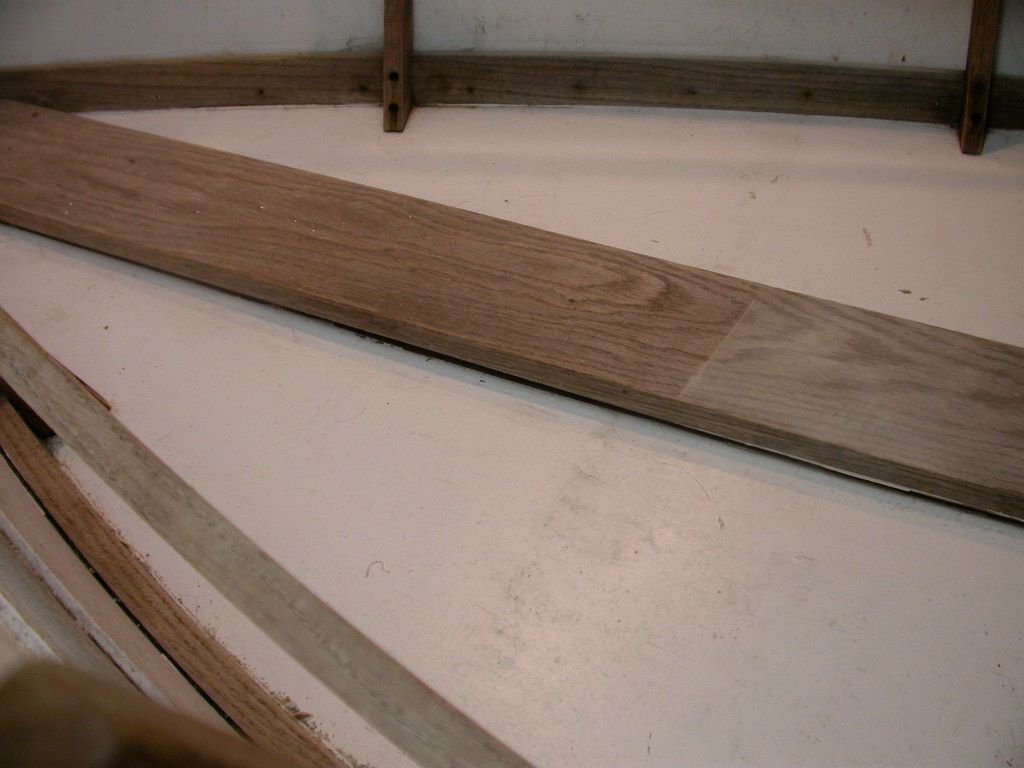
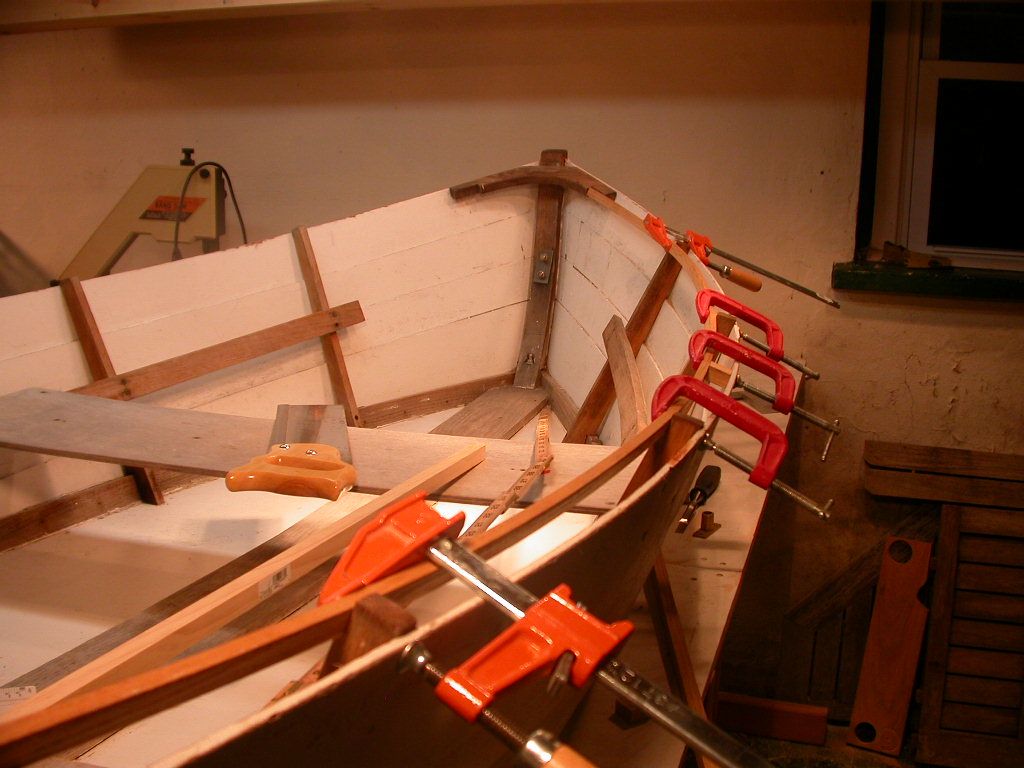
My new bronze rowlocks will fit into a small spacer block that fits between the sheerstrake and inwale. I made a block of the correct size, and used it to mark the location and depth of notches in the frames. These notches are a bit of a kluge, I think, but will put the inwale at the correct angle to and distance from the sheer strake.
And here is a bit of white oak bent into the shape of the inwales. With the notches cut correctly, it bends into the correct shape with a bit of convincing from a bevy of clamps. He's looking better already!
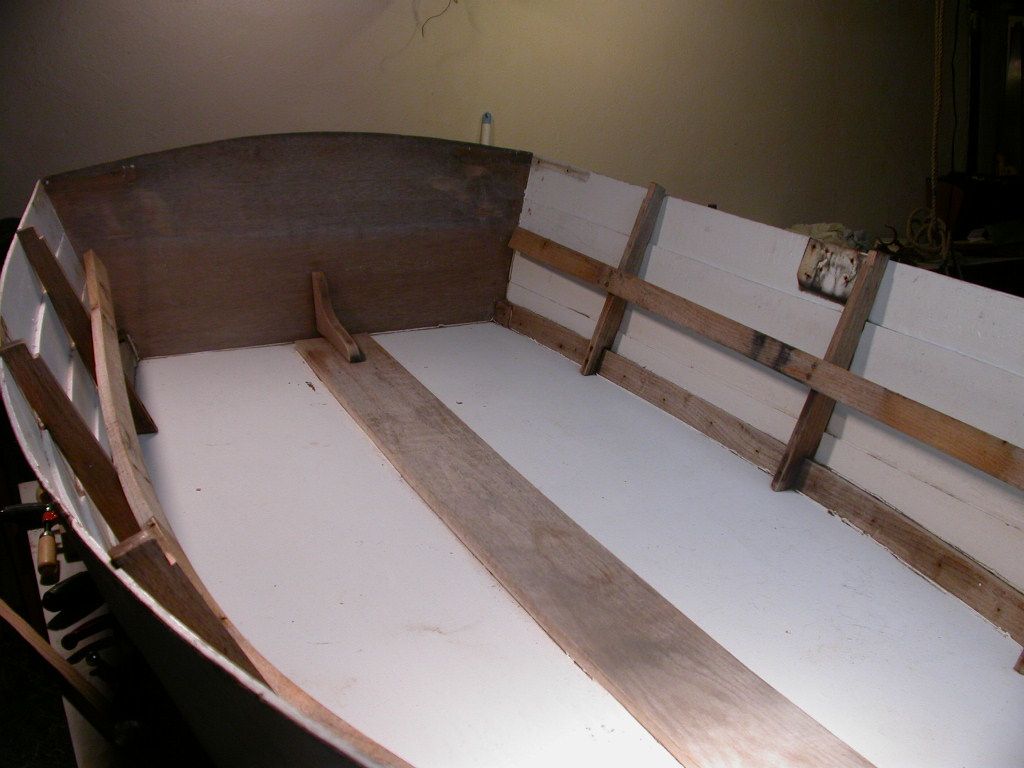
But that was just a dry fit, of course. At the moment, I'm removing bits, not adding them! Only the hull seams are glued, so with a bit of quick work with a screwdriver, the seats, knees and rusted rowlocks were soon out of the boat.
It sure would be easier to paint (and bail!) Cabin Boy without that darn keelson... should I remove it? What do you think?
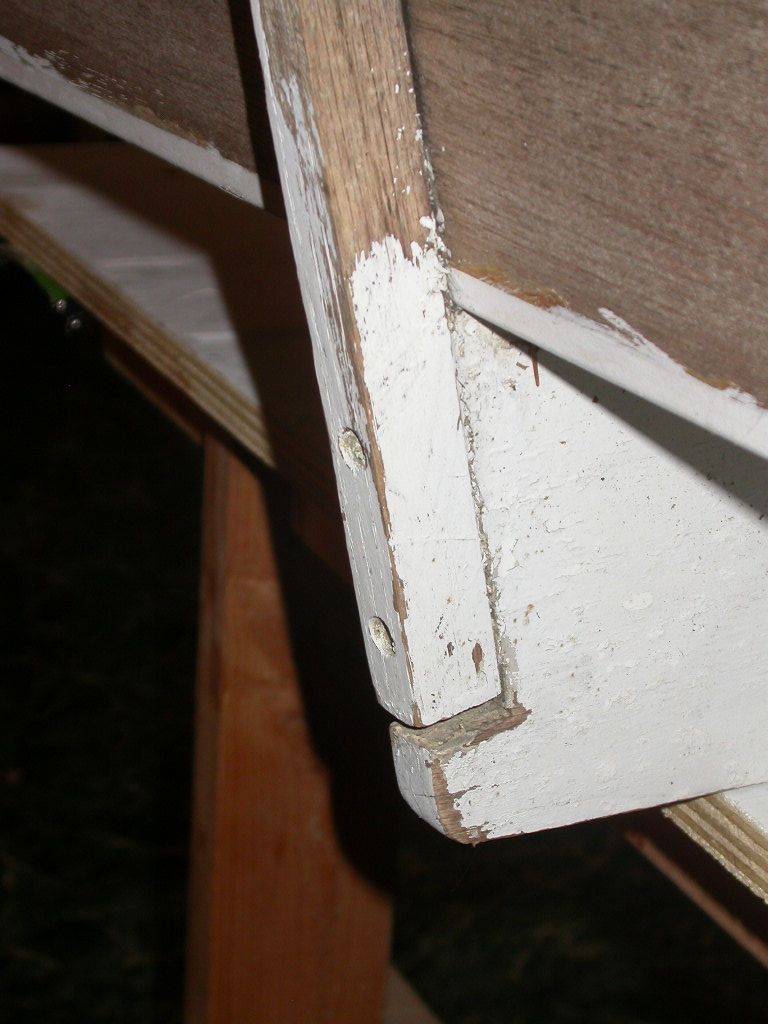
Besides sanding and painting, there are some edges that got severely chaffed by ropes, chains... who knows? There were a couple nights there where Cabin Boy had to take one for the team. He did so without complaining (and without sinking!), and the damage is nothing that can't be fixed up with a bit of sandpaper and paint.
So that's it. I'm hoping to have Cabin Boy spruced up for a fall cruise, so there's going to be a lot of juggling going on here. Watch out for falling bowling pins!
Very, very mysterious, but easily fixable.
 |
| The mysterious gap. |
Cabin Boy is so stiff, he doesn't really need gunnels, but I want to install them anyway, just for looks. But should I replace these knees or do they just need a good sanding? I'll soon find out.
 |
| These knees are in worse shape than mine! |
One reason I didn't finish them 2 years ago was they proved more difficult to fit than I expected. Cabin Boy's sheer twists and curves in a complex shape and I could not figure out how to fit the inwales properly. I gave it a few hours, but had to quit in disgust and head down to Steinhatchee.
My new bronze rowlocks will fit into a small spacer block that fits between the sheerstrake and inwale. I made a block of the correct size, and used it to mark the location and depth of notches in the frames. These notches are a bit of a kluge, I think, but will put the inwale at the correct angle to and distance from the sheer strake.
 |
| Cutting notches for inwales |
 |
| Test fitting the inwales |
But that was just a dry fit, of course. At the moment, I'm removing bits, not adding them! Only the hull seams are glued, so with a bit of quick work with a screwdriver, the seats, knees and rusted rowlocks were soon out of the boat.
 |
| Seats, knees, and rowlocks removed |
 |
| Cleared for work |
 |
| Battle scars |
>>> Next Episode: Daemon Chafe
so have you & Helen called a truce on sailing lessons? I'm just nosy, I prefer the boat care & feeding stories anyway.
ReplyDeleteThat's where the juggling comes in ;-)
DeleteJohn, Bill Gardner once wrote to insure the varnish on oak cleats, etc. he always submerged them in boiled linseed oil for a month. He dried them for another few weeks until they were dry and applied varnish. The durability of the varnish was very good. I took that advise and have been very happy with the results. you might try it. The transom would be tough to get into a jar but lots of single coats would provide the penetration you need for the task. Just a thought.
ReplyDeleteJim: yes, I've been thinking of using linseed oil to breath some life back into the wood before varnishing. I think Pete Culler recommended the same treatment, as long as the varnish is compatible.
DeleteHi John.
ReplyDeleteThat mysterious gap between sternpost and skeg could well be due to expansion of the skeg following water absorption. Some people seem to think that wood absorbs water quickly, it doesn't. Water goes in very slowly over very long periods of time, and takes just as long to dry out. When it is salt water, it doesn't do any harm in there, but will swell the wood across the grain with almost no change in length.
If you are not changing the finish on the skeg, just fill the gap and forget it. If you intend to seal the skeg with epoxy or two-pack paint, you might want to re-consider.
If you are replacing the seats, have you thought about the option of boxing in underneath to give some permanent buoyancy?
Ian
Ian: I thought about wood expanding across the grain, but didn't realize the effect could be permanent. The skeg is perfectly dry after being in my basement for over a year, but the gap hasn't closed.
DeleteI just remeasured the gap to get my facts right... it's 3/16" and the white oak skeg is just 6" wide at that point. If my math is right, that's a permanent 3% expansion. Does that sound possible?
This looks like a great project that has stood the test of time. Makes me want to build one. I don't have any tips to add like your other comenters, but I sure do love your detailed project descriptions. Thanks!
ReplyDeleteThis comment has been removed by the author.
DeleteIf I had to do it again, I'd build Finkel Dink. Easier to build, and much more carrying capacity.
DeleteFinkel Dink
Check it out!
Lose the keelson if possible
ReplyDeletePlease keep blogging
I would but... After saying that the bottom was 3/4" ply, I thought that sounded a bit thick, so I measured it. Yup. Only 3/8" thick. So the bottom would probably be too flexible without that hunk of oak. I'm just going to fill the gap and live with it.
Delete