 |
| "The Siren" by Richard Armitage Wikimedia Commons |
Alas, there's a third Siren, not mentioned by Homer, but well known to later poets such as Apollonius and Hesiod. Some say her name was Thlxiepeia, others say Agalophonos. To many a poor woodworker, she's simply known as the third temptation: the beautiful, alluring goddess of tool making.
There is something sublime about using tools to build other, more powerful tools. Indeed, isn't that the story of civilization, itself? Is it any wonder that men have dedicated their entire lives to building one tool upon another, building higher, reaching further...
My motivations were not so lofty. Not to put too fine a point on it, I needed a router table, and couldn't afford to go out and buy one.
No, that's not quite true... I couldn't bring myself to go out and buy one, when it would be so easy to build one.
I did allow myself ten dollars to buy a quarter sheet of MDF. This was just enough, I thought, to build a good size table.
I ripped it into two pieces for the base and the fence, and added a piece of pine for the bottom of the fence.
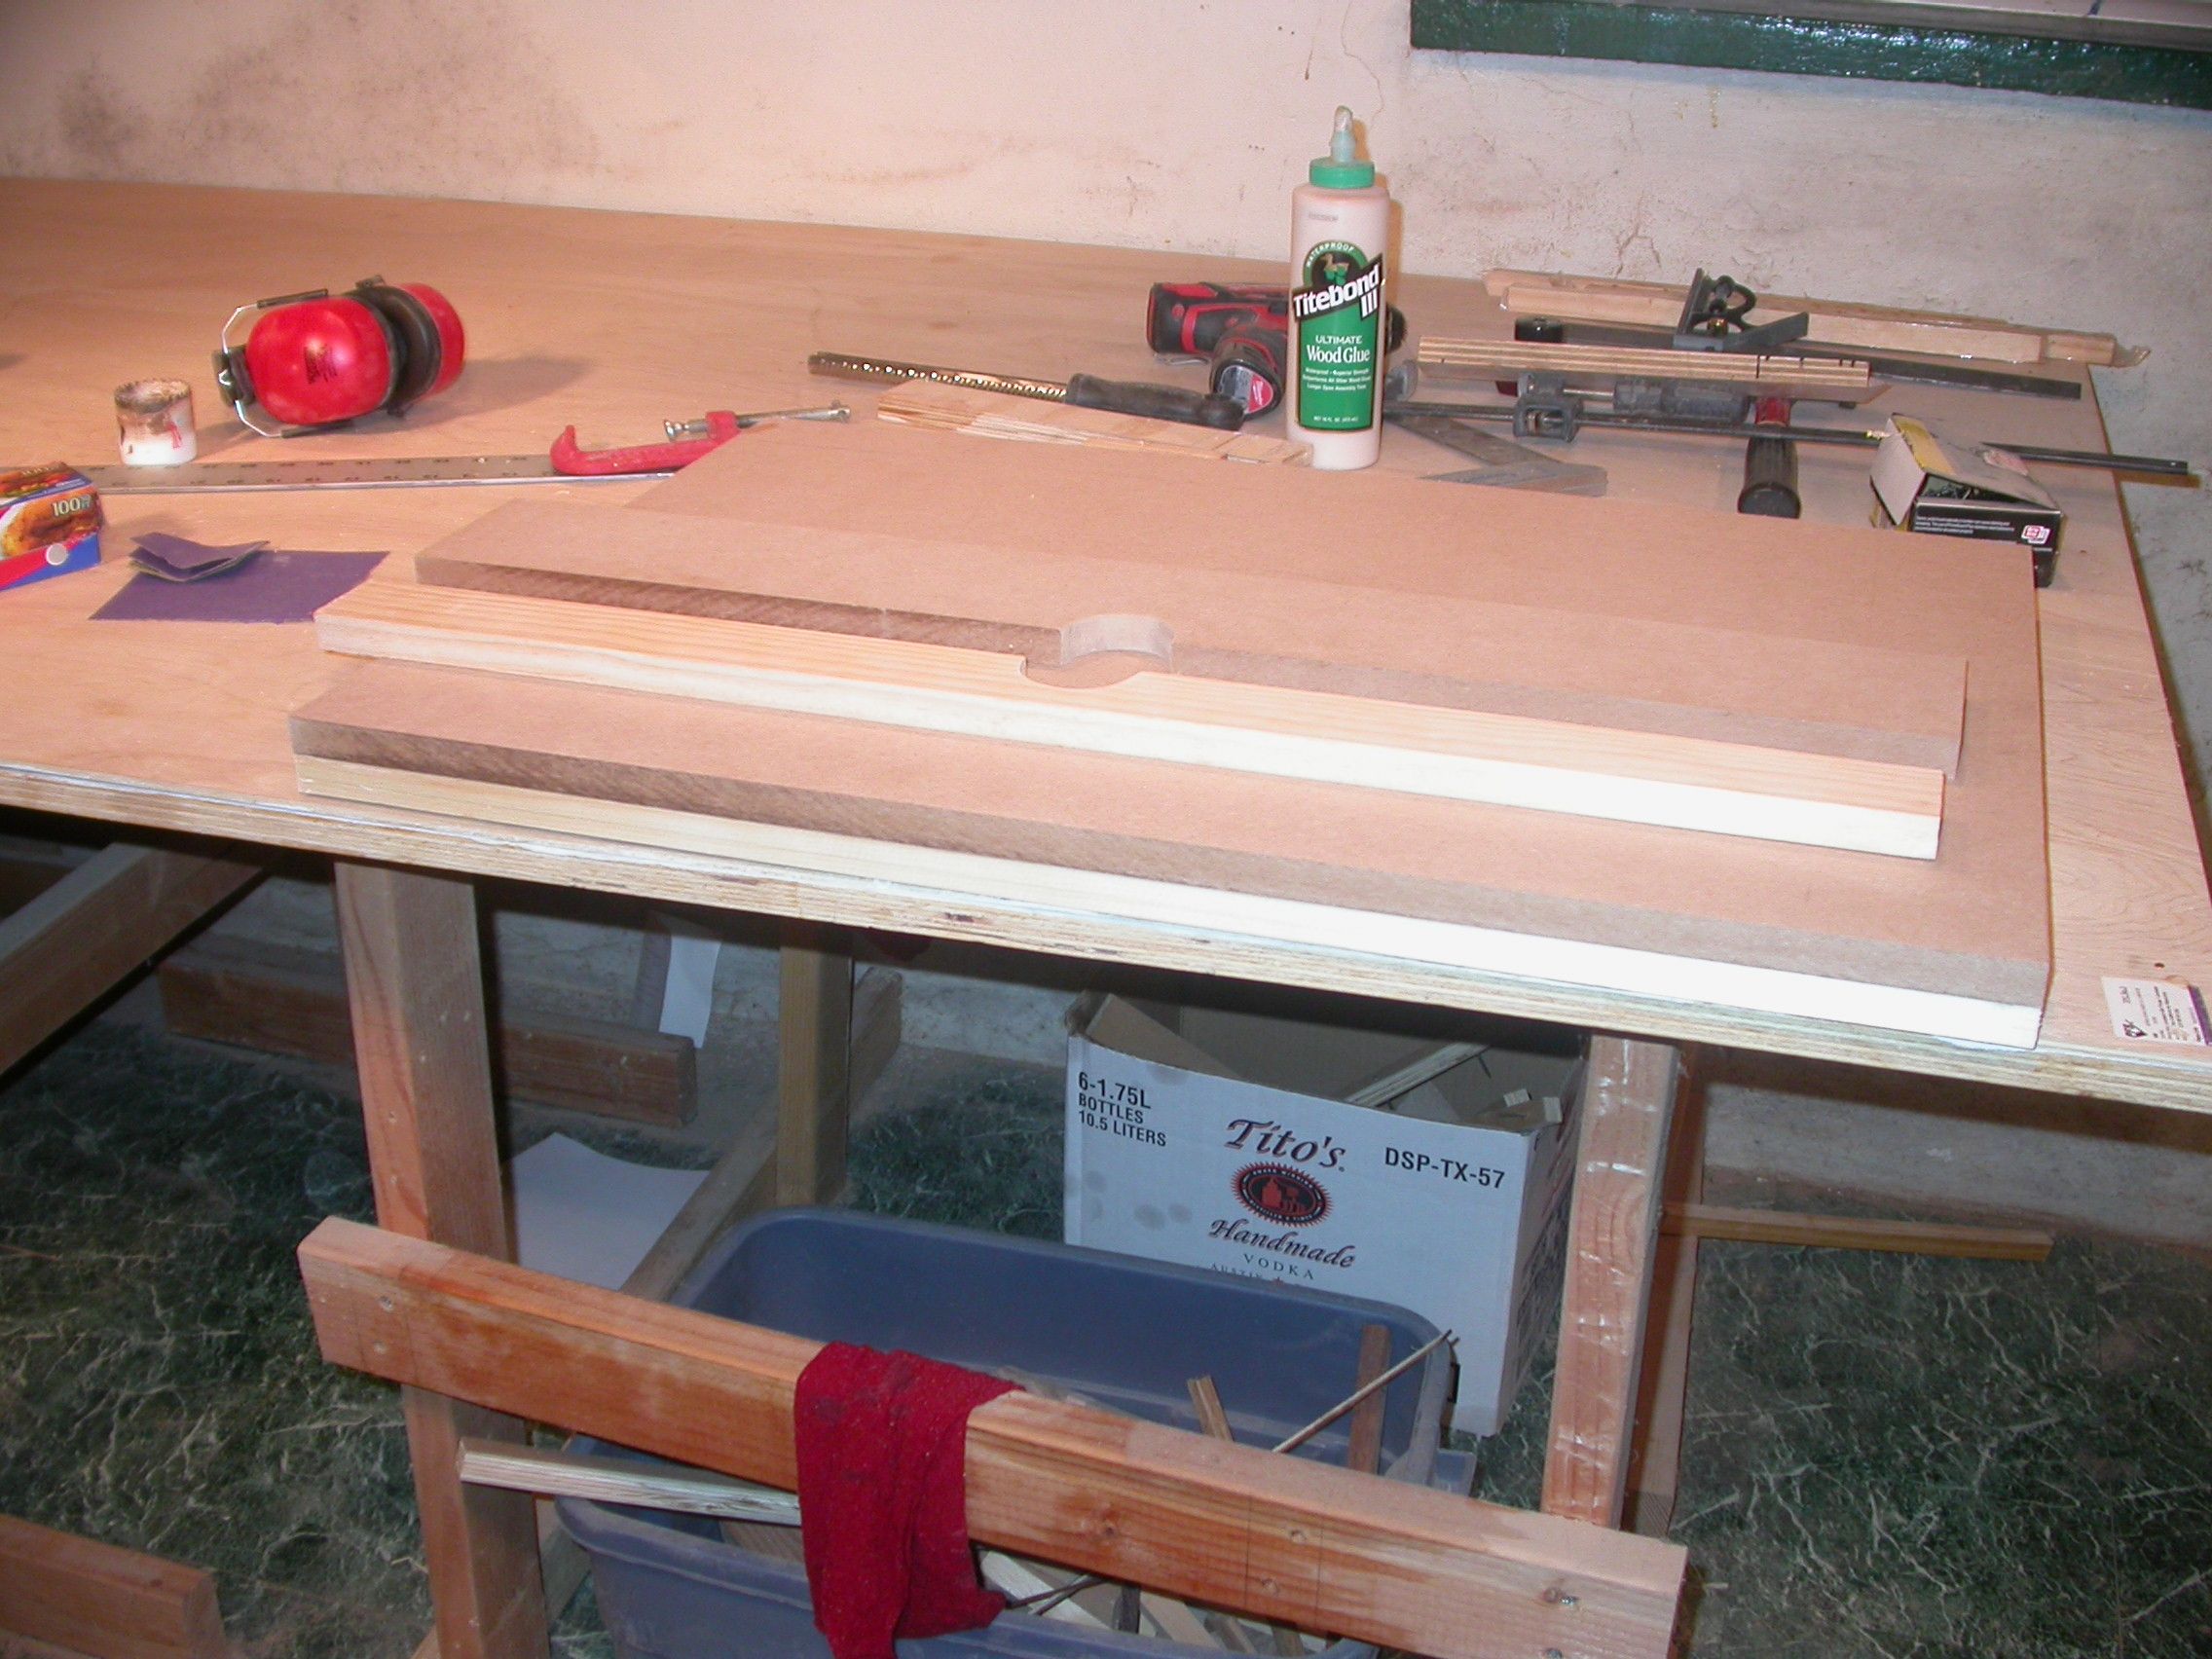 |
| Just 3 pieces of MDF |
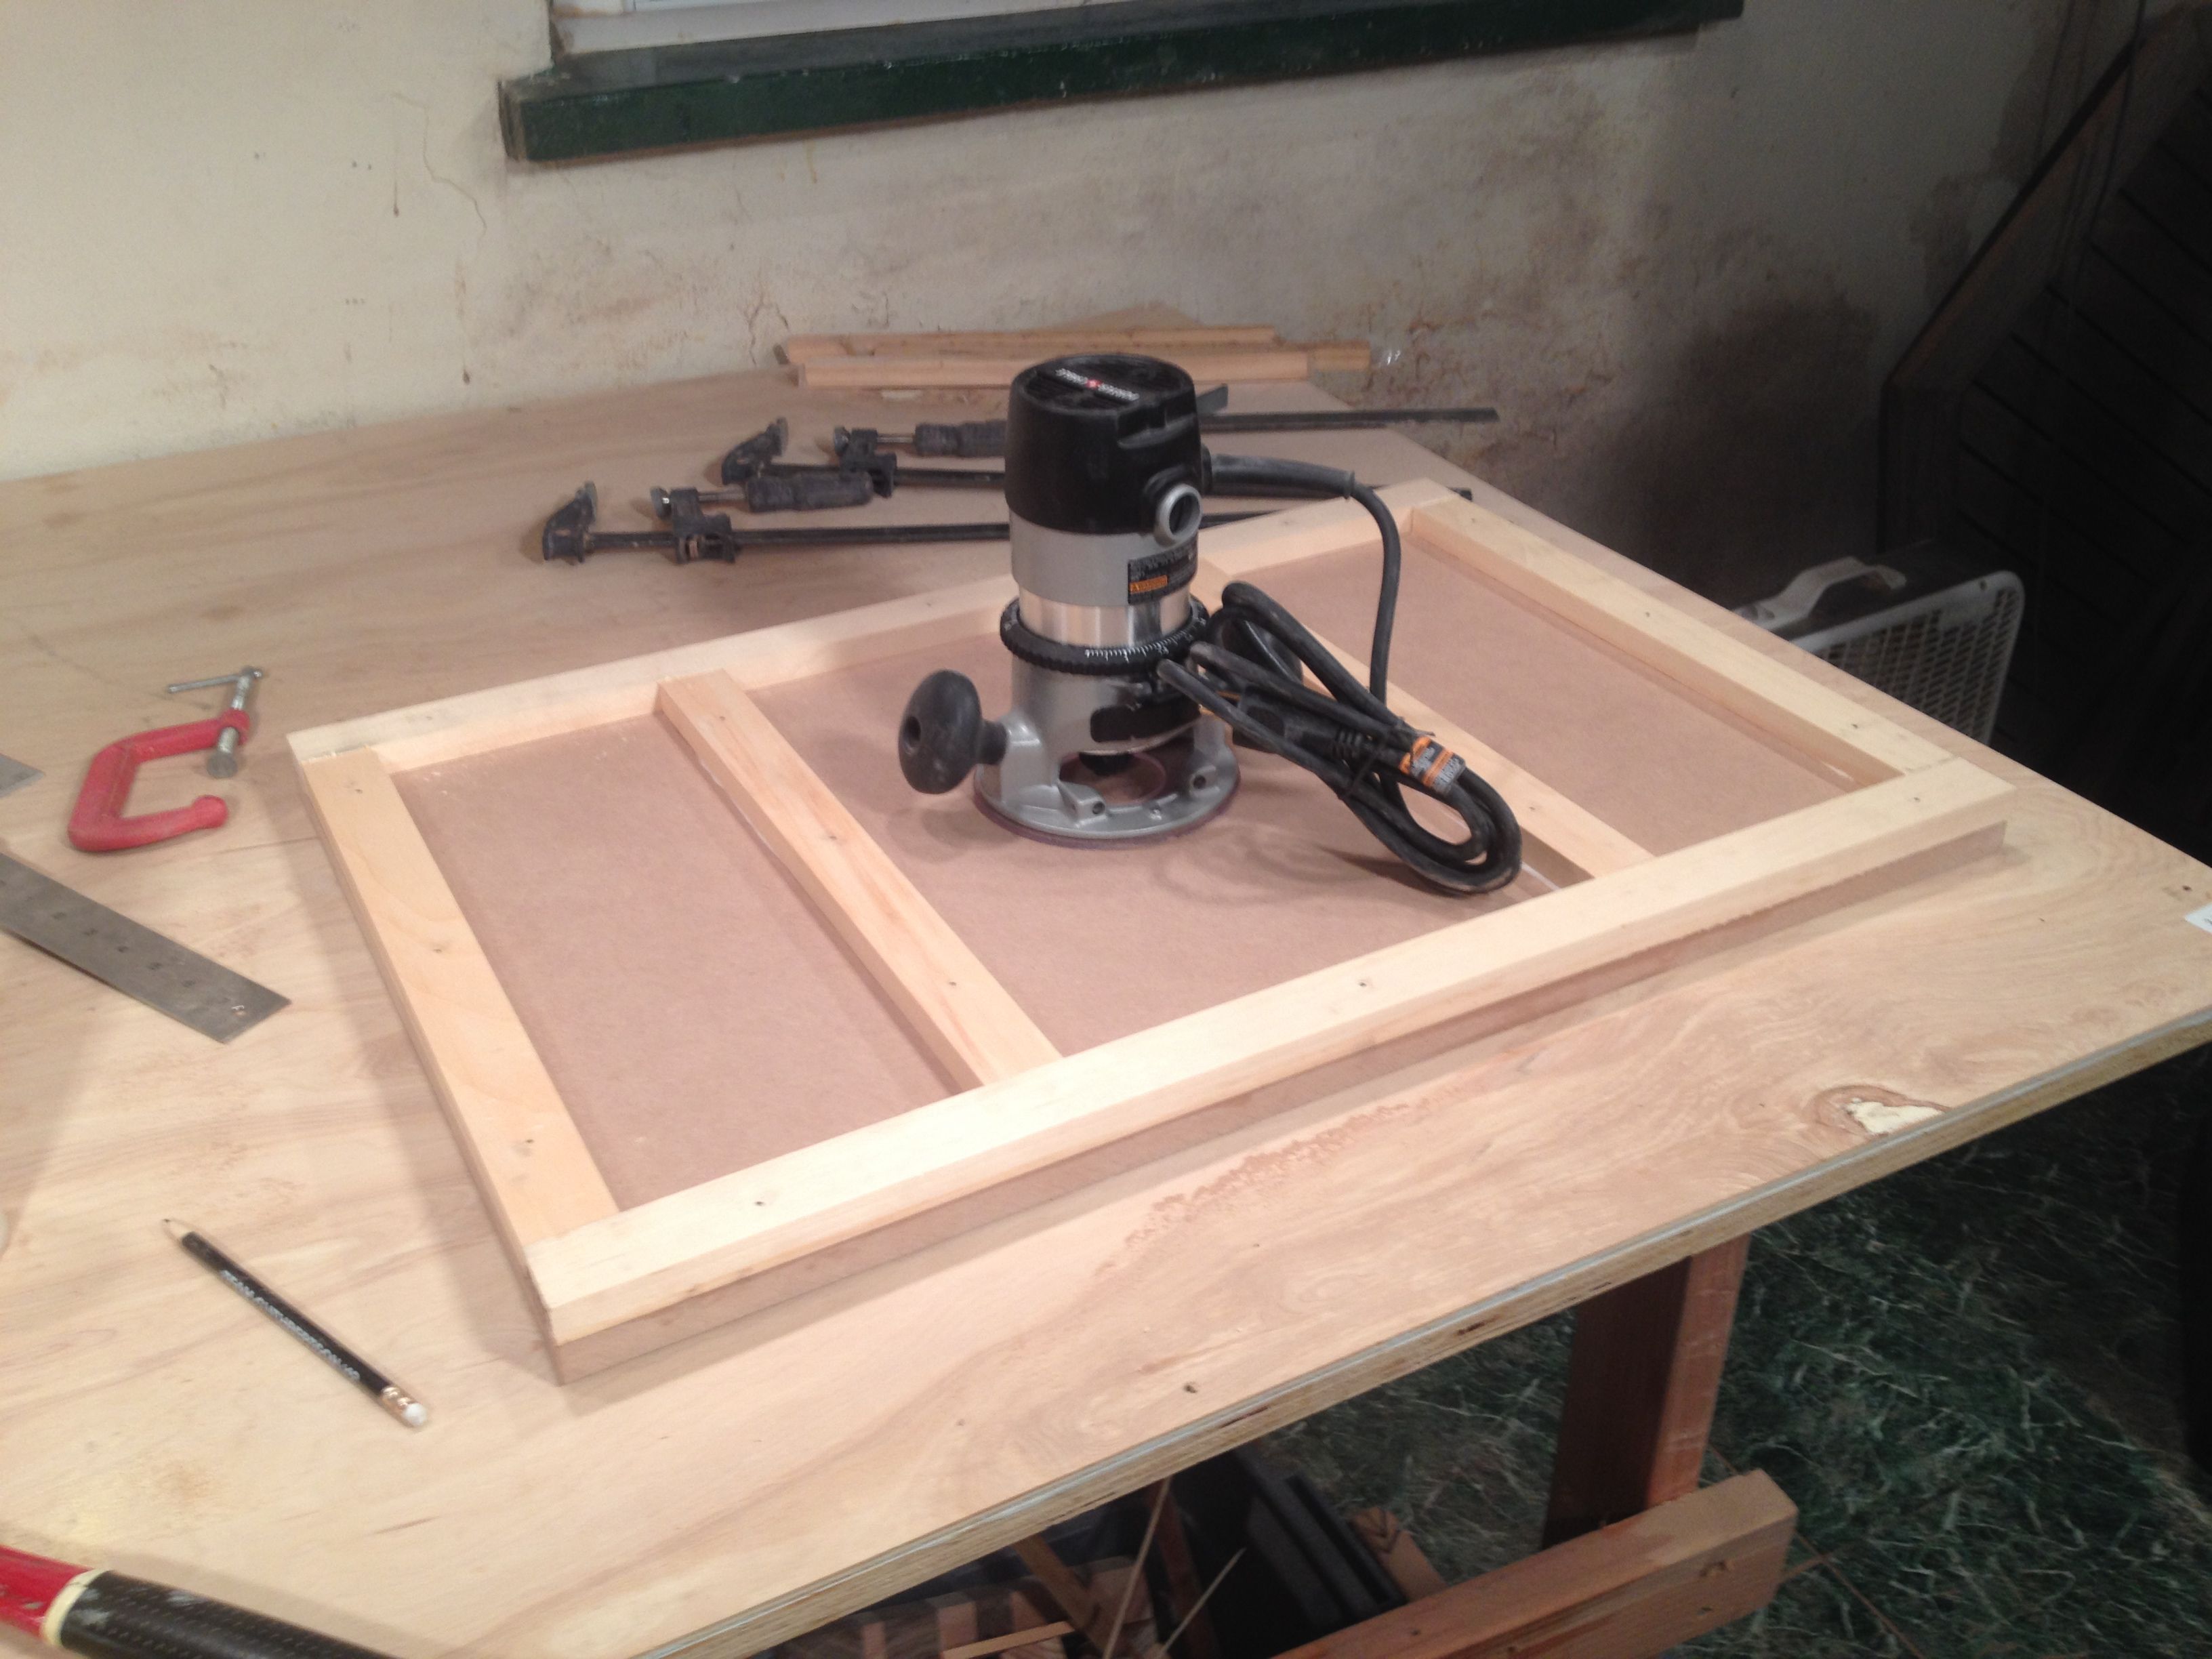 |
| Frame glued and screwed to bottom to keep table flat |
I counter-sunk the mounting holes so the flat-head mounting screws would be just flush with the surface.
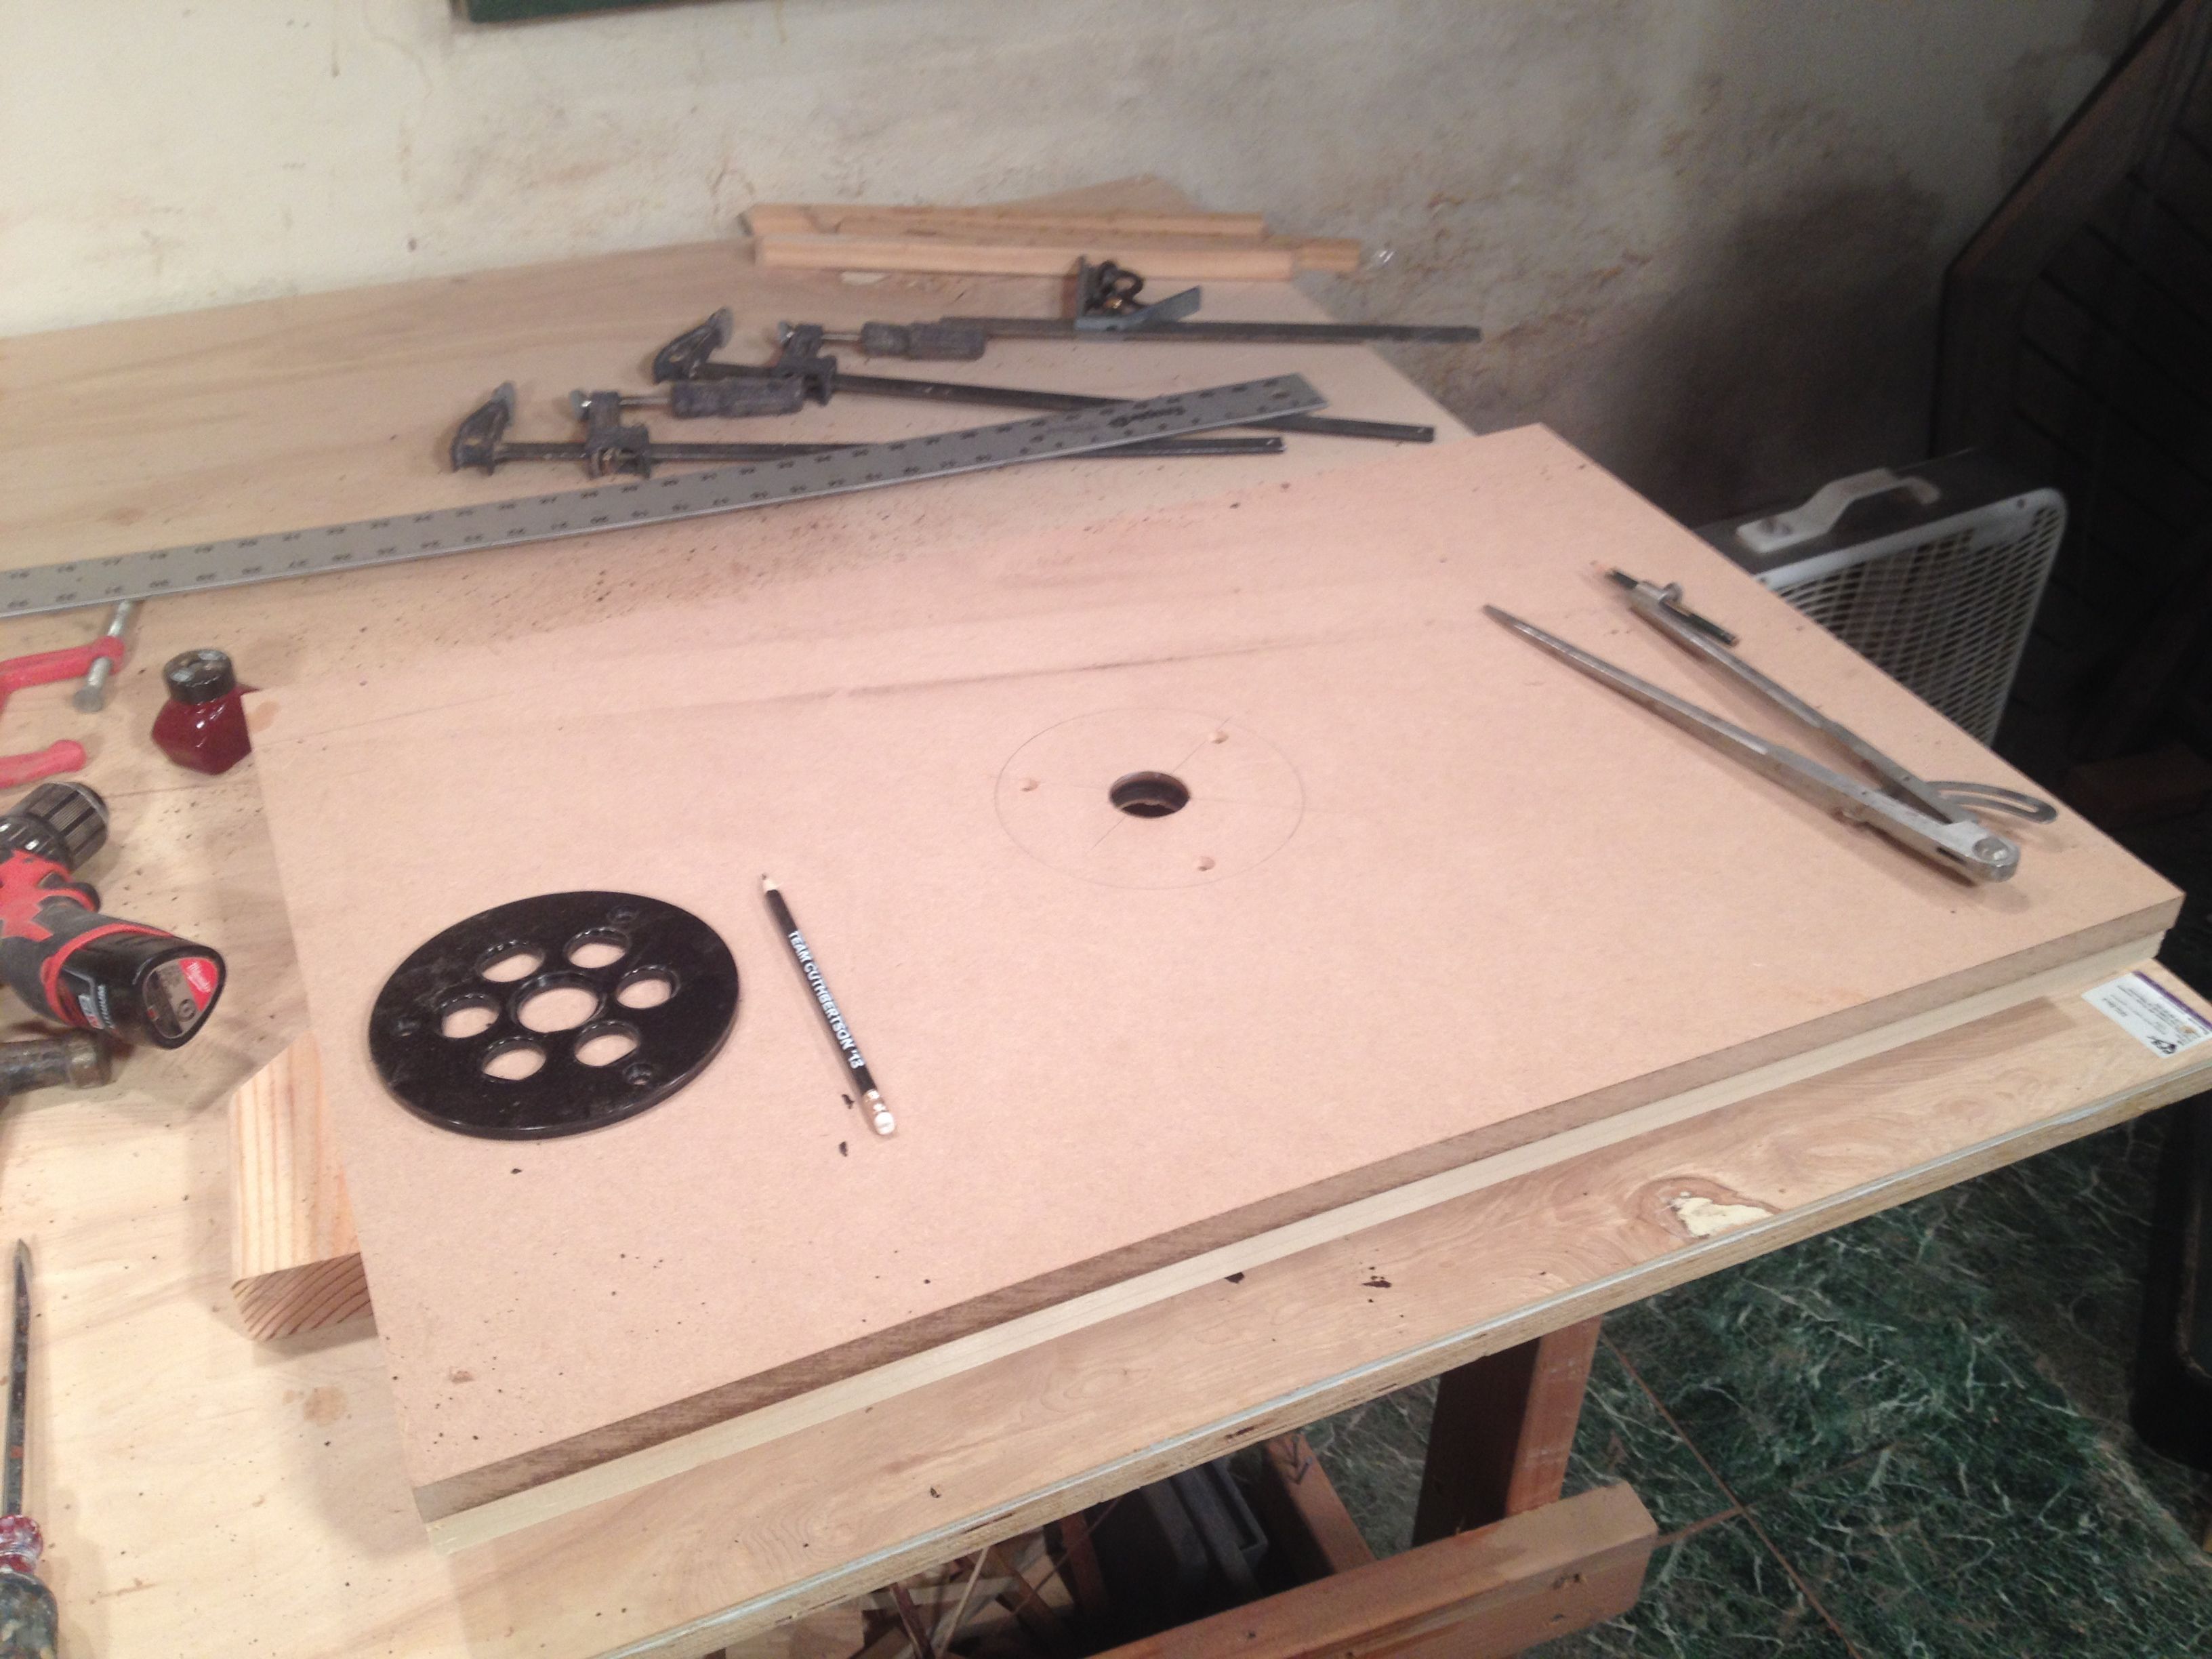 |
| Using router sub-base to locate holes for router |
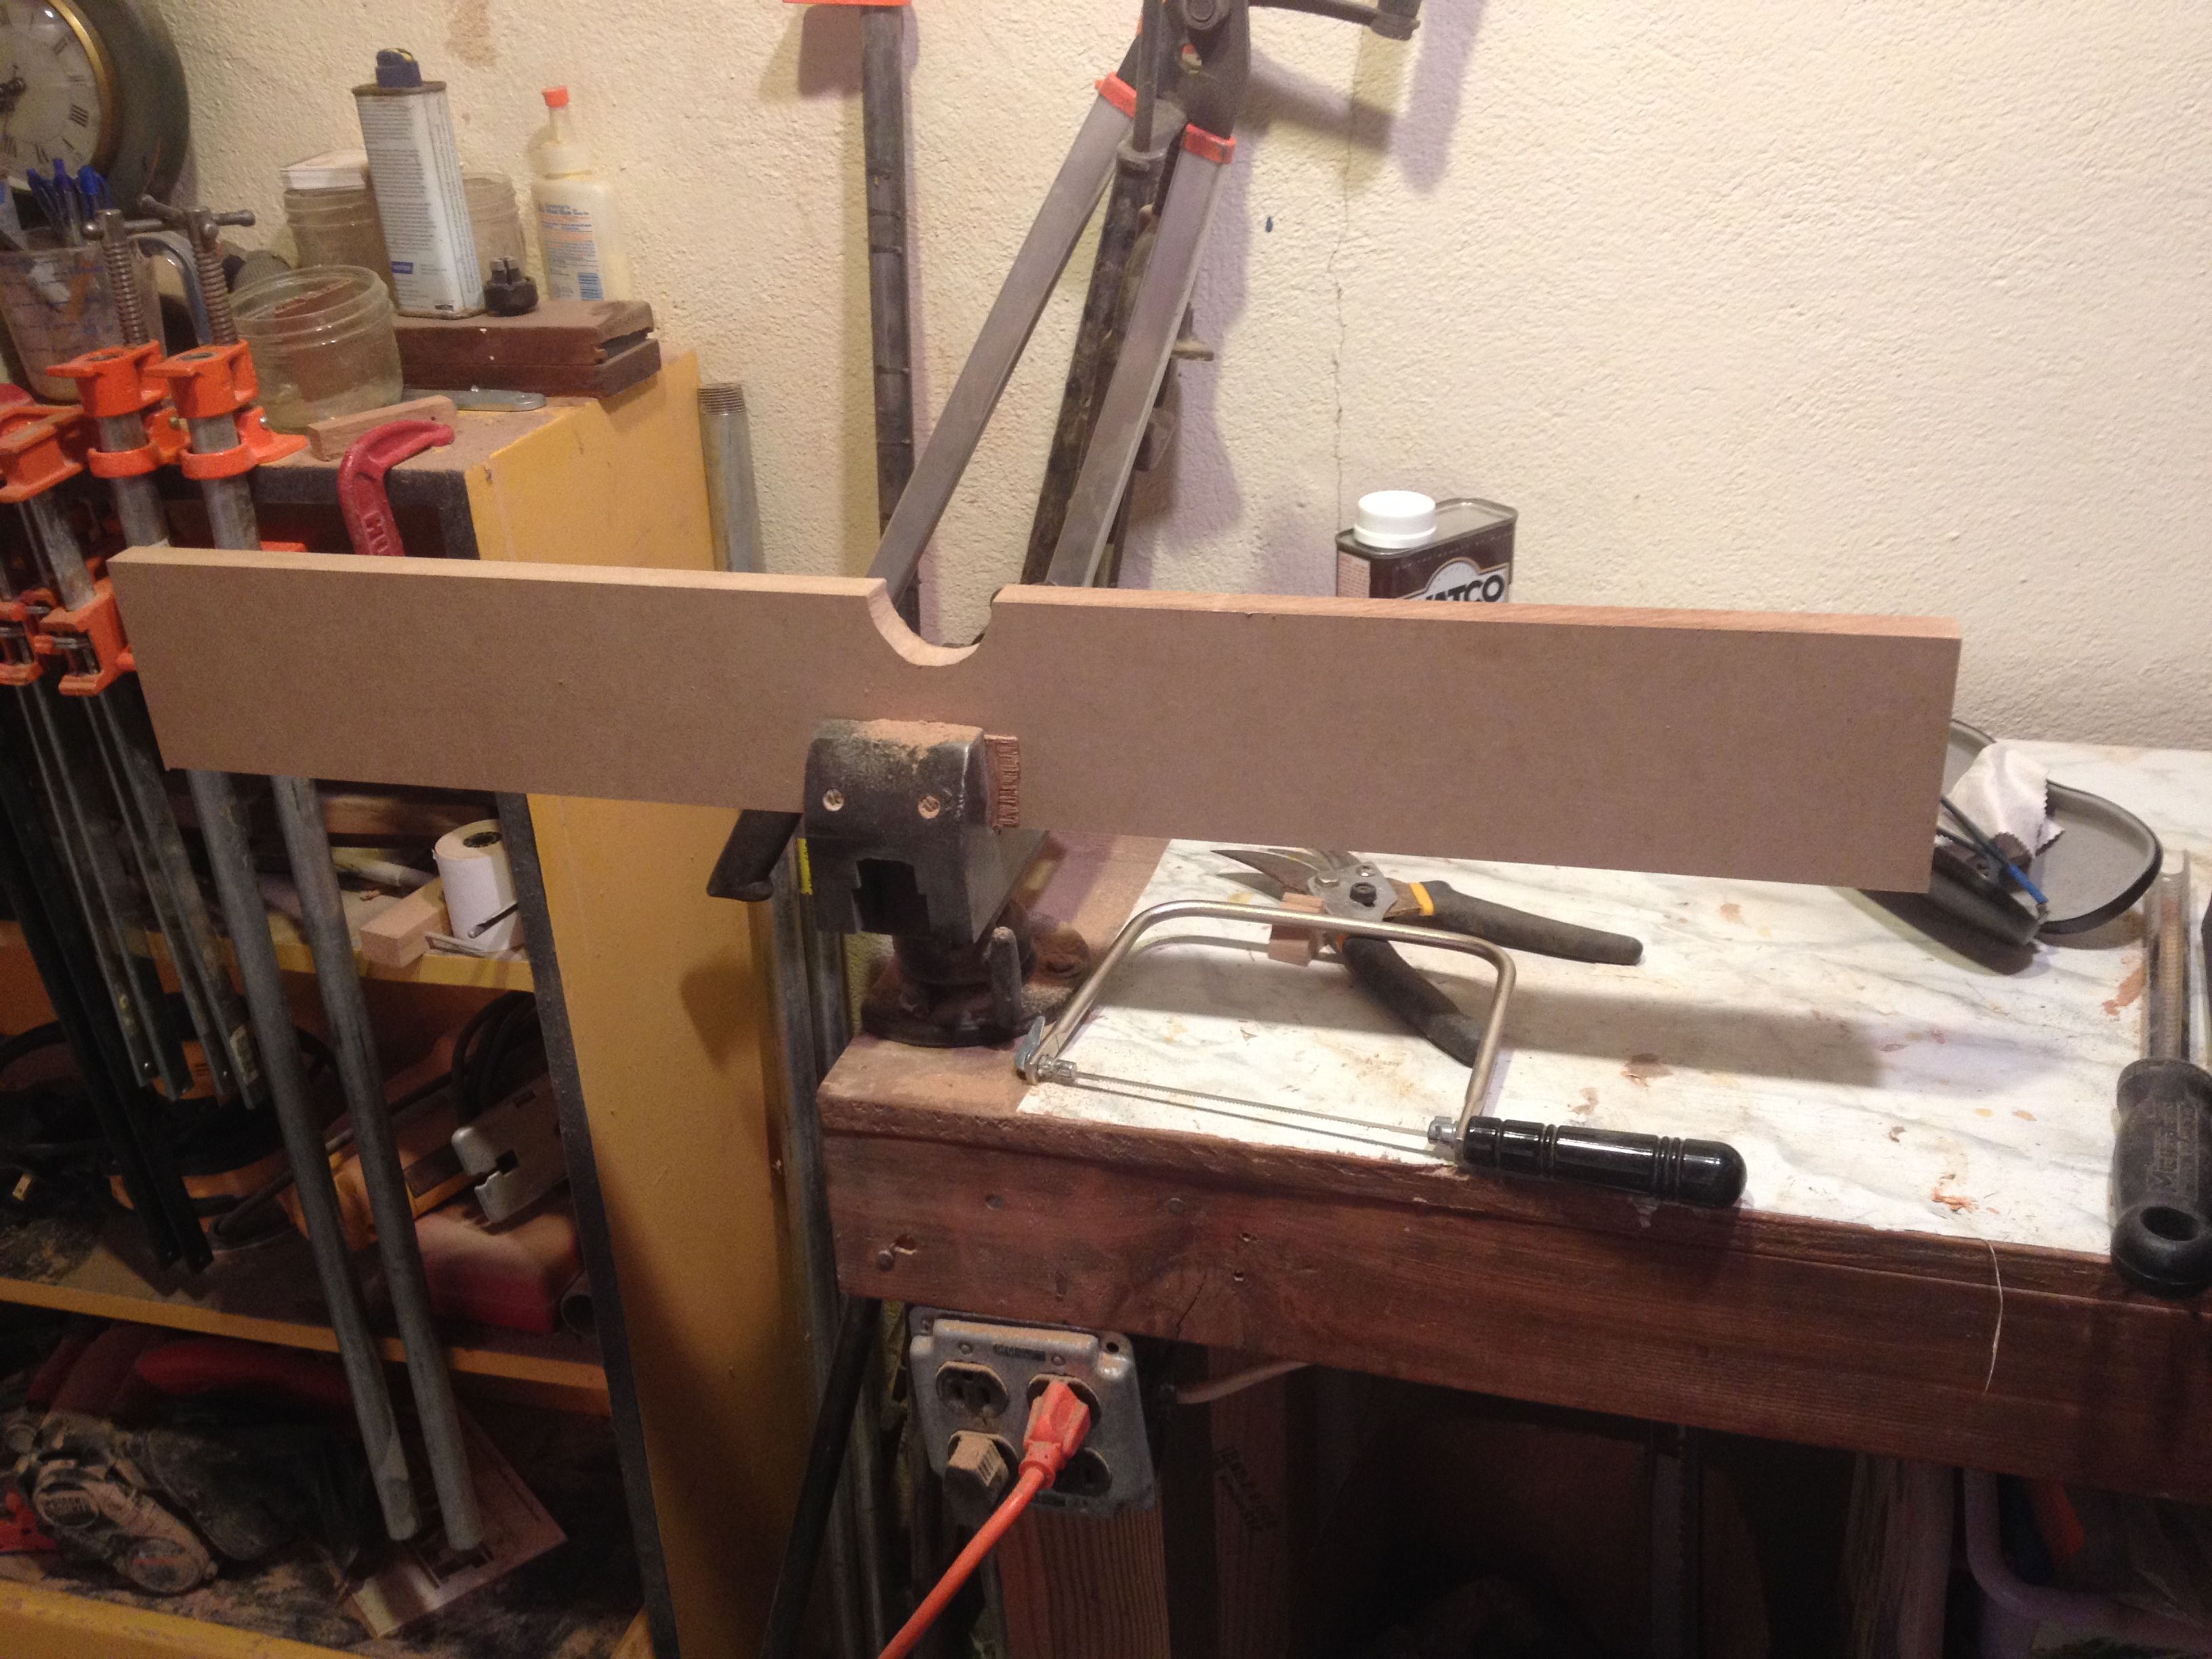 |
| Holes easily cut in fence with coping saw |
I don't have room in my shop for another large, stationary power tool. Furthermore, I don't expect to use a router table every day. I want to be able to set it up, use it, and then break it down and store it out of the way. Thus my fancy base will be... adjustable saw horses!
I adjusted the horses to their maximum height before clamping the table to them. This put the surface of the table at about 41 inches -- just about perfect for routing.
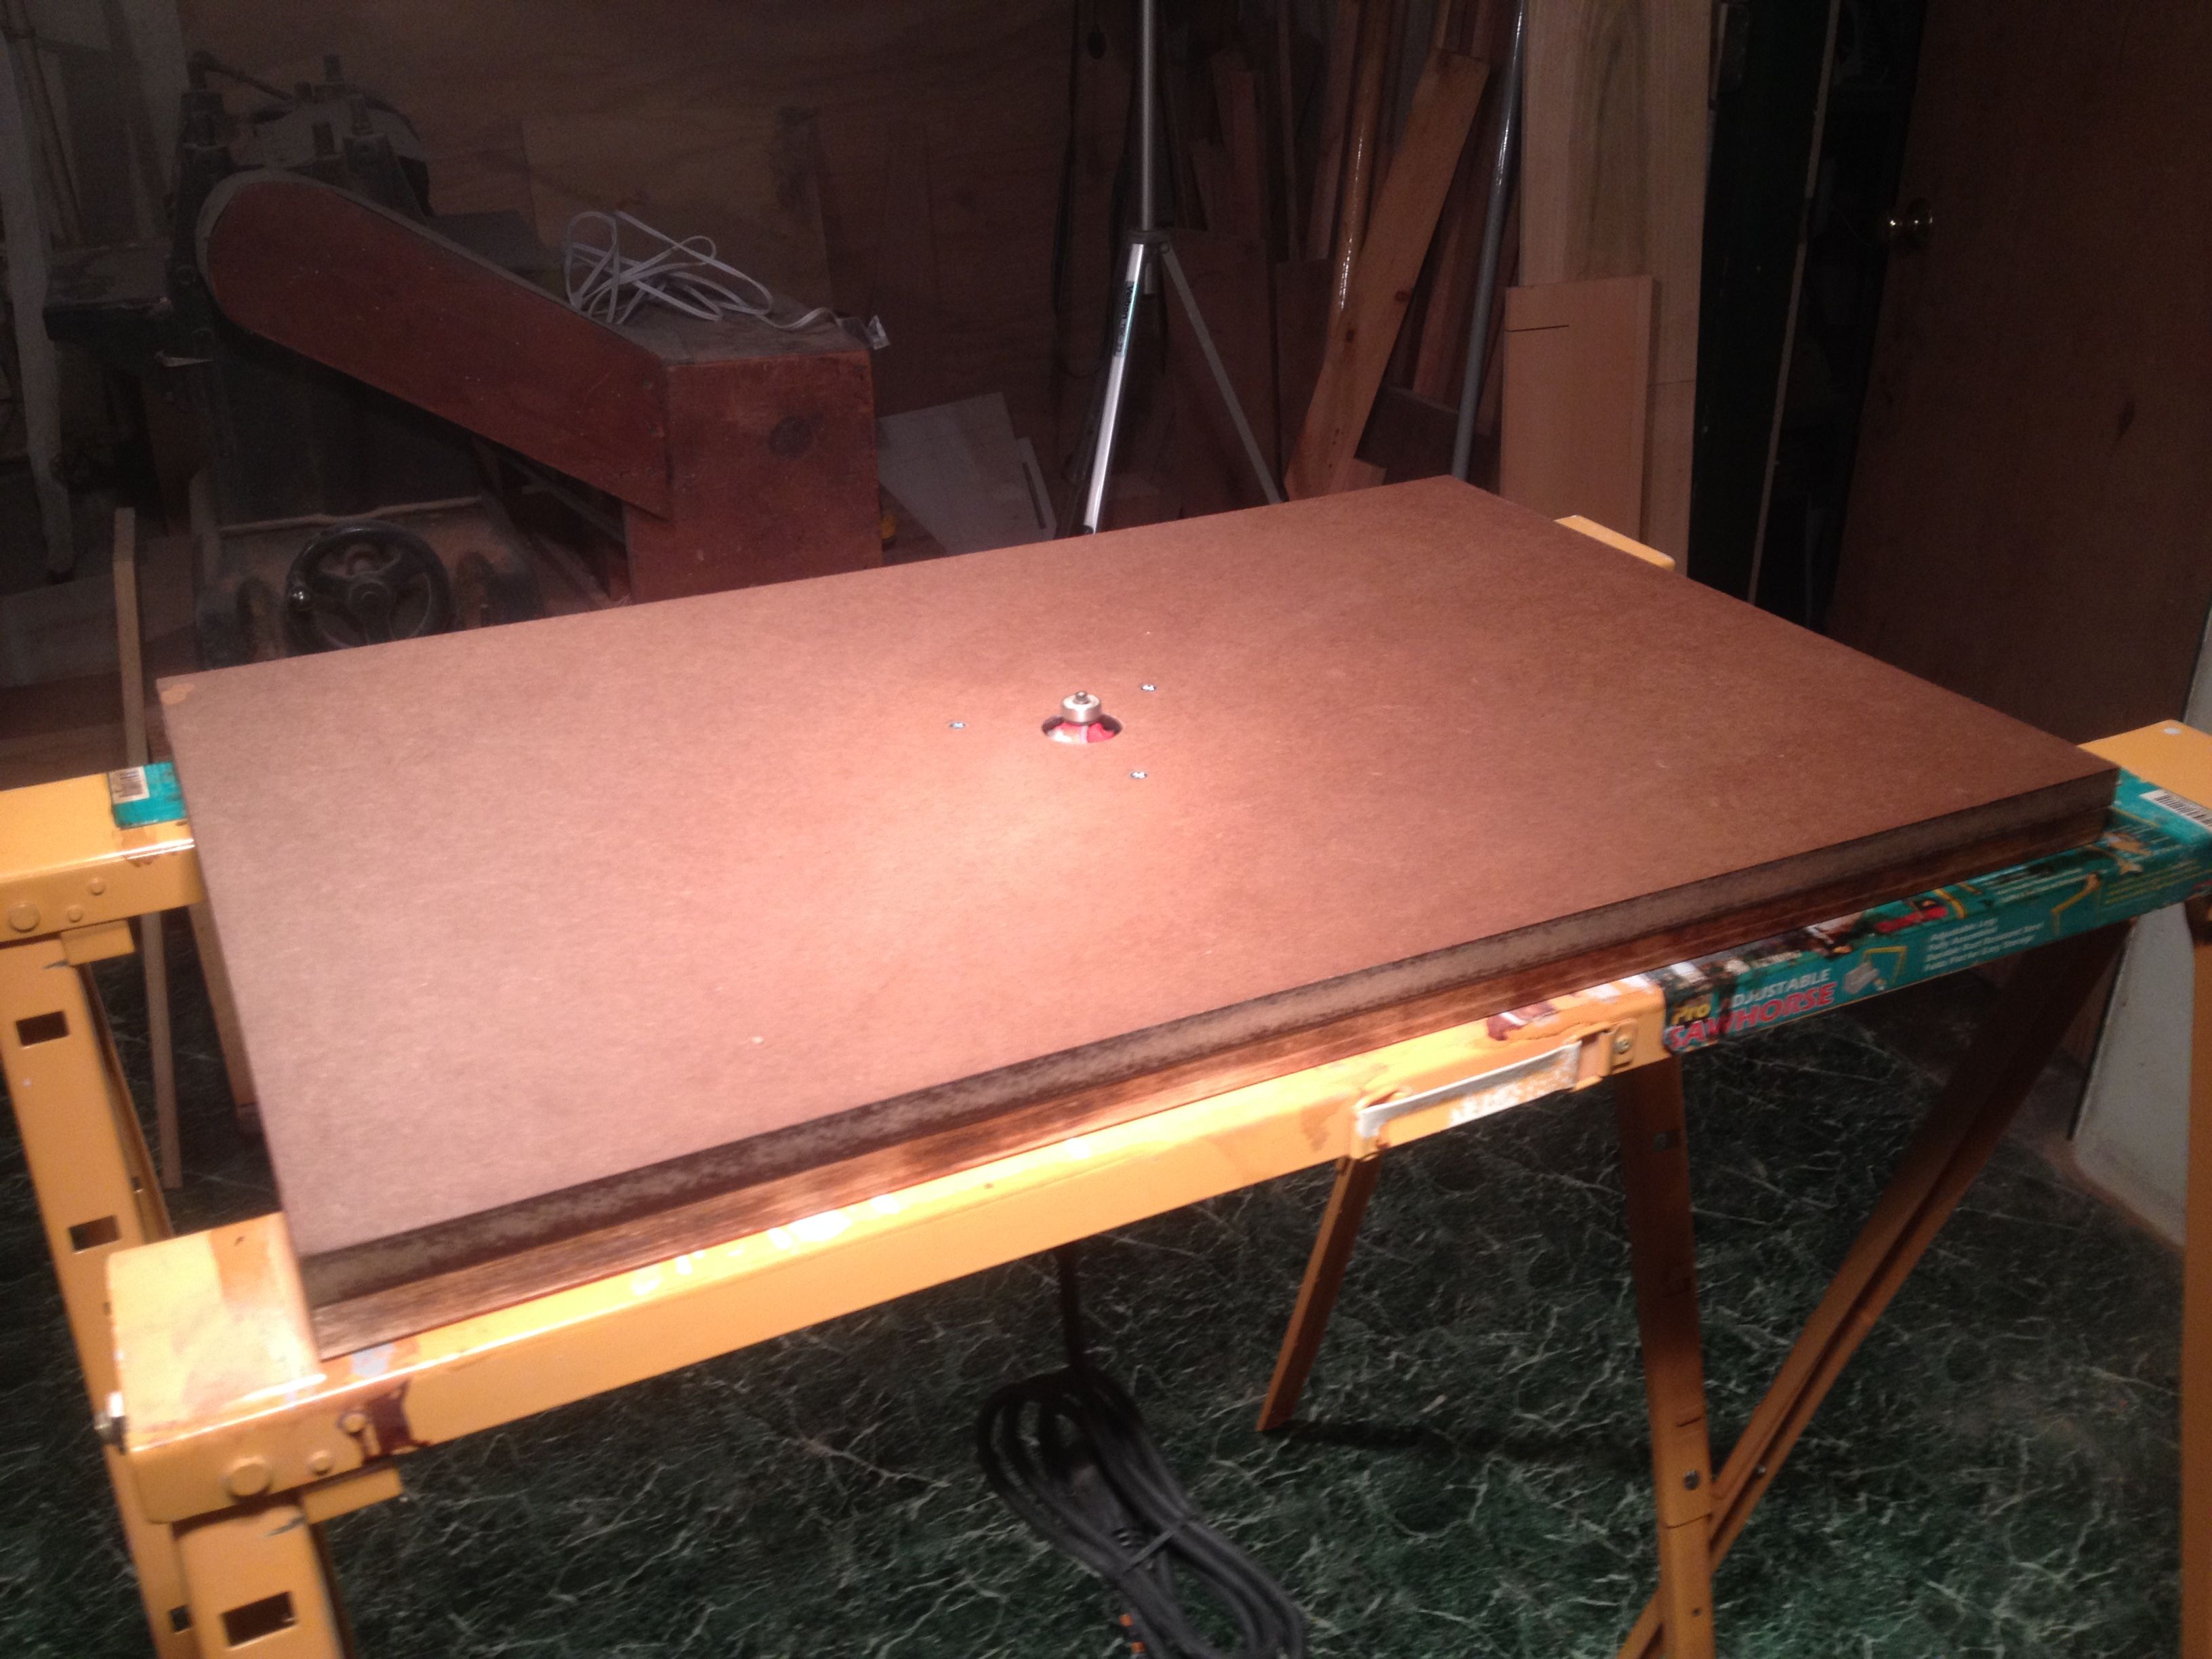 |
| Adjustable saw-horses provide high, stable base |
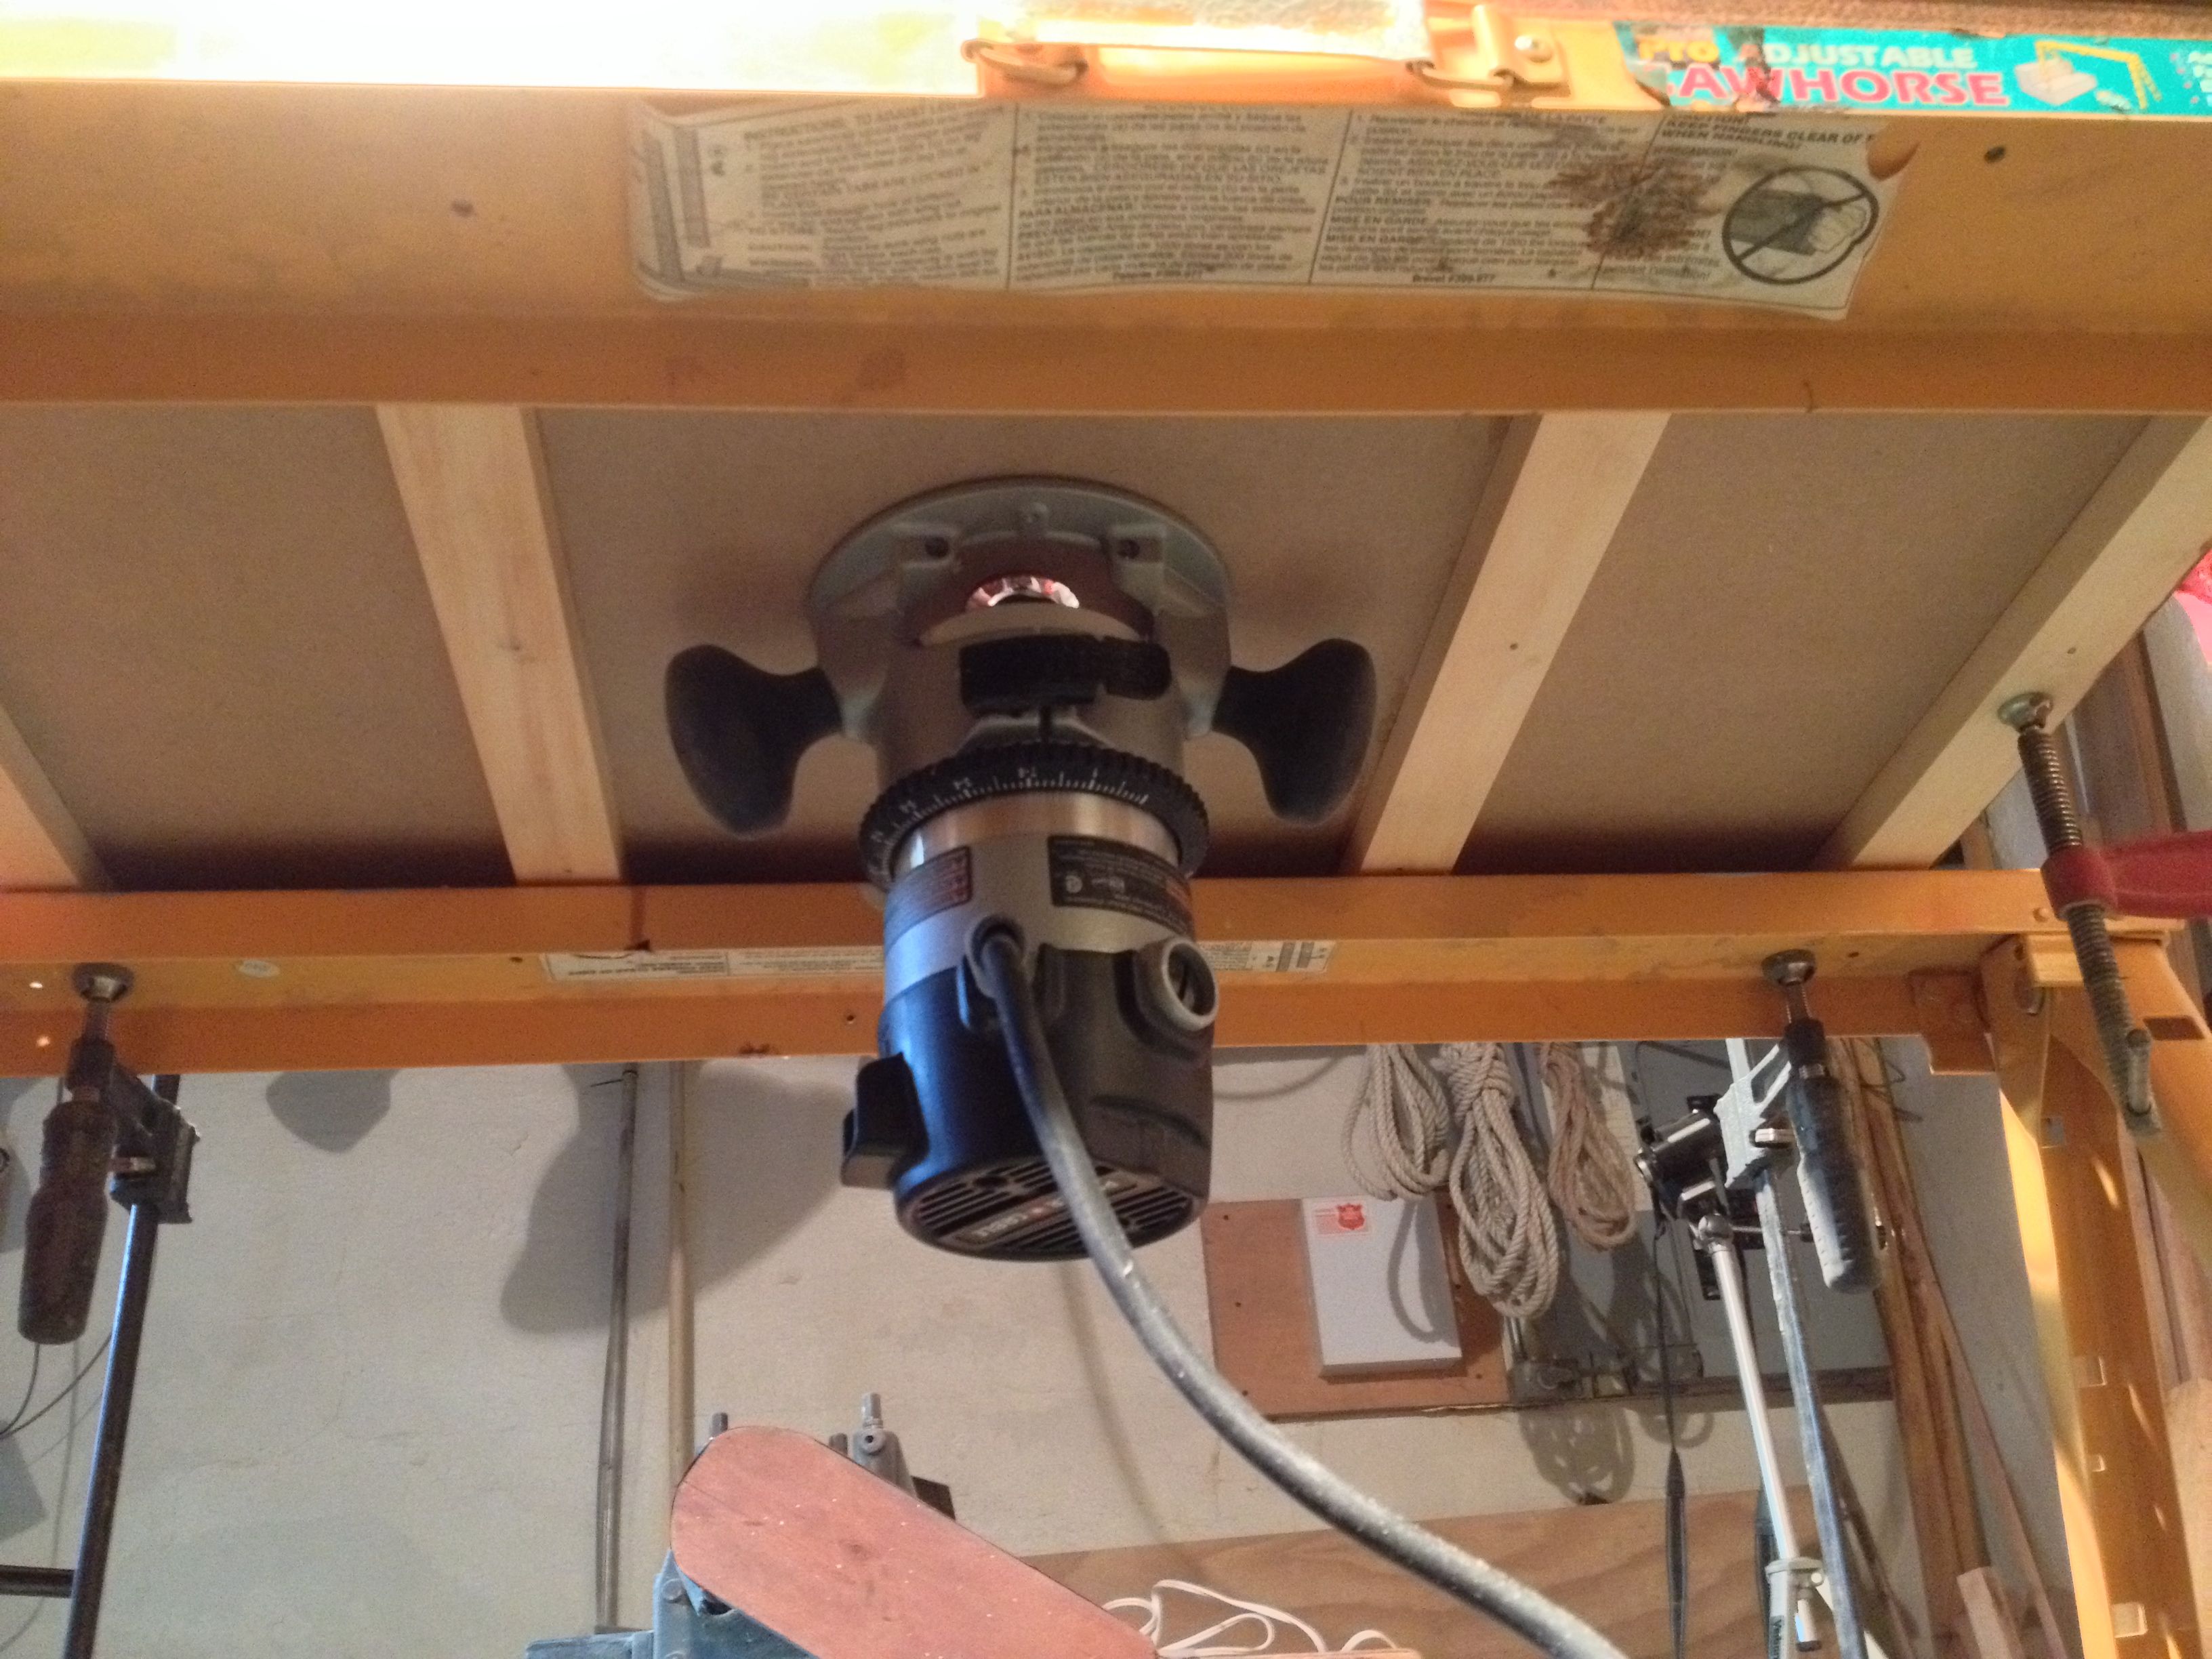 |
| Router is easily accessible for adjustments, on/off switch |
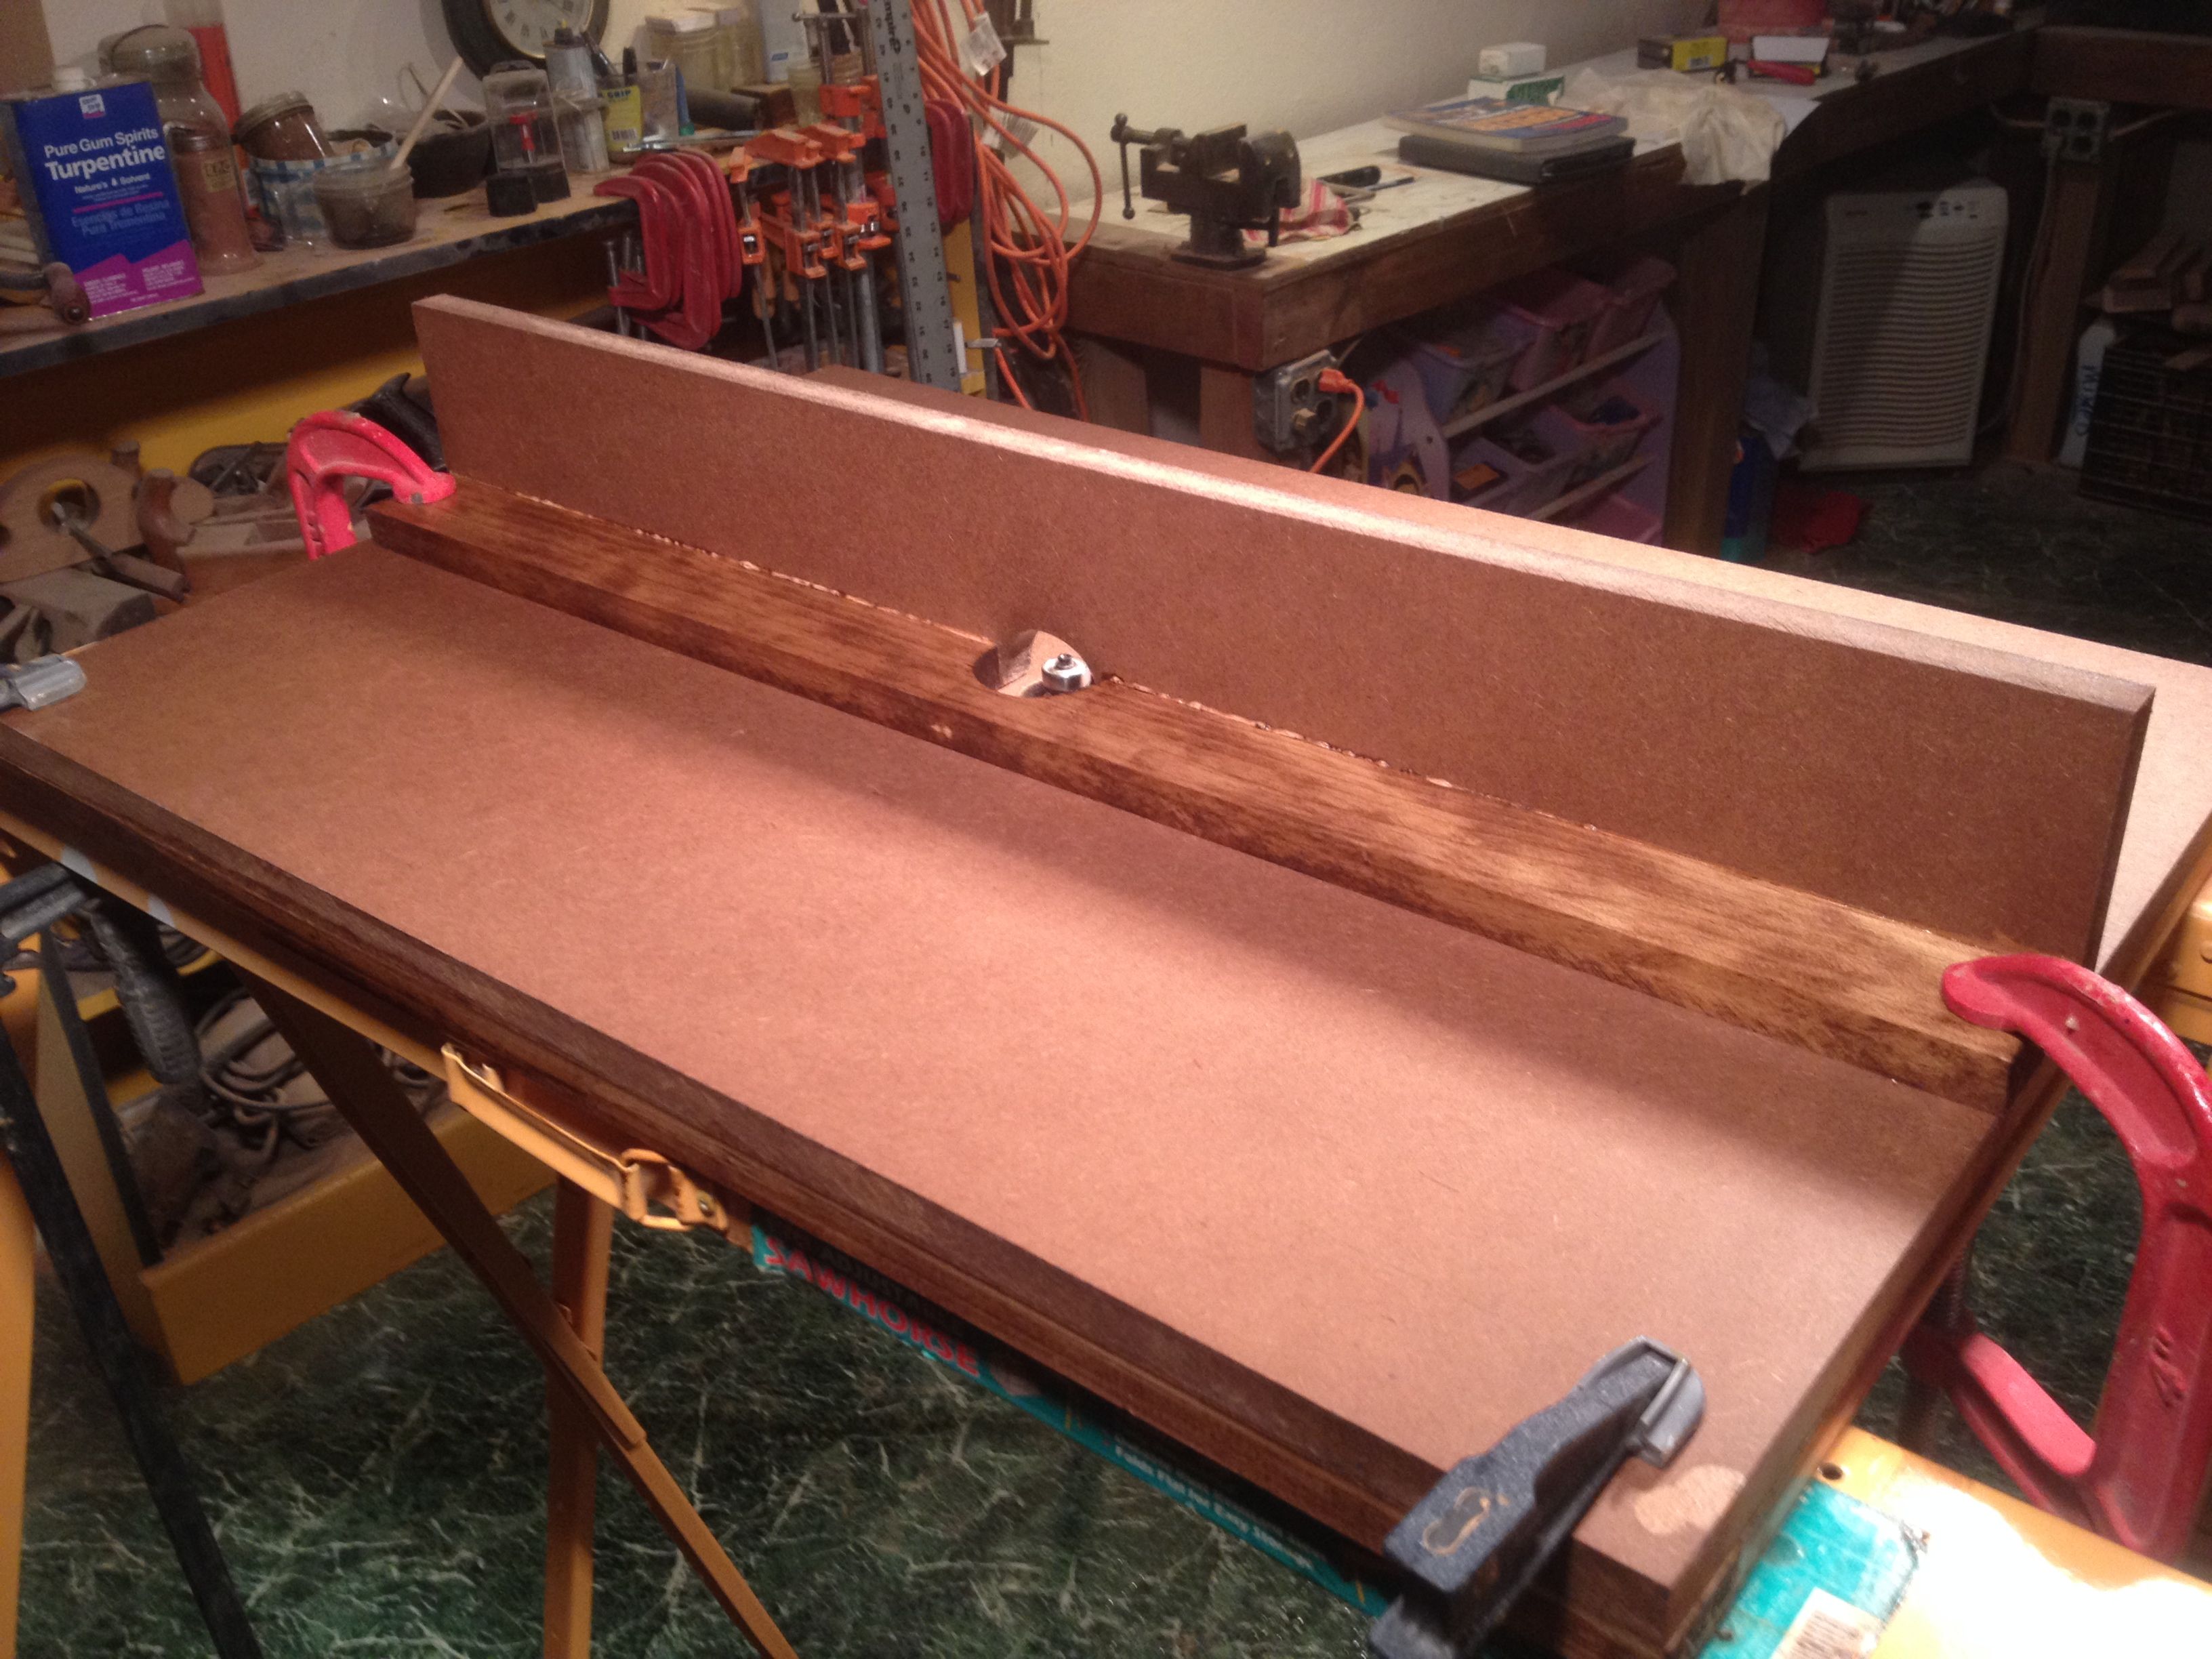 |
| Base of fence also has hole for bit |
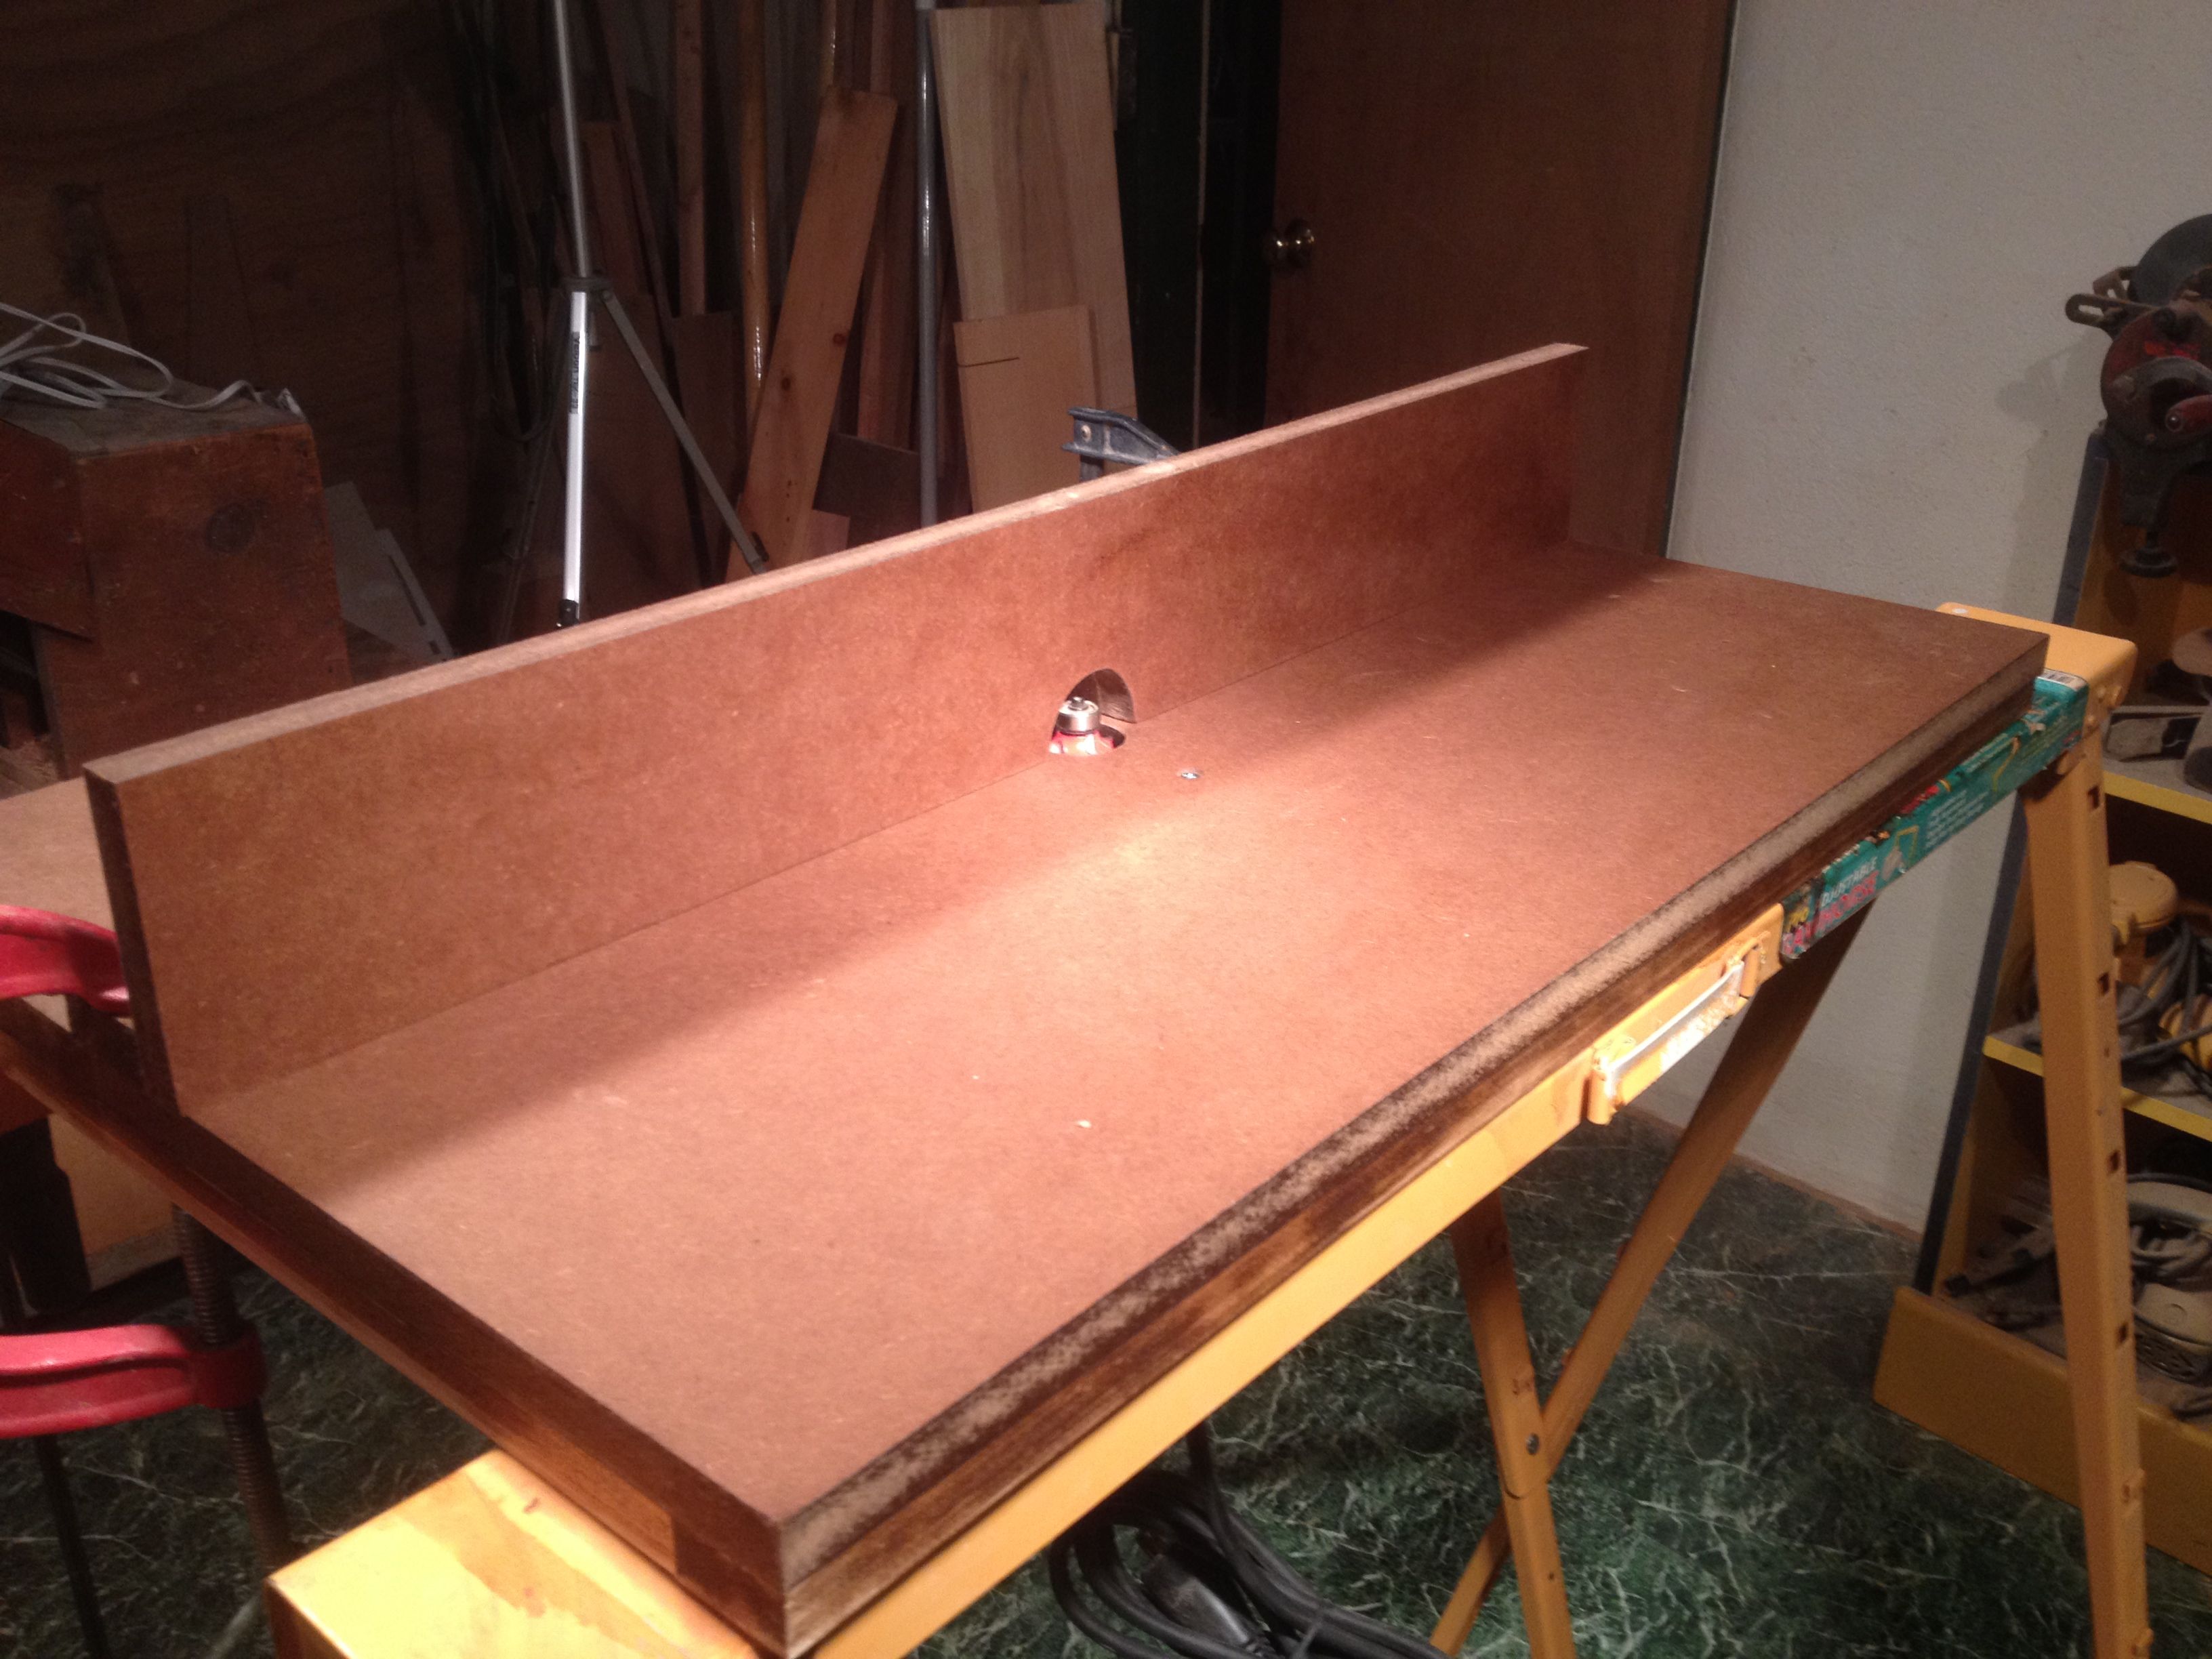 |
| The business side of the router table |
Then, I uncrossed them, because it's awkward and probably dangerous to use a router with crossed fingers, but you get what I mean.
Anyway, it worked beautifully!
 |
| First test with piece of scrap wood... perfect! |
And speaking of rounding over small pieces of wood... That's exactly why I built this table in the first place. More on that, next time.
Next Episode: The Art of Design
Very nice.
ReplyDeleteGood to see that the fence is held on with G cramps - they're much less prone to slipping under the vibration than the quick release clamps holding the table to the saw horses.
H'mmm. I'll have to remember that. Thanks.
Deletevery cool
ReplyDeletemade mine from 3/4 birch ply
bolted to metal tool stand that provided stiffness
That's sounds great. I wish I had room for a permanent table.
DeleteNice job, I made a similar table years ago but with permanent legs and it does take up too much room so I think I will go to the saw horse idea as well.
ReplyDeleteYes, those adjustable saw horses are pretty handy.
Delete