Somehow I lost count of the days, but I think it is actually 26 days from when we left Annapolis, so I am adjusting the title of this blog post and skipping forward a few days.
Well, today I thought my big news was going to be how well the second pizza turned out. I always make enough dough for two pizzas, and it is always better the second day, I guess because it's had more time to ferment and get more flavorful. I've also refined my cast iron pan baking technique a bit, flattening the dough a little more evenly so it wasn't too thin in the middle, giving the first side 3 minutes, pricking it with a fork to pop bubbles, flipping it over, applying toppings (with a lighter hand this time), and then running it under the broiler to melt the cheese. The crust was better cooked this time, slightly charred underneath, as if cooked in a classic wood burning oven, thick and chewy like good bread. Yum! Better than using our not very hot oven, and a lot easier. I'd even say it was the best pizza I've had all year, including from restaurants in Montpellier. Now if only I could deep fry chicken wings…
Anyway, not that I'm food obsessed or anything. The other big news was going to be my solution to our lack-of-wind problem. This would not be a problem if we had more fuel, but we are low enough that I really don't want to run the engine anymore except to charge the batteries and for the final push into whatever harbor we end up in. So when the wind dropped away to 5-6 knots, more or less directly from behind, I dispaired. Running dead downwind in light wind is the worst point of sail for any boat, but especially for Petronella because we don't have one of those gigantic downwind sails. I thought about buying one for this trip, but everyone said the number of days I'd need such a sail on this crossing would be very few, if any, and that has been correct. But now I needed something to keep us going.
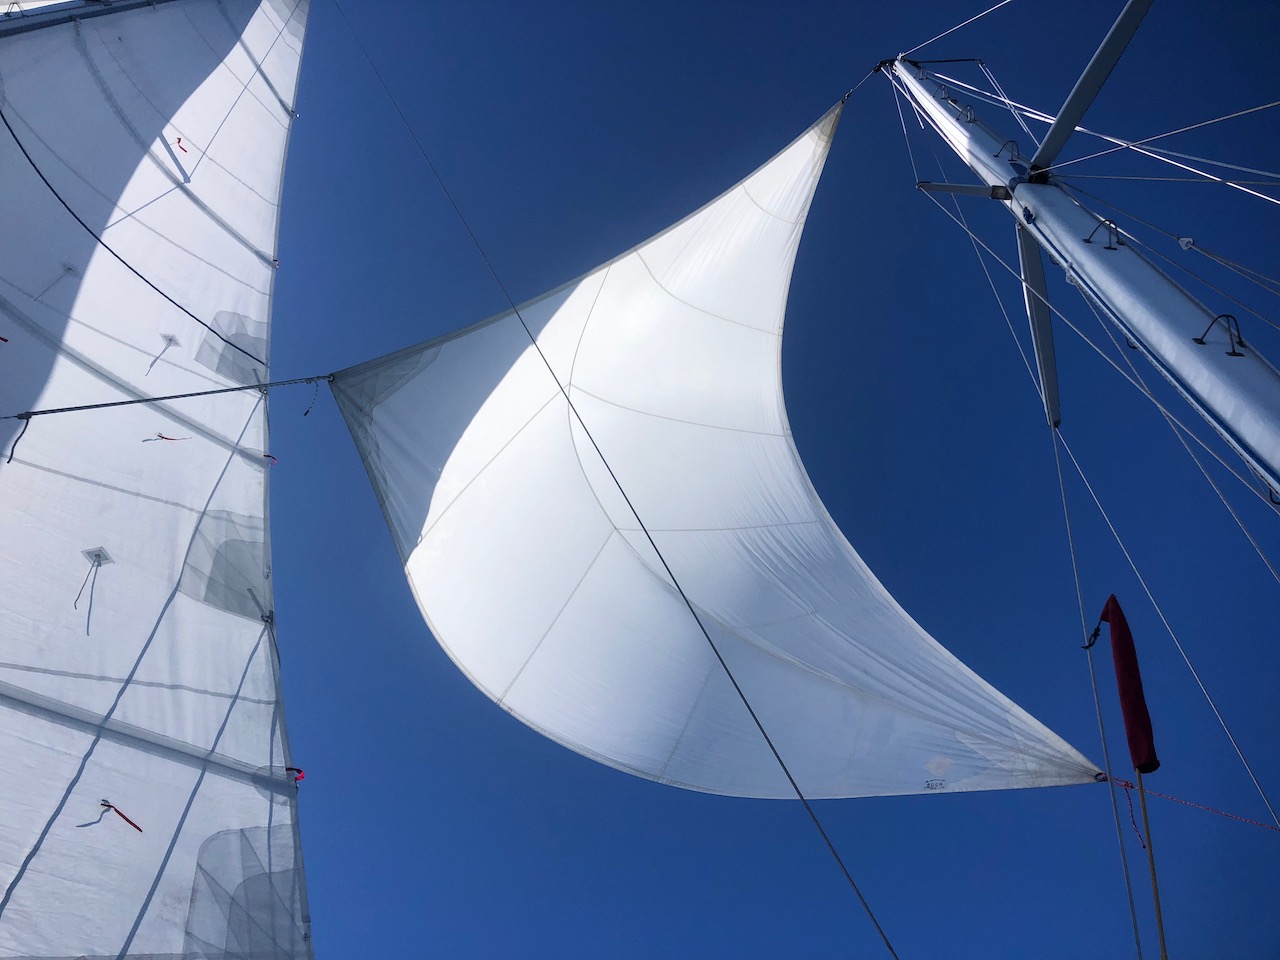
Anyway, after a think, I decided to try setting twin headsails, that is, putting out two jibs, one on either side of the boat.
We first hoisted Orion, our cruising spinnaker, to starboard. Then we poled out our working jib to port. This means we used one of our long poles to hold the jib out to port, so it couldn't swing over to starboard even if the wind tried to push it that way.
Then we fine tuned the direction of the boat so that the wind was blowing either directly from behind, or slightly to port. This kept both sails filled as best as possible.
This was the first time I'd tried rigging twins, because it's a lot of work (1.5 hours to set up!) and not worth the fort unless they can stay up for a good long time. In this case, the forecast led me to believe we could leave them up for at least 24 hours. That made it worthwhile to do.
Anyway, the results were amazing. Neither sail is particularly big, but the two of them made for a big spread of sail, probably about 800 square feet. We were able to make 3-4 knots with 6-7 knots of true wind. Very respectable for a 25,000 lb. boat, I think, and much faster than we would have made with just our normal working sails blanketing each other at maximum inefficiency.
We set up the twins first thing in the morning, and had a fabulous day running easily down wind, with not much rolling, and a hot sun which kept Helena happy in the cockpit, sunbathing and reading her 'trashy novel' (her words, not mine.)
In the late afternoon it was my watch. We were about 27 miles from Faial, the most westward island in the Azores, which we planned to pass close by. Of course it was too far away to see the island itself, but there was a bank of clouds in that cloudless sky, on the horizon in the exact direction of Faial. I was sure the clouds must be right over the island. You often read of such things, clouds over an island being a classic way to find such islands from far off.
I felt pretty smug about figuring this out for myself, and looked forward to mansplaining this to Helena when she got up from her nap.
Then I got a text from my son Chris, who has been following our tracking page pretty closely, I guess.
'Did you spot land over the horizon? I can see an island nearby on the map, but I have no idea if it's over the horizon,' he wrote.
'At the moment, Faial is about 27 miles away, so it's well over the horizon, but I can see what I think are clouds over the island! They are in the right place anyway. We should see the island itself tonight, if we are close enough.'
Thinking about how long it would take to reach the island at 3 knots reminded me to worry about chafe, so I got my binoculars out and started inspecting what I could of the various lines holding the sails up, down and out. I didn't want any of those lines chafing through and ruining my peaceful afternoon. I didn't see any obvious hot spots, but I changed the nip of the jib sheet where it went through the end of the pole, and thought about putting some chafe guard on the Orion tack line, where it was rubbing against the jib furling drum, and then casually pointed my binoculars towards that mysterious cloud bank, wondering if I could possibly see the tip of a mountain, or other sign of the distant island.
At first I saw nothing, just the clouds hovering on the horizon, but then I had a real double-take moment.
Was that…? Could it be…? Yes, it was!
What I saw was a mountain, nearly as blue as the sky, reaching right up to those hovering clouds! The color of the mountain hid it from the naked eye, but with the binoculars, where it was, big as bold, and extremely impressive to look at.
This is not something my brain was prepared to see. Not at all. The east coast of the US is flat and low, for the most part, and invisible unless you are within 5 or 6 miles. So a mountain, clearly visible from 27 miles away was absolutely unexpected and stunning to see.
'Oh wait! Yes, I can see the island with binoculars! Land ho!' I wrote to Chris.
'Whooo! Glad I asked!'
'Amazing! We did it (almost!)' I wrote. No need to tempt King Neptune with hubris, of course.
'So exciting!!!'
Just then, Helena appeared in the companionway, looking a little sleepy. Very casually I explained my theory about the clouds on the horizon being a good clue as to the location of Faial which was, of course, still too far away to see, but I got her into the cockpit and casually coaxed her into taking a look at the clouds.
She did, without a huge amount of enthusiasm, and I waited a few moments, happy in anticipating the excitement that soon lit up her face.
'Oh my God!' She said, gripping the binoculars tighter, and focusing on what she thought she saw. 'I can see it! Mountains! Land ahoy!'
Her English is so adorable.