 |
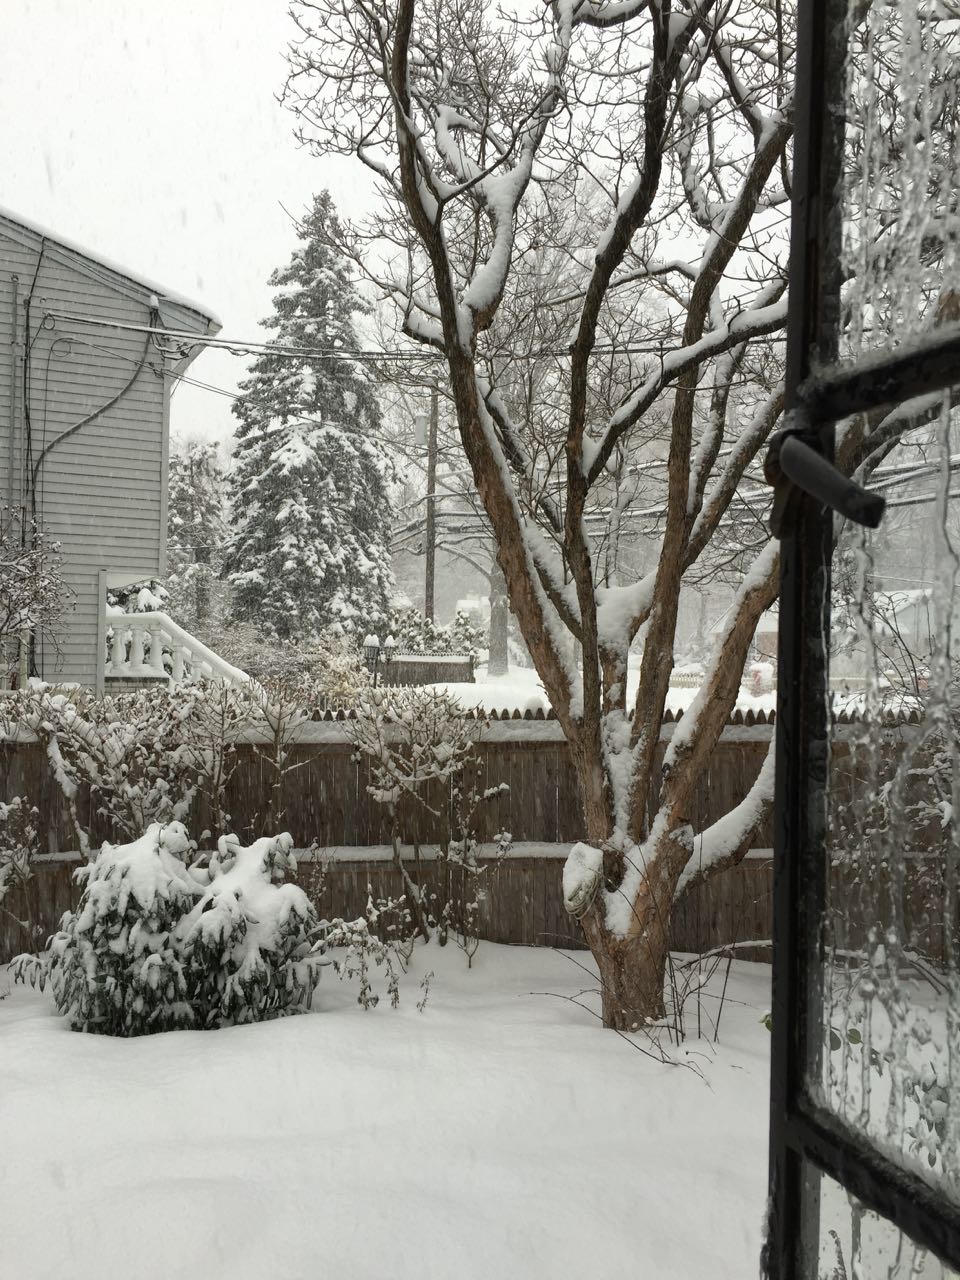
| Spring's around the corner? |
The article this bench is sourced from called it a 'weekend project'. That was a bit optimistic, particularly after I made the decision to build the front piece not from 2x6s, but from hard maple.
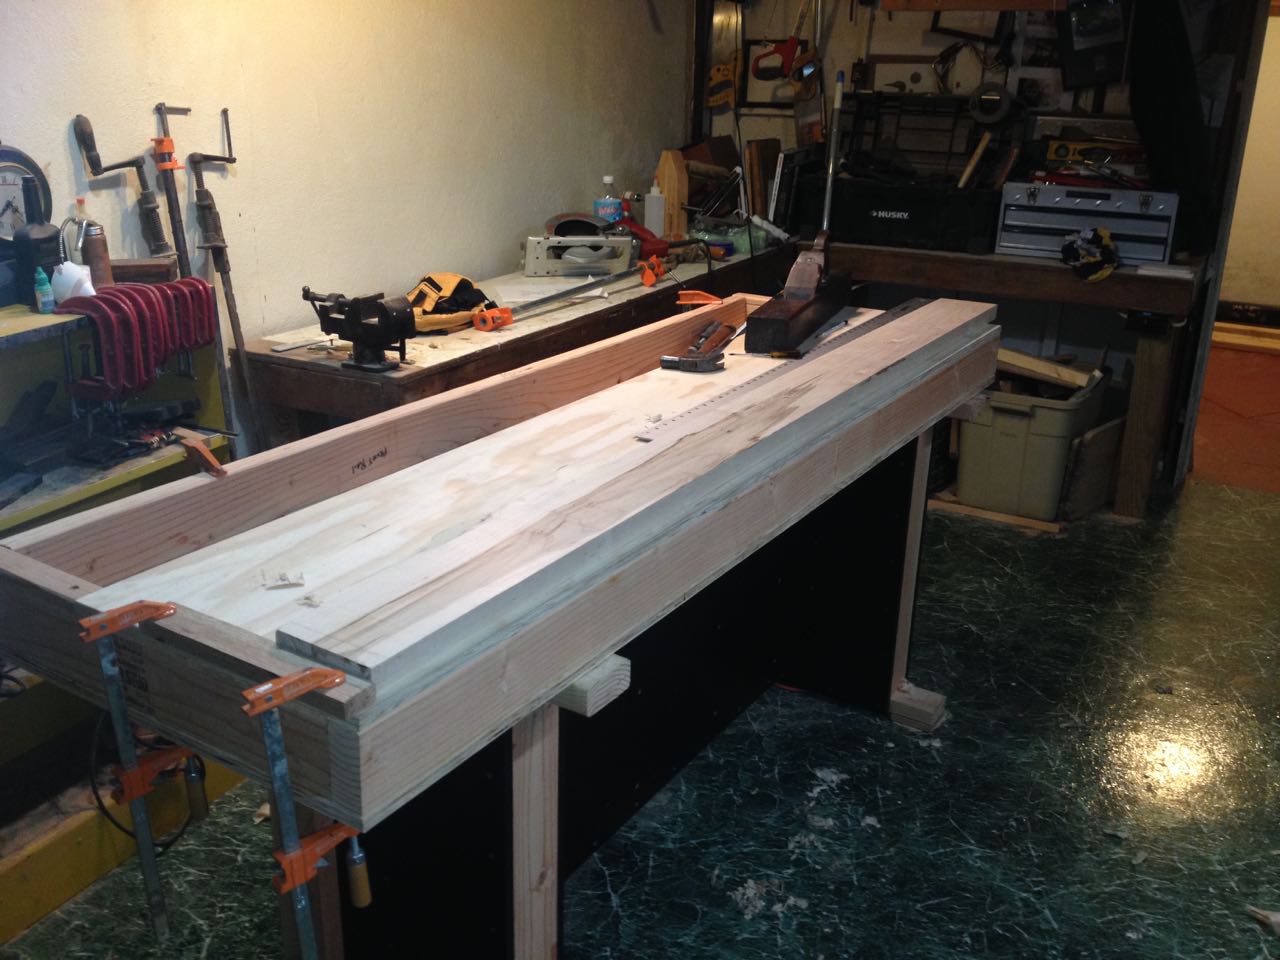
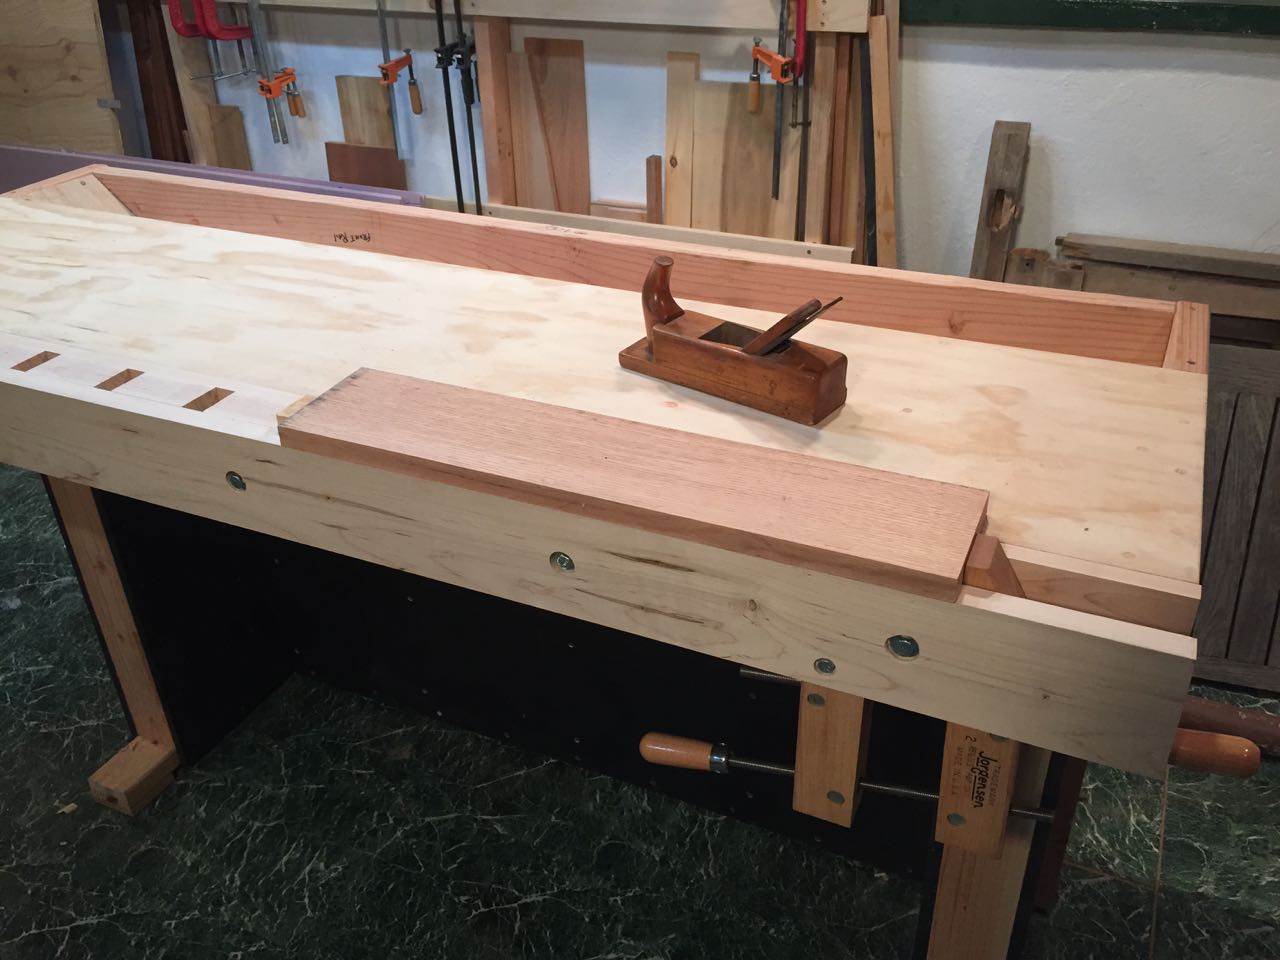
As you can see from the photos below, the front piece is made of two long pieces of maple, with several short pieces in between, leaving gaps for rectangular bench stops.
I built this using rough-cut maple jointed by hand with my old wooden jack plane. The boards had quite a bit of wind in them, and it was quite a challenge to get them straight with my simple tools and (very!) limited skills, but with many cups of tea supplied by Helena, I finally got them straight.
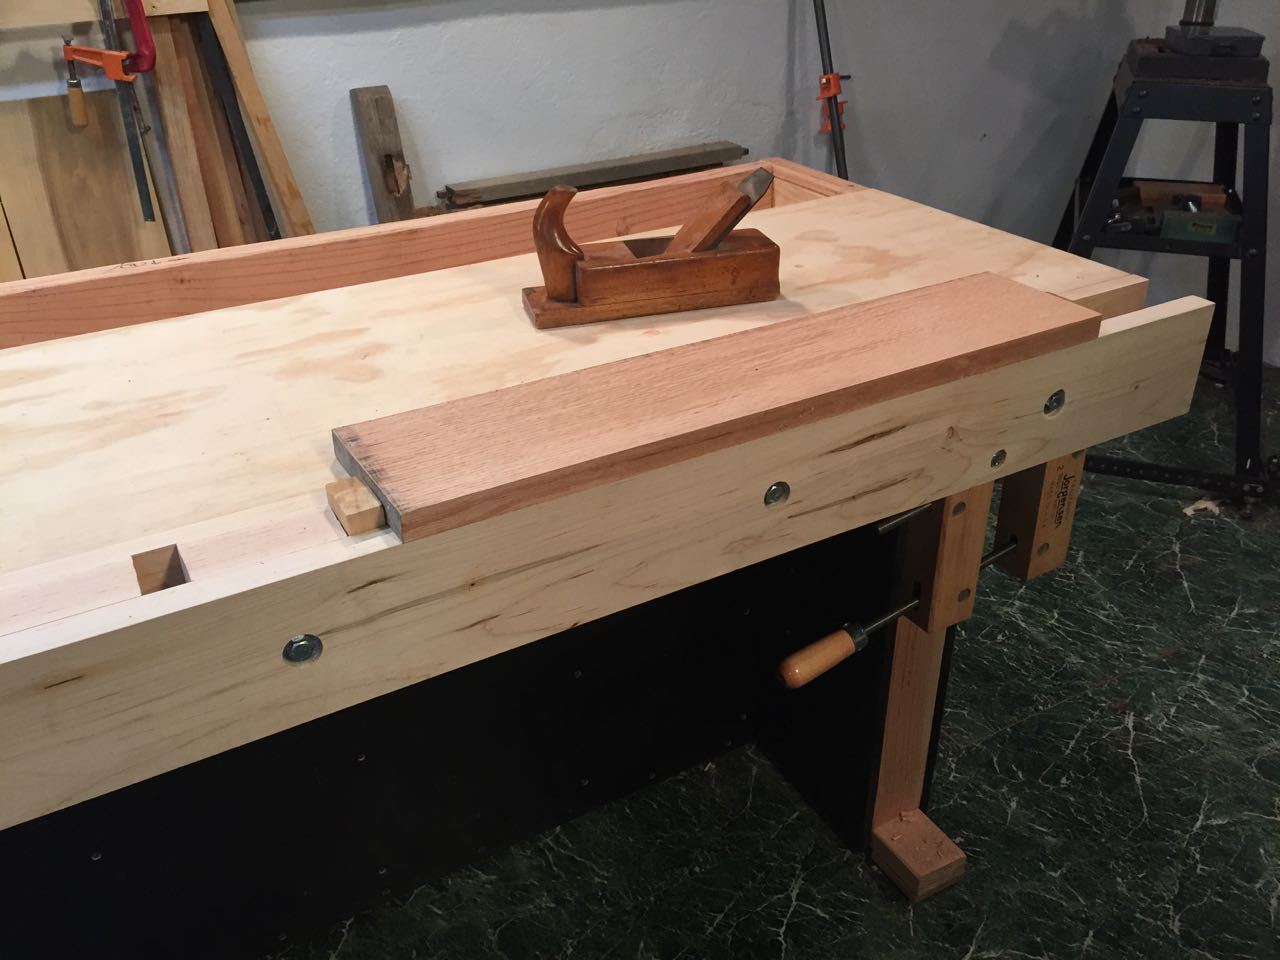
Having the main part of the bench built made the job much easier, of course, because it was already a better bench than I'd ever used. Planing the faces was done with a simple stop clamped to the edge of the bench, and to get the edges square, I clamped the piece to the front of the bench with long bar clamps.
 |
| Planing with just a clamped bench stop |
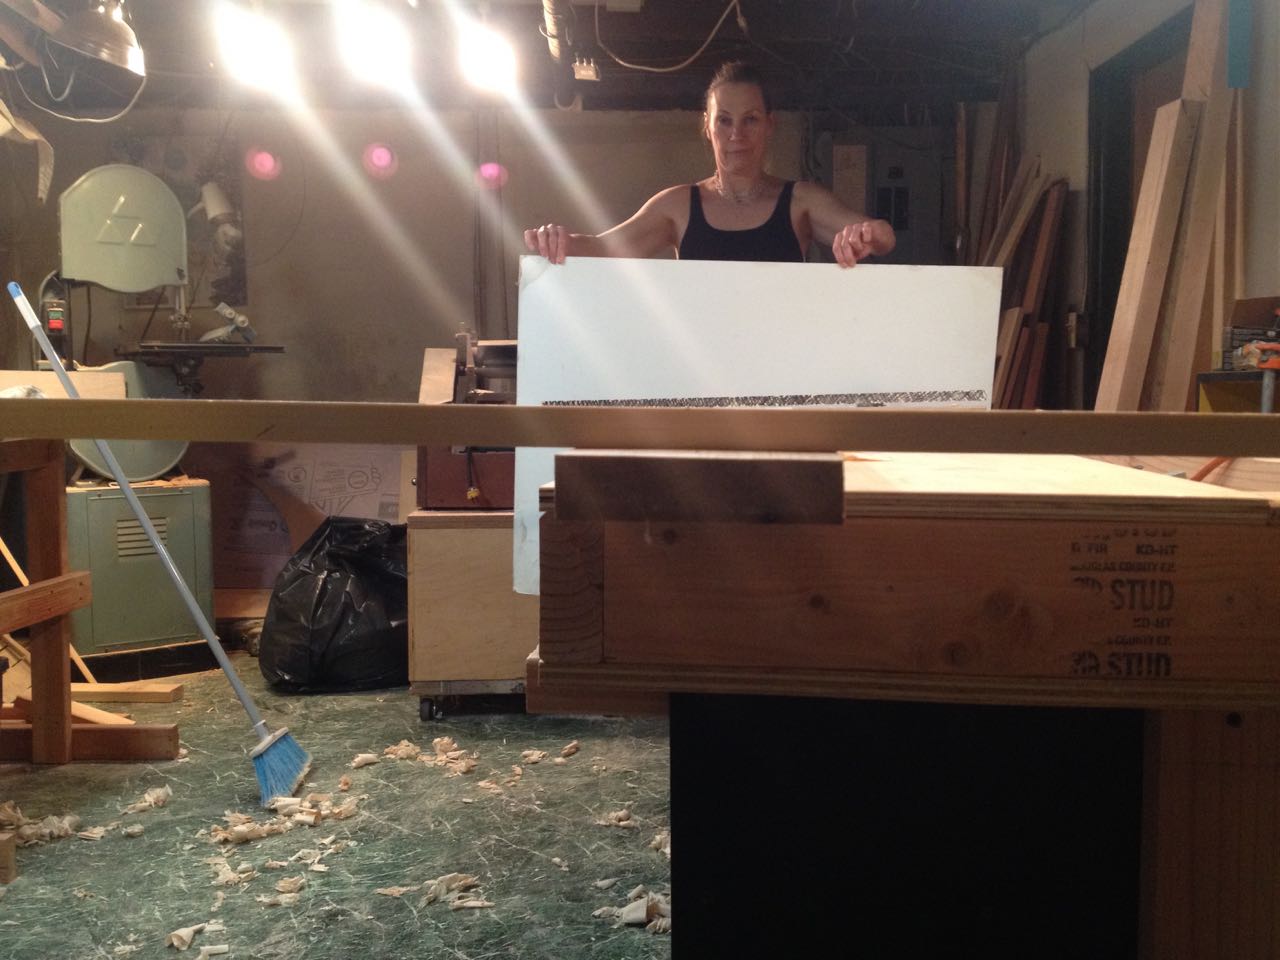
If you don't know, winding sticks are just two straight sticks you put across both ends of the board. If there is no 'wind' to the board, the tops of the sticks will line up. Otherwise, the far stick will be rolled up to the right or left, depending on which way the board twists. You can see here, the board twists counter-clockwise from close end to far end.
The technique I used to get the wind out of the board was to plane primarily from the front-left corner, to the back-right corner. This takes the wind out fairly quickly.
 |
| Using winding sticks to see how much wind there is left to plane out |
My key strategy with this was to focus on the inside of the edge, leaving the ends high, because I tend to round off the ends of edges. By getting the inside part of the edge flat first, I was then able to quickly plane the ends flat.
Since I'm not very good at planing, and my plane is... well... less than perfect, shall we say... this took a long time!
And then there were two more to do!
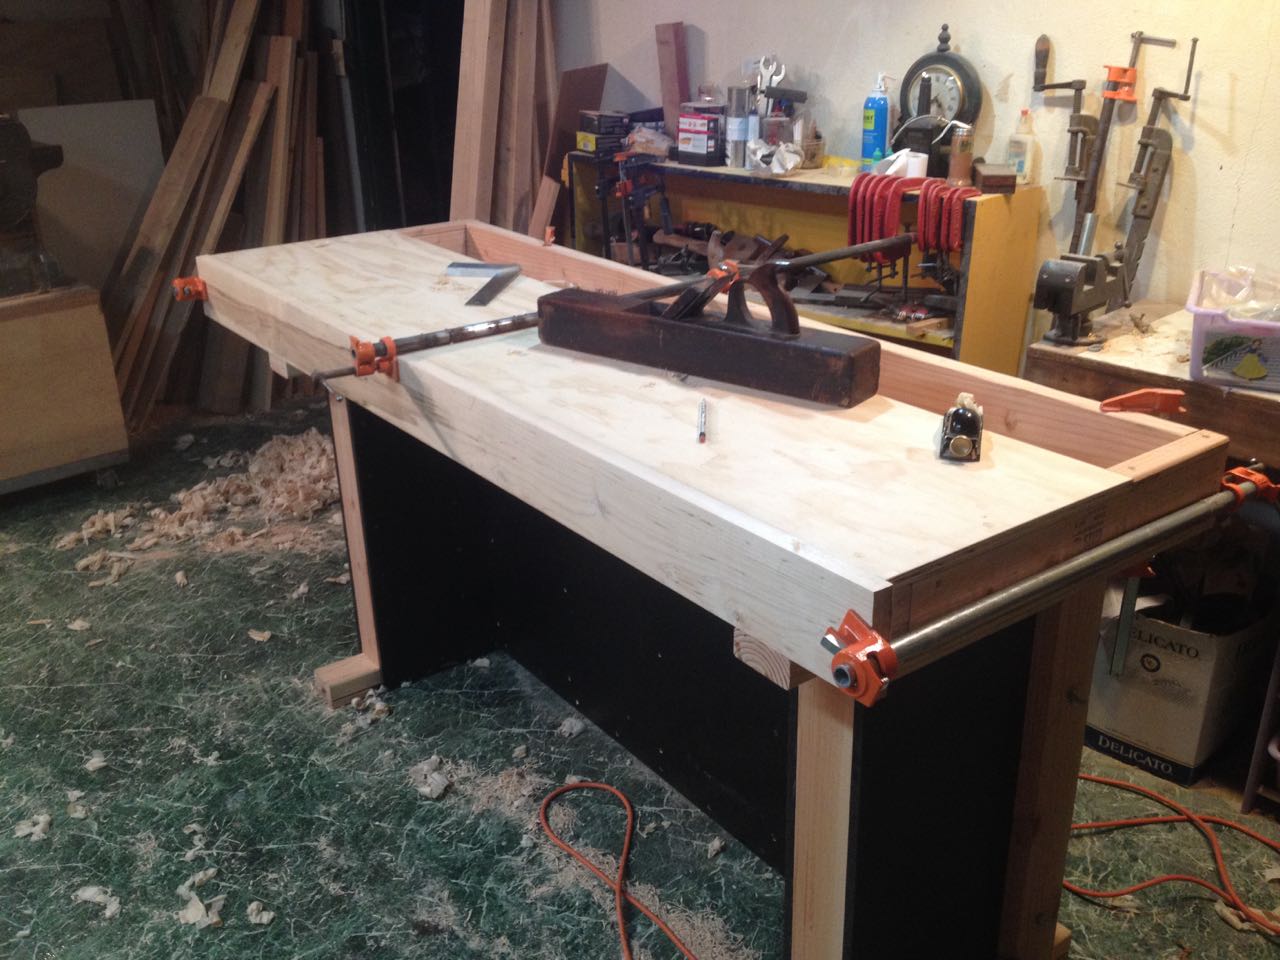 |
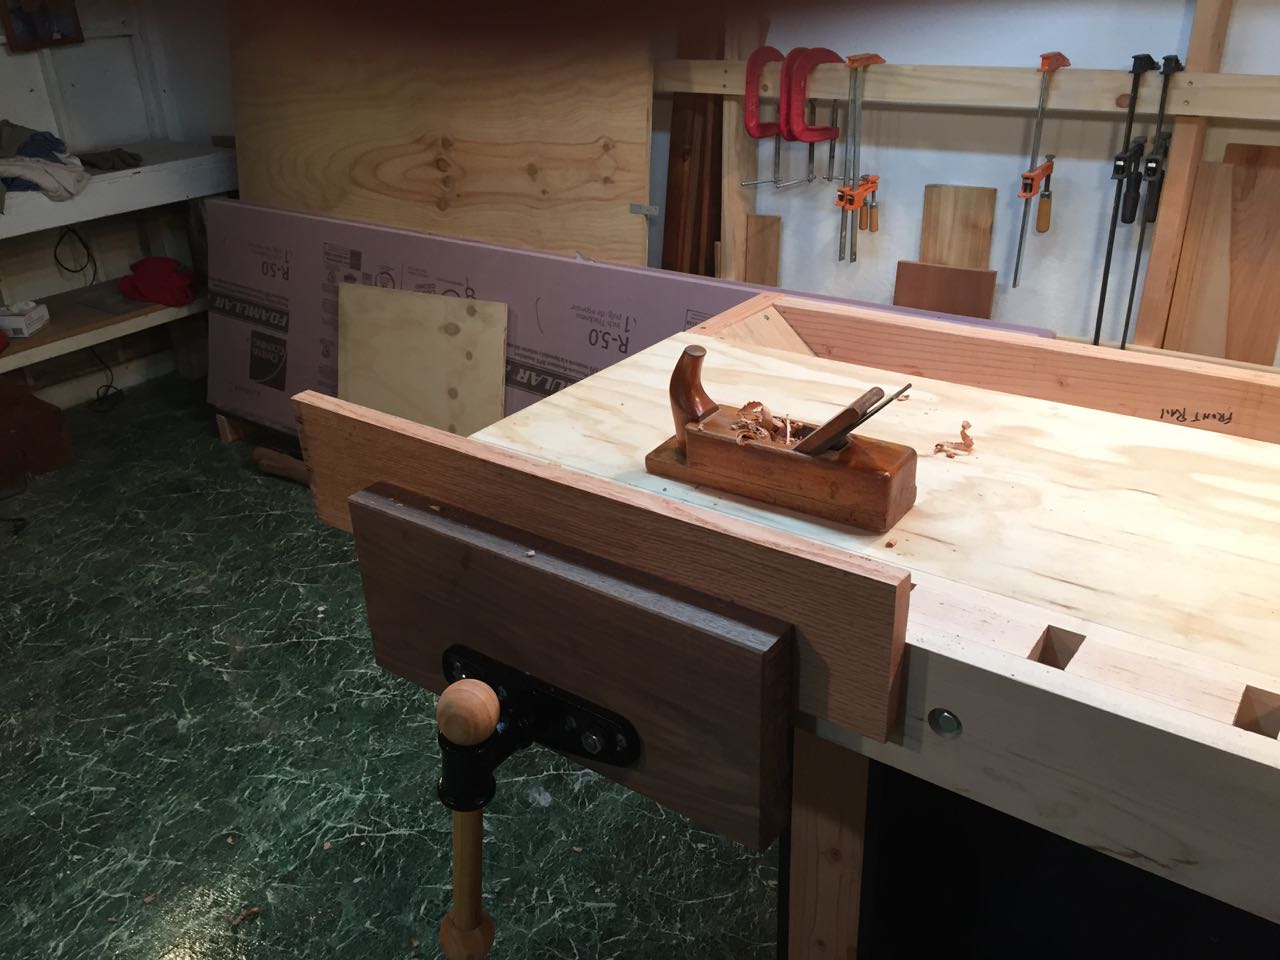
| Planing the edge of the board... Not sure why I had the third clamp in the middle for this picture! |
 |
| Almost done! |
The front vise was the main expense of the bench, because I wanted a good one. After looking at several, I chose the Rockler heavy duty quick release vise. I'd been waiting many years for a decent vise and I'd learned enough to know that cheap tools are a lousy investment. Even so, it wasn't very expensive, and after trying it out, well worth the little money they ask for it.
'Quick release', if you don't know, means you when you turn the handle a half-turn, the mechanism unlocks, and you can then pull the vice front out freely, or push it in. This makes the vise much easier to use, and even after only using it for a few days, I'm glad I got one with this feature.
The vise is fastened to the bottom of the bench front with four long lag bolts. I put washers under the vise for the back bolts to pitch the top of the vise a bit closer to the bench. This means the top of the vise closes first, compensating for any wracking, and allowing for a very tight hold.
The vise face, by the way, is a bit of scrap walnut left over from last year, when I made a bunch of cutting boards for Christmas presents. I love my 'scrap' pile!
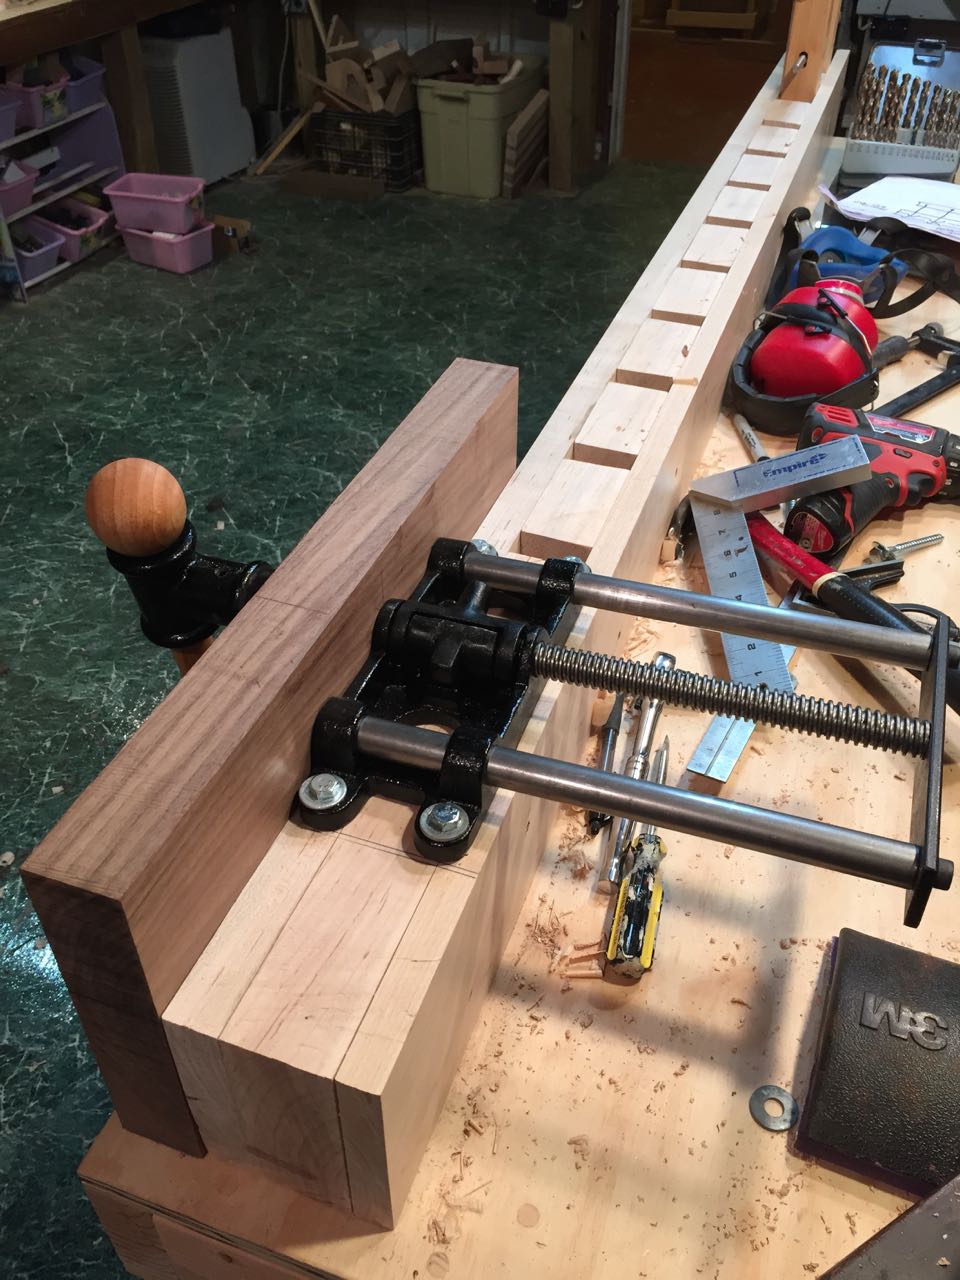 |
| Rockler front vise screwed to the bottom of the bench front. |
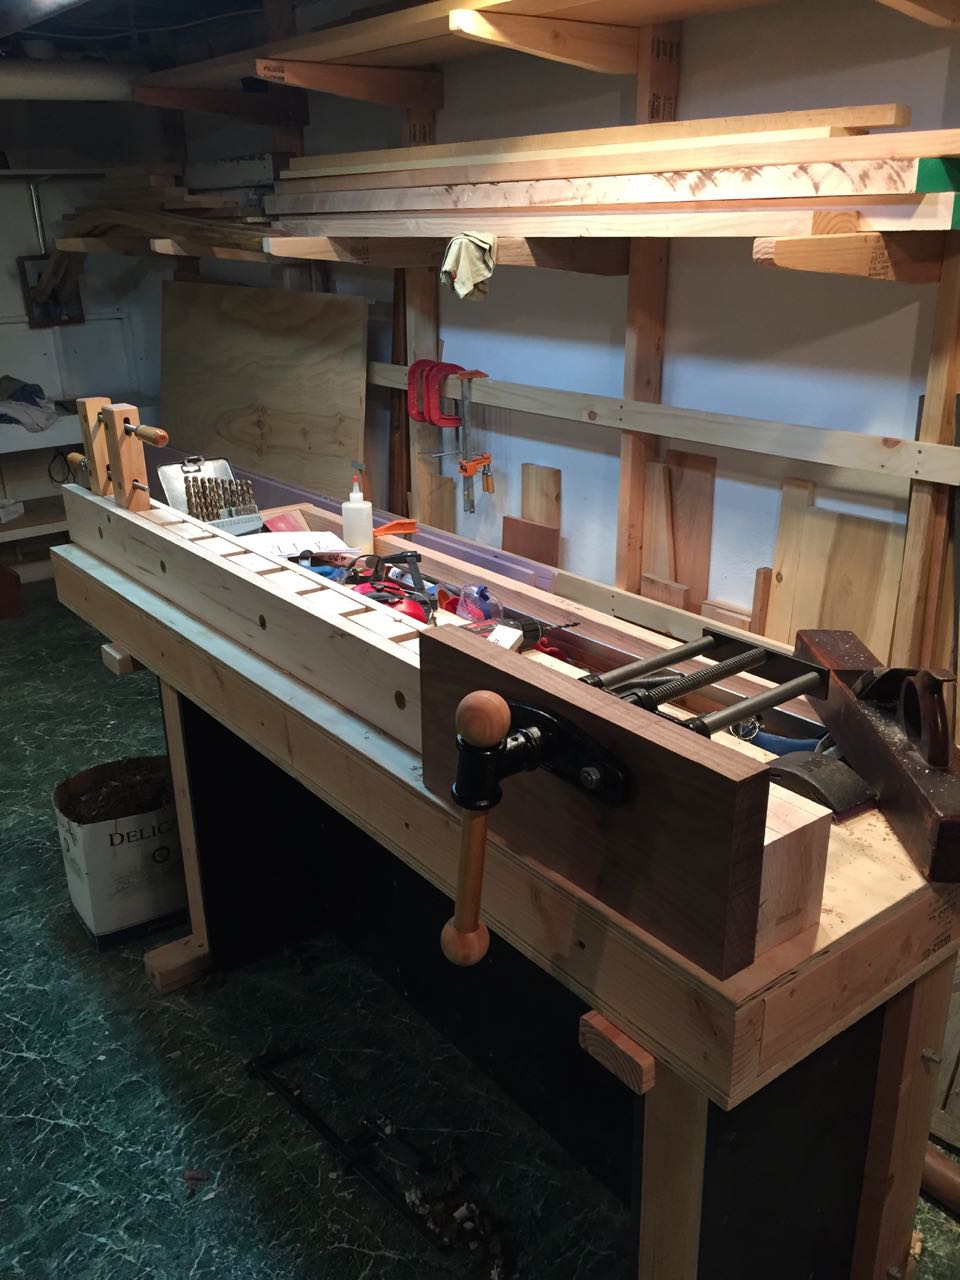
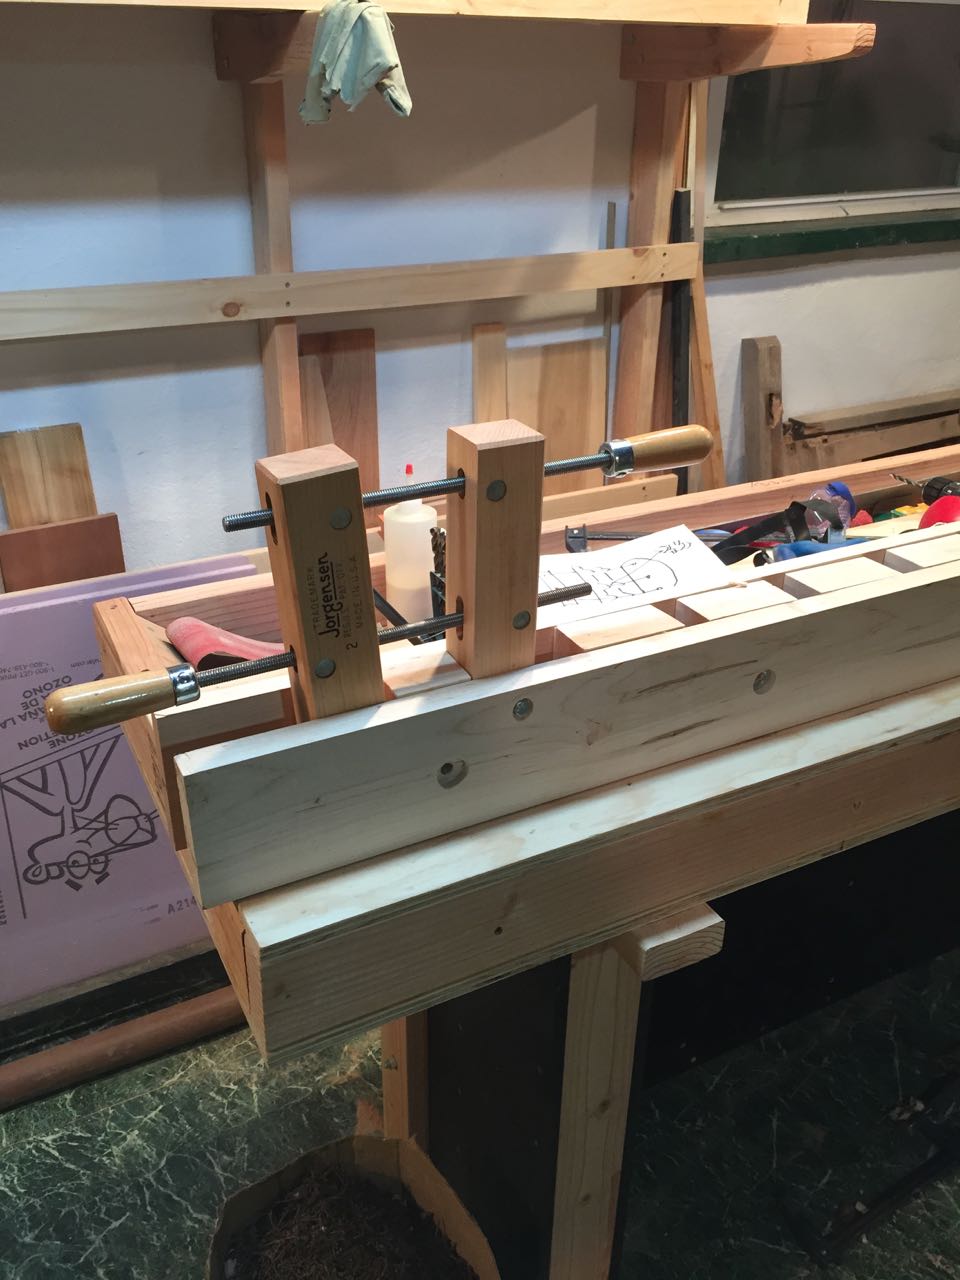
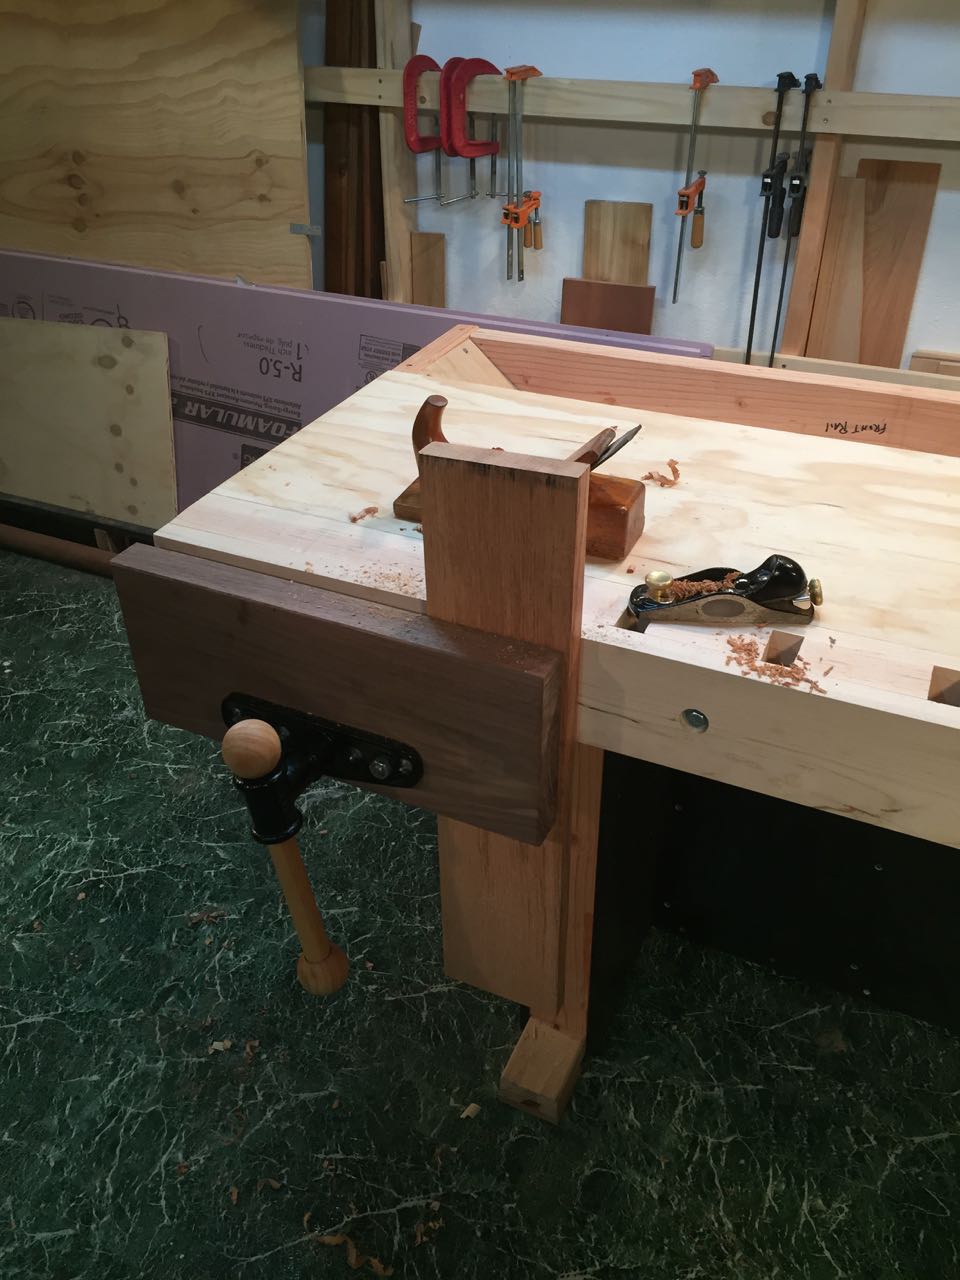
At the other end of the front is Tom's innovative 'tail vise'. This is simply a big Jorgensen clamp with one jaw bolted into the front, and the other left free to move. I will show you how this works in a moment.
 |
| Innovative 'tail vise' |
And here is the finished bench, with the front bolted into position with 5 very large lag bolts. The bolt heads are recessed into the bench, leaving the bench front flat for clamping.
I must say, in all humility, that considering its mainly built from 2x4s and plywood, it doesn't look half-bad! What do you think?
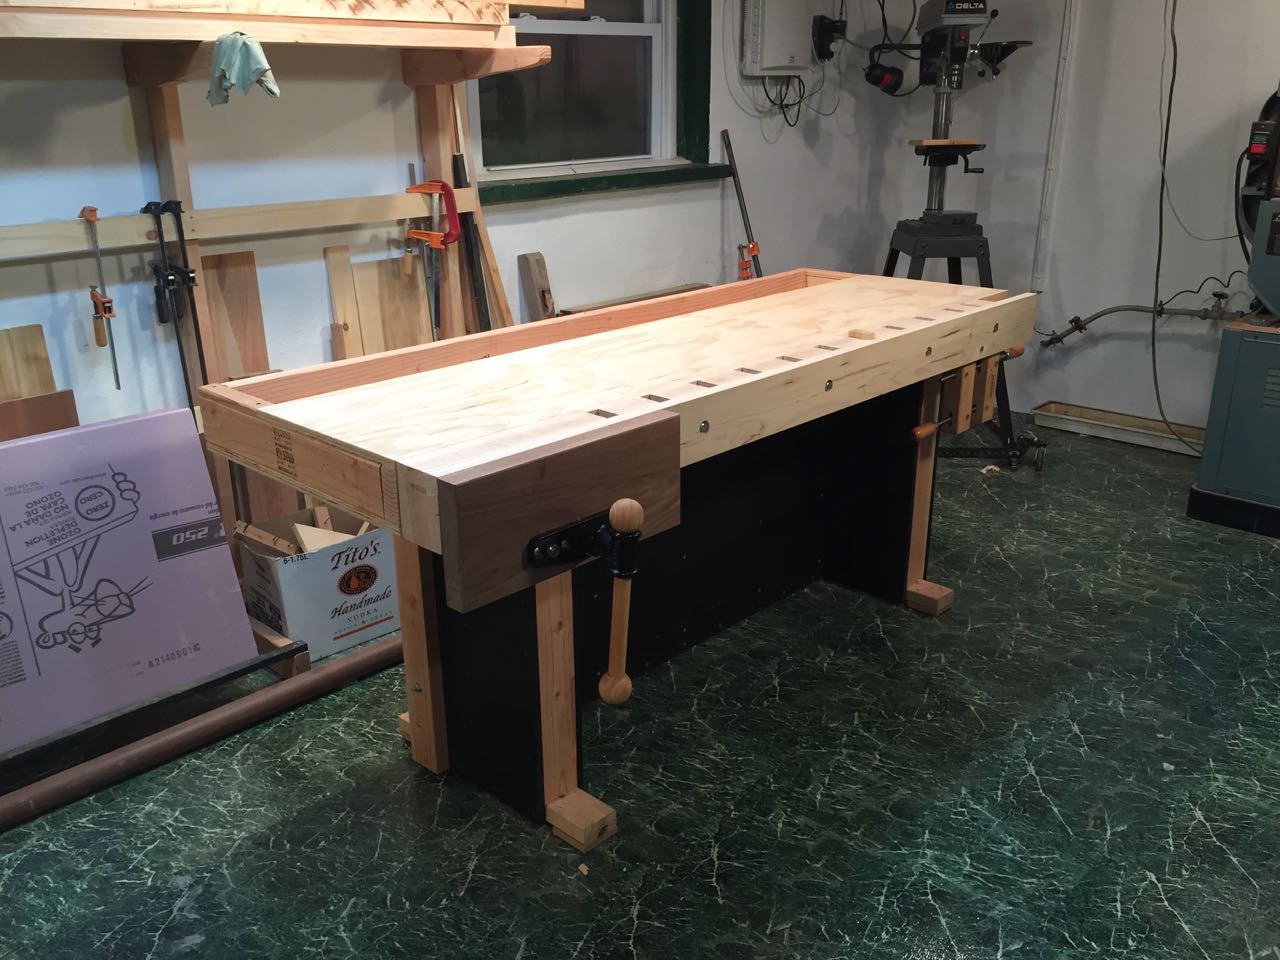 |
| My new bench, finally complete! |
More important, it is rock solid, and very heavy. One of the features I didn't appreciate until I moved the bench to it's home on the other side of my work shop, is that it's feet can be easily re-leveled. Just loosen the two 6' threaded rods that hold the leg ends to the center spacer, and the feet find their own level on the floor. Just tighten the nuts again, and the feet are firmly planted on the floor. No wobble. Not even a hint of a wobble.
 |
| What a project! |
 |
| Tail vice in action |
The bench stop in the photo below is just the scrap of wood I used as a spacer when laying out the pieces in the front. I intend to make a fancier one out of some nice hardwood, but for the moment, it's working just fine.
 |
| The high-tech bench stop |
And here is the front vice in action. You cannot imagine how long I've waited for a vise and bench that would make planing easier. Taking a few strokes with my old smoothing plane was quite, quite satisfying.
 |
| Trying out the front vise |
Finally, here I am doing a bit of end-grain planing with my block plane. An impossible job without a decent vise and bench.
 |
| End-grain planing |
So, not quite a weekend project, but a huge step forward for my shop. I will be building a set of wooden bench planes to go along with the bench in future episodes, but now I must turn to the urgent task at hand -- building a new bowsprit.
Next Episode: Ice Crisis
Very impressive and inspiring.
ReplyDelete