A couple weeks after bagging the white oak timber for my bowsprit, spring came to Long Island at long last, and it was time to get really get moving on my project. The full-length timbers were almost too long to maneuver into my basement, so I decided to cut the bowsprit roughly to length outside. Although the wood was mostly clear, there was one knot I wanted to avoid. There was plenty of extra wood to do so.
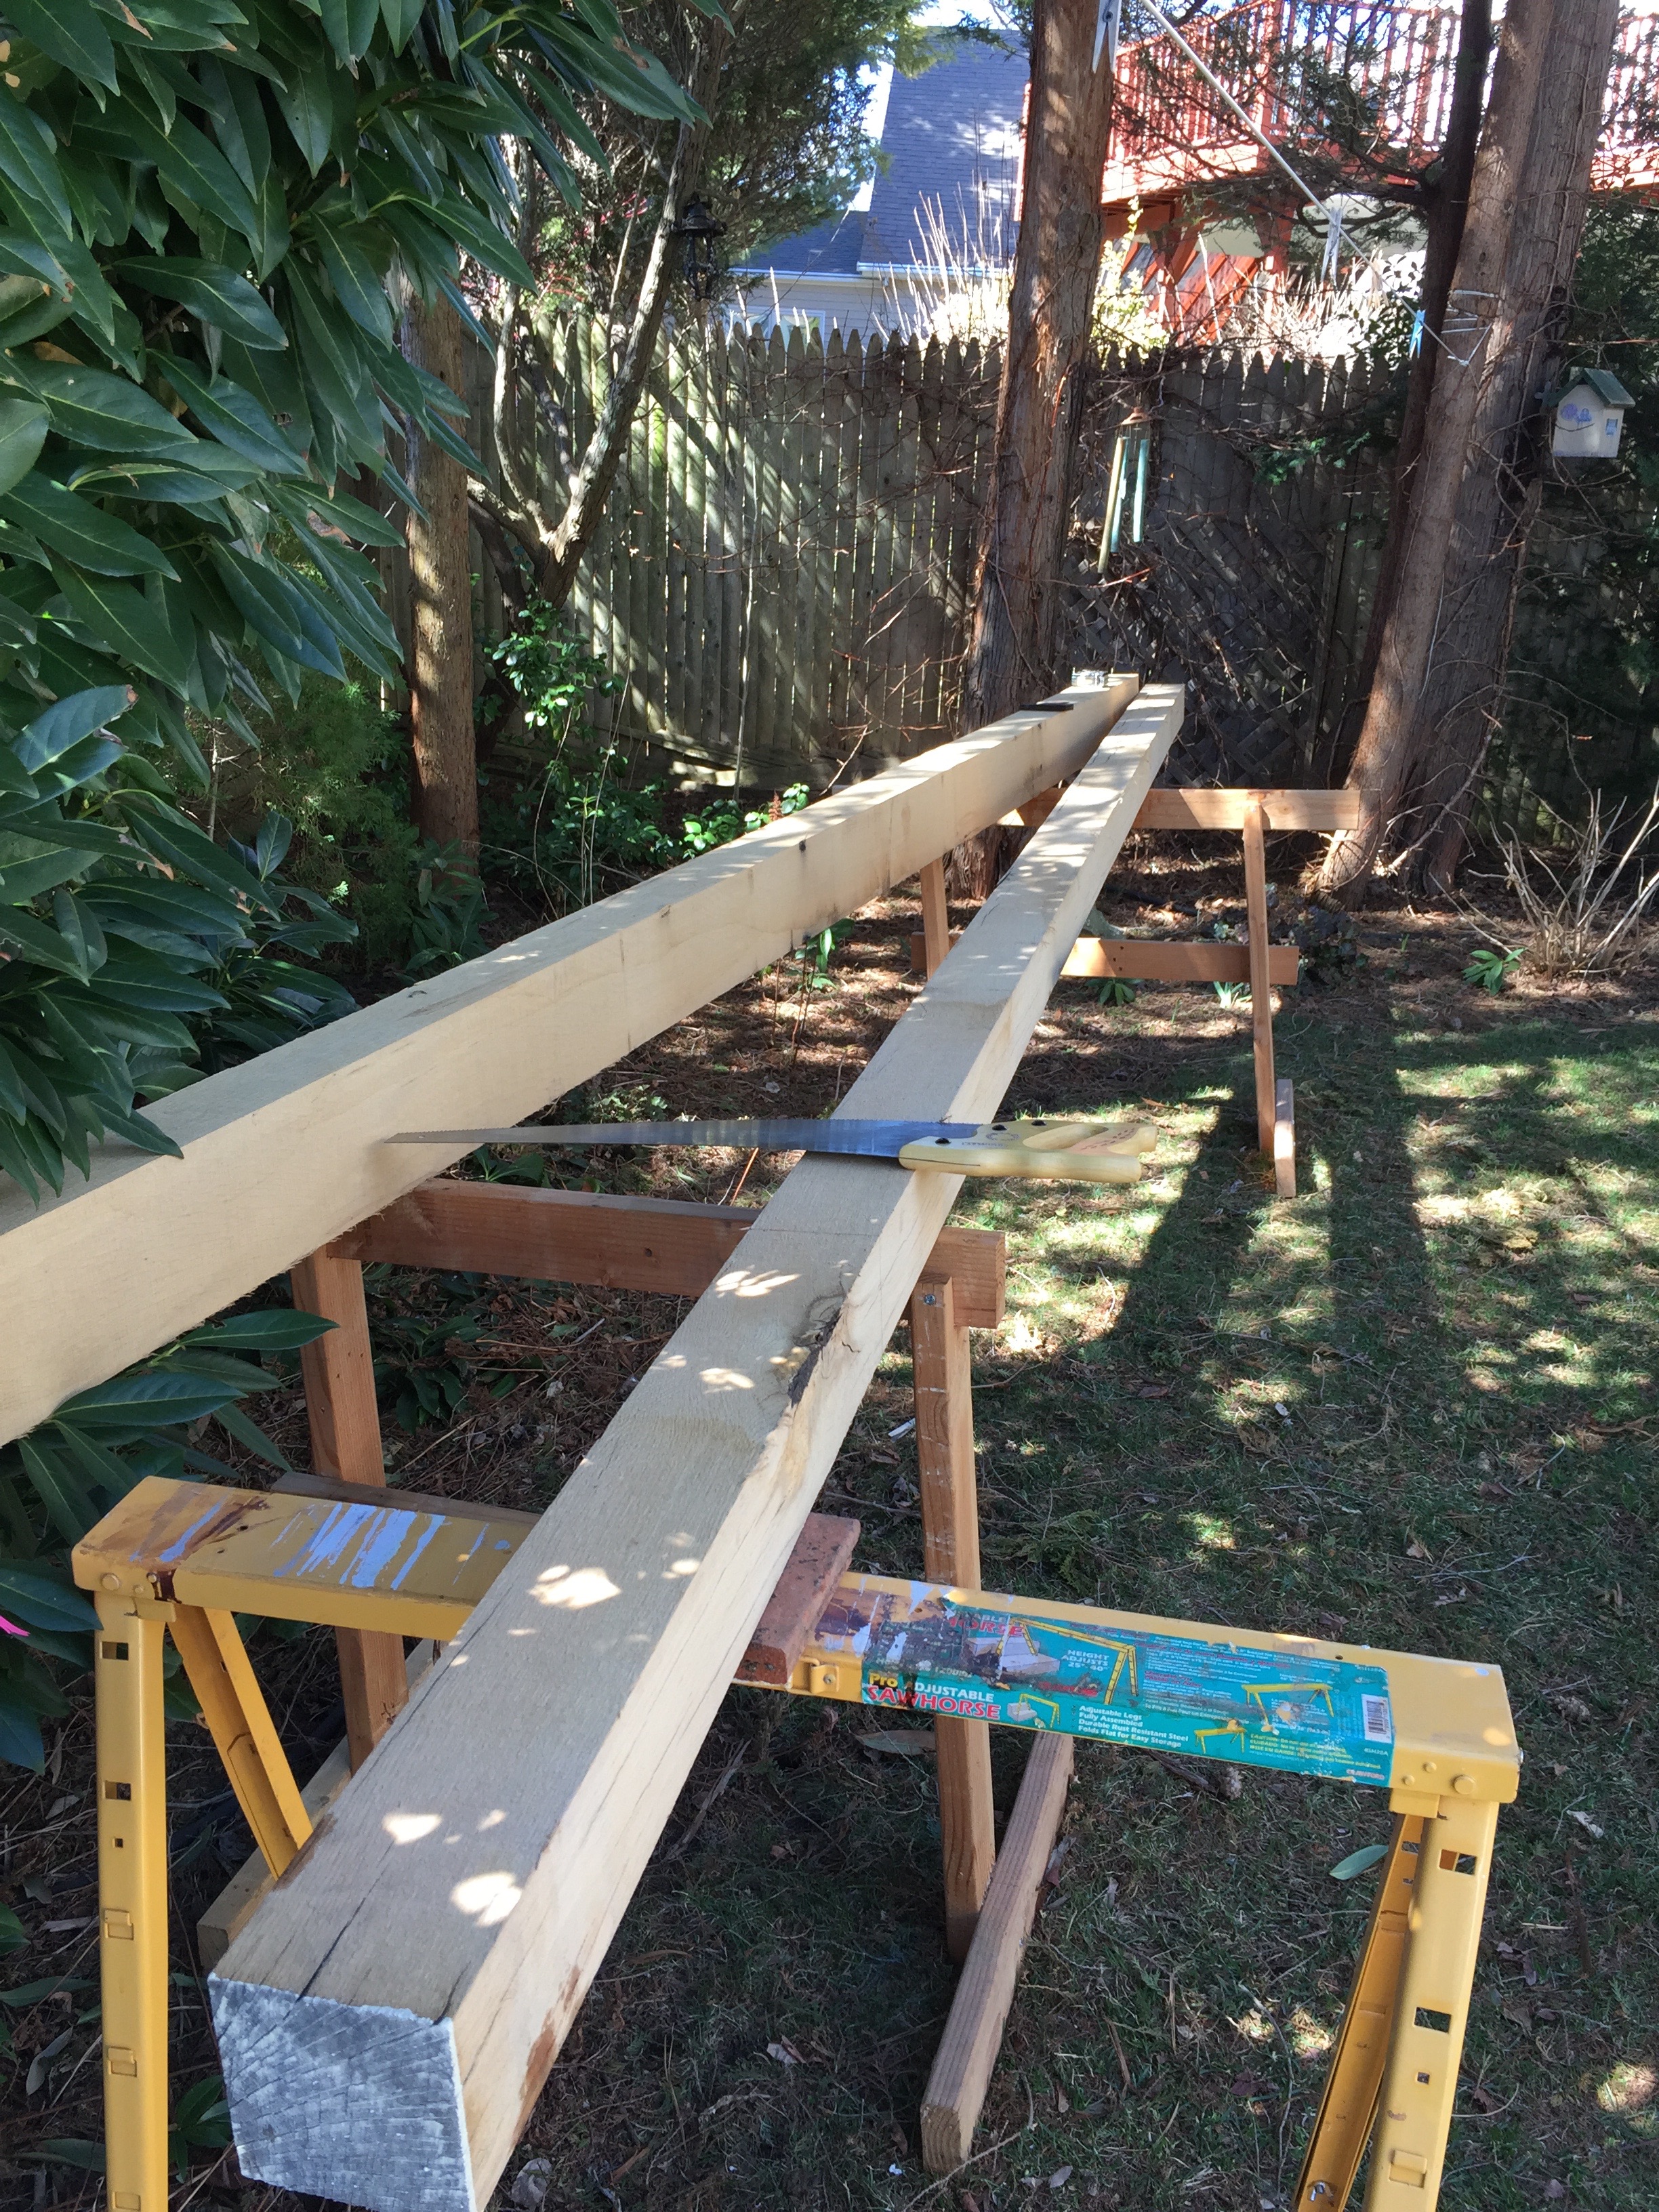 |
| Cutting roughly to length |
Once cut, Helena and I carried the still-heavy timber into the basement and arranged it on the bench, along side the old bowsprit. Just lifting both pieces onto the bench made me realize just how much heavier the air-dried white oak was, compared to the bone-dry douglas fir. That's when I first started thinking about shaping the aft-end of the new sprit to eliminate as much wood as possible.
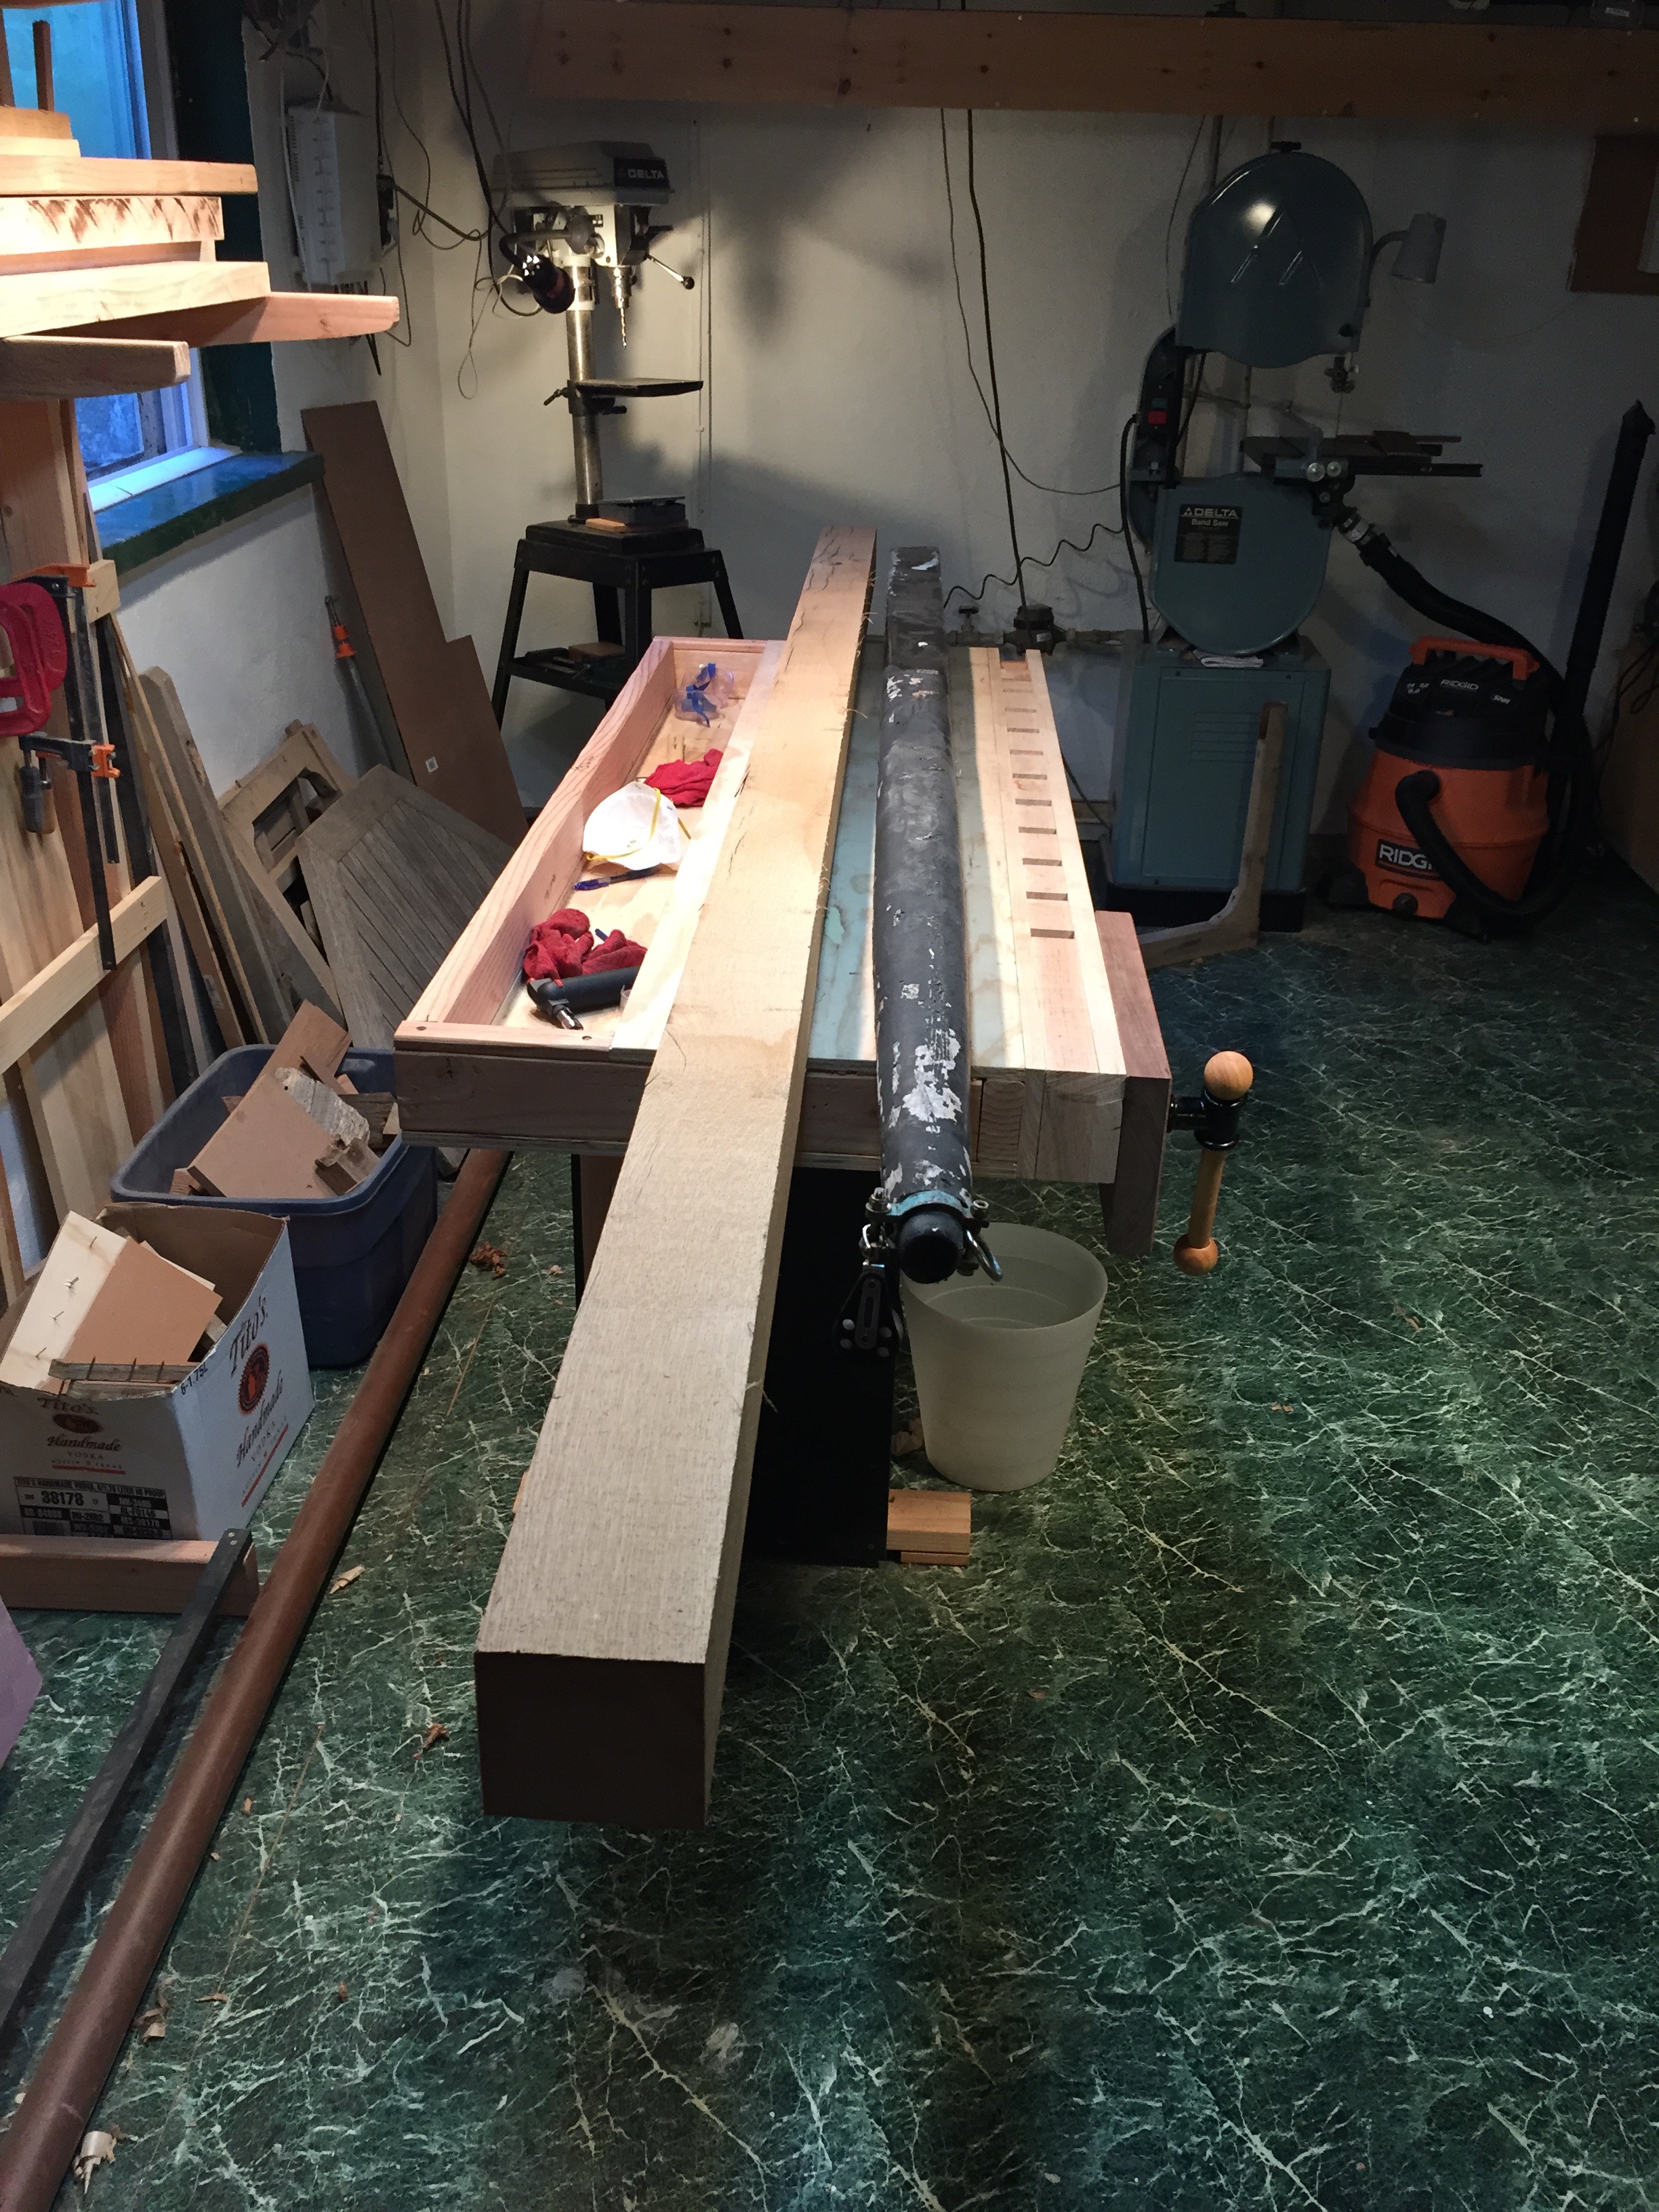 |
| Rough timber and old sprit on bench |
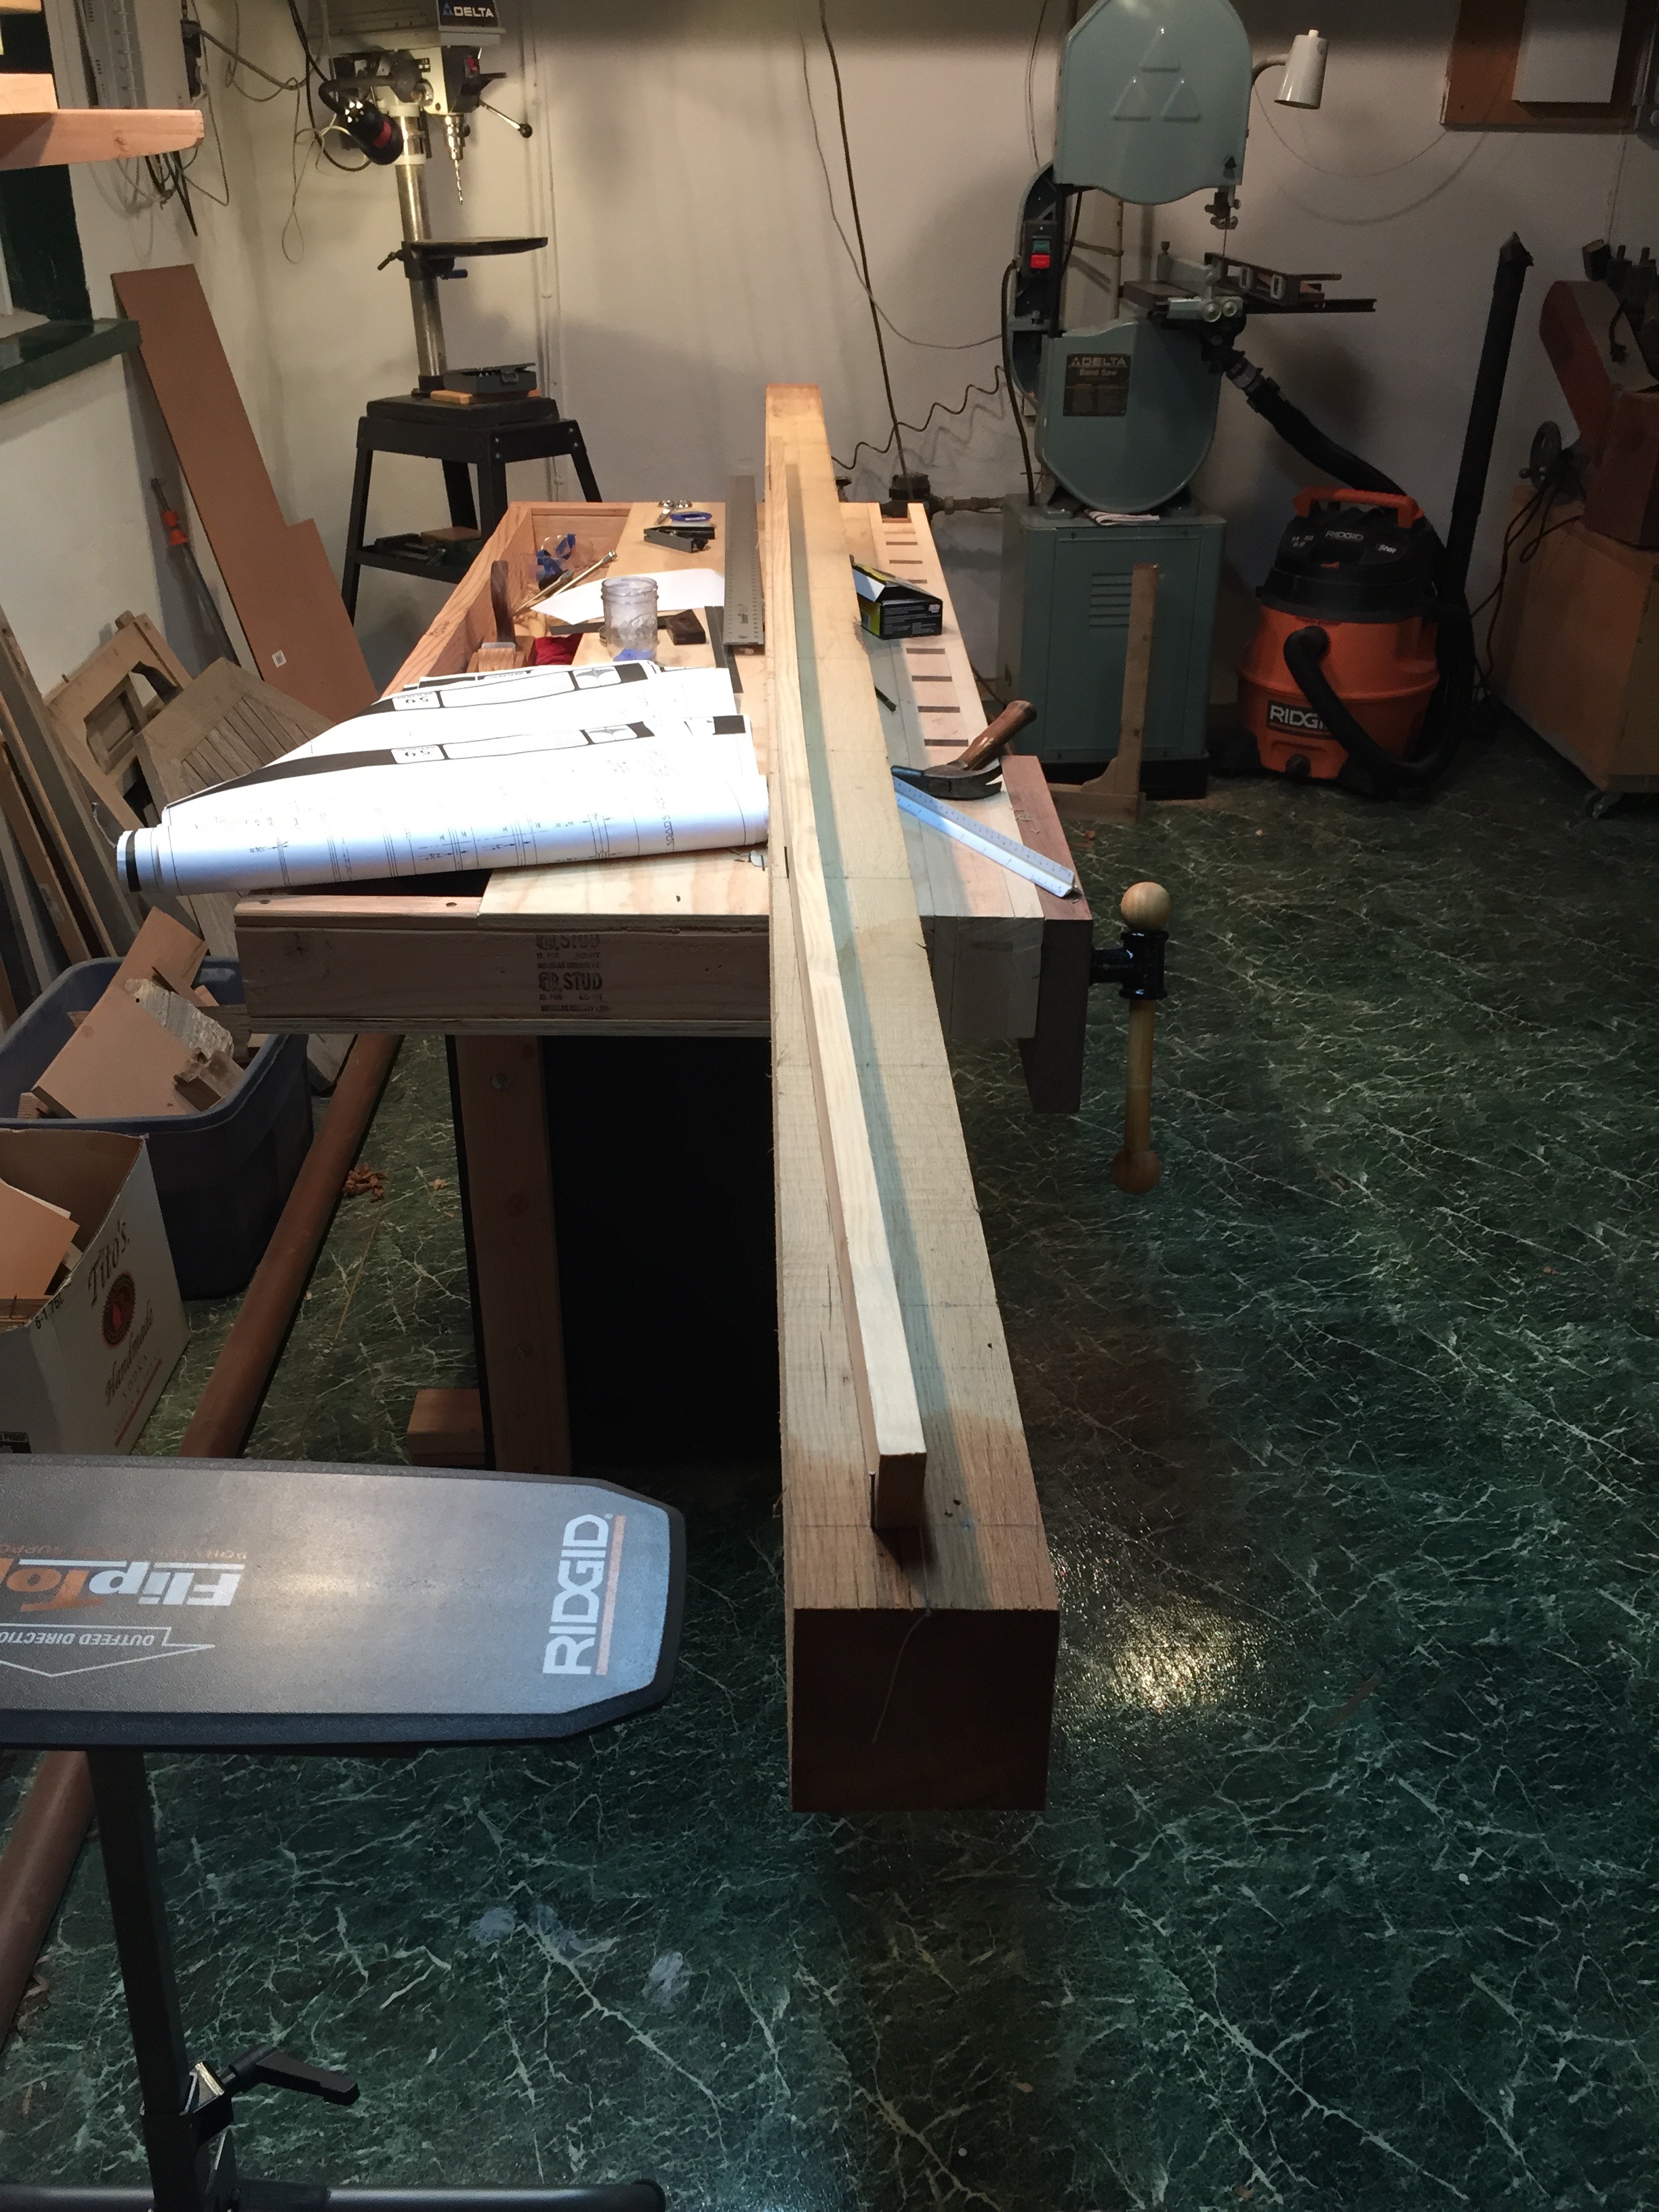
In the photo below, you can see the full set of the
Blue Moon's plans on my bench. Although some very detailed plans include an offset table for spars, Tom Gilmer contented himself with a simple drawing, and trusted his builders to pick the dimensions themselves.
What I did was this:
- Snapped a center line on the timber, using a chalk line
- Drew 'stations' on the plan, one foot apart, labeling them A, B, C, etc.
- Drew the corresponding stations on the timber.
- Picked the diameter of the spar off the plans at each station,
- Transferred those dimensions to the spar
At that point, I had stations and points that I could connect using a batten to draw the curves. I hammered small nails into the timber and bent the batten around them. I could have used a slightly longer batten, to be honest, but it was the best I had on hand, and was just long enough. Note that only the out-board part of the sprit was going to be round. The in-board part would be left square. So the curve was only cut on part of the timber.
 |
| Laying out curves |
It was quite a chore to run the heavy timber through my bandsaw, but my friend Tony and I just barely managed it. It was one of those many jobs which are so fraught that I forget to take pictures of the process, but here is the result of the first two cuts. If you click on the photo to enlarge it, you can see the centerline and stations.
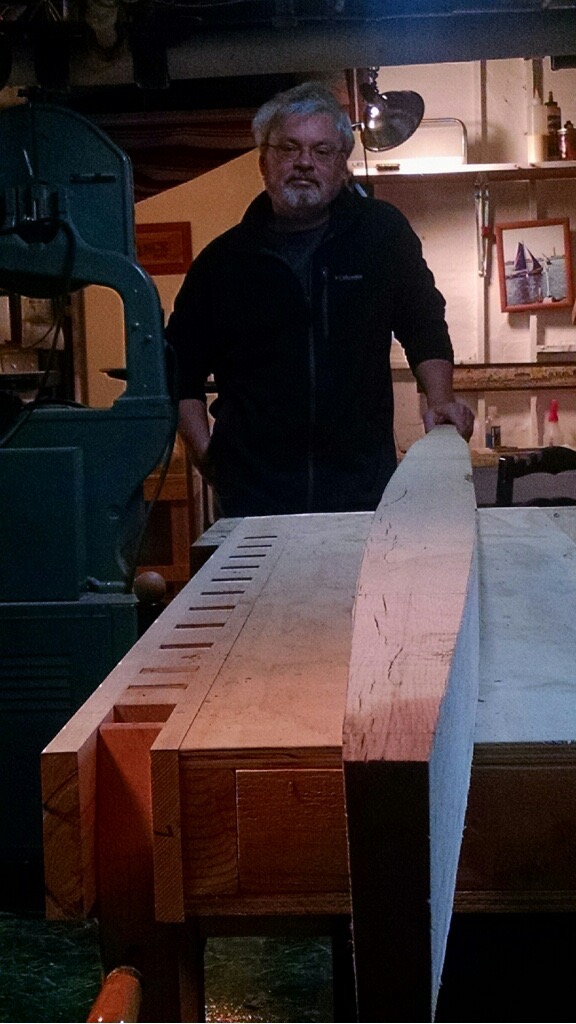 |
| First curves cut on bandsaw |
Then it was a matter of marking the curves on the cut sides and making the second set of cuts. At that point the timber was rough cut on all four sides. The photo below doesn't really show the shape very well.
 |
| Both curves cut |
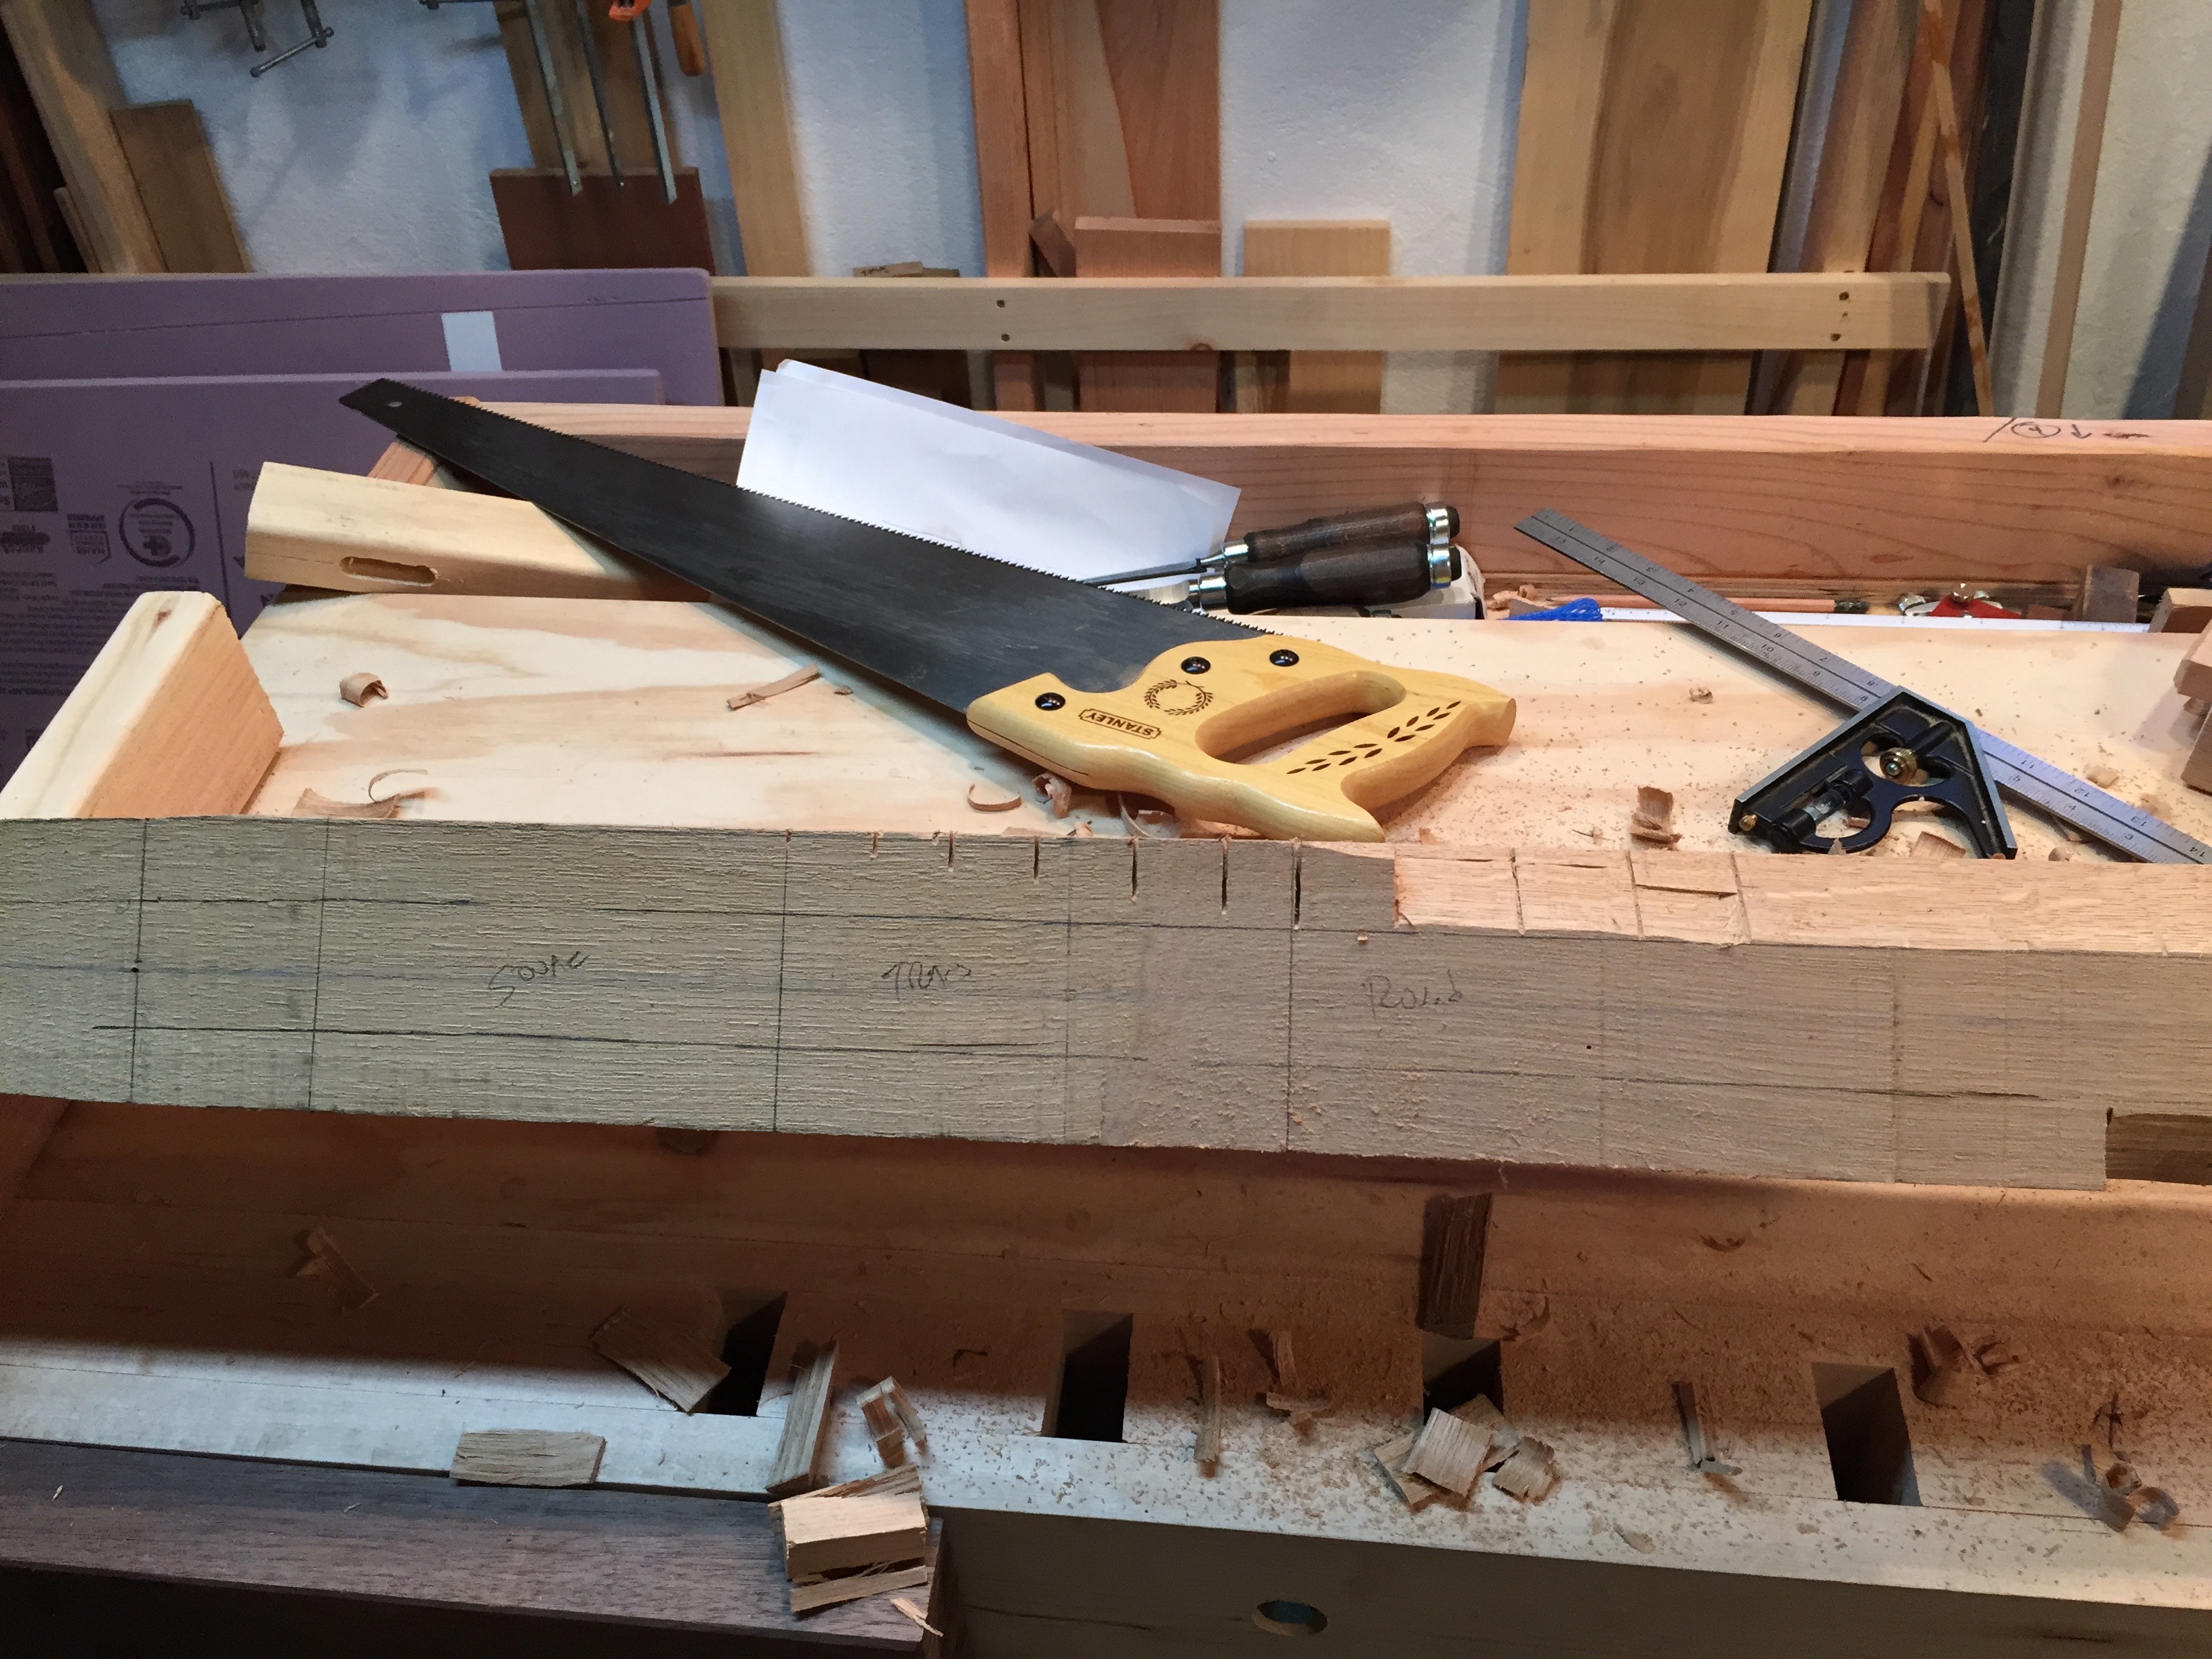
Then it was time to 8-side the timber, at least forward of the stem line, where the sprit would be round. To do so, I used the typical 8-siding jig, used by most spar makers. Using the magic of Geometry, this simple jig draws the lines which mark the corners which must be cut away to turn a 4-sided piece of wood into an 8-sided one.
 |
| 8-siding jig |
That done, I was a bit muddled about how to actually remove the corners. I started off the most obvious way, with a spokeshave, on the forward end of the sprit, but this was such a slow and laborious process that not only did I forget to take pictures of it, I abandoned the effort after carving a mere foot or so. The spokeshave was too slow. I needed a quicker way to knock off the corners.
After consulting my boatbuilding books, I found a simpler, faster, and probably more accurate method. Basically, you use a saw to make cuts in the corners, cutting down to the lines, and then chop the waste out with a sharp chisel.
Here are the corners cut, with an ordinary saw.
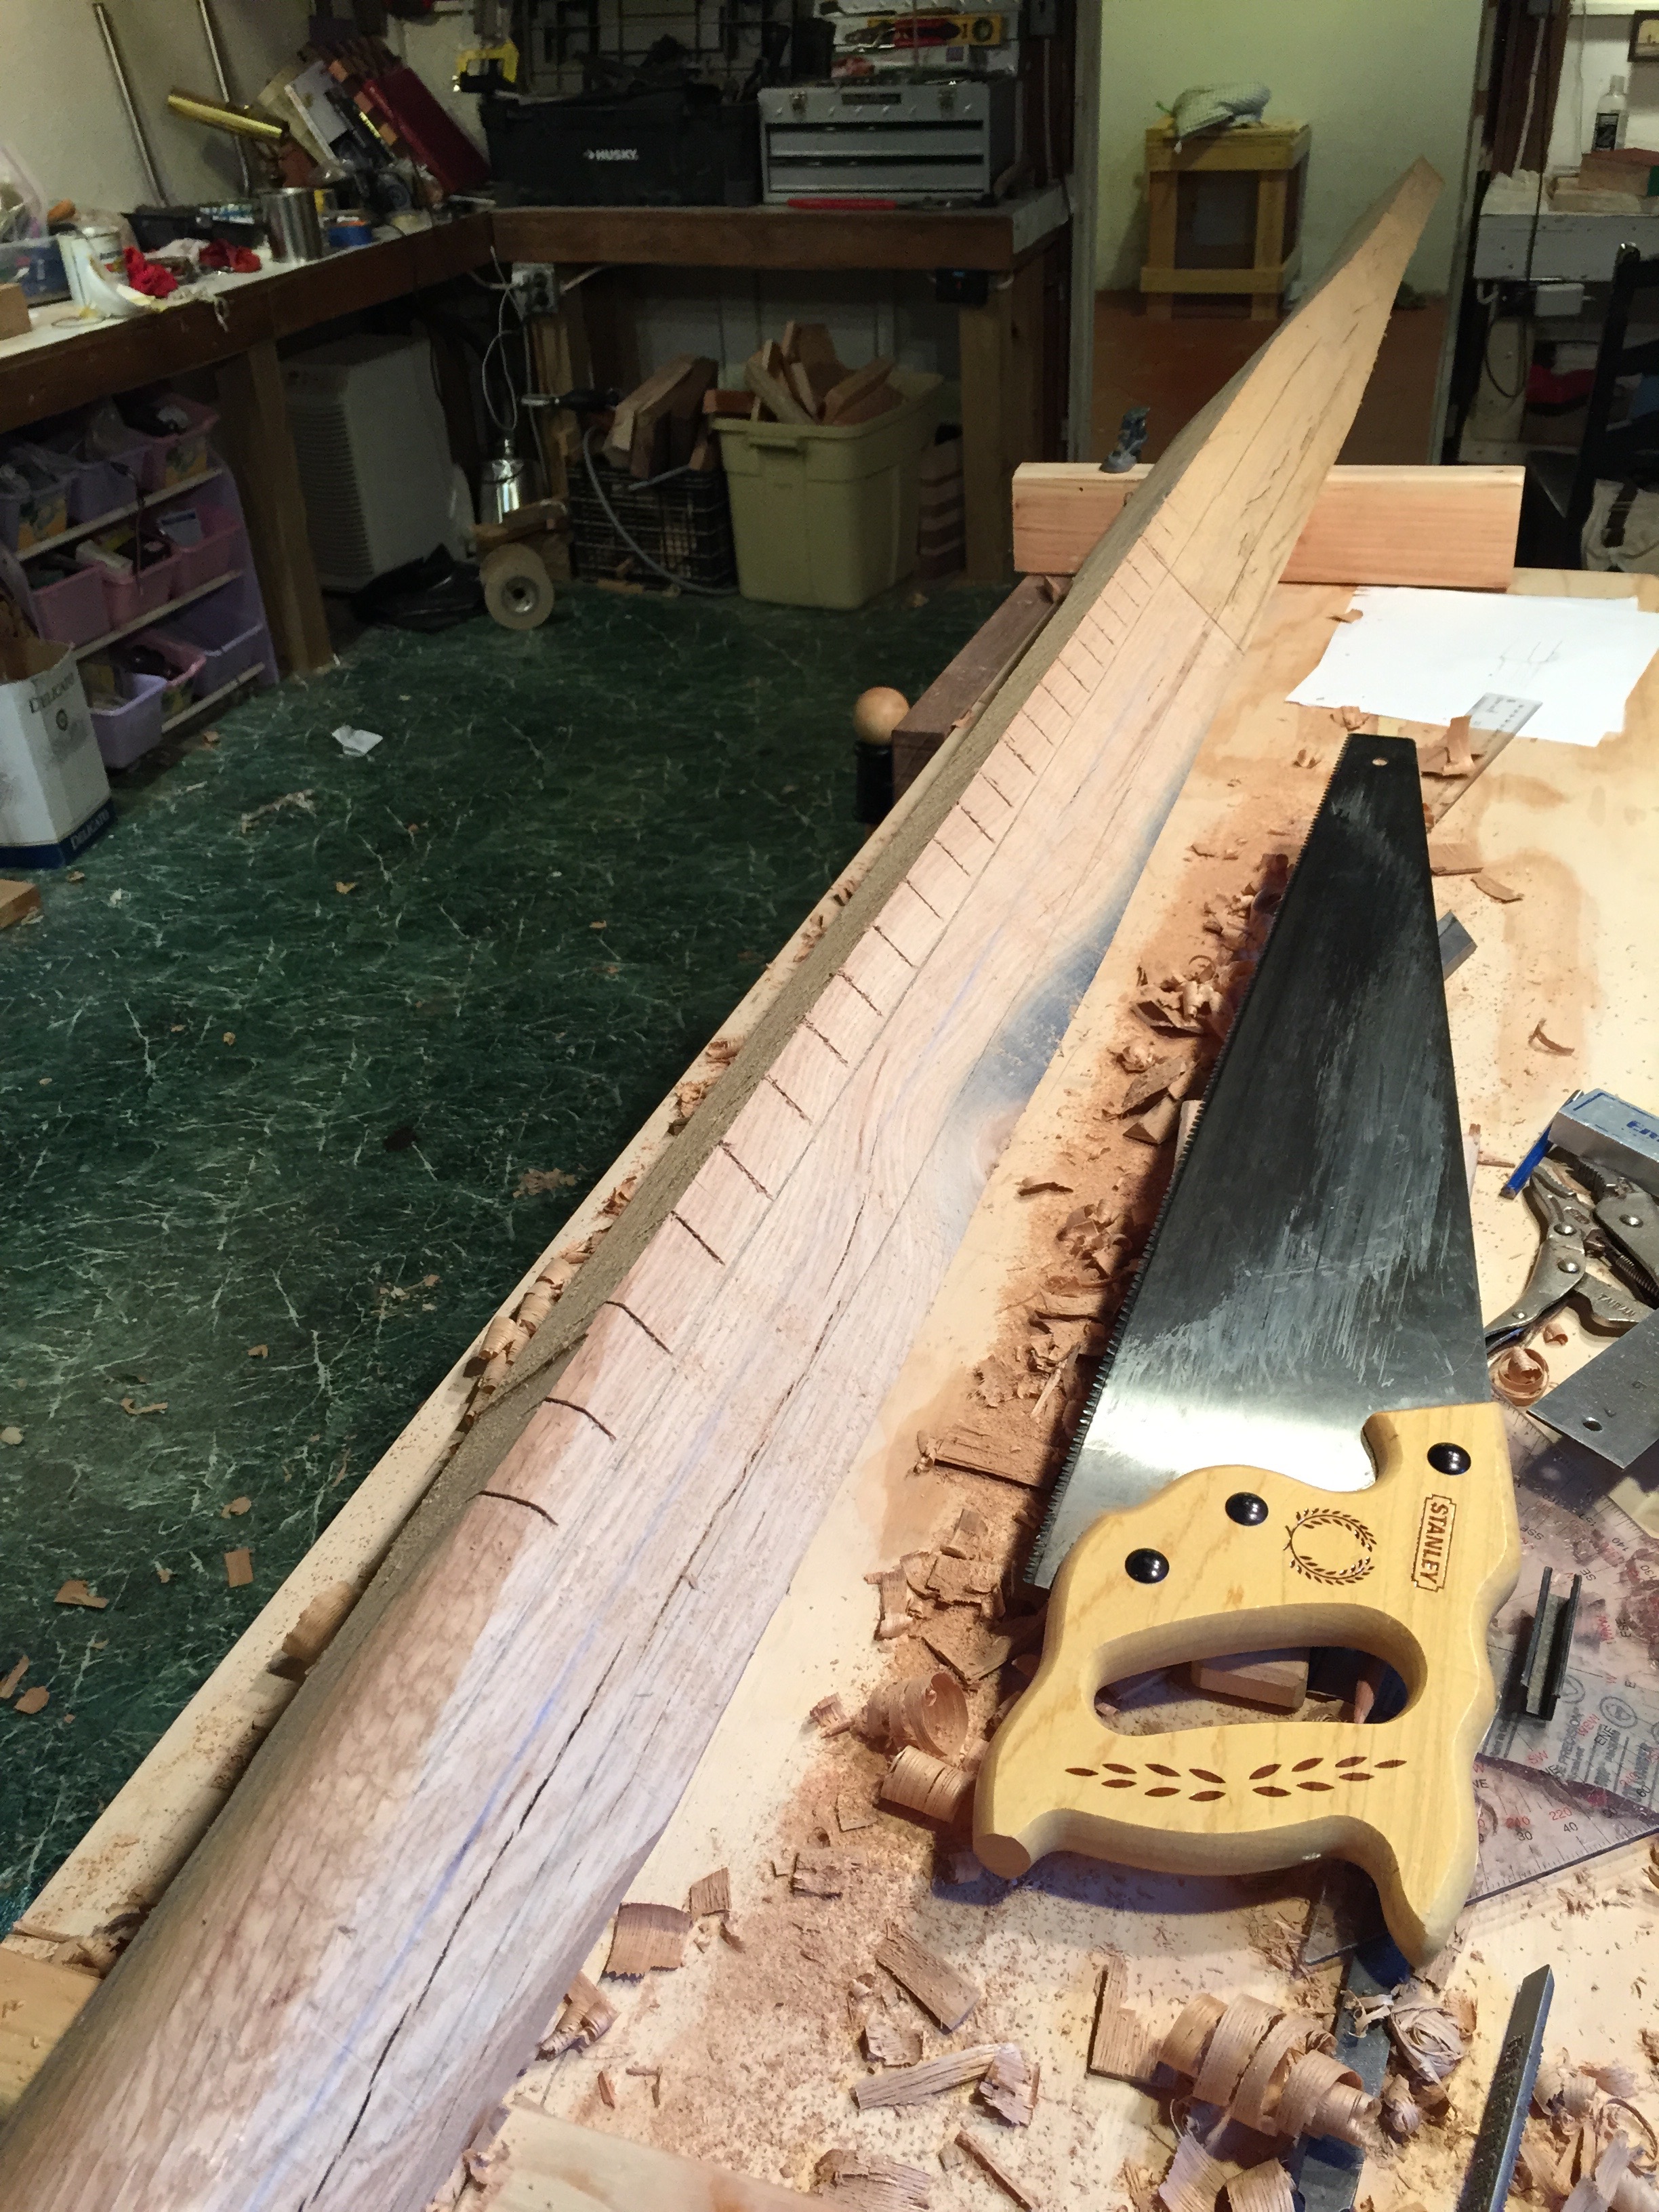 |
| Cutting corners... |
Then it was a 'simple' matter of chopping the corners out, VERY carefully, using the chisel bevel-down, just in case the grain ran down into the wood. It took a bit of practice, but I was soon chopping with confidence and control.
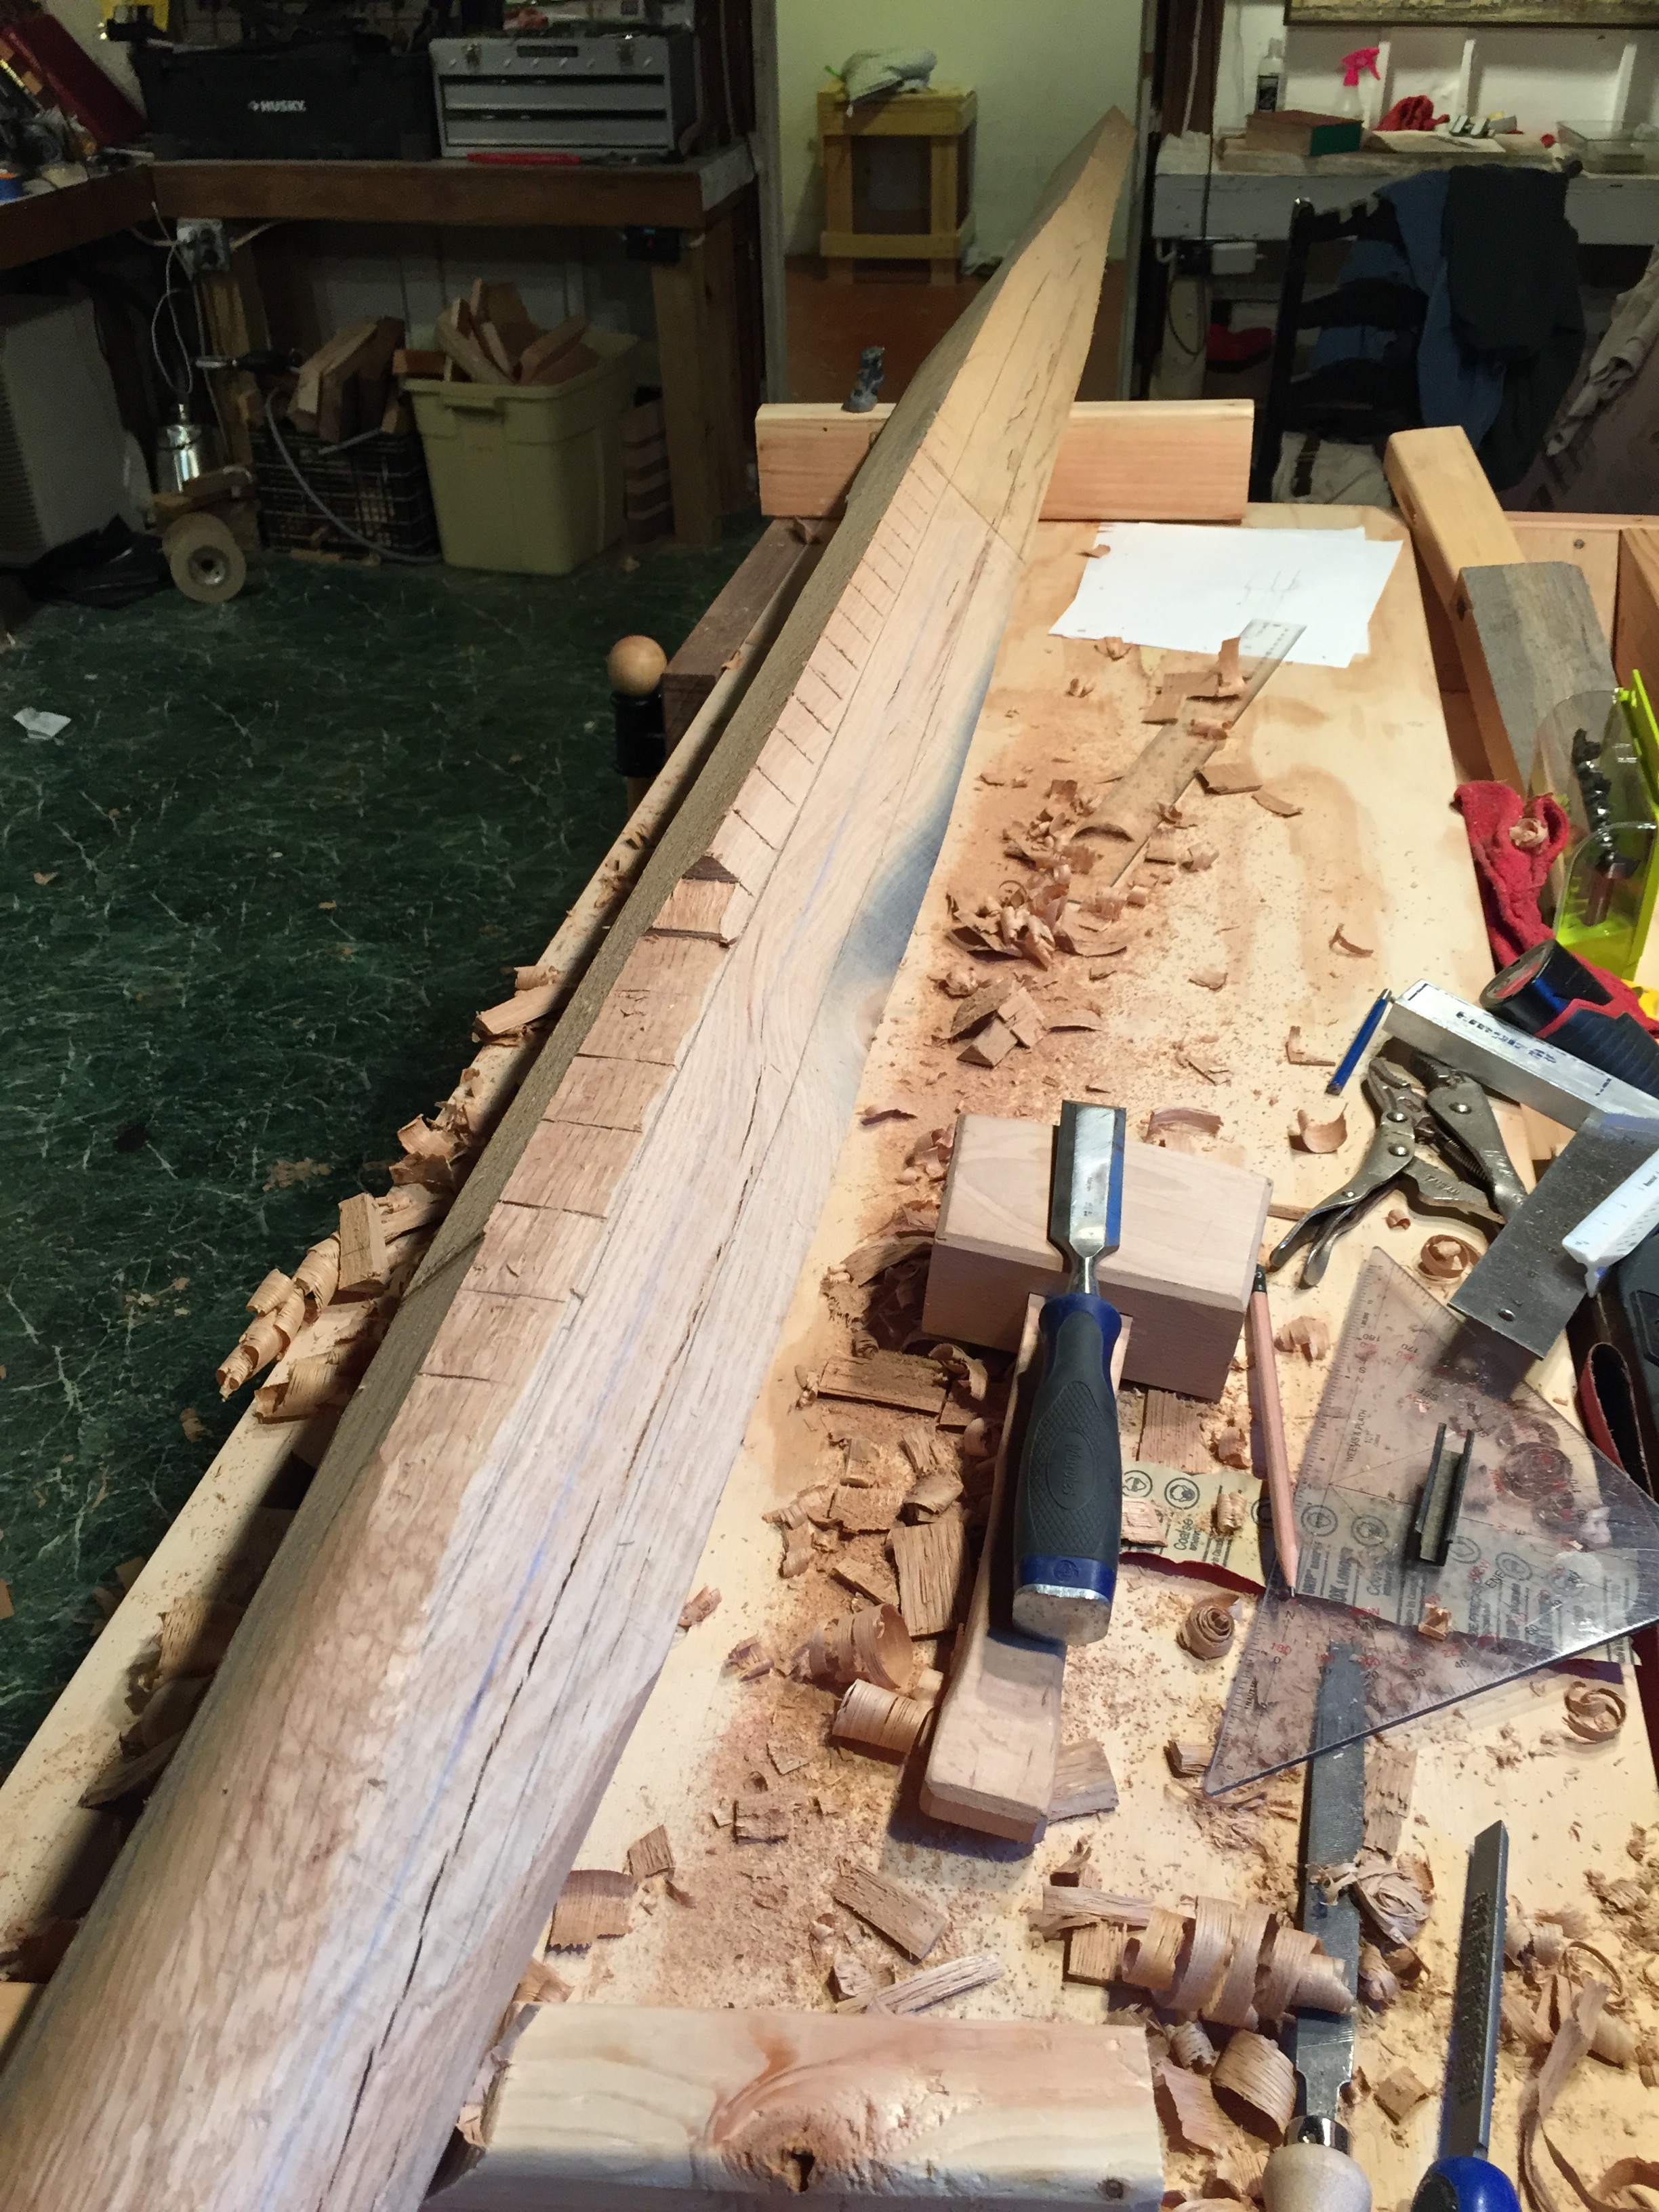 |
| Chopping them out |
The one tricky bit was the transition between the round shape and the square shape. This transition would be just outboard of the stem, so would be quite visible on the finished sprit. Basically, I just eye-balled the transition, made my cuts, and hope for the best.
 |
| Transition from round to square |
After chopping out most of the waste, I turned back to the spokeshave to plane down to the lines. This approach was a complete success and much faster and more accurate than carving it would have been, I believe.
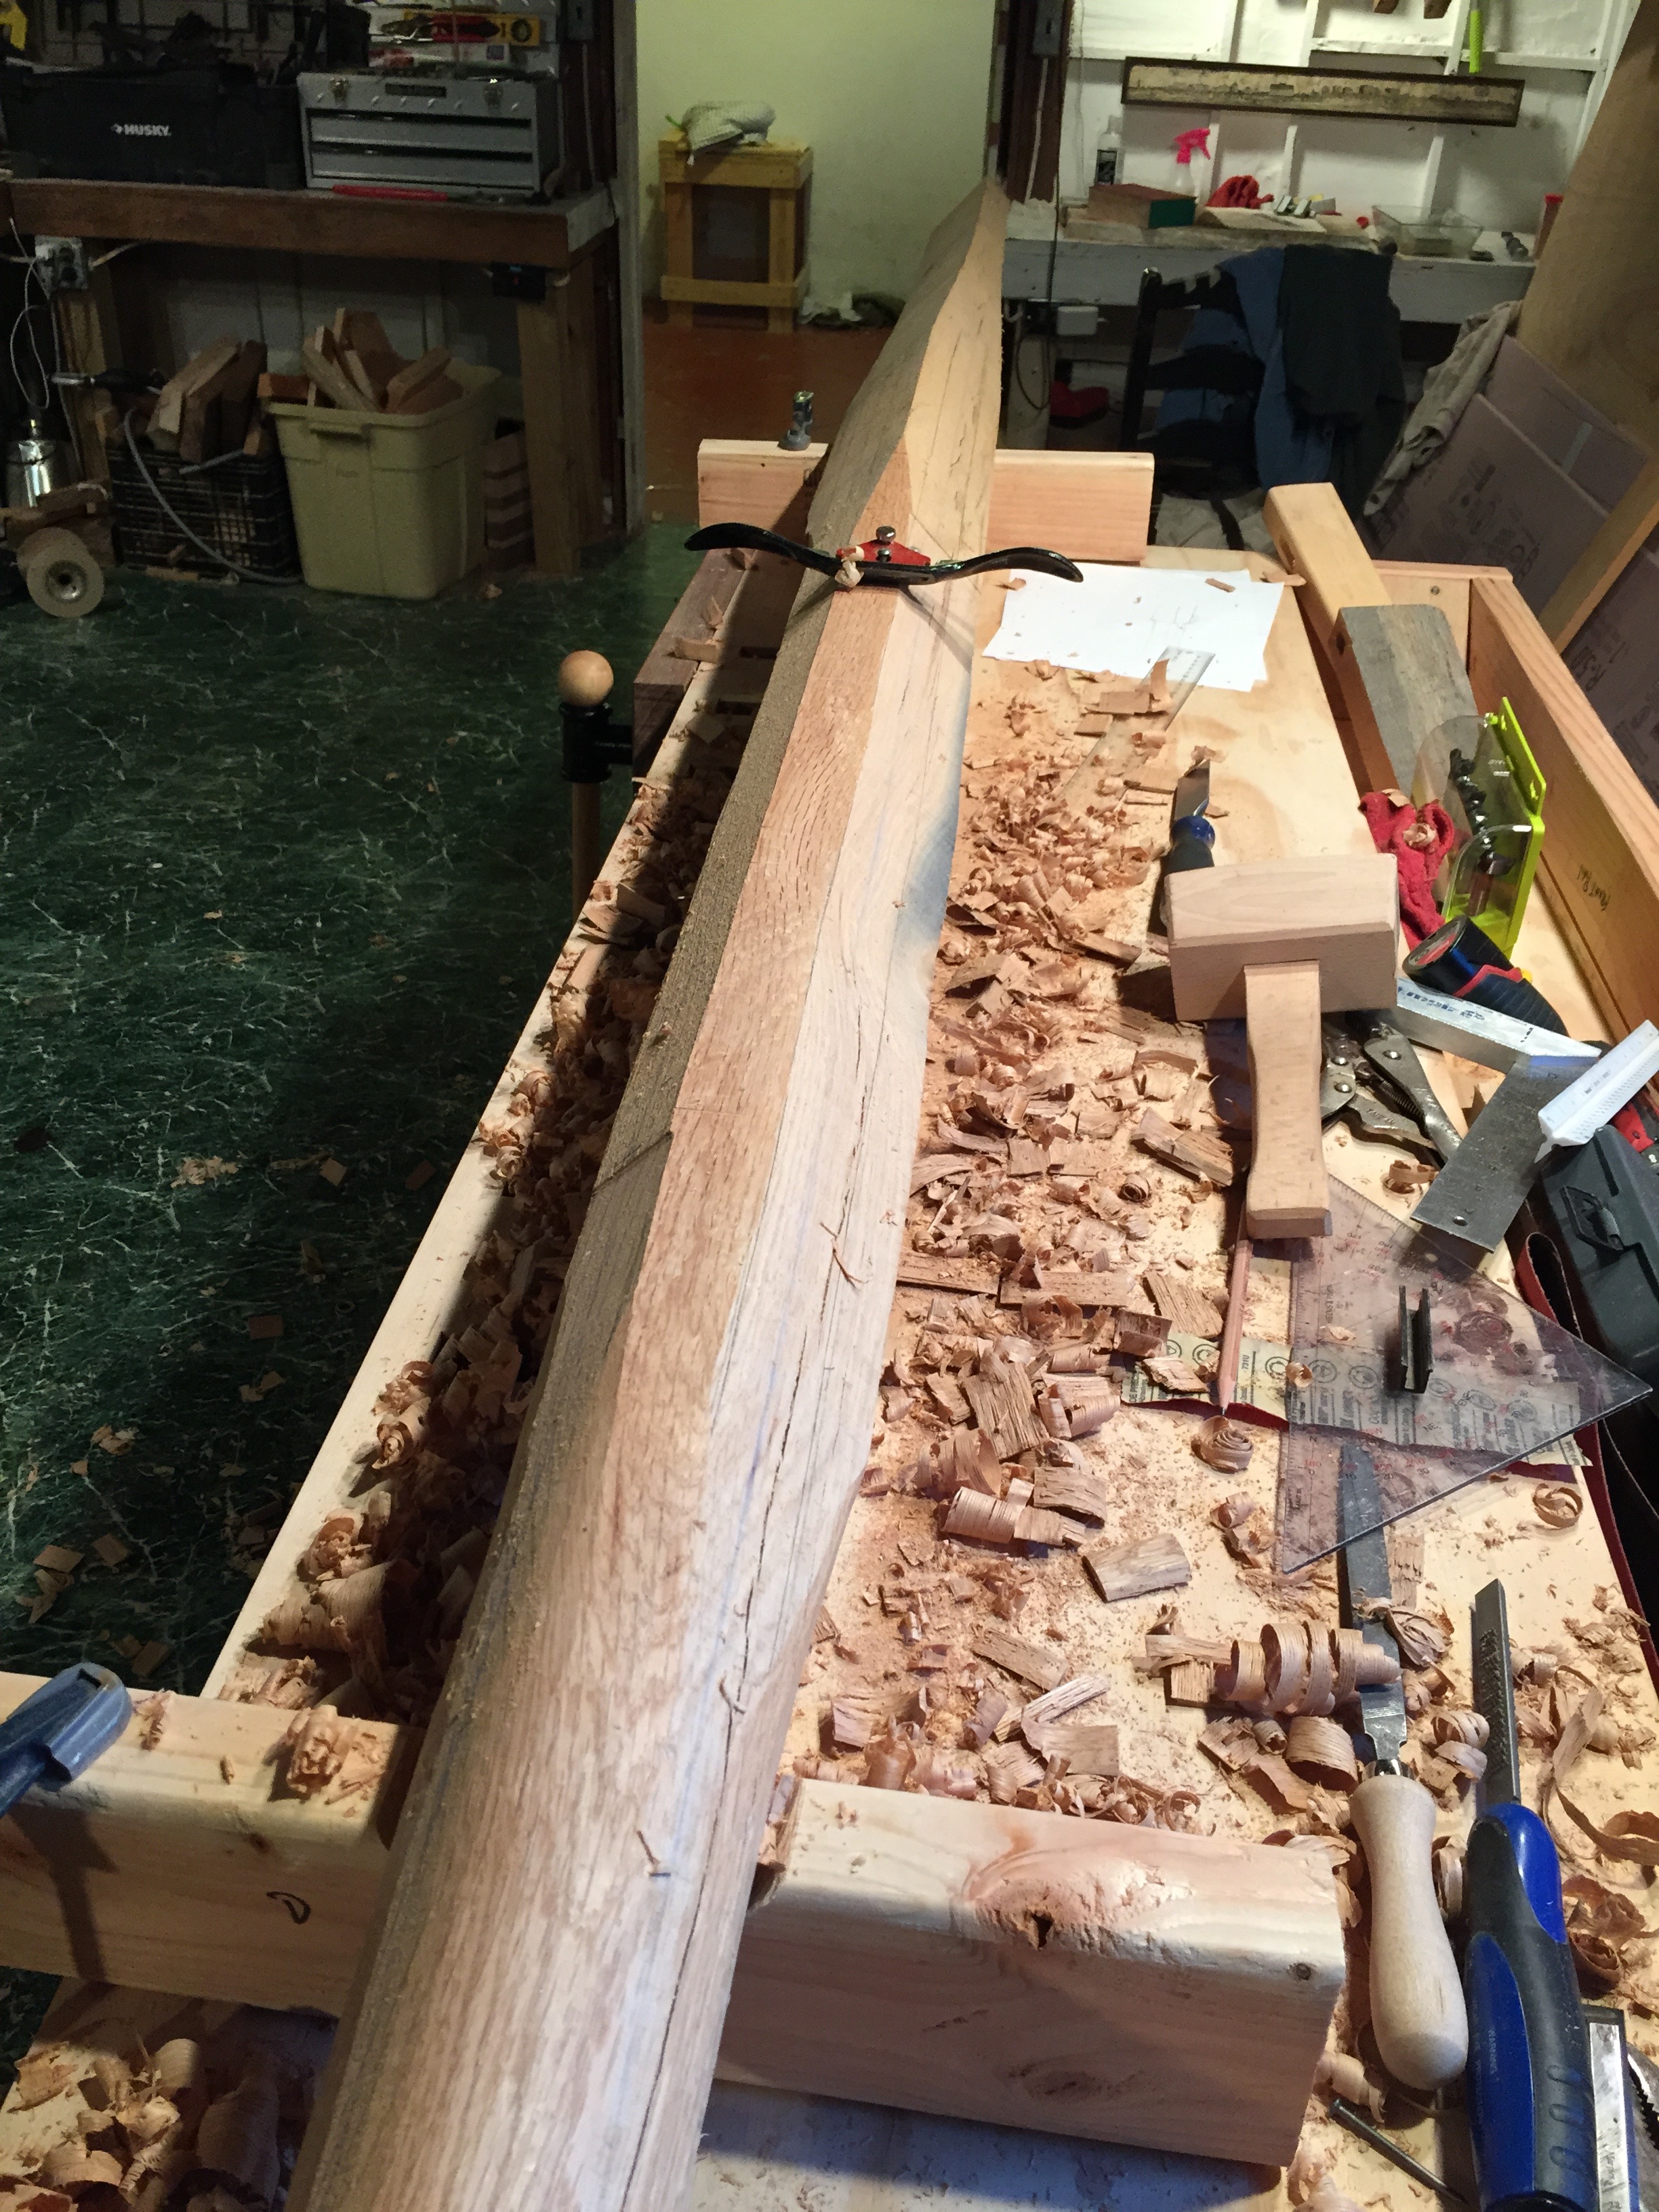 |
| Shaving flat |
And here is the sprit 8-sided ahead of the stem line, and shaped aft of the stem line to remove as much wood as possible.
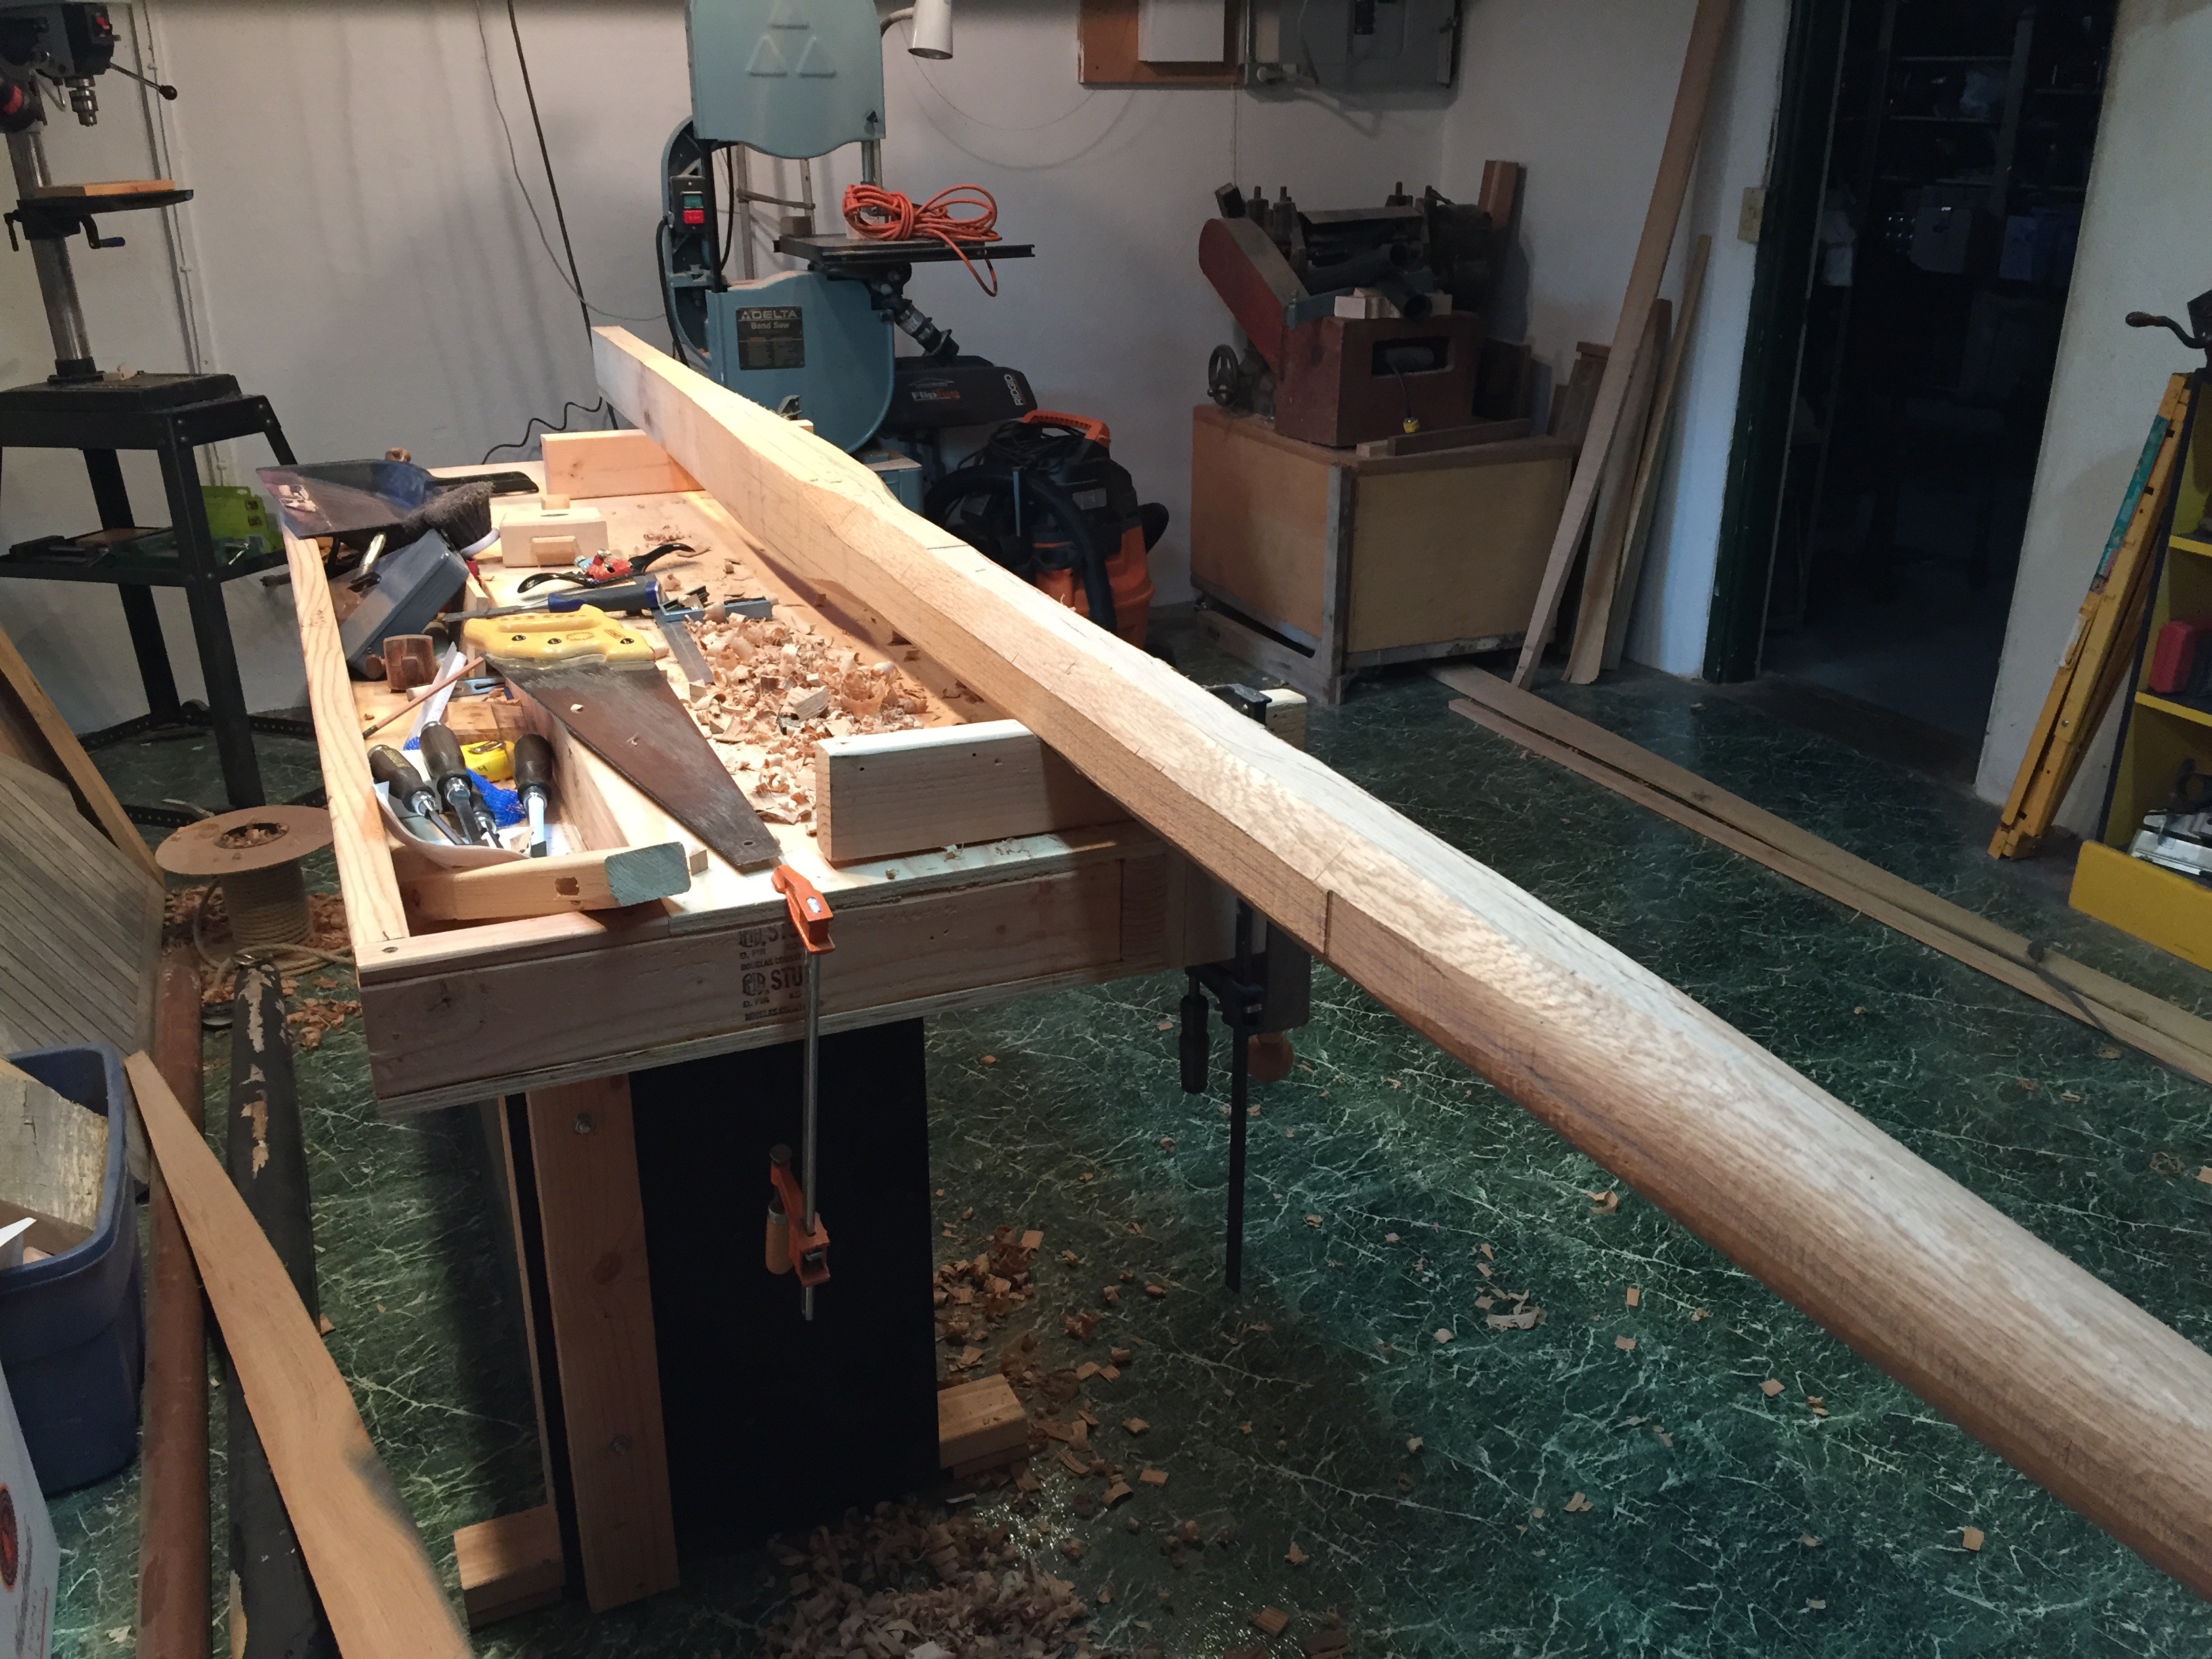 |
| Rough-out complete |
I was pretty pleased with the progress so far, but there was still plenty of work to do before I could install it on the poor, spritless
Blue Moon.
And meanwhile, Cabin Boy needed some sprucing up for spring. By 'some', I mean two weeks of scraping, sanding, painting and varnishing, with the early spring weather not always cooperating. But it is always worth it to see him looking fresh and happy each spring.
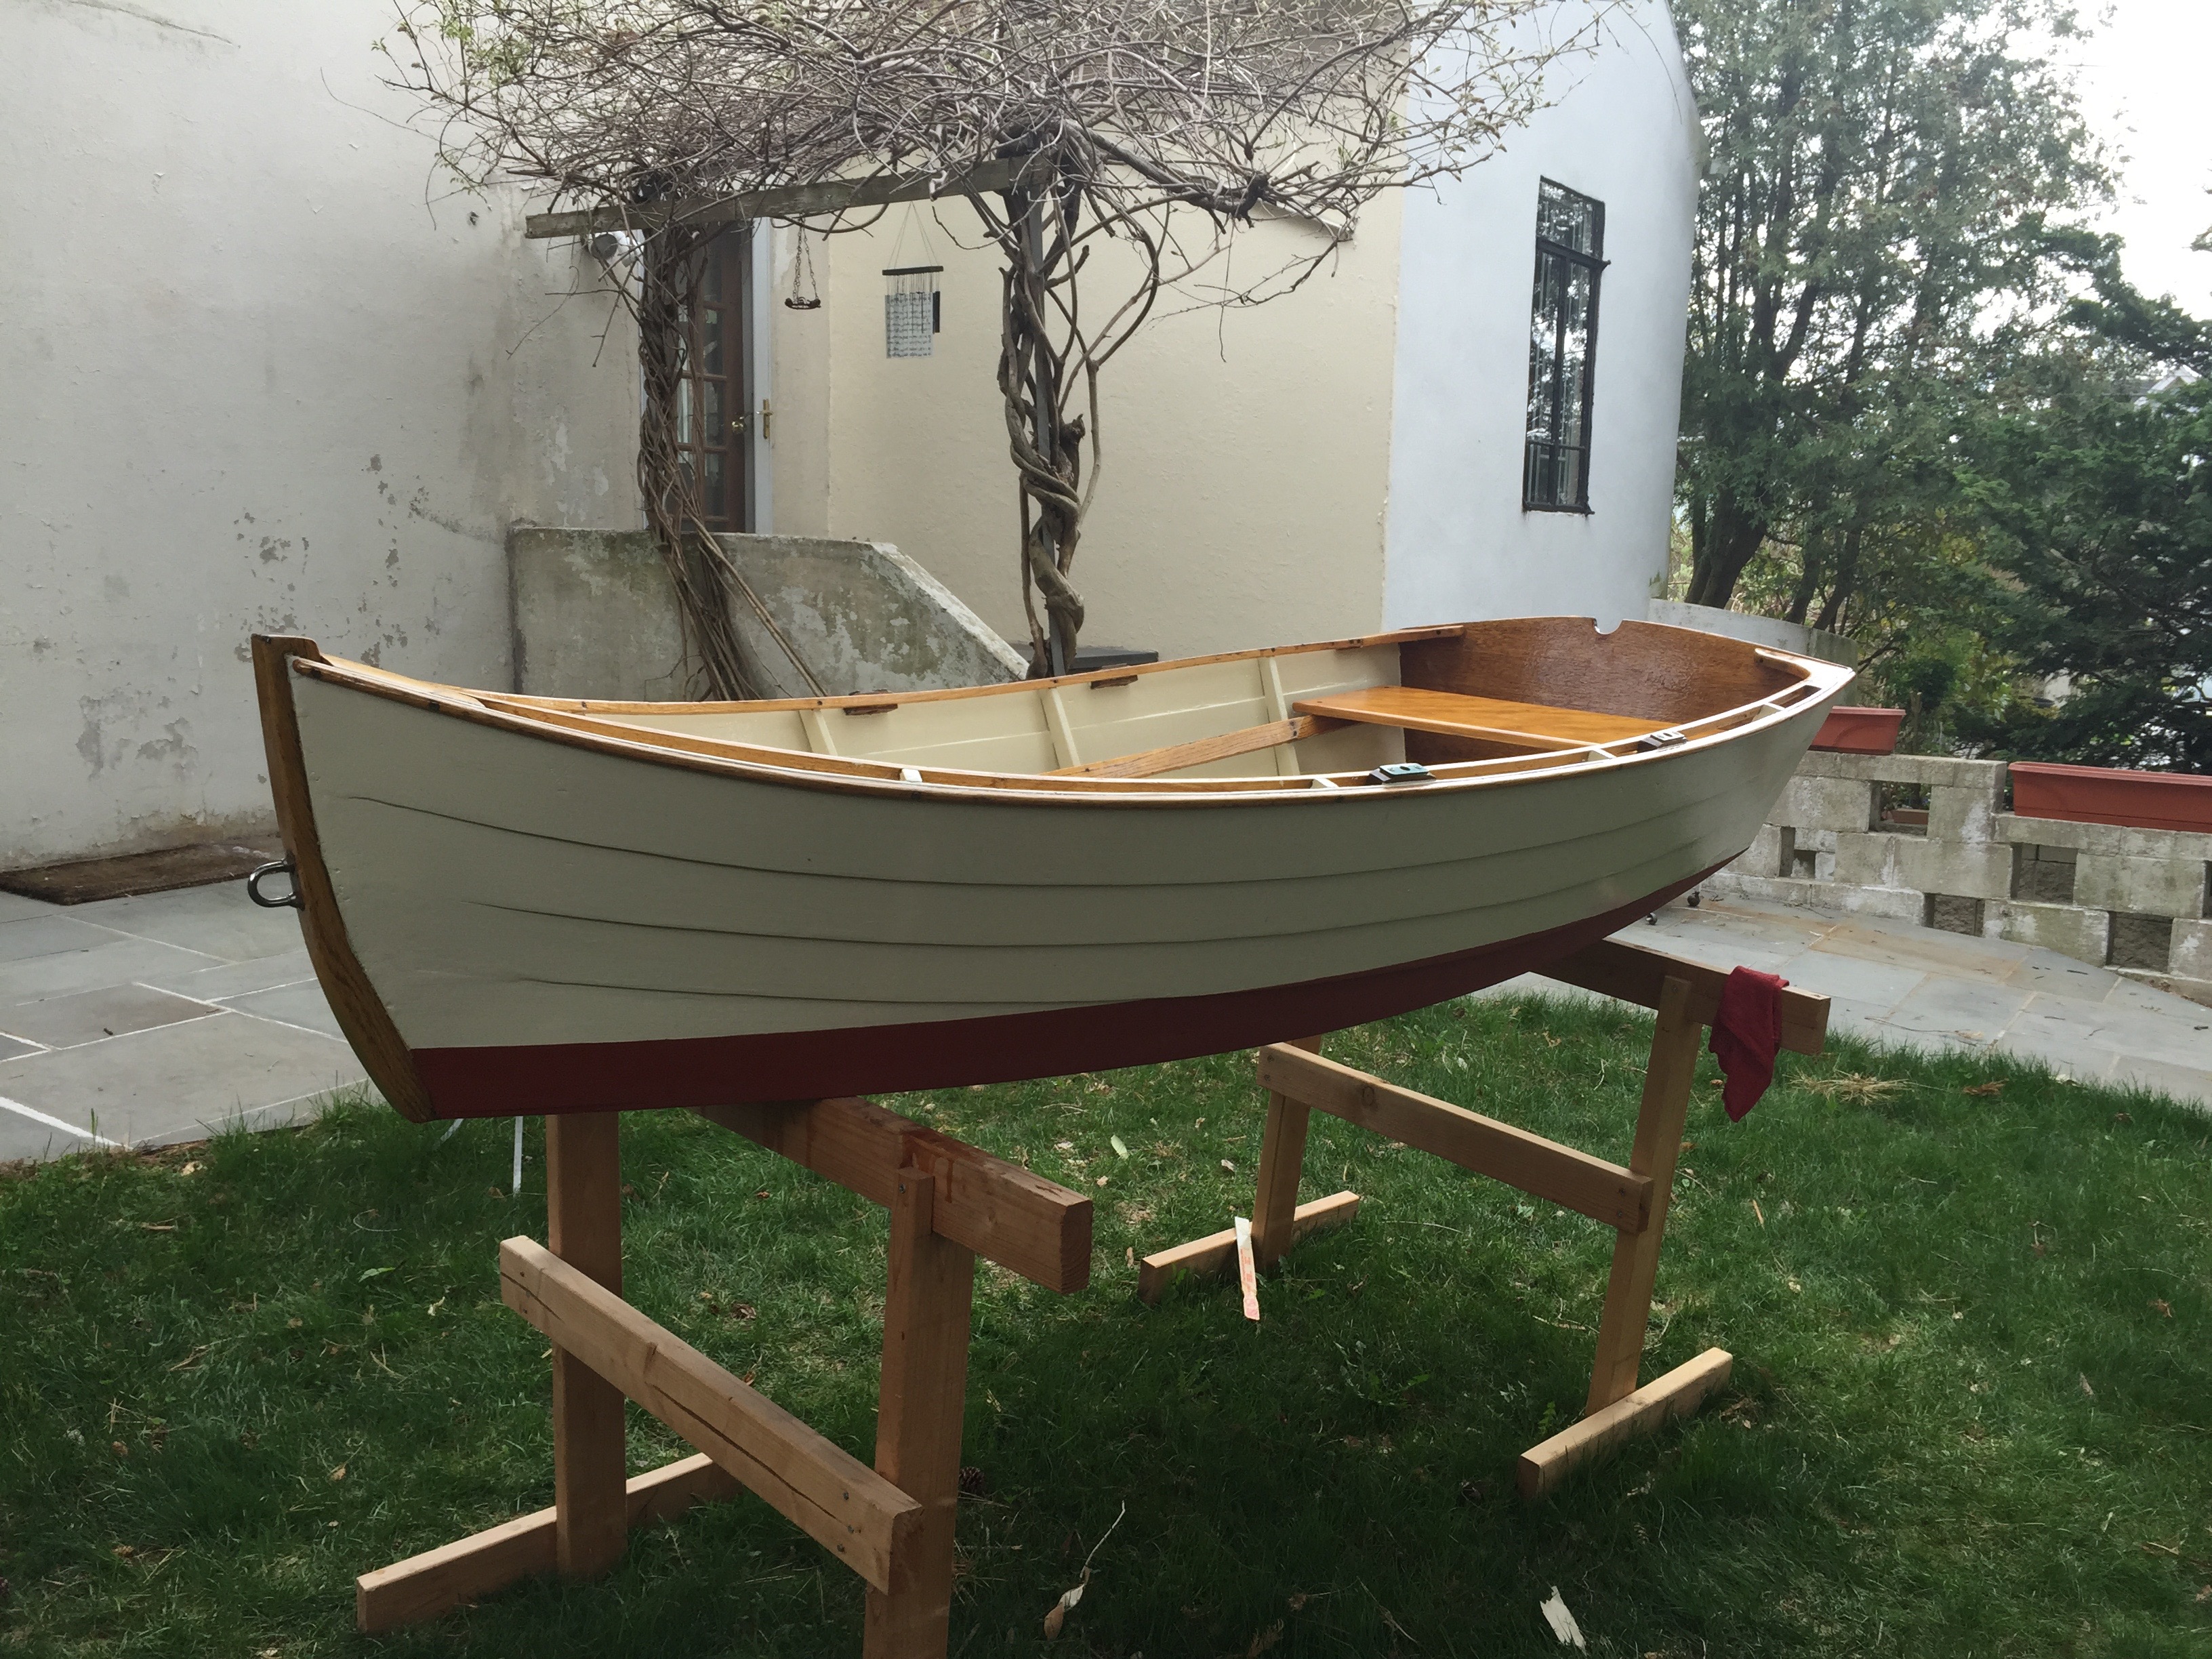 |
| Cabin Boy's spring refit complete |
Next Up:
Varnish or Oil?
dig Cabin Boy...
ReplyDeleteYup. He cleans up nicely.
Delete