However, when it comes to boatbuilding, a large dose of positive thinking is mandatory because of the profound leaps of faith needed to make progress on all but the simplest of projects.
The newbie boatbuilder discovers this as soon as he has to make the first cut into a valuable piece of wood. And even intermediate duffers, such as myself, run into it at practically every turn.
When I last left off, I was hesitating about cutting the hole for the drawer in my dish rack front, because I was afraid of destroying a piece of teak that I'd put an awful lot of work into. However, in planning my drawer, I realized it would be easier to make the drawer fit the hole, than make the hole fit the drawer. Safer, anyway. I could always throw away the drawer if it didn't fit the hole.
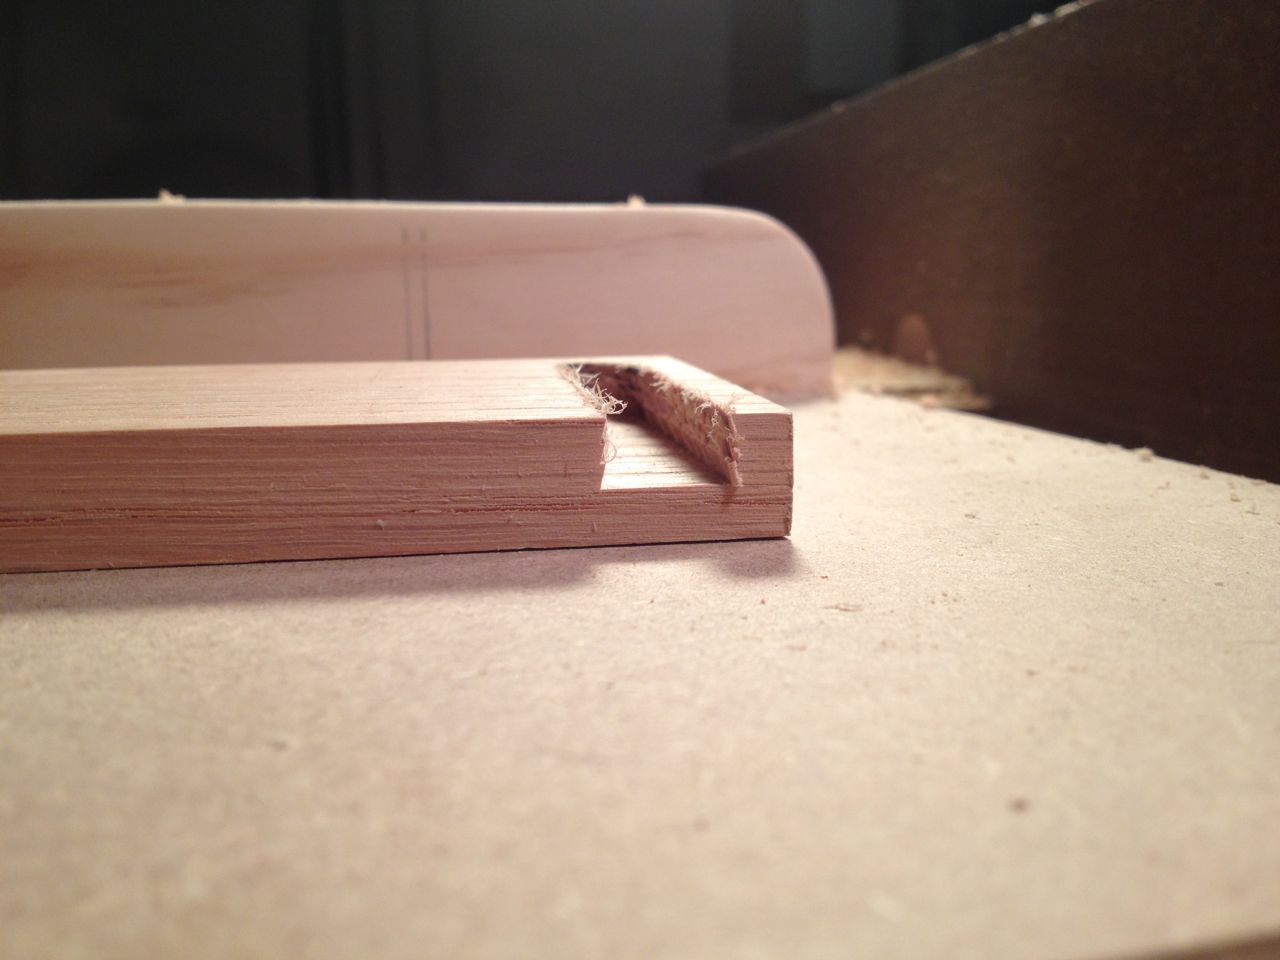
Armed with this insight, I gathered my courage, and took the leap, cutting the simple rectangular slot for the drawer. I did this by drilling a hole in the teak, and then using my saber saw to cut out the slot.
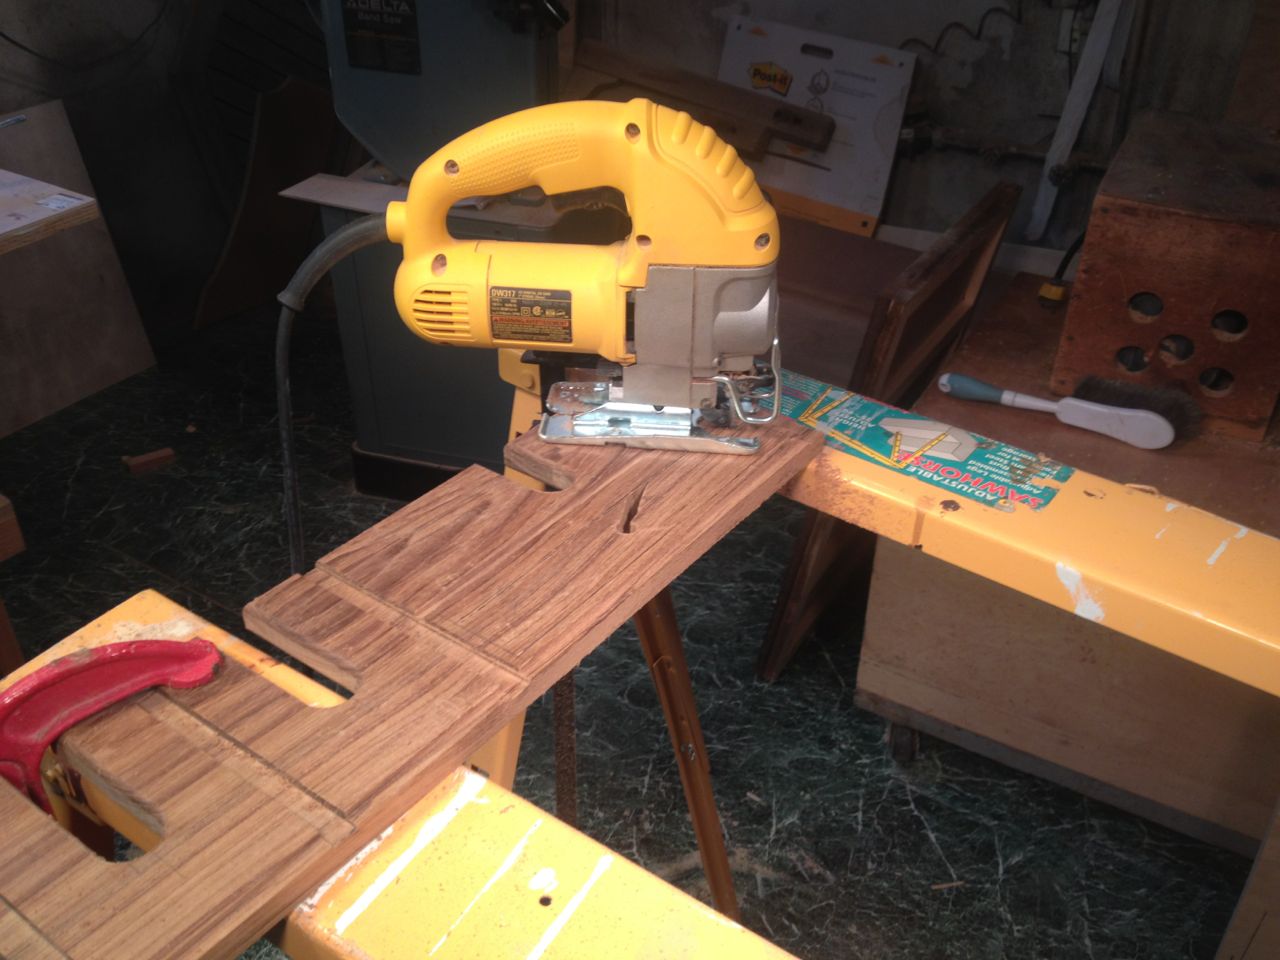 |
| Cutting out slot in front for drawer |
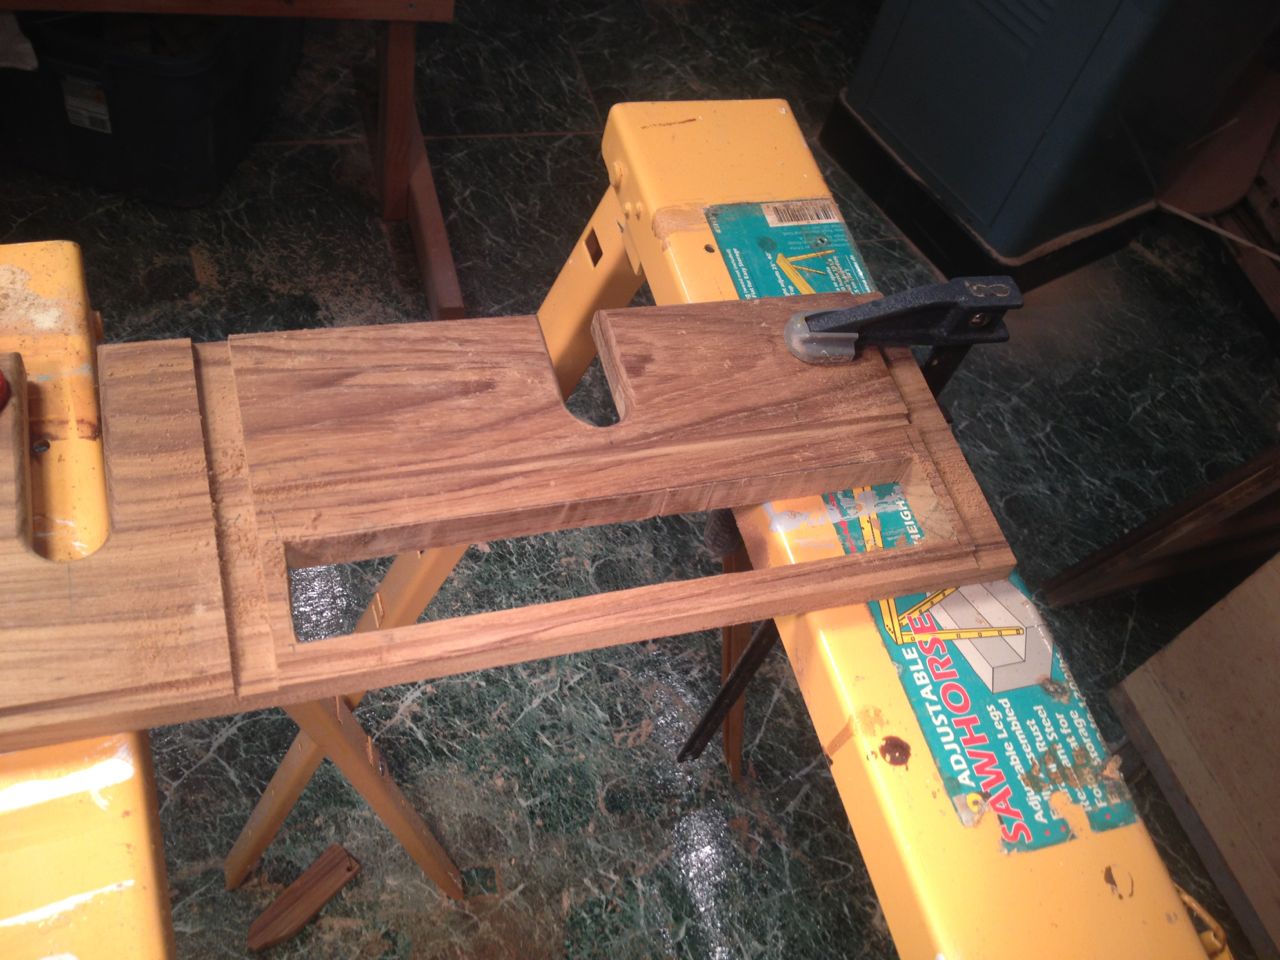
It's not. It should actually be about a half-inch taller. I don't know what I was thinking.
Anyway, better too small than too big. I quickly enlarged the hole to the correct size.
 |
| Add caption |
Yes, I really do talk that way when I'm on my own. Here's the video, which I highly recommend.
So, I ordered the dovetail bit (Freud 22-112 1/2-Inch Diameter 14-Degree Dovetail Router Bit with 1/2-Inch Shank
This is the setup I ended up using:
 |
| Cutting blind dovetails in front of drawer |
It was actually pretty easy to cut both the dovetail slots and tails in the poplar, which is a softwood and fairly easy to work with. But I wanted the drawer front to be made out of teak to match the rest of the rack. That's where the trouble started.
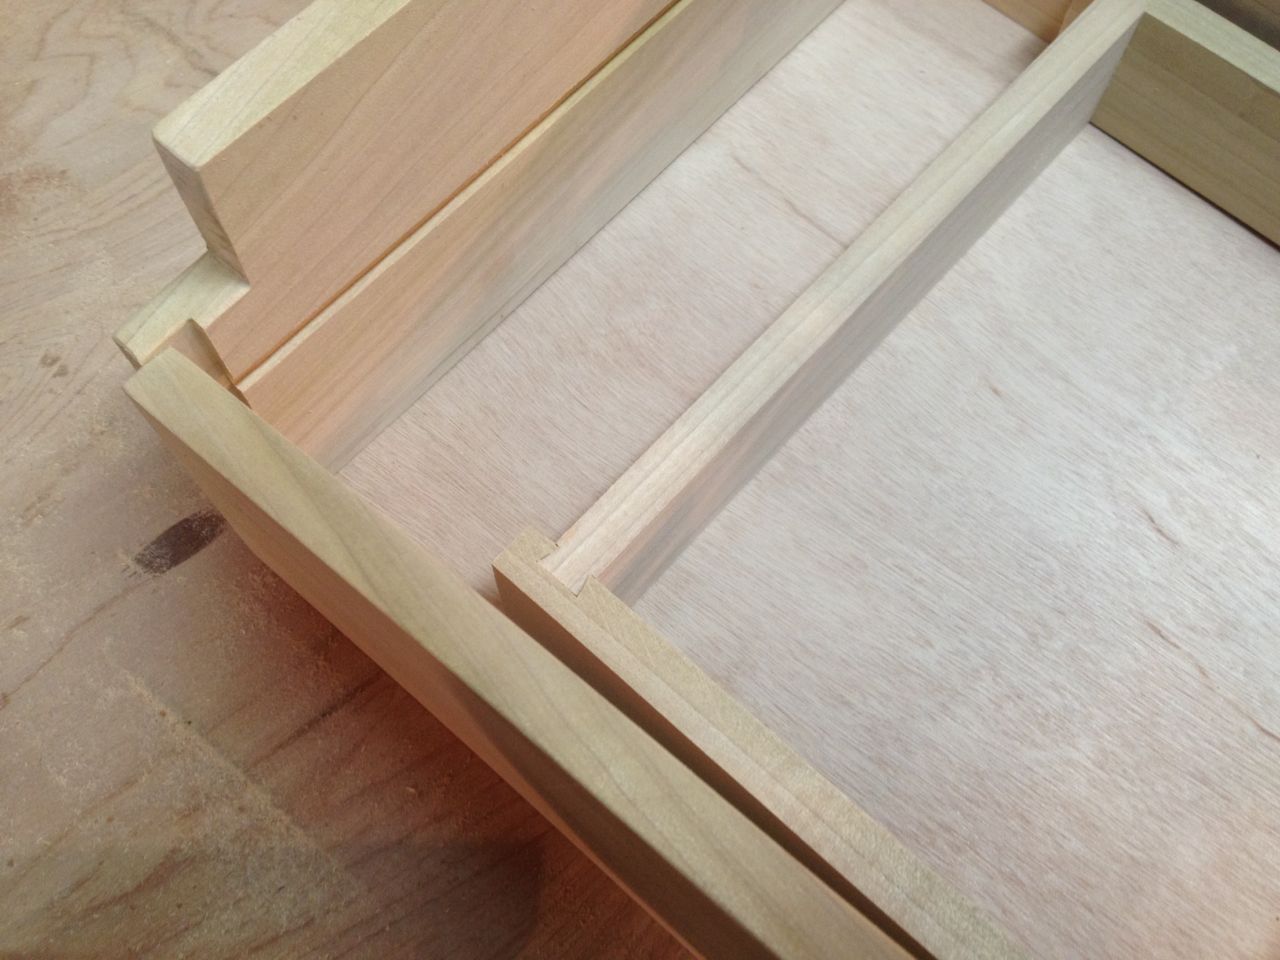 |
| Sliding dovetails in drawer body. |
No matter what I did, I'd get a massive chip-out in the drawer front when cutting the slot. Here's the nice piece of teak I wanted to use:
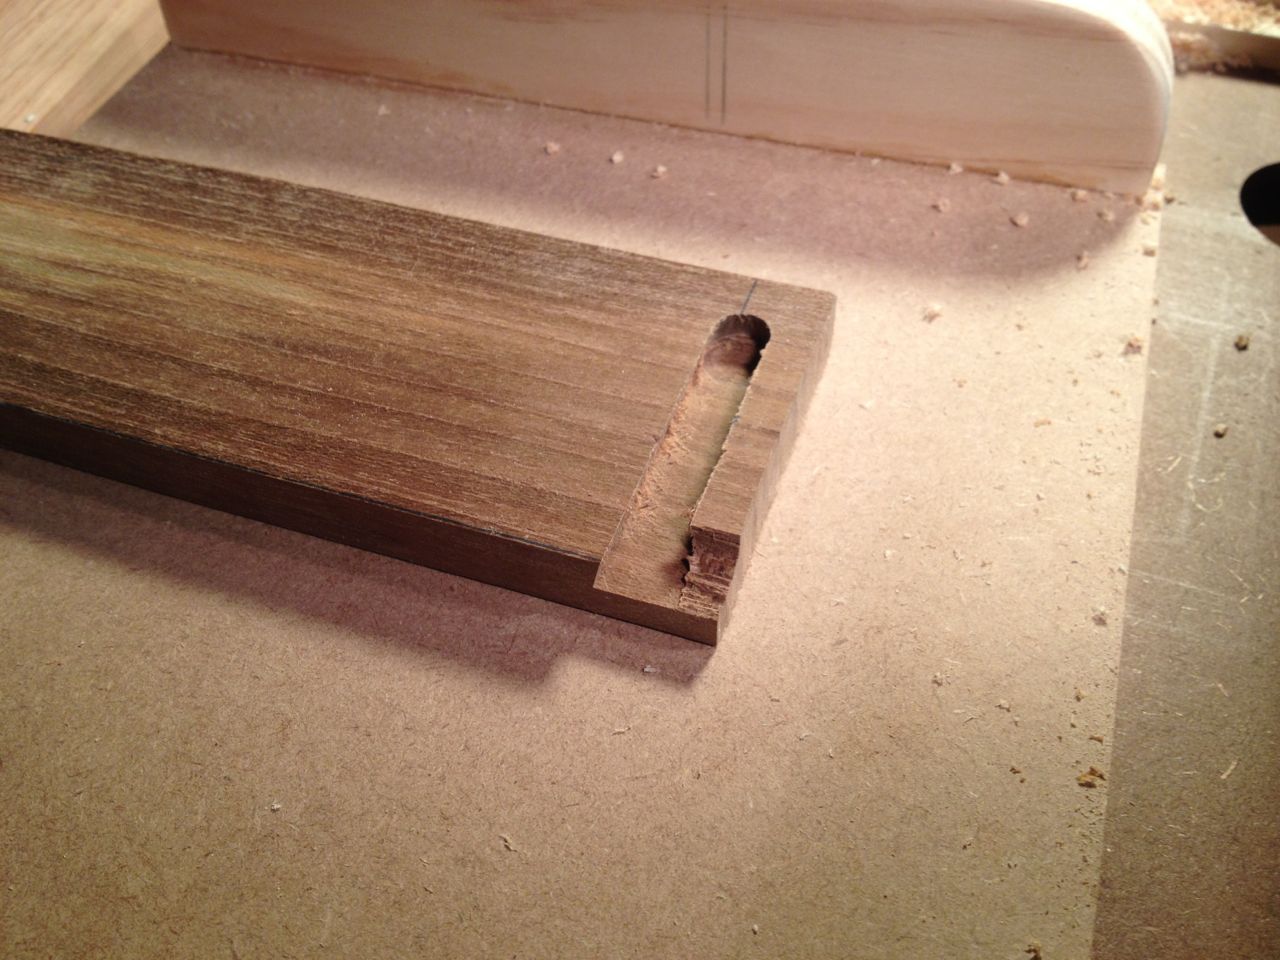 |
| Chip out when cutting slot in hardwood |
"Surely," I thought in my most positive manner. "Surely it is possible to cut this slot if I just go a little slower."
Bzzzzzzzz pop!
"Blast. Maybe if I go a little faster..."
Bzzzzzzz pop!
"I know! I need to hold it down better. Let me clamp this feather board over it, so it's nice and tight against the router table. That will do it!"
Bzzzzzz pop!
"Double blast! Well, maybe I can try..."
Applying that sort of positive thinking over and over again, I eventually experimented that piece of teak out of existence. Nothing, positively nothing, worked.
So, I decided teak was out and oak was just the thing for the drawer front.
Bzzzzzzz pop!
Same thing.
"Ah, ha!" I said, suddenly struck by a bolt of cleverness. "I know what to do, I'll just cut the slot a bit at a time. In two, no, three steps! No way it will split out then."
Bzzzzz. No split. Bzzzzz. No split. Now, for the final depth... Bzzzzz. No split!!!
Oh. Rats.
 |
| Why you can't cut a dovetail slot in three steps. |
That's when I realized that poplar -- yes, that beautiful green softwood -- would make the perfect drawer front.
 |
| Draw glued together |
 |
| A perfect fit |
 |
| If you click on the photo above, you can see the lock slot in the bottom of the drawer. |
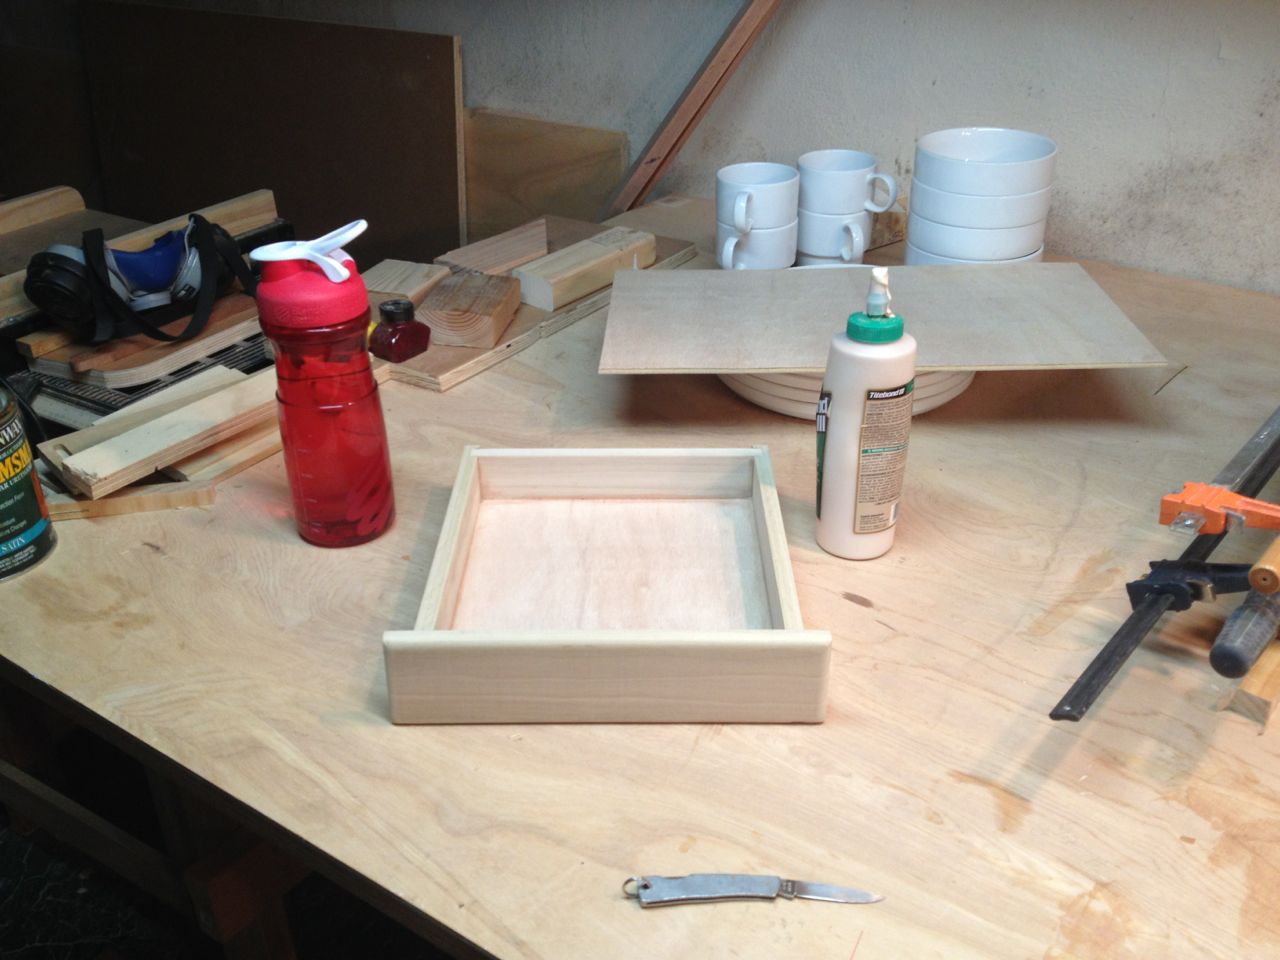
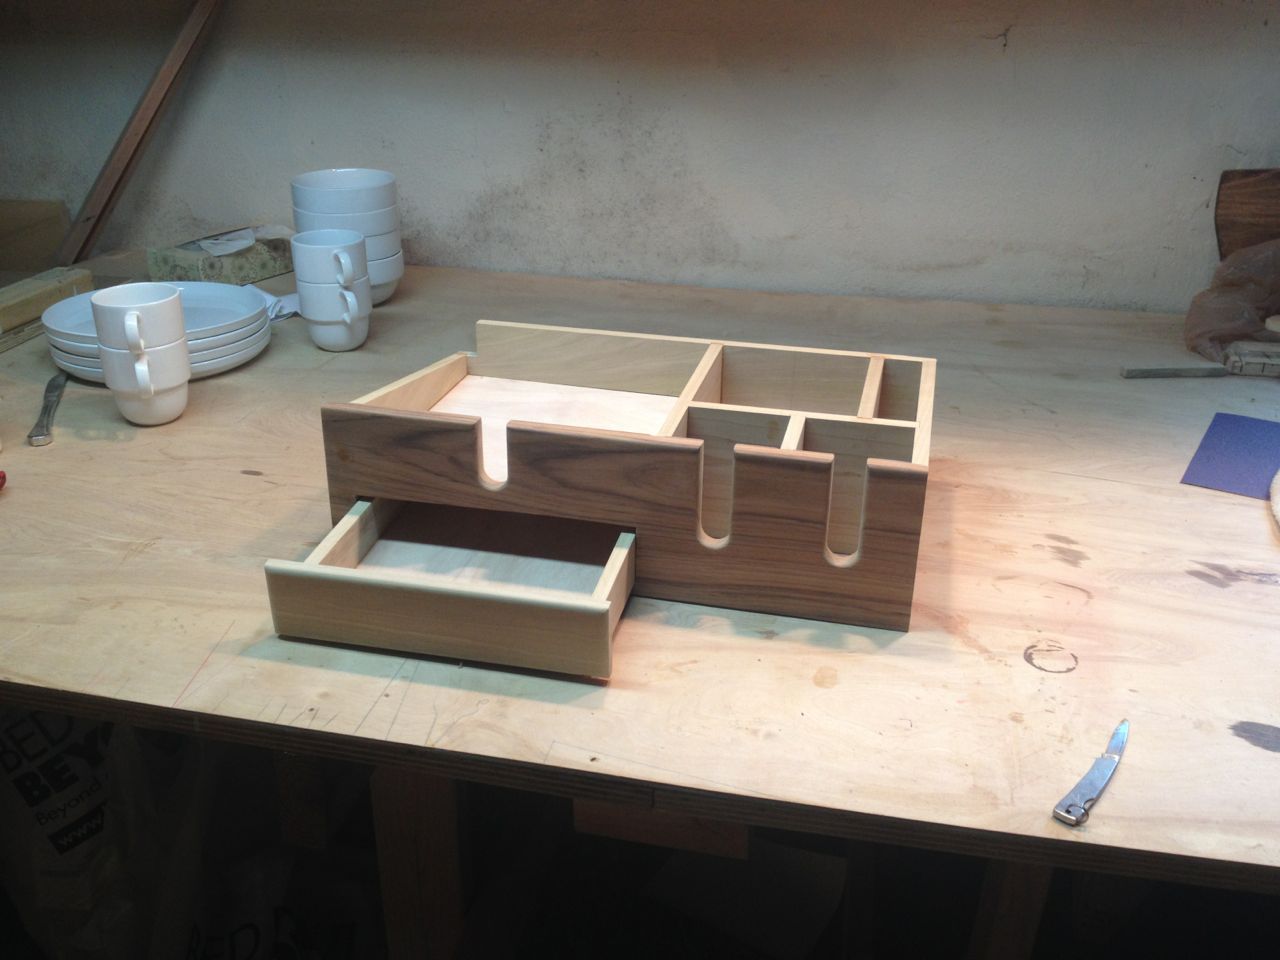
I decided to varnish the whole rack, and paint the drawer. I'll match the color of the drawer to the color of the galley (a flavor of warm white). With a bronze handle, the drawer should look pretty good.
Here's the rack, bottom, and drawer with sealer/primer applied. Hope to have it installed by the weekend.
If you have any idea how to cut a dovetail slot into hardwood without chipping out the end, please (please!) add it to the comments below.
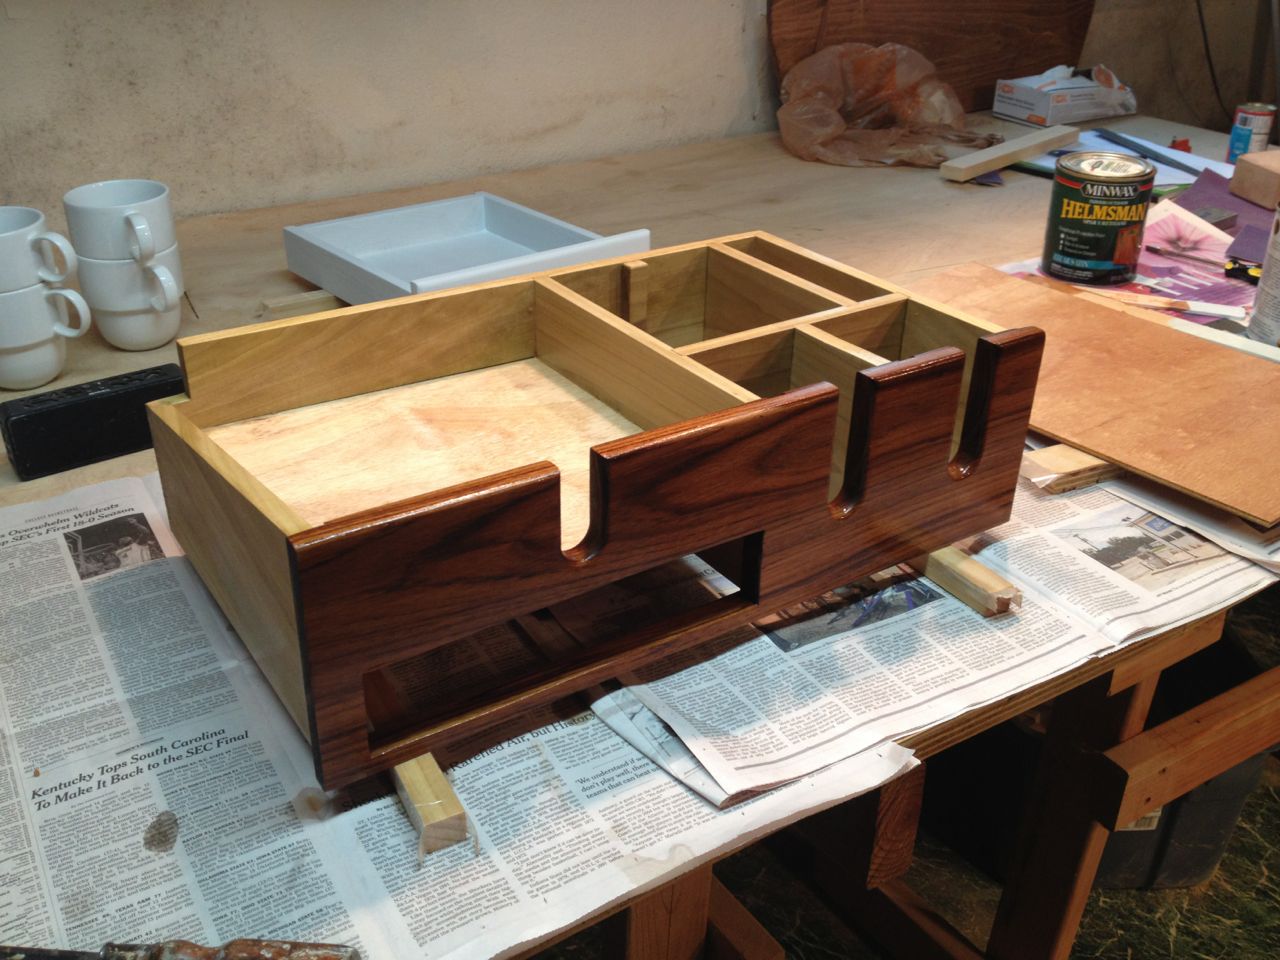 |
| Why doesn't everyone varnish everything? One of the great mysteries of life... |
Next Episode: Here we go again
Could you route the dove-tail joints in a piece of timber, then trim it's length so that you don't get the chipping? eg finished drawer front will be 24 inches, so start with a length of 48 inches, route the two joints in 14inches in from each end, then trim the plank to suit? Just a thought...
ReplyDeleteH'mmm. A bit wasteful, but it just might work!
Deletegreat post! will watch for solution.
ReplyDeleteI will be digging for one, just in case.
DeleteI think 'fiasco' is a bit strong John. I've managed to do much worse with a power router! Yes, I've been round the block a few times with the router. At first I thought this is great, and when it got stolen I went out and bought an expensive top of the range one with some very expensive bits. I've used it for all sorts, often with poor results. Then, after a large fence job, it started complaining and I realised that I was no longer enjoying using it. I've since left it to rust quietly, while I quietly work on my hand tool skills. The power tools take more thinking through, often more wastage of wood, and longer setting up. They also scare me more, the older I get. There's nothing wrong with hand worked dovetails, although the 'sliding dovetail' is not normally part of that repertoire.
ReplyDeleteActually, I did figure out how to cut a sliding dovetail with hand tools a while back. Even built a wooden router plane which worked pretty good. To be honest, I didn't even think to try cutting it by hand. That probably would have worked. Rats...
DeleteWhat's the point of trying to help you when you never reply to what I write?
ReplyDeleteMichael, I did reply to your comment back on the Art of Design post. The reply appears right below your comment, as this does. If you click the 'notify me' box when you are adding a comment, I believe you will get an email when I reply. I'm actually pretty good at replying I think ;-)
DeleteI thoroughly enjoy your blog. You sound just like me and my efforts to work on boats. Keep up the good work.
ReplyDeleteBob
Thanks, Jewel!
DeleteYou could try using a straight bit as wide as the shank of the router bit . Go to required depth with multiple cuts. Then use the router bit set to required depth to profile the inside of the cut.
ReplyDeleteNow that sounds like it might work. Will try that tomorrow.
DeleteI think if you cut the dovetail in the drawer front, prior to trimming the piece to the width you wanted, you'd have more meat to work with and not chip out. Just a thought - I have little experience with routers and hate using them.
ReplyDeleteI shied away from routers for a long time, but I have to admit they are extremely handy for some things.
DeleteFL Boater says: Straight bits first. Try 2 sizes, start small, enlarge to the next size up (same diameter as dovetail bit shank) and finish with the dovetail bit. Teak and Oak are just way to tough to remove that much material all at once. I know for a fact it will work because I've done it. Besides, I learned it from Norm Abram and Norm is the Master!
DeleteYes, I think this is a good idea. I'm going to try it as soon as I have a chance and will illustrate the results.
DeleteThis comment has been removed by the author.
ReplyDeleteSorry let me try this again....I use a scrap piece of sacrificial wood that I butt up tightly against the start edge of the good wood that you want to use. That way the routing starts into the scrap wood and then transitions smoothly into the good wood with the edge grain being supported. Hope this made sense!
ReplyDeleteAh, I see. I think I'll try all these ideas and see how they work.
DeleteNow that would make a good blog posting as well! ahem... ;)
DeleteWith an handled router, if you go from up-cutting to climb cutting, the router snap of your hands in a split second. I have done it once with a 1kW router, never again, and I was lucky (no break parts, even on operator).
ReplyDeleteI am a great varnish fan, too! Well, there are times I skip it when I stumble on a nice piece of wood and if I feel that it will "remove" the wood's identity.
ReplyDelete