 |
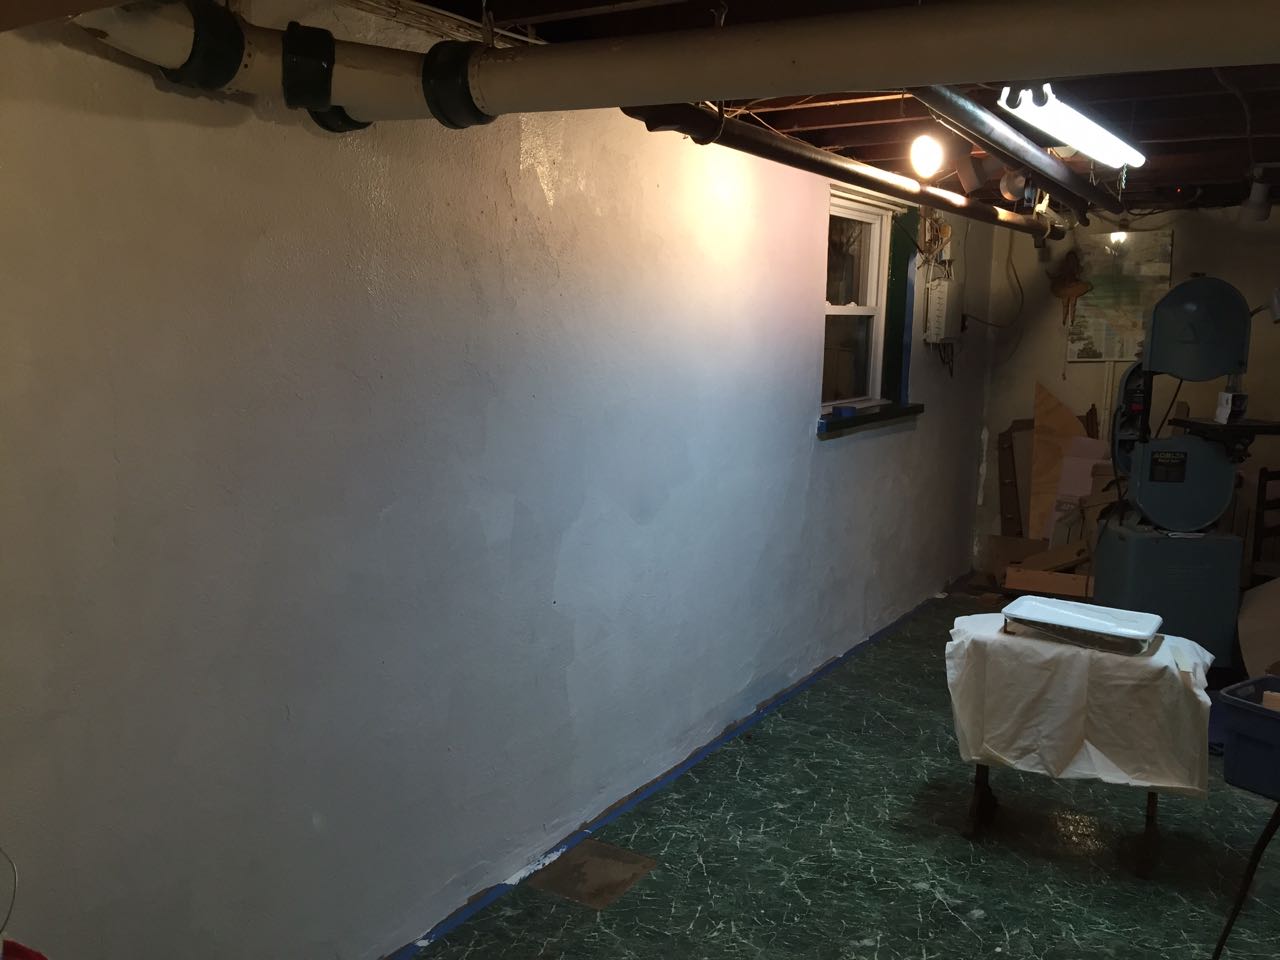
| Looking better already! |
Last time, I hinted that I'd had my fill of dust. It would be more precise to say I've had enough of the dust, noise, and clutter that a shop full of power tools creates. I respect that people who need to earn their daily bread with wood need to work fast, but Helena will be the first to tell you I am not a fast worker. 'Agonizingly slow', she might say; I prefer the word 'deliberate'.
At any rate, I have always liked working with hand tools, but though I've gradually collected a tidy pile of good old tools, I have had limited success using them. In the past, I would have blamed myself. "I'm just not handy!" was a favorite excuse. But this summer I realized two things were holding me back:
- I didn't have the right equipment to get my tools really sharp
- I didn't have the kind of solid bench needed to get the best out of them
Never one to let a hot insight grow cold, I immediately tackled both problems.
Not having thousands to spend on a Euro-bench, I searched the Internet for something almost as good, but a heck of a lot cheaper. In the end, I chose to build a fairly famous bench, and certainly one with a terrific name: "Tom's Torsion Box Workbench".
This 250 lb. bench is made from ordinary construction lumber and depends on 4 torsion boxes to give the bench it's strength and rigidity. Lots of people have built it and everyone seemed to love it, so I decided to give it a go.
'Torsion box' is a fancy word for two thin layers of material securely fastened to a light-weight core. Think of a hollow door or an airplane's wing. Both are much stronger and more rigid than you would expect from such lightweight materials.
The torsion box's rigidity makes it resist the twisting and wracking of a lesser bench, such as the plywood-screwed-to-homemade-sawhorses that I'd been using for far too long. The following image shows a bit about how it works:
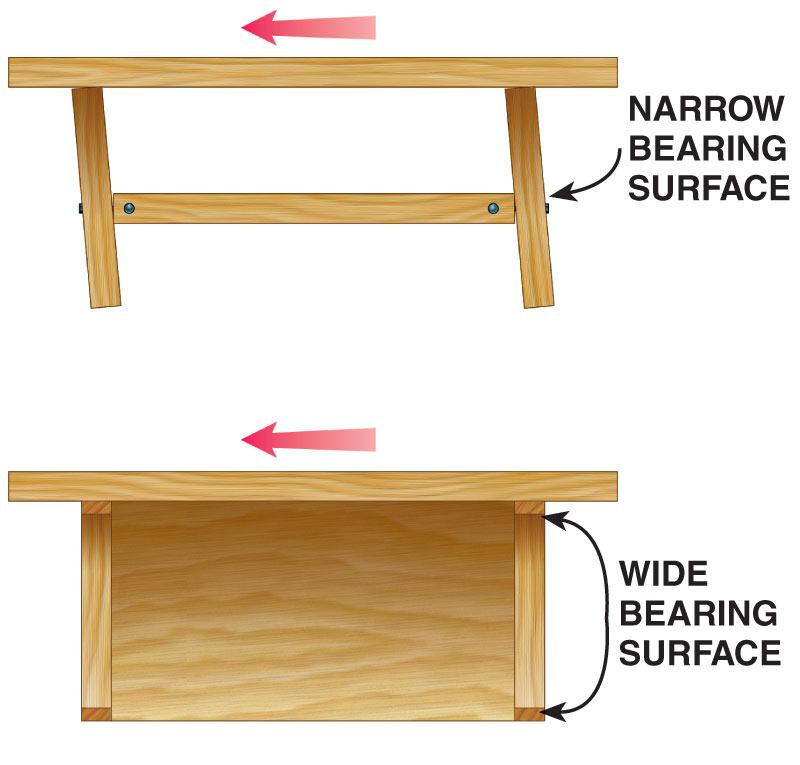 |
| My old bench was even worse than that top bench |
For complete details including many good photos, see the article on the American Woodworker website.
If you are intrigued by Tom's article, be aware that the link above points to the Version 2 bench. There was an earlier article about what I'll call the Version 1 bench, which is slightly but significantly different. The Version 2 bench benefits from several years of Tom working with the bench and is definitely the one you will want to build.
Anyway, I can't add much to Tom's brilliant article. All I can say is that it is as rock solid as he says it is. Even without the top, I was amazed at how solid it felt.
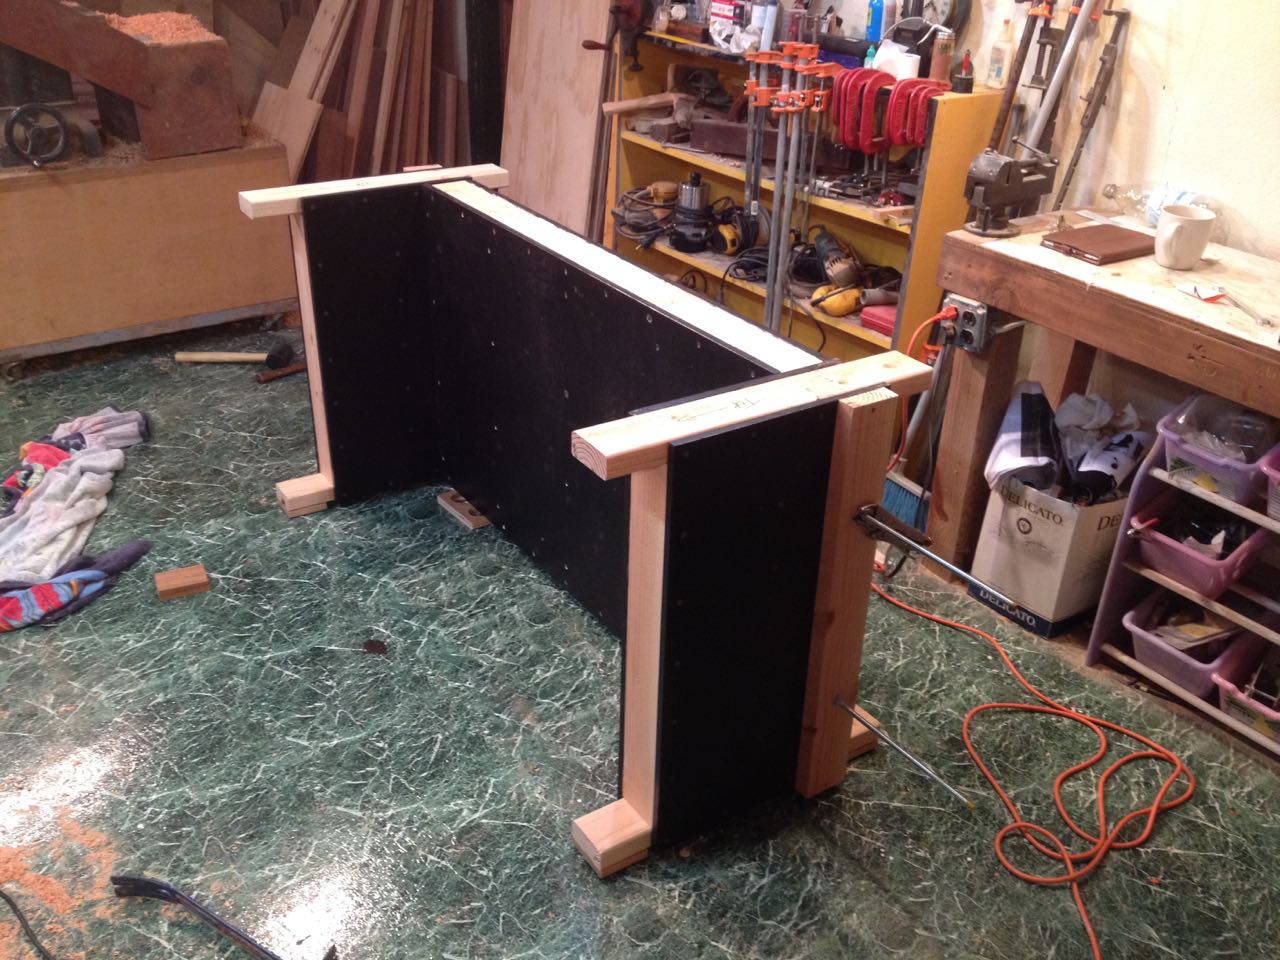 |
| Base of new bench |
Oh, and don't believe the articles that say you can build this baby in a weekend. Unless you are much faster than me (come to think of it, that might be a possibility), a month of weekends is more realistic.
I'm still not finished with mine, but already it's incredibly useful, and good enough to build all my Christmas gifts on. Instead of vises, I just clamped work pieces too the bench or used improvised planing stops. The main thing was the bench didn't shimmy and shake like Elvis when I planed and sawed on it. In fact, it just stood there like the Rock of Gibraltar.
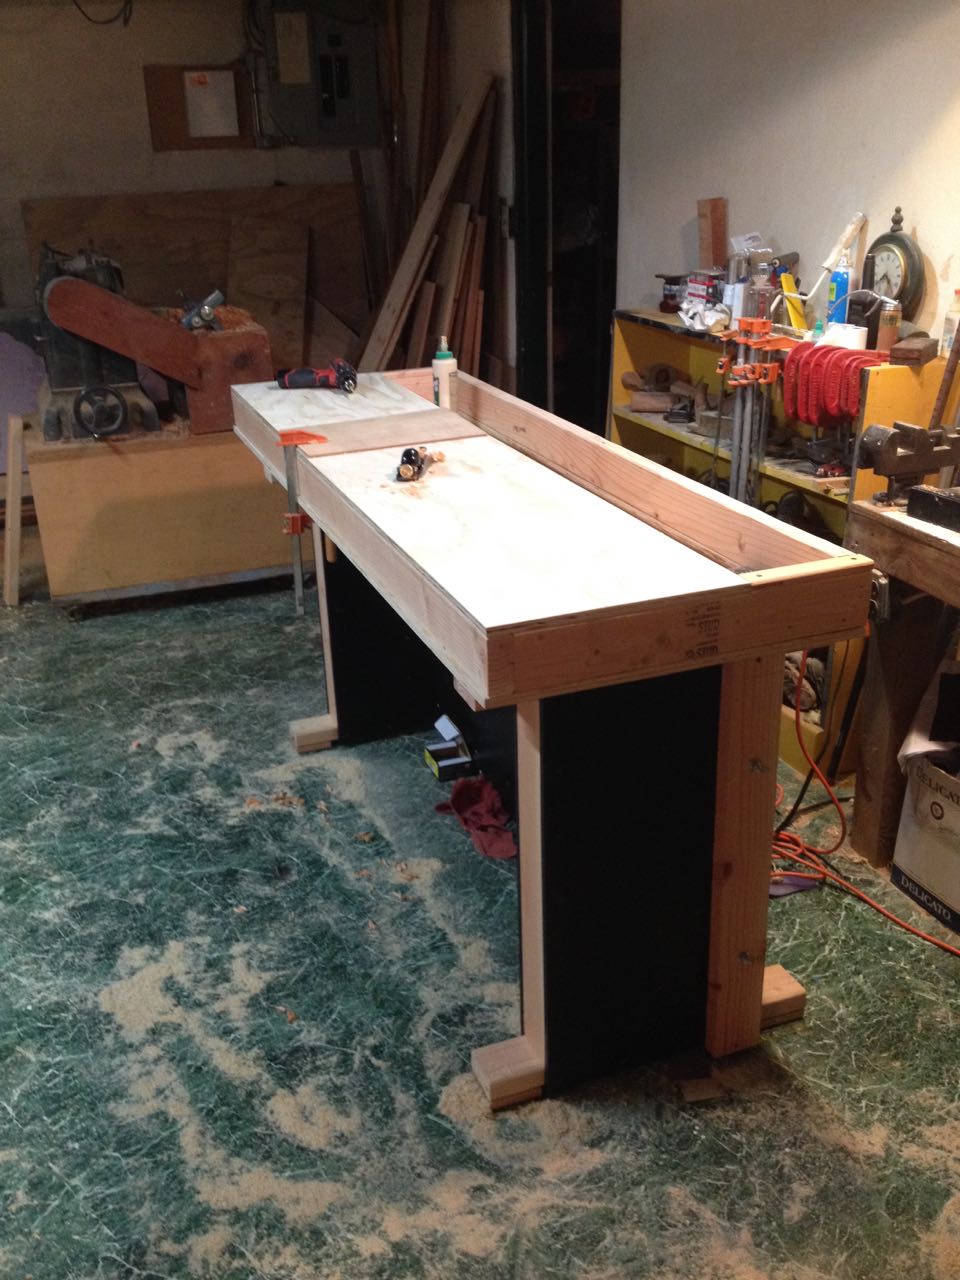 |
| With top, but missing front bit which will hold front and tail vises. |
A vast improvement over any bench I've ever used, no less owned.
Just to show you how simple it is to build, here's the inside of one of the boxes:
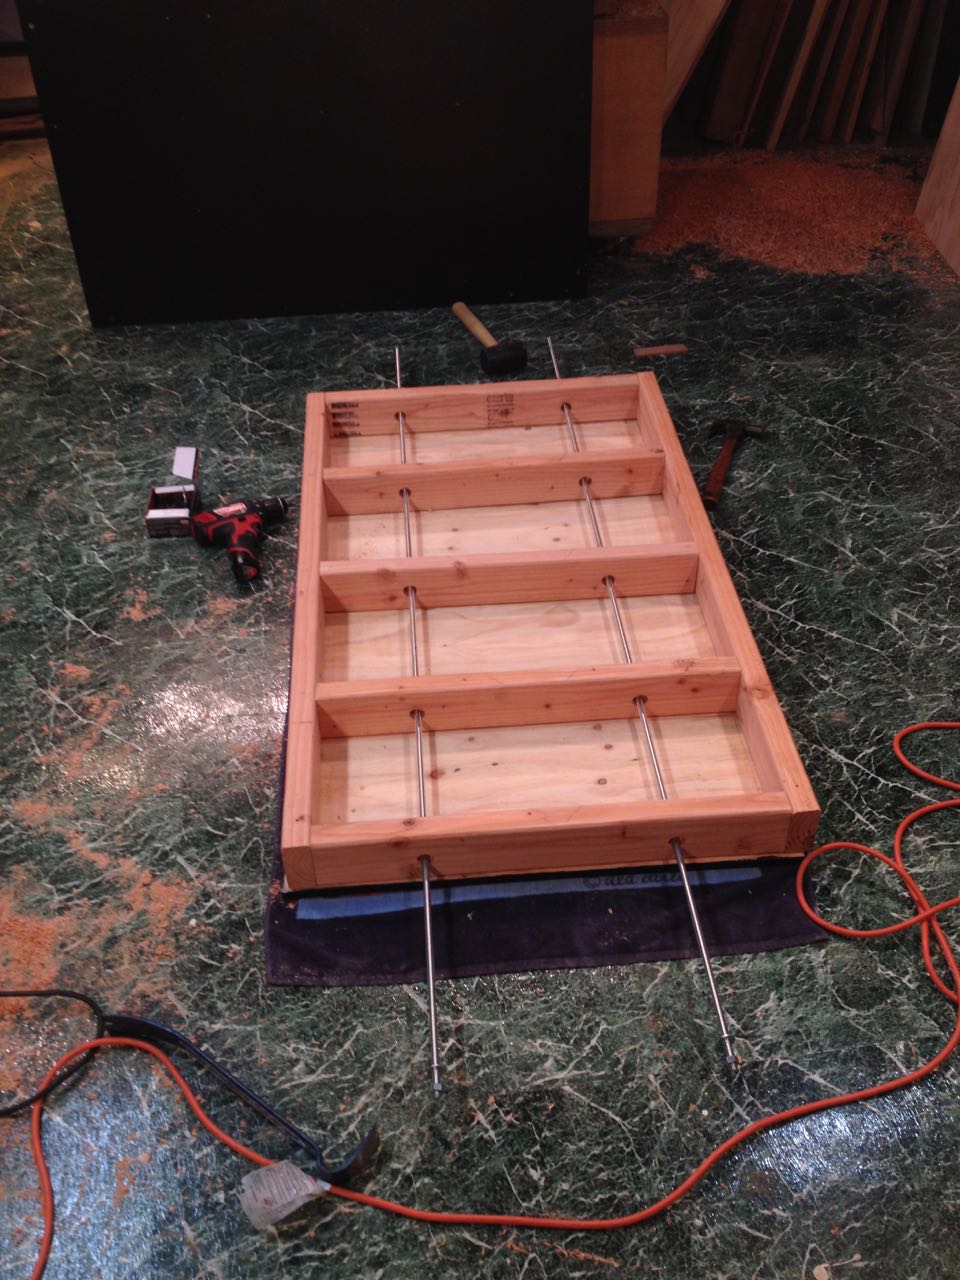 |
| Inside of the center frame |
No fancy joinery, just 2x4s screwed and glued to plywood.
So building a decent bench was the first step in upping my hand-tool game. Building the front and tail vises will be job #1 as soon as I finish cleaning and reorganizing the shop. I can't wait.
Next Episode: Lumber Rack
No comments:
Post a Comment
I'd love to hear from you. Please comment!