Even small boats like the Blue Moon are too big to tackle all at once, so each year I try to choose the part of the boat most in need of care. Two years ago, it was the sails and rigging. Last year, it was the cabin. This year, it's the deck, and boy does it need it.
The Blue Moon's decks have always been a problem. They are 3/4" marine plywood over laminated deck beams, so they are plenty strong, but the Original Builder made no effort to protect the surface of the plywood, other than many (many) coats of oil paint.
That probably would have been good enough if it had been maintained properly. By the time we took over, though, she'd been baking in the hot Florida sun for several years. The paint was cracked, which let in water... you get the idea.
The worst section was the starboard side deck, which Helena was working on, back in 2010, in the photo below. We took that down to bare wood, filled the cracks with epoxy, then primed and painted with a modern marine paint. That has kept her going for the last few years, but that starboard side deck is still problematical, and the rest of it again needs some serious TLC.
There are also a number of leaks in the deck which have been plaguing me since Day 1. I want to eliminate those if I can.
 |
| Helena, hard at work back in 2010. Loooove that green color! |
For the deck and cabin top, I plan to take her back down to the bare wood, then fiberglass the surface, finishing it off with 3 coats of a good paint like Kirby, adding pumice as a non-skid material in the final coat.
The fiberglass will hopefully eliminate the leaks and provide a stable surface for the paint. I will be using the Gougeon Book (page 351) as my bible for this project.
For the anchor well and cockpit, I plan to use another idea I found in the Gougeon Book: the teak veneer deck system (page 351). In a nutshell, I will cover the cockpit seats and the anchor well with teak veneer, which will provide an attractive, non-skid surface, as well as drastically reducing the amount of work needed to keep it looking good.
I'm also going to build a sturdy teak grate for the cockpit well, which will again improve the looks greatly and eliminate the constant problem of wet feet. Because the scuppers in the well are 1/4" higher than the floor, there's always a bit of water sloshing around in the well. No more than a few ounces, but enough to be annoying. The teak grate will finally get my poor feet out of the wash.
I also want to replace my bowsprit and Samson post. Long time readers will remember that I had to lop a foot off the end of my bowsprit somewhere back in North Carolina. Ever since, the spar has been too short for its stainless steel whisker stays. I've been making do with rope stays, but it's time to replace the sprit. After building my curved boomkins, the straight bowsprit should be a snap. I plan to varnish the new sprit and Sampson post, to match the boomkin. Should look great when I'm done.
The tiny Blue Moon has 8 opening portholes that are black and green with age. Since I first boarded her, back on the Steinhatchee River, I've been wondering if underneath all that crud is a golden bronze ready to be brought back to its original splendor. I'm going to spend at least one day this spring polishing one of those ports to find out.
Finally, I need to replace my companionway drop board. The current one is made from painted plywood and the paint is so ugly and cracked that Helena refuses to even touch it. The only word for it is 'Eew!'
In a hurry to get started, I decided to use some scrap wood I had around to make the two drop boards. I thought I had more pictures of the process, but I guess I was too busy to take them. In a nutshell, I planed some scrap poplar down so it was thin enough to fit the drop board track (about 1/2"), and then used the old drop board as a pattern.
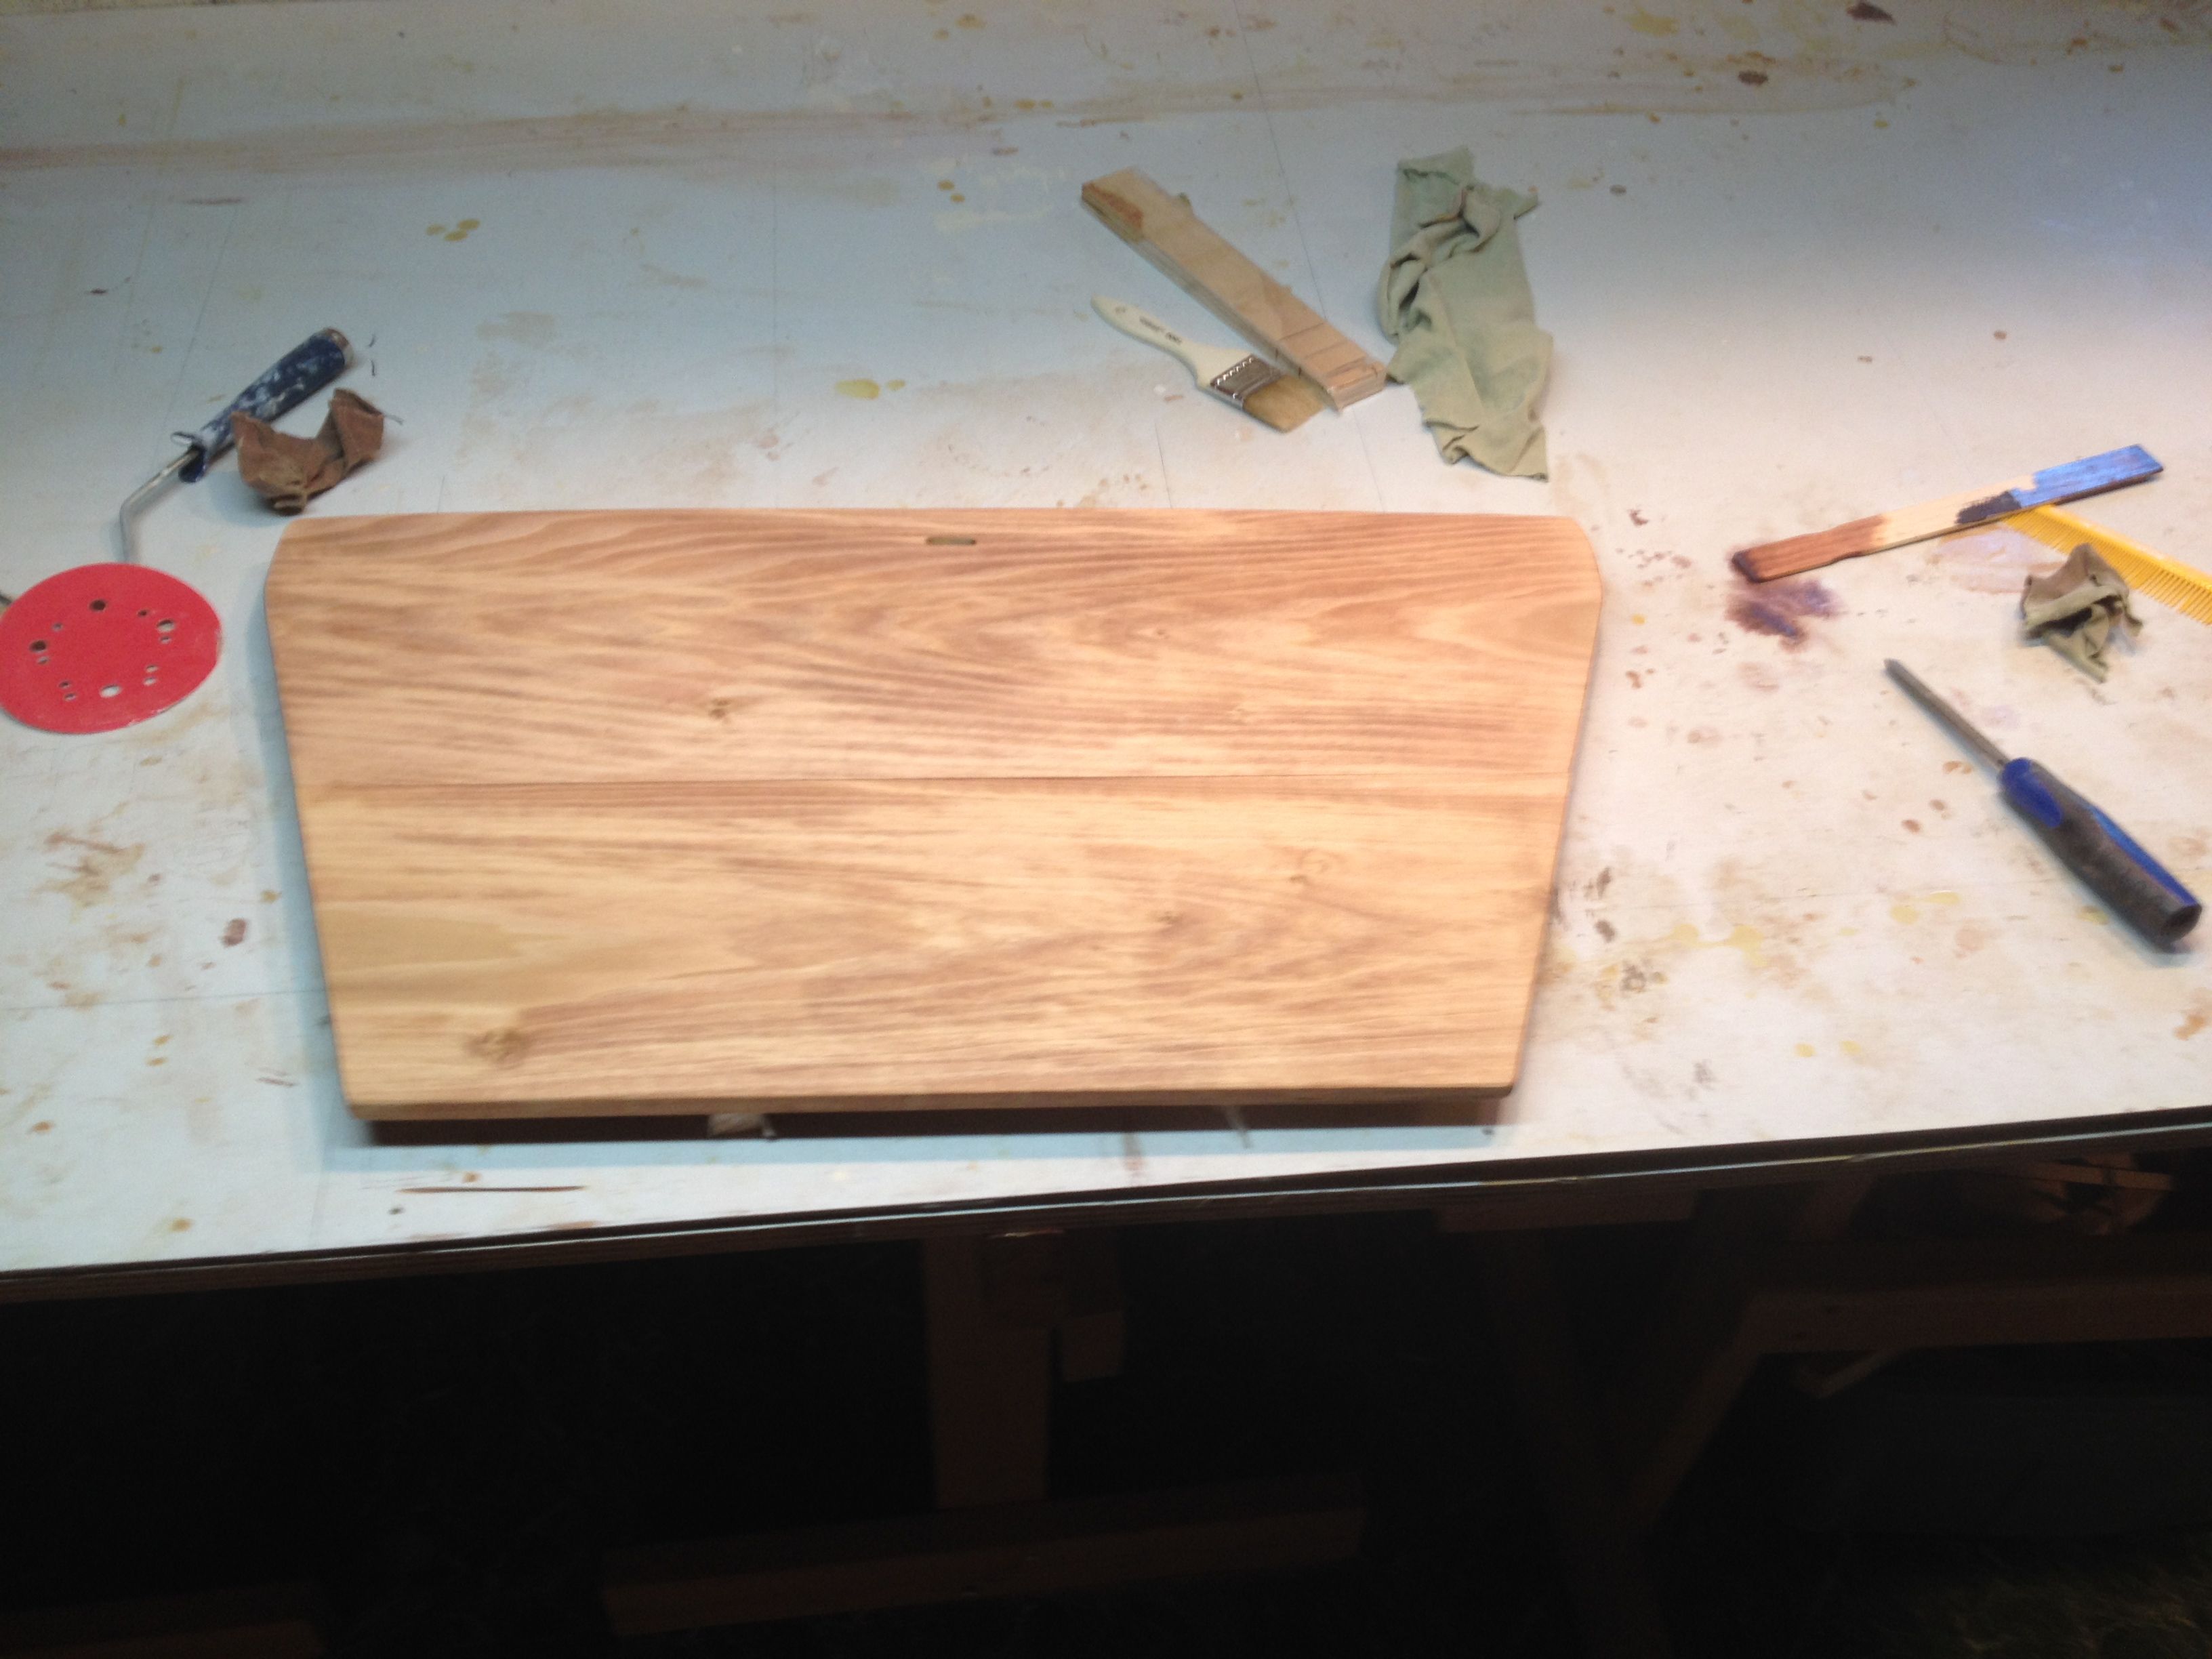 |
| New drop boards |
To help keep water out of the boat, I cut rabbets in each board, where they join.
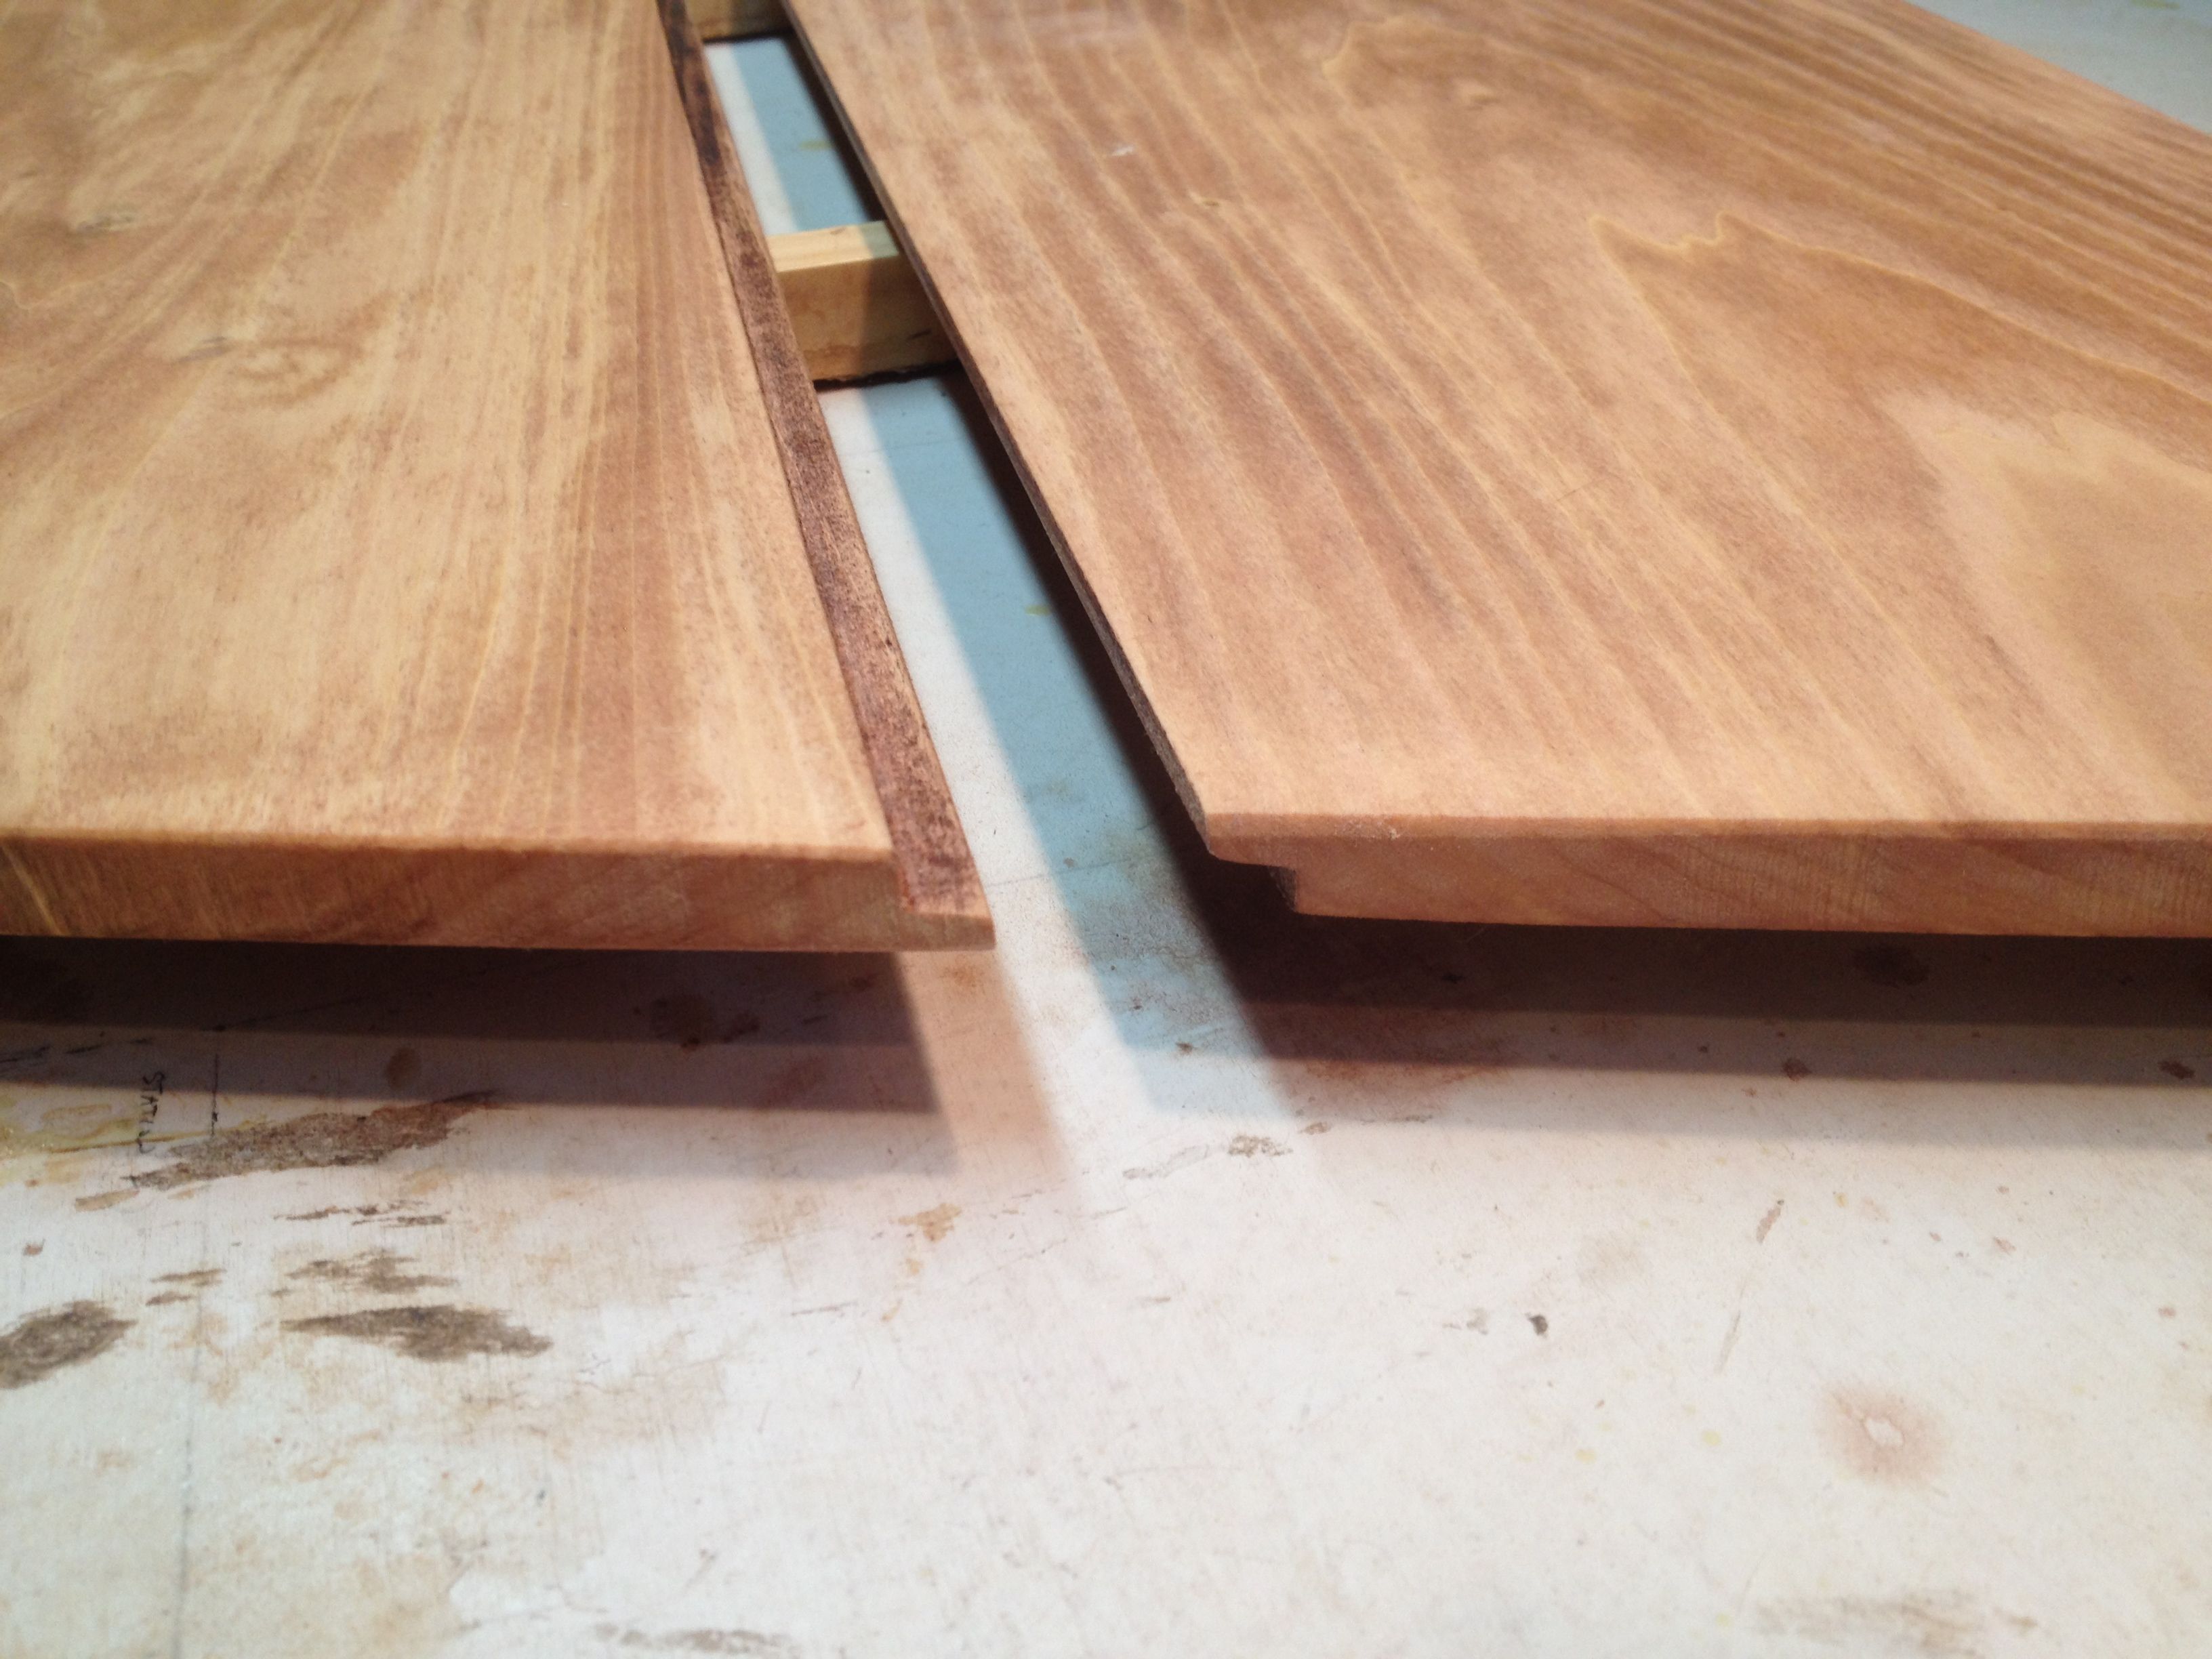 |
| Rabbeted joint |
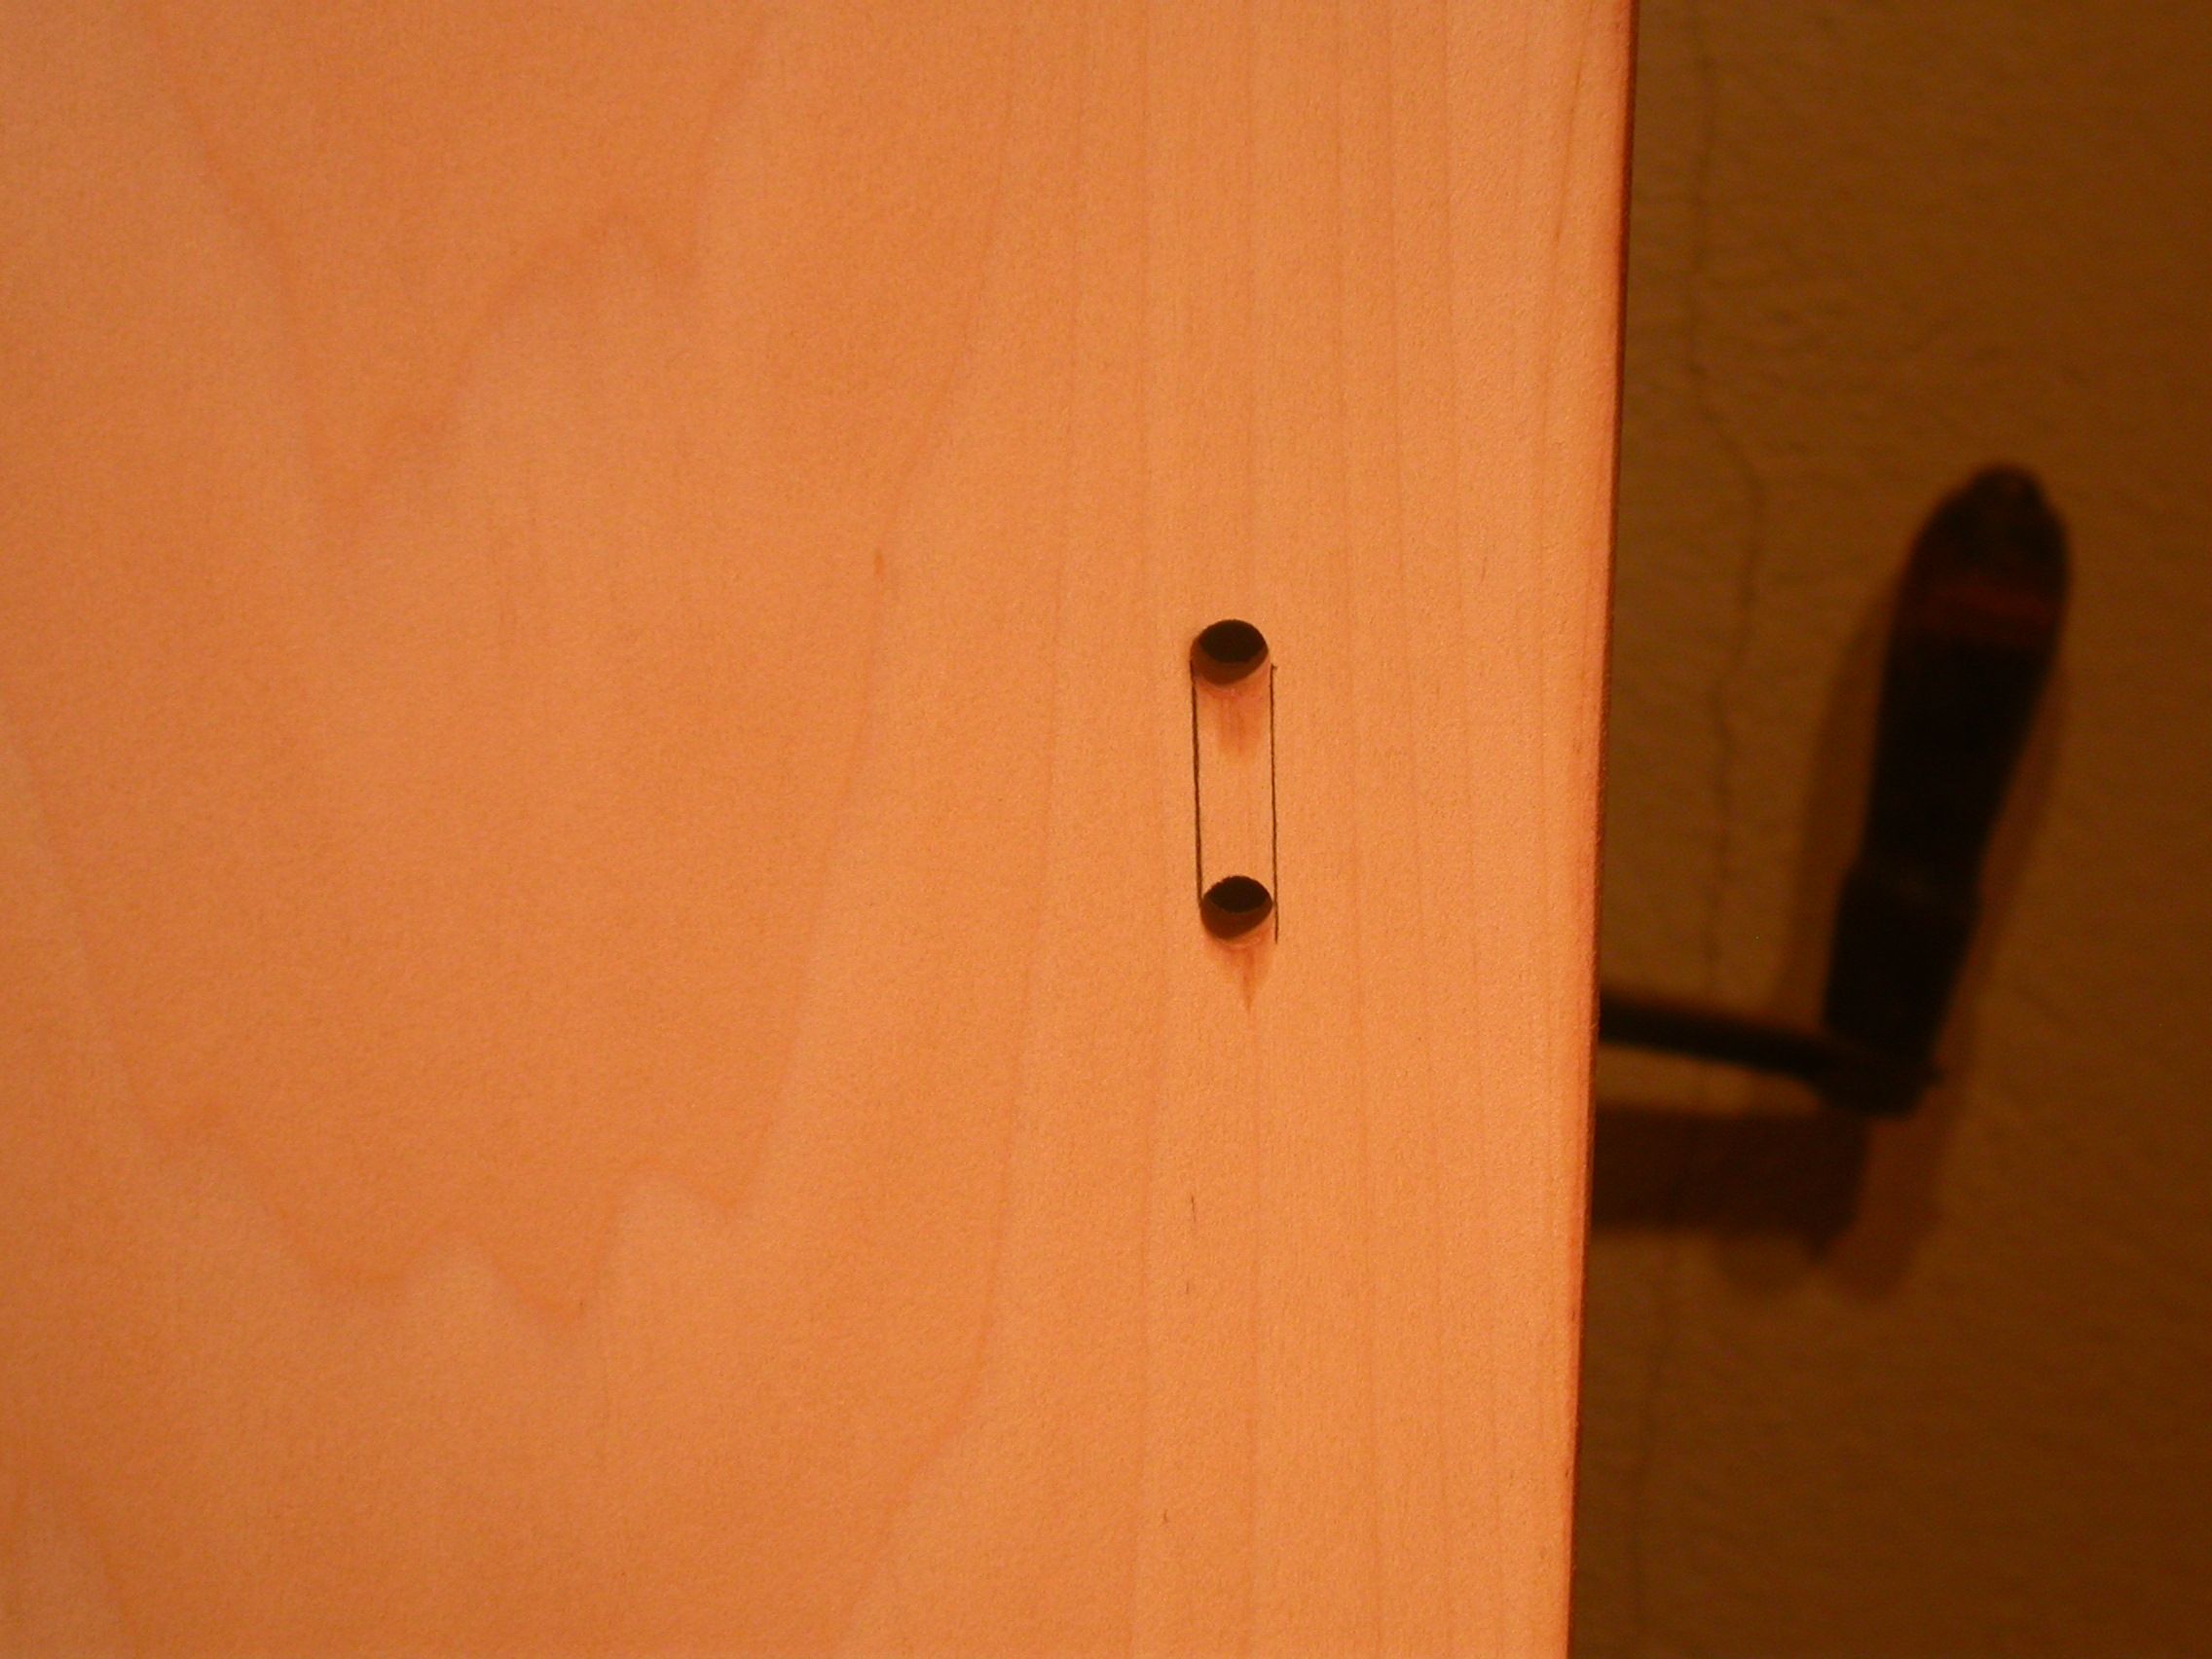 |
| Marking location of slot |
While test-fitting the boards on the Blue Moon, I slid the hatch shut until the eyebolt was against the board, and drew the outline of a slot that would take it.
I then drilled two holes at either end of the slot, to locate the ends of the slot.
Then it was a simple matter to cut the rest out with a coping saw.
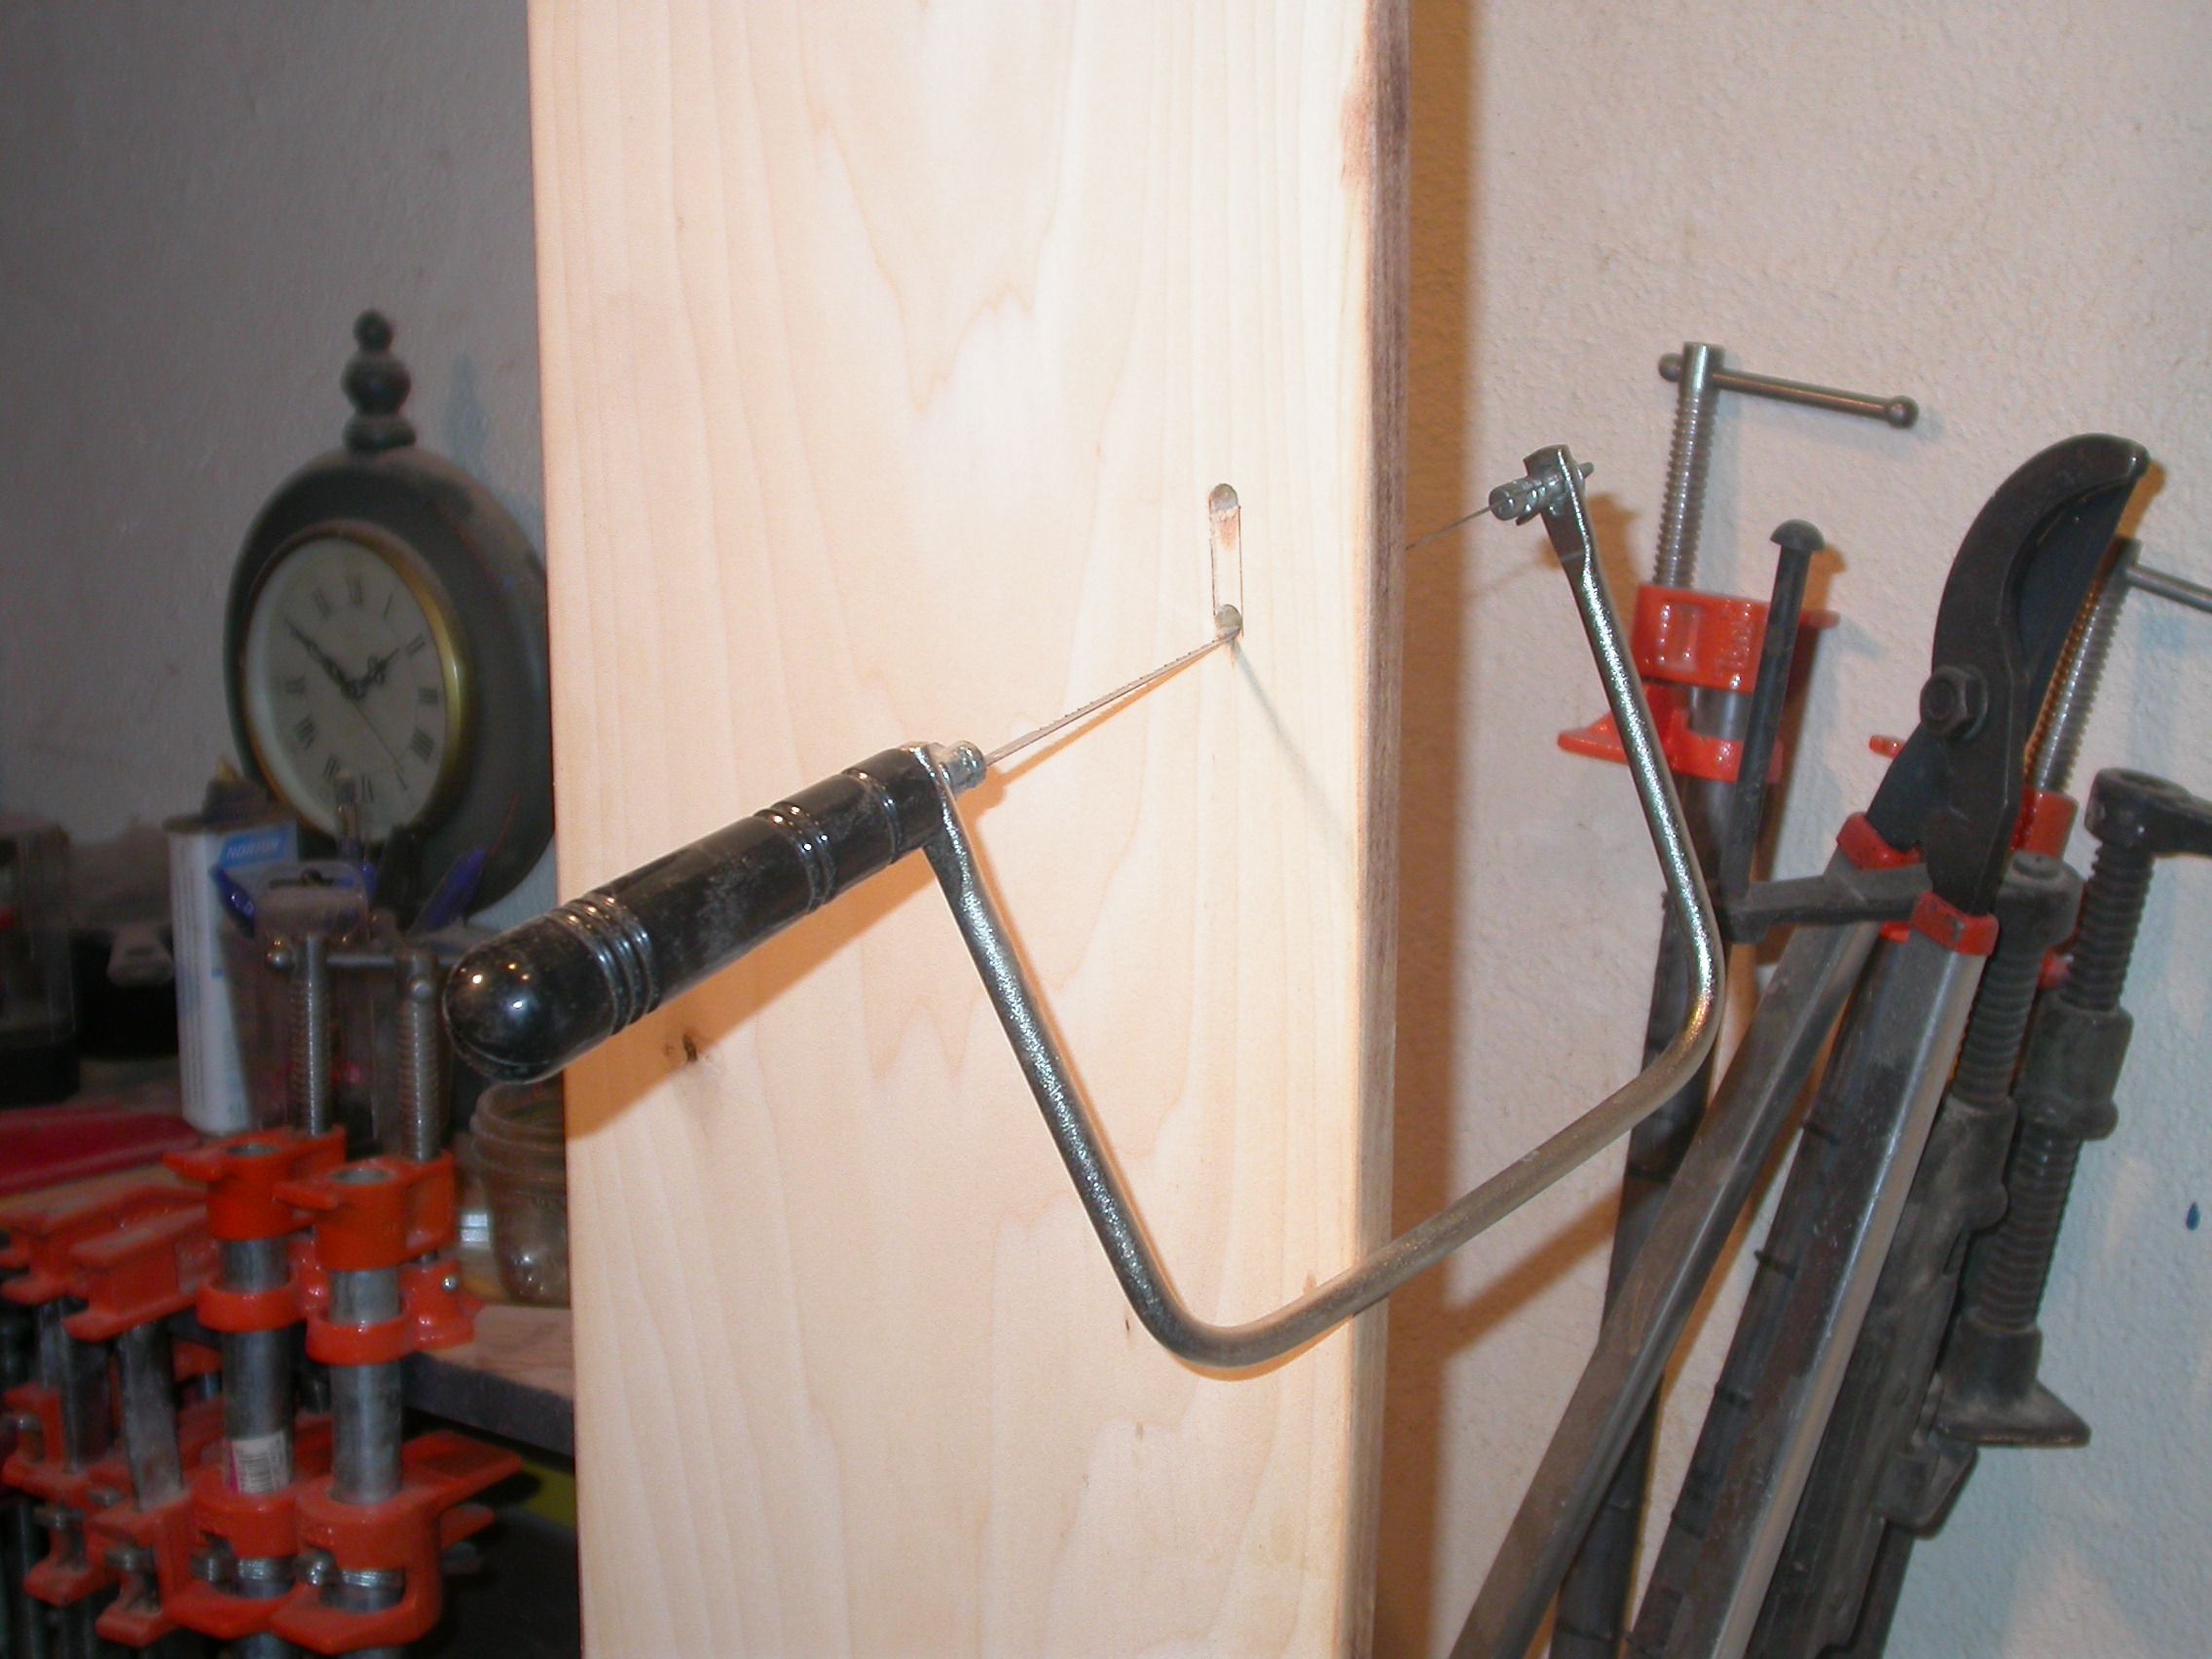 |
| Cutting the rest of the waste from the slot |
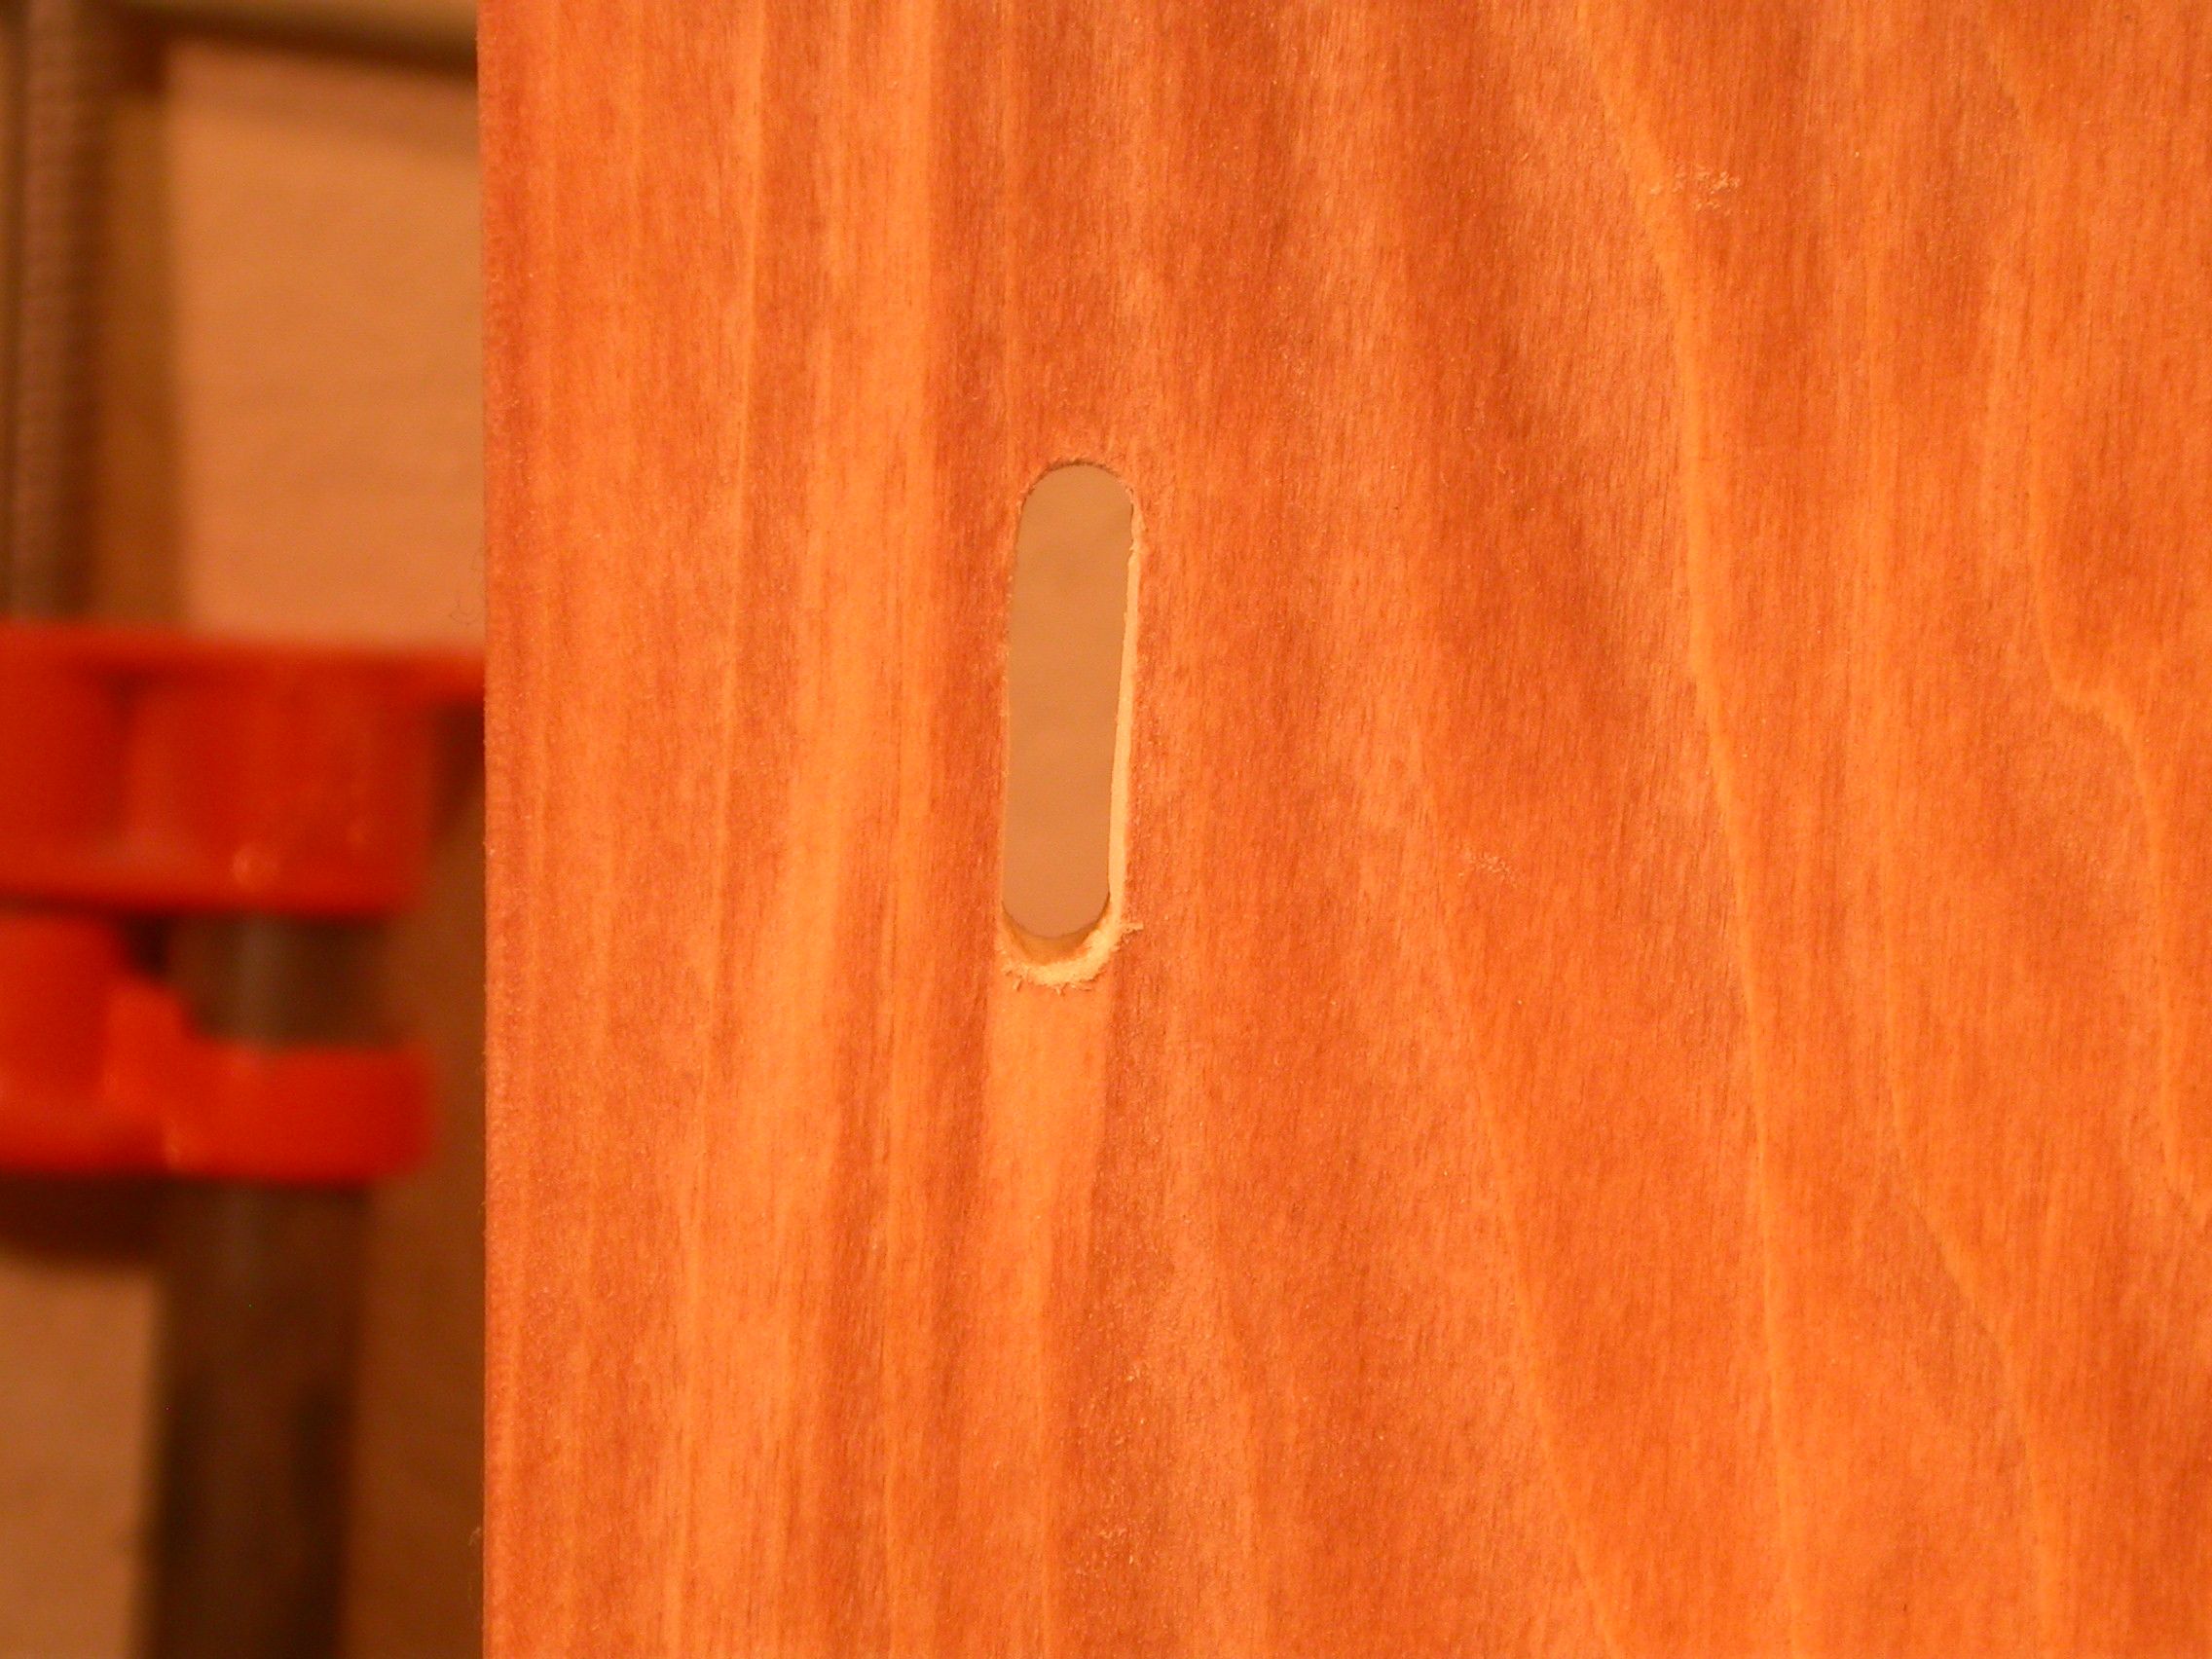 |
| Slot, cut. |
 |
| A perfect fit... Amazing. |
Next Episode: The Third Temptation
Looking Good! Nice work. I'll bet you can't wait for Winter to end and sailing weather to arrive!!
ReplyDelete