As a reminder of where we were... I had some even worse pictures from when I pulled him out of the water, but here is one 'before' pic:
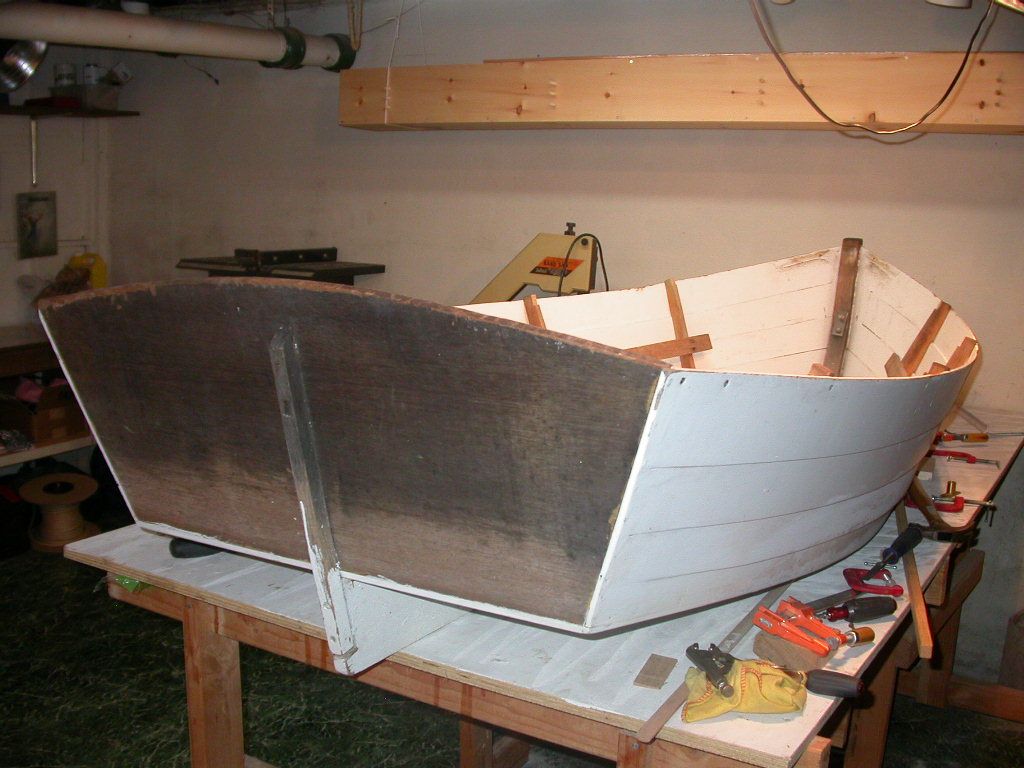
Proof, if any were needed, that oil is NOT a good exterior finish, but it was all I had time for.
Likewise, the thin, plywood seats were an expedient that did their job, but needed replacement.
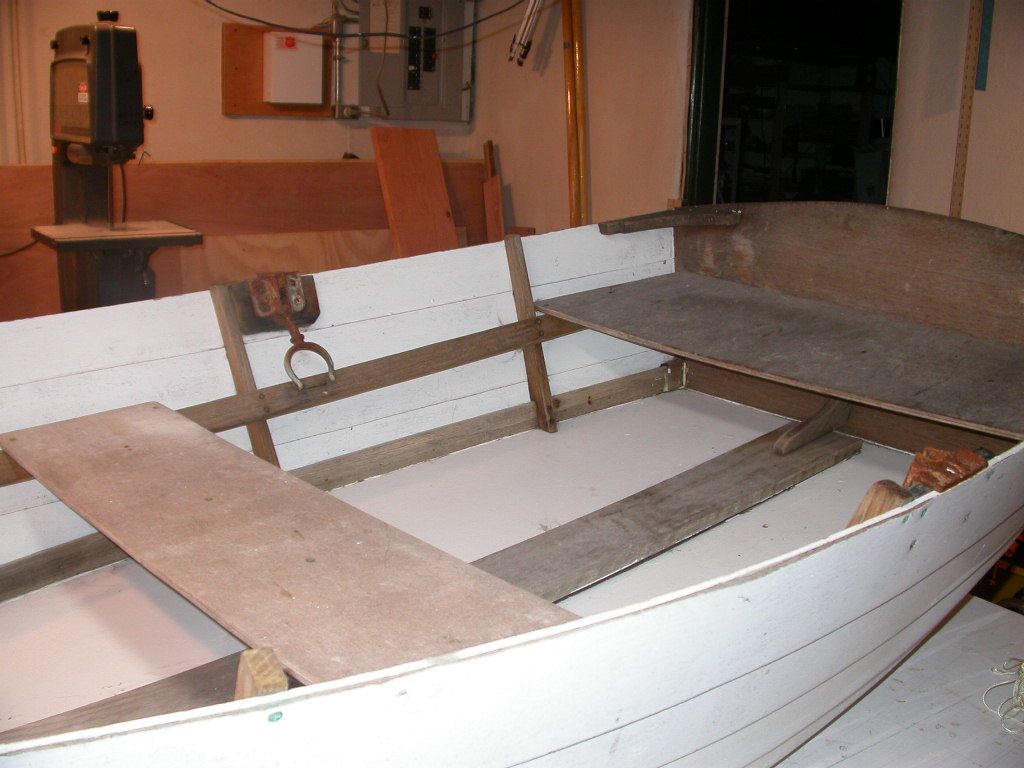
With a bit of work, the transom cleaned up nicely, and finally got the varnish it deserved. I also cut a sculling hole which would have come in handy several stormy nights when I needed to get an extra anchor out safely. Very hard to do without this simple cut. I'll never have a dinghy without one, from now on.
I decided to paint much of the bare wood, leaving just a few bits bright.
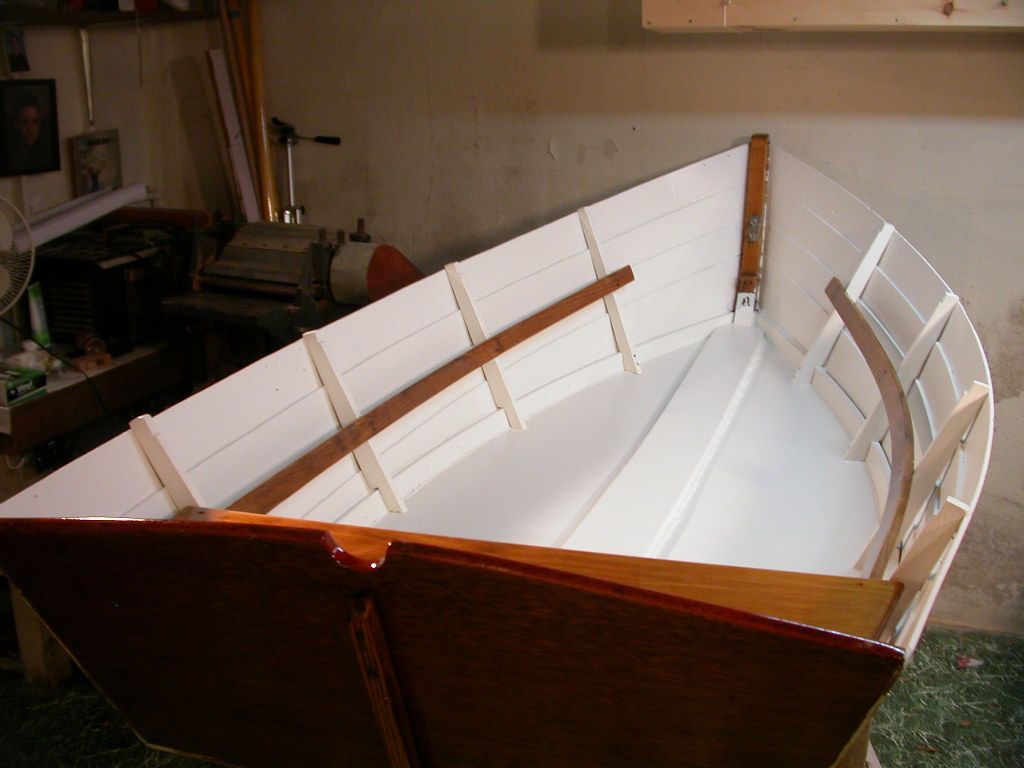
I used 5200 to seal the seam between the keelson and the bottom. This really opened up on me because I installed the keelson with the cupping side up. Duh. Hopefully, it won't cup any more, now that it's protected.
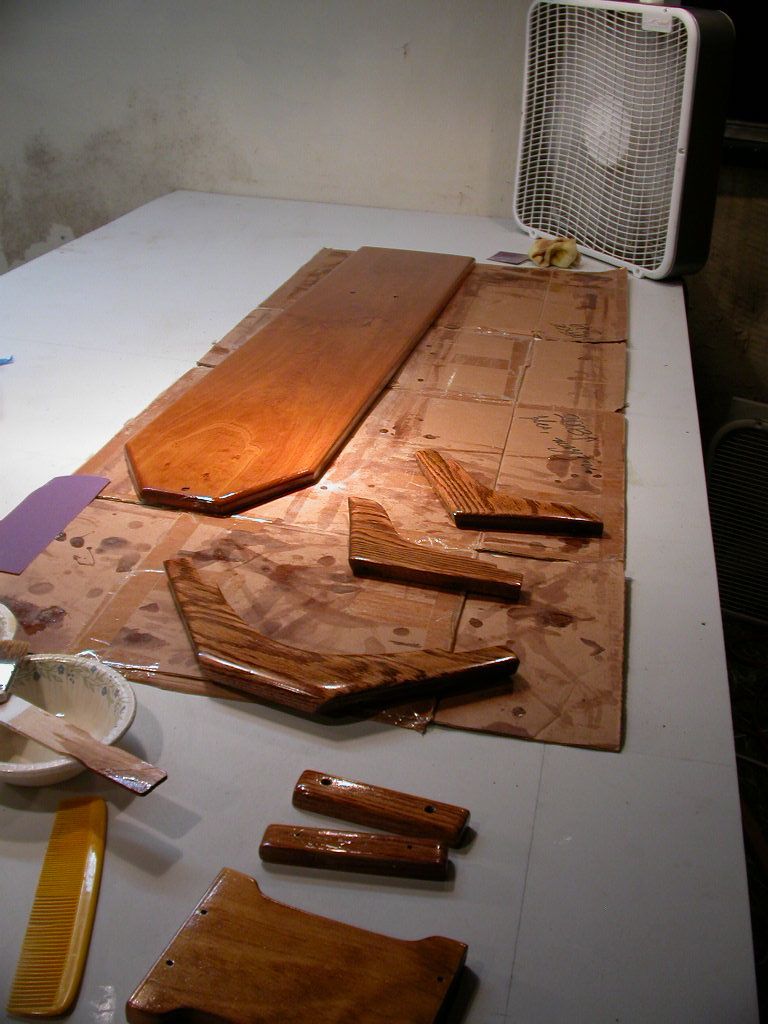
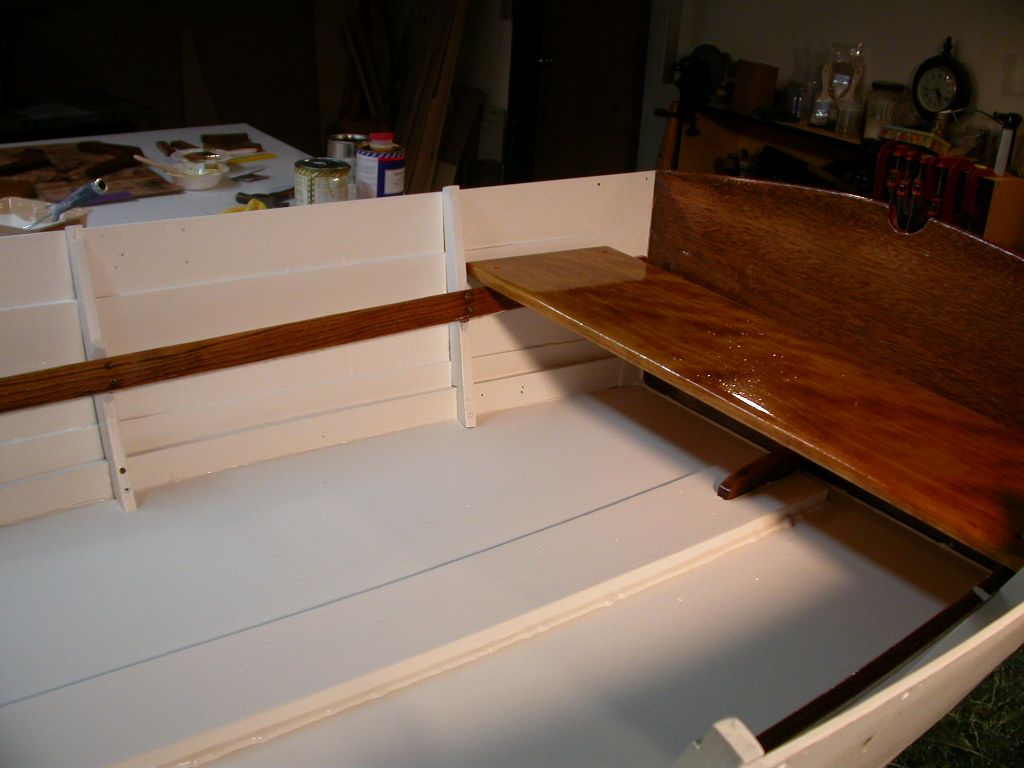
The rest of the bright bits, with their final coats of varnish drying. I replaced the plywood thwart with a fore-and-aft rowing seat that will let me balance the boat when I've got a passenger in the sternsheets. Very important in this little skiff.
As soon as the paint dries, I'm going to install all the bits and then cut the inwales. If I'd had an ounce of common sense, I would have done this before removing the knees and breasthook, but I didn't. I've got a nice bit of oak that should do for both inwales, and will give me a chance to use my planer for the first time.
More on that later this week, I hope.
Next Episode: Order Counts
like your style
ReplyDeleteThat's what you get from looking at lots, and lots, of little boats. I only wish my expertise could match my expectations ;-)
DeleteI used Deks 1 & 2 oil for the exterior of my mahogany faering (Iain Oughtred design) and that works well. No problems. Maybe wrong oil. Your remark on patience is 500% right on the mark. That part of boatbuilding skills I am often lacking. Keep up the good works, I am enjoying your blog.
ReplyDeleteHans (from the Netherlands)
I've heard good things about Deks Olje, but have not tried it. It's not just an oil, though, is it? From the description, D1 sounds like an oil, but D2 sounds like a varnish.
DeleteThat's kind of what I did: I sanded, then oiled the wood. That helped restore the wood from it's dried out shape. Then I varnished over that, to seal in the oils, and to provide some UV protection.
But you need some sort of varnish to keep the wood from drying out.
One question... Where does the yellow comb come in?
ReplyDeleteAh, ha! The yellow comb is a vital part of my 'system'. For varnishing, I use cheap disposable brushes that you can buy by the bag at Home Depot or where ever. You can get several bags for the price of one good varnish brush.
DeleteThe main problem with these brushes is they shed bristles into the varnish. HOWEVER, if you vigorously comb them until bristles stops falling out, the problem is solved.
I was skeptical, too, but it works.
I suppose the high cost brushes have other qualities needed by experts to get perfect finishes, but my skill level isn't high enough to see any difference.