First, one of the glue joints in the construction failed in my Mark I block. I believe I used epoxy, so I can't imagine how this happened, but it did.
Second, it's very slow, painstaking work to make and assemble a made-up block. The cheeks need to be flat, the spacers just the right thickness, with a curve cut in the rope-end at least. Then it needs to be glued, clamped, and screwed for good measure. With plugs, of course. A lot of hassle and it takes forever.
However, at the time, it seemed the skill and tools needed to cut a mortise in a solid block of wood were out of my league. I'd tried the recommended method of drilling a bunch of holes and then chopping out the waste, but the results were always disappointing. Dismally disappointing, if you will allow me an alliteration. Either the mortise was too big, or gouged with drill marks, or just horribly misshapen.
It occurred to me that the drilling technique was just a short cut devised by people who think woodworking requires power tools, and that maybe there was a better way.
Turns out, I was right.
After building my workbench, Helena decided I was a real woodworker, and started demanding some furniture. Furniture building requires knowledge of some basic joints, one of them being a mortise and tenon joint.
By the time I finished building a practice project that was nothing BUT mortise and tenon joints, I thought I had enough practice to build a block.
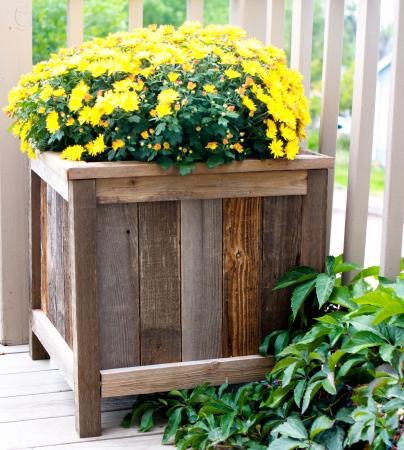 |
| Flower box constructed with lots of mortise and tenon joints (Actually, this is the model for my box... I don't seem to have a photo of mine) |
Since very few things on a wooden boat are made with straight lines, the mortise cut for a block typically has at least one curved end, for where the line is reeved through. I cut my mortise with two curved ends. The reason for this was simple: I wasn't thinking. After completing this block, I couldn't think of a good reason to have two curved ends, so the next time I'll make the other end square.
Anyway...
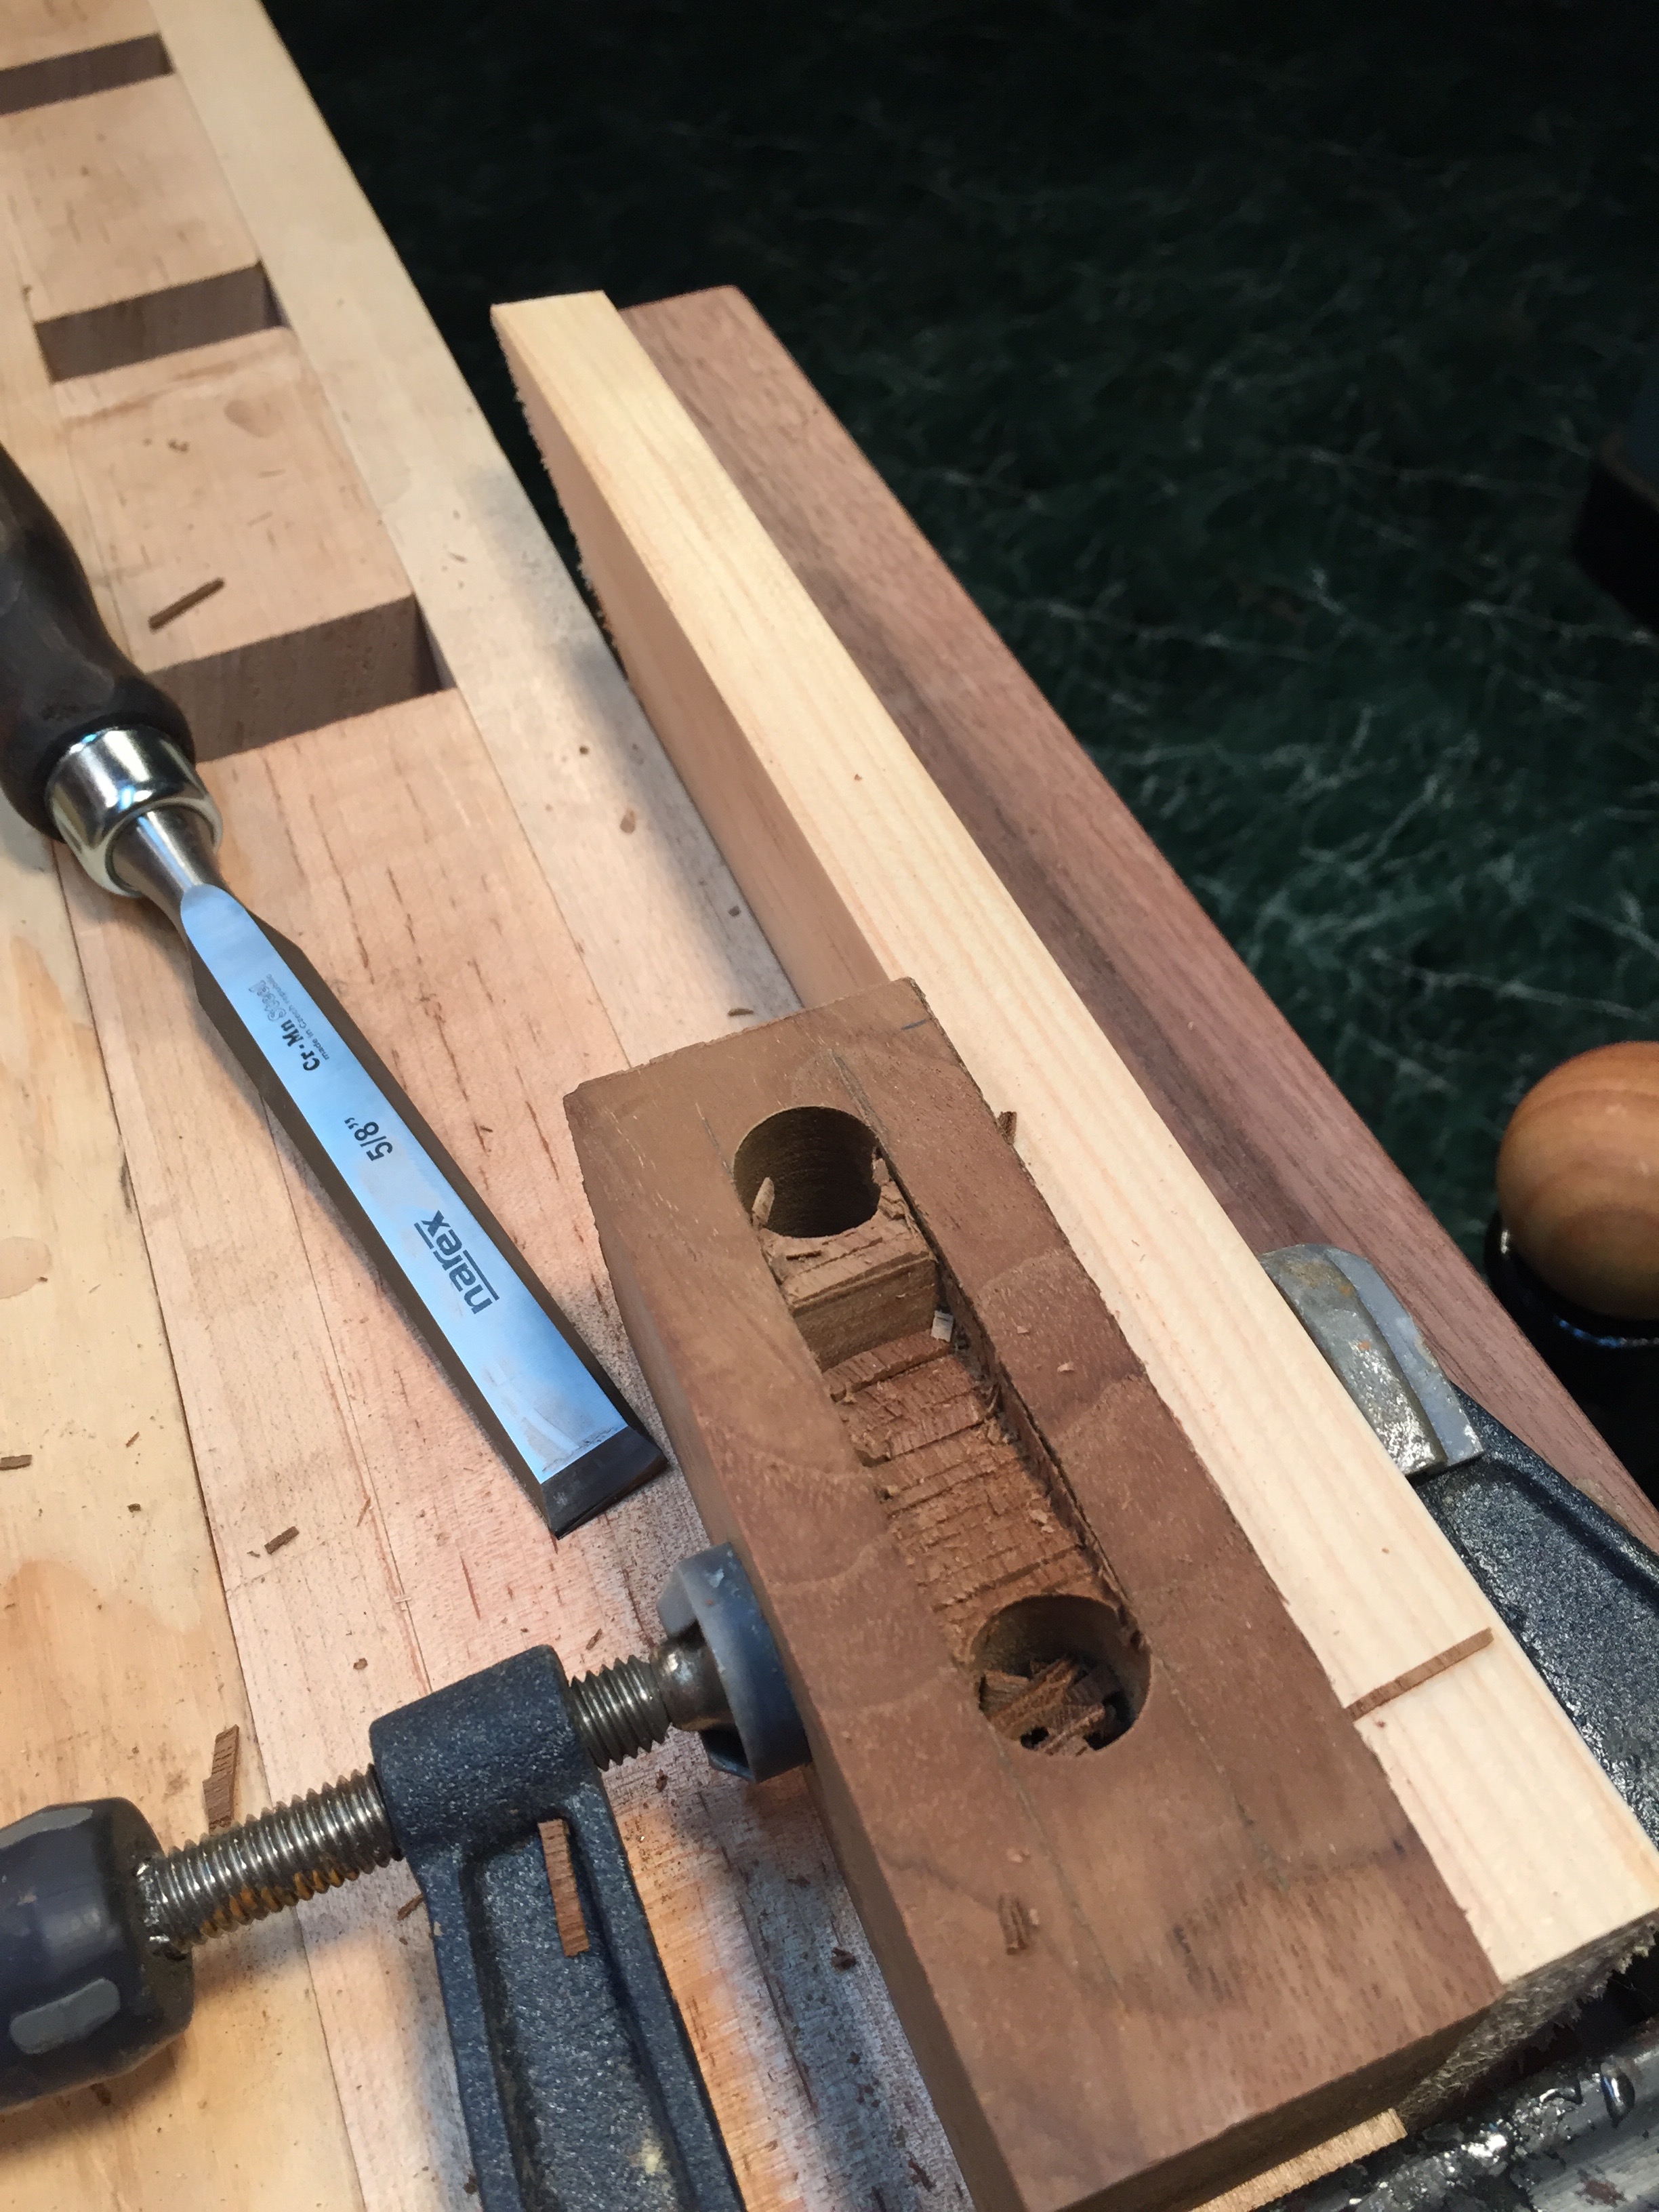
The first choice in laying out a mortise is: how thick. The thickness of a properly cut mortise is determined by the chisel. I used a 5/8" mortise so the block could easily handle 1/2" line.
After laying out the mortise--on both side--with a mortise gauge, I cut the curved end of the mortise with a Forstner bit, drilling half-way from one side, then half-way from the other, to avoid burst-out.
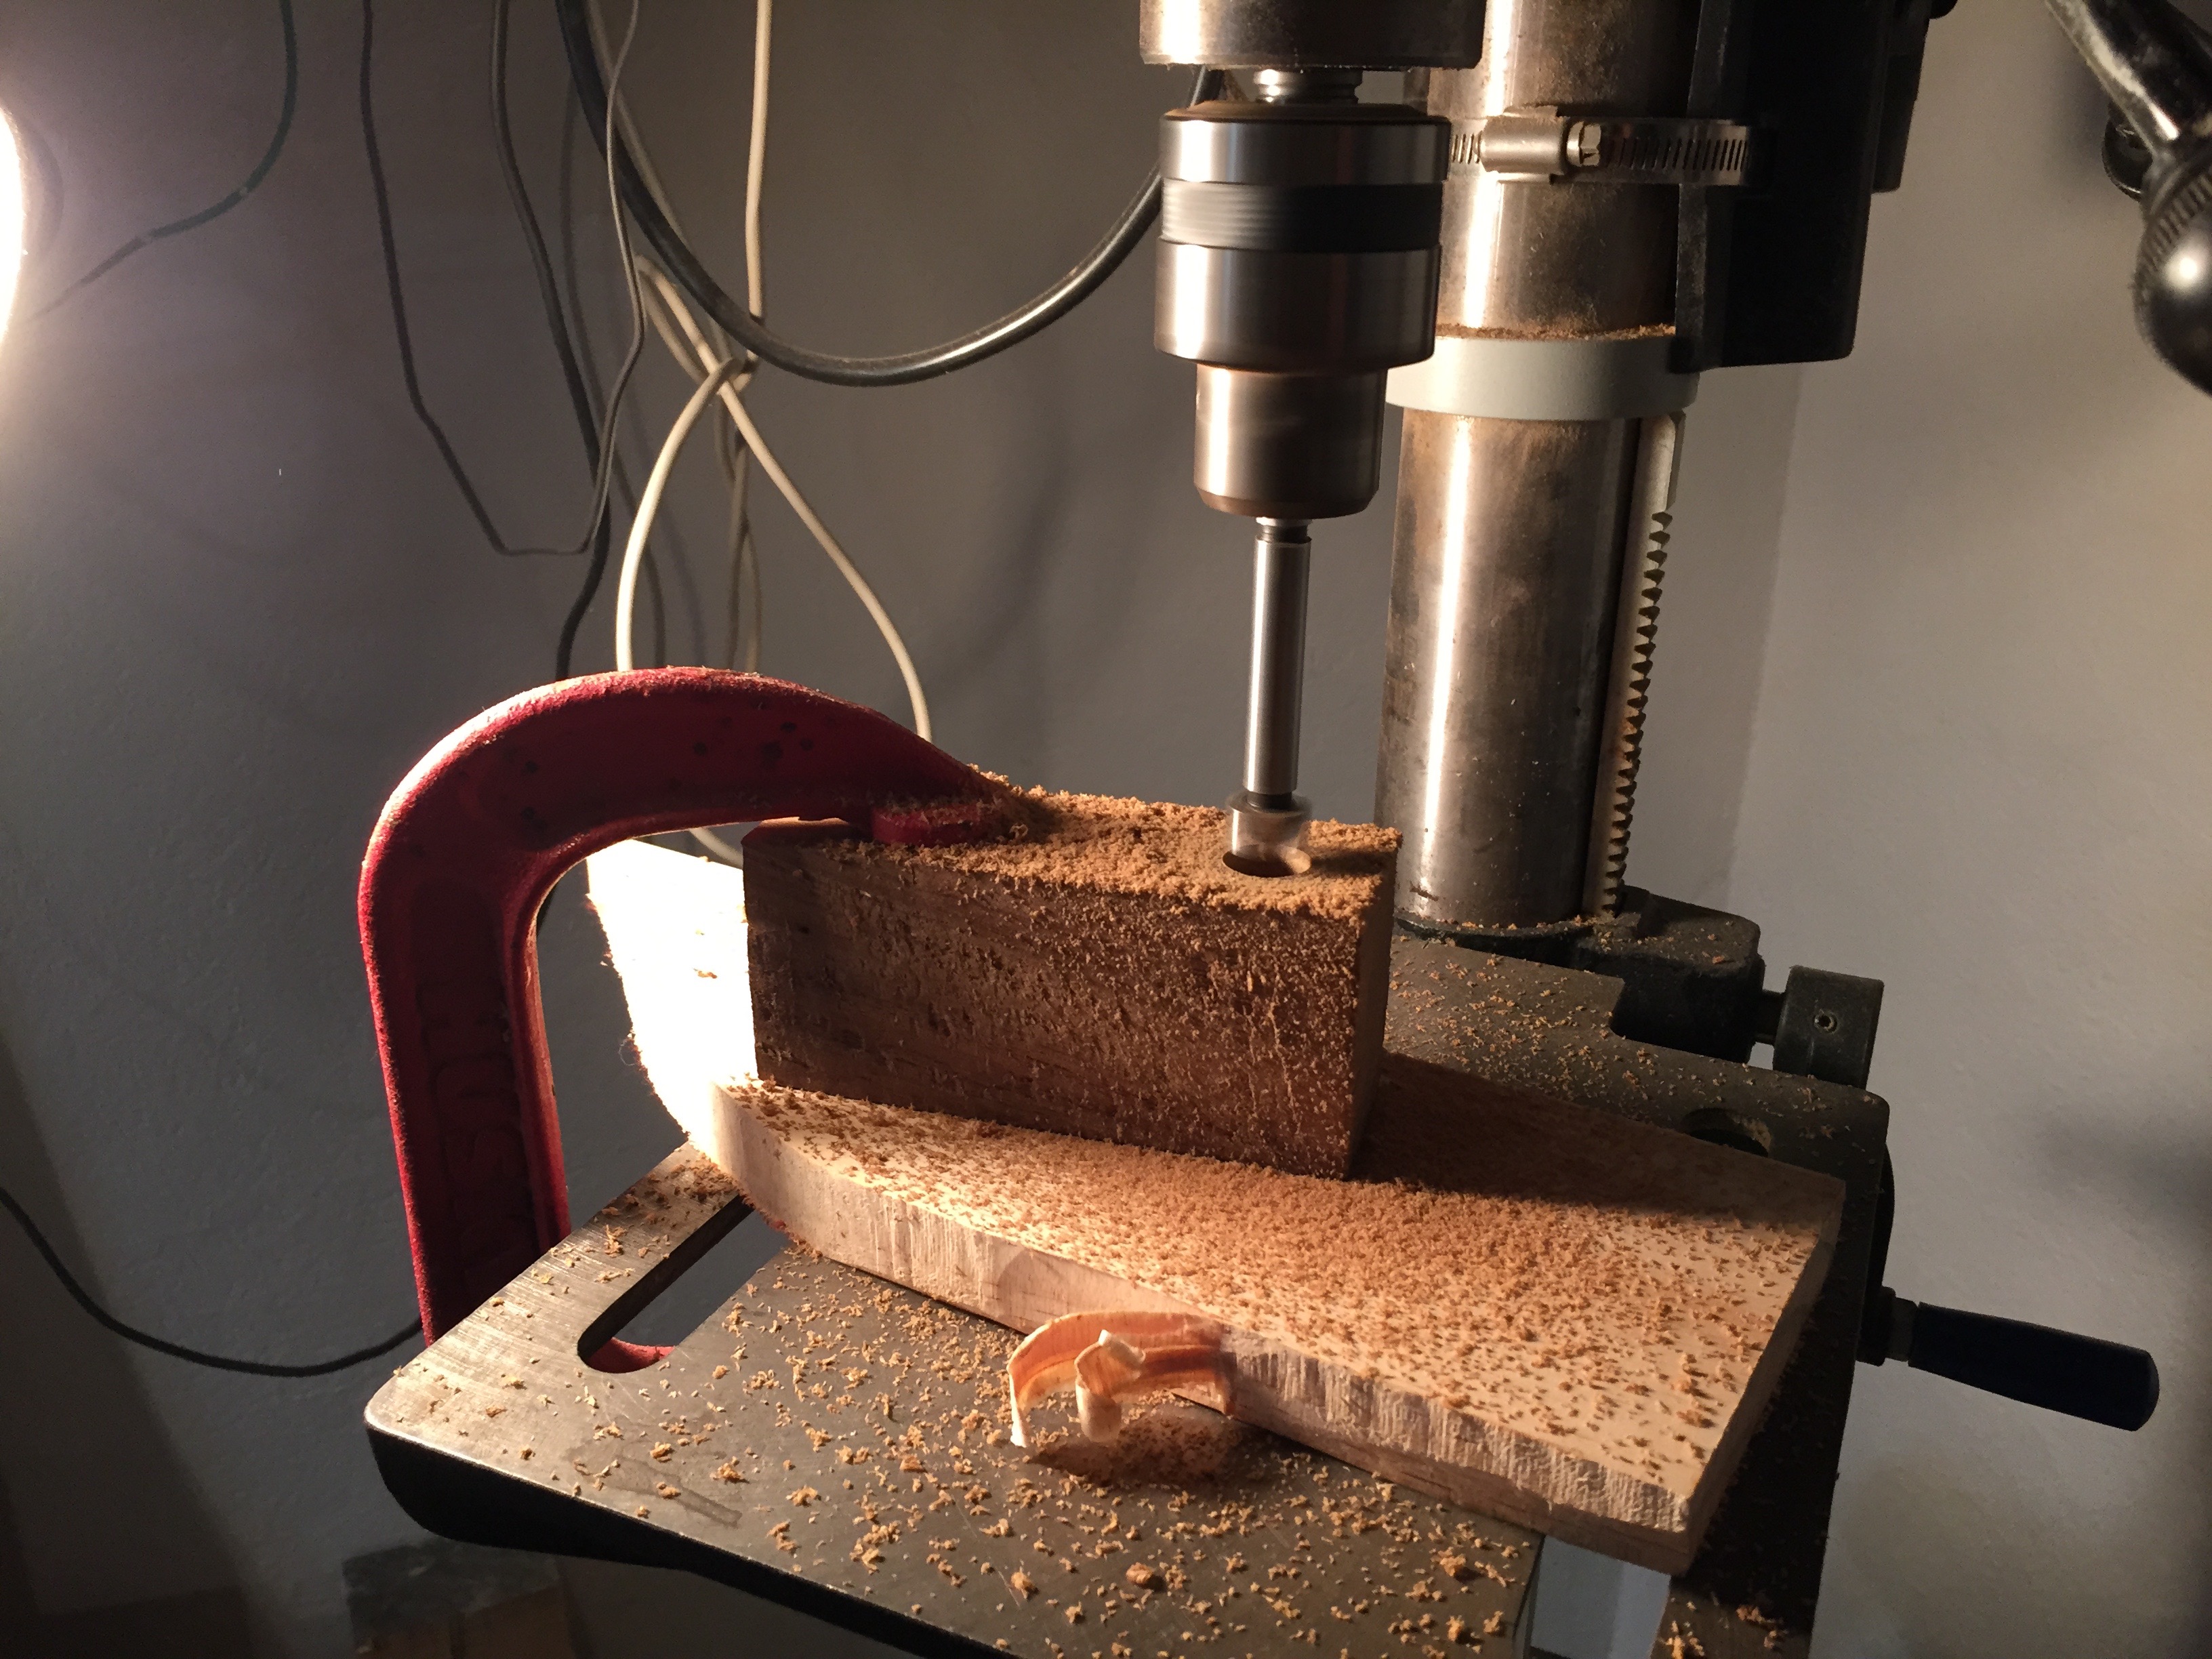 |
| Drilling the curved end |
Then it was time to start chopping. I am still a mortise newbie, so I didn't chop as aggressively as Paul. "Make mistakes slowly" is my mantra in the shop. However, even working carefully with an ordinary chisel, rather than a heavy duty mortise chisel, I was half-way through in just a few minutes.
 |
| Chopping the mortise |
I could have held the block directly in my vise, but I thought I could get a more solid chop if the block was on my bench, clamped to a board held securely in the vise. This is a good trick, I think.
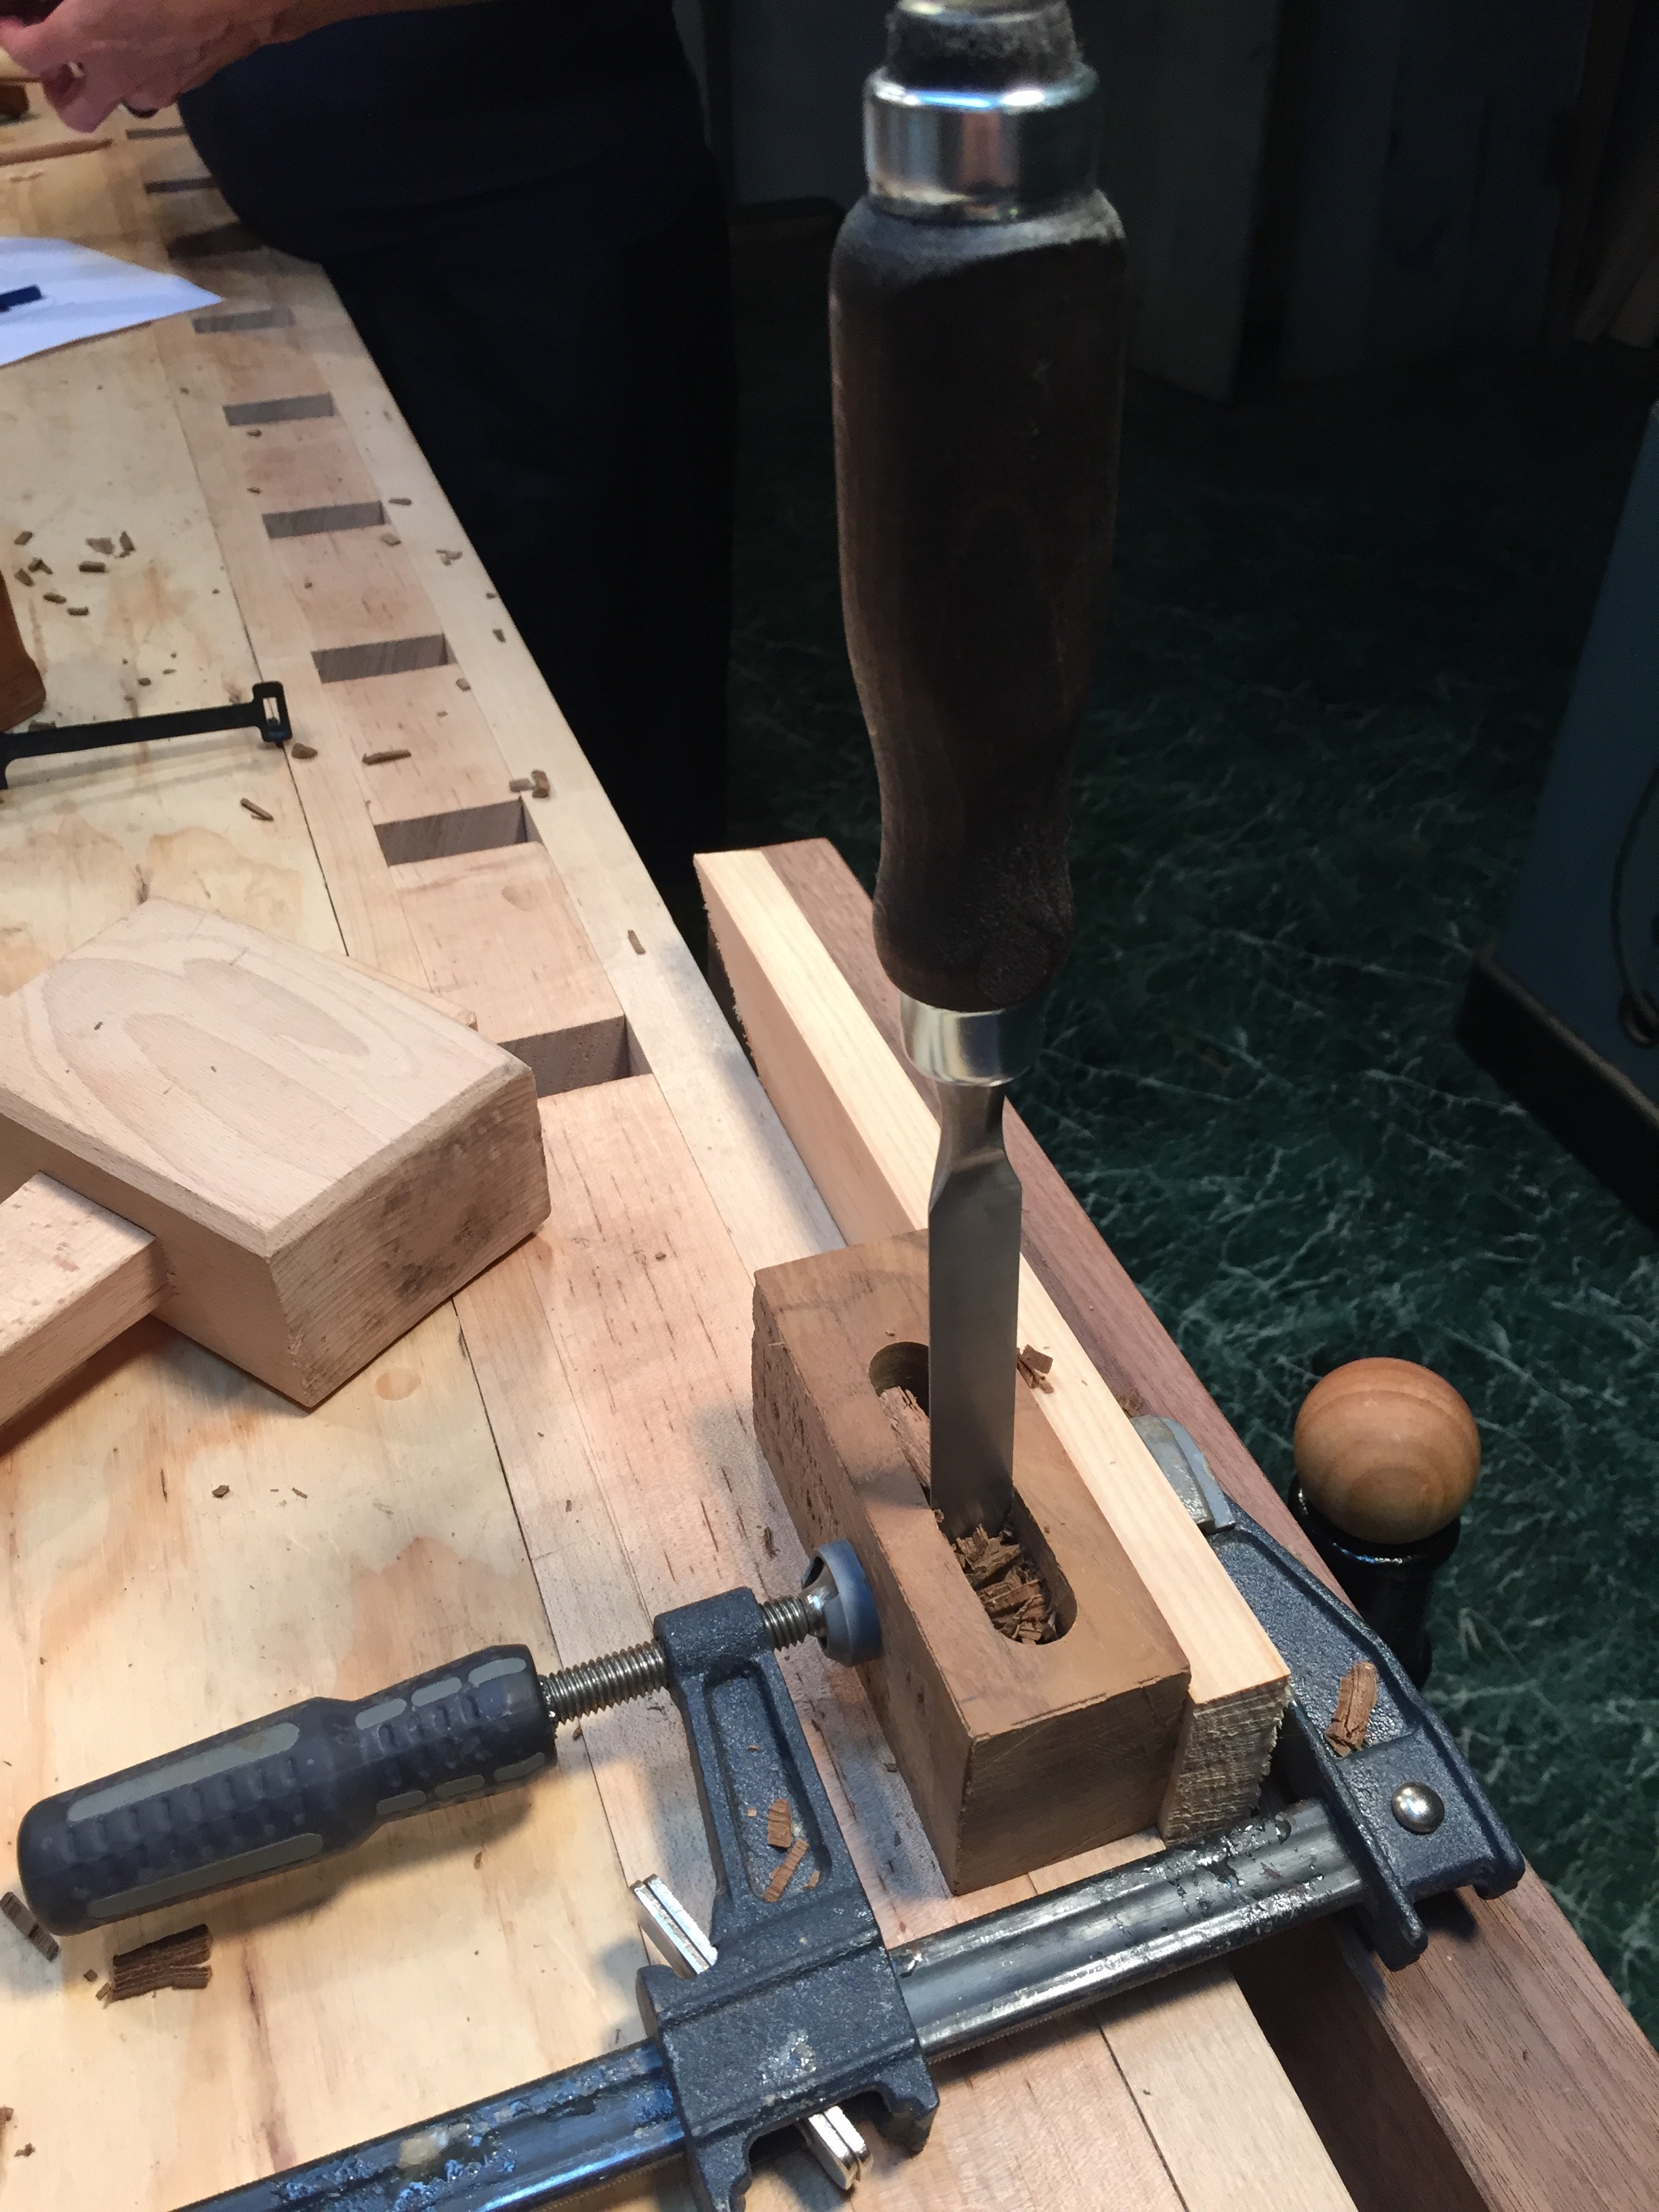 |
| Clamp block against board held securely in vise |
I stopped halfway through for a sanity check. Here you can see the block and pattern match. I will explain why one end is longer than the other, eventually!
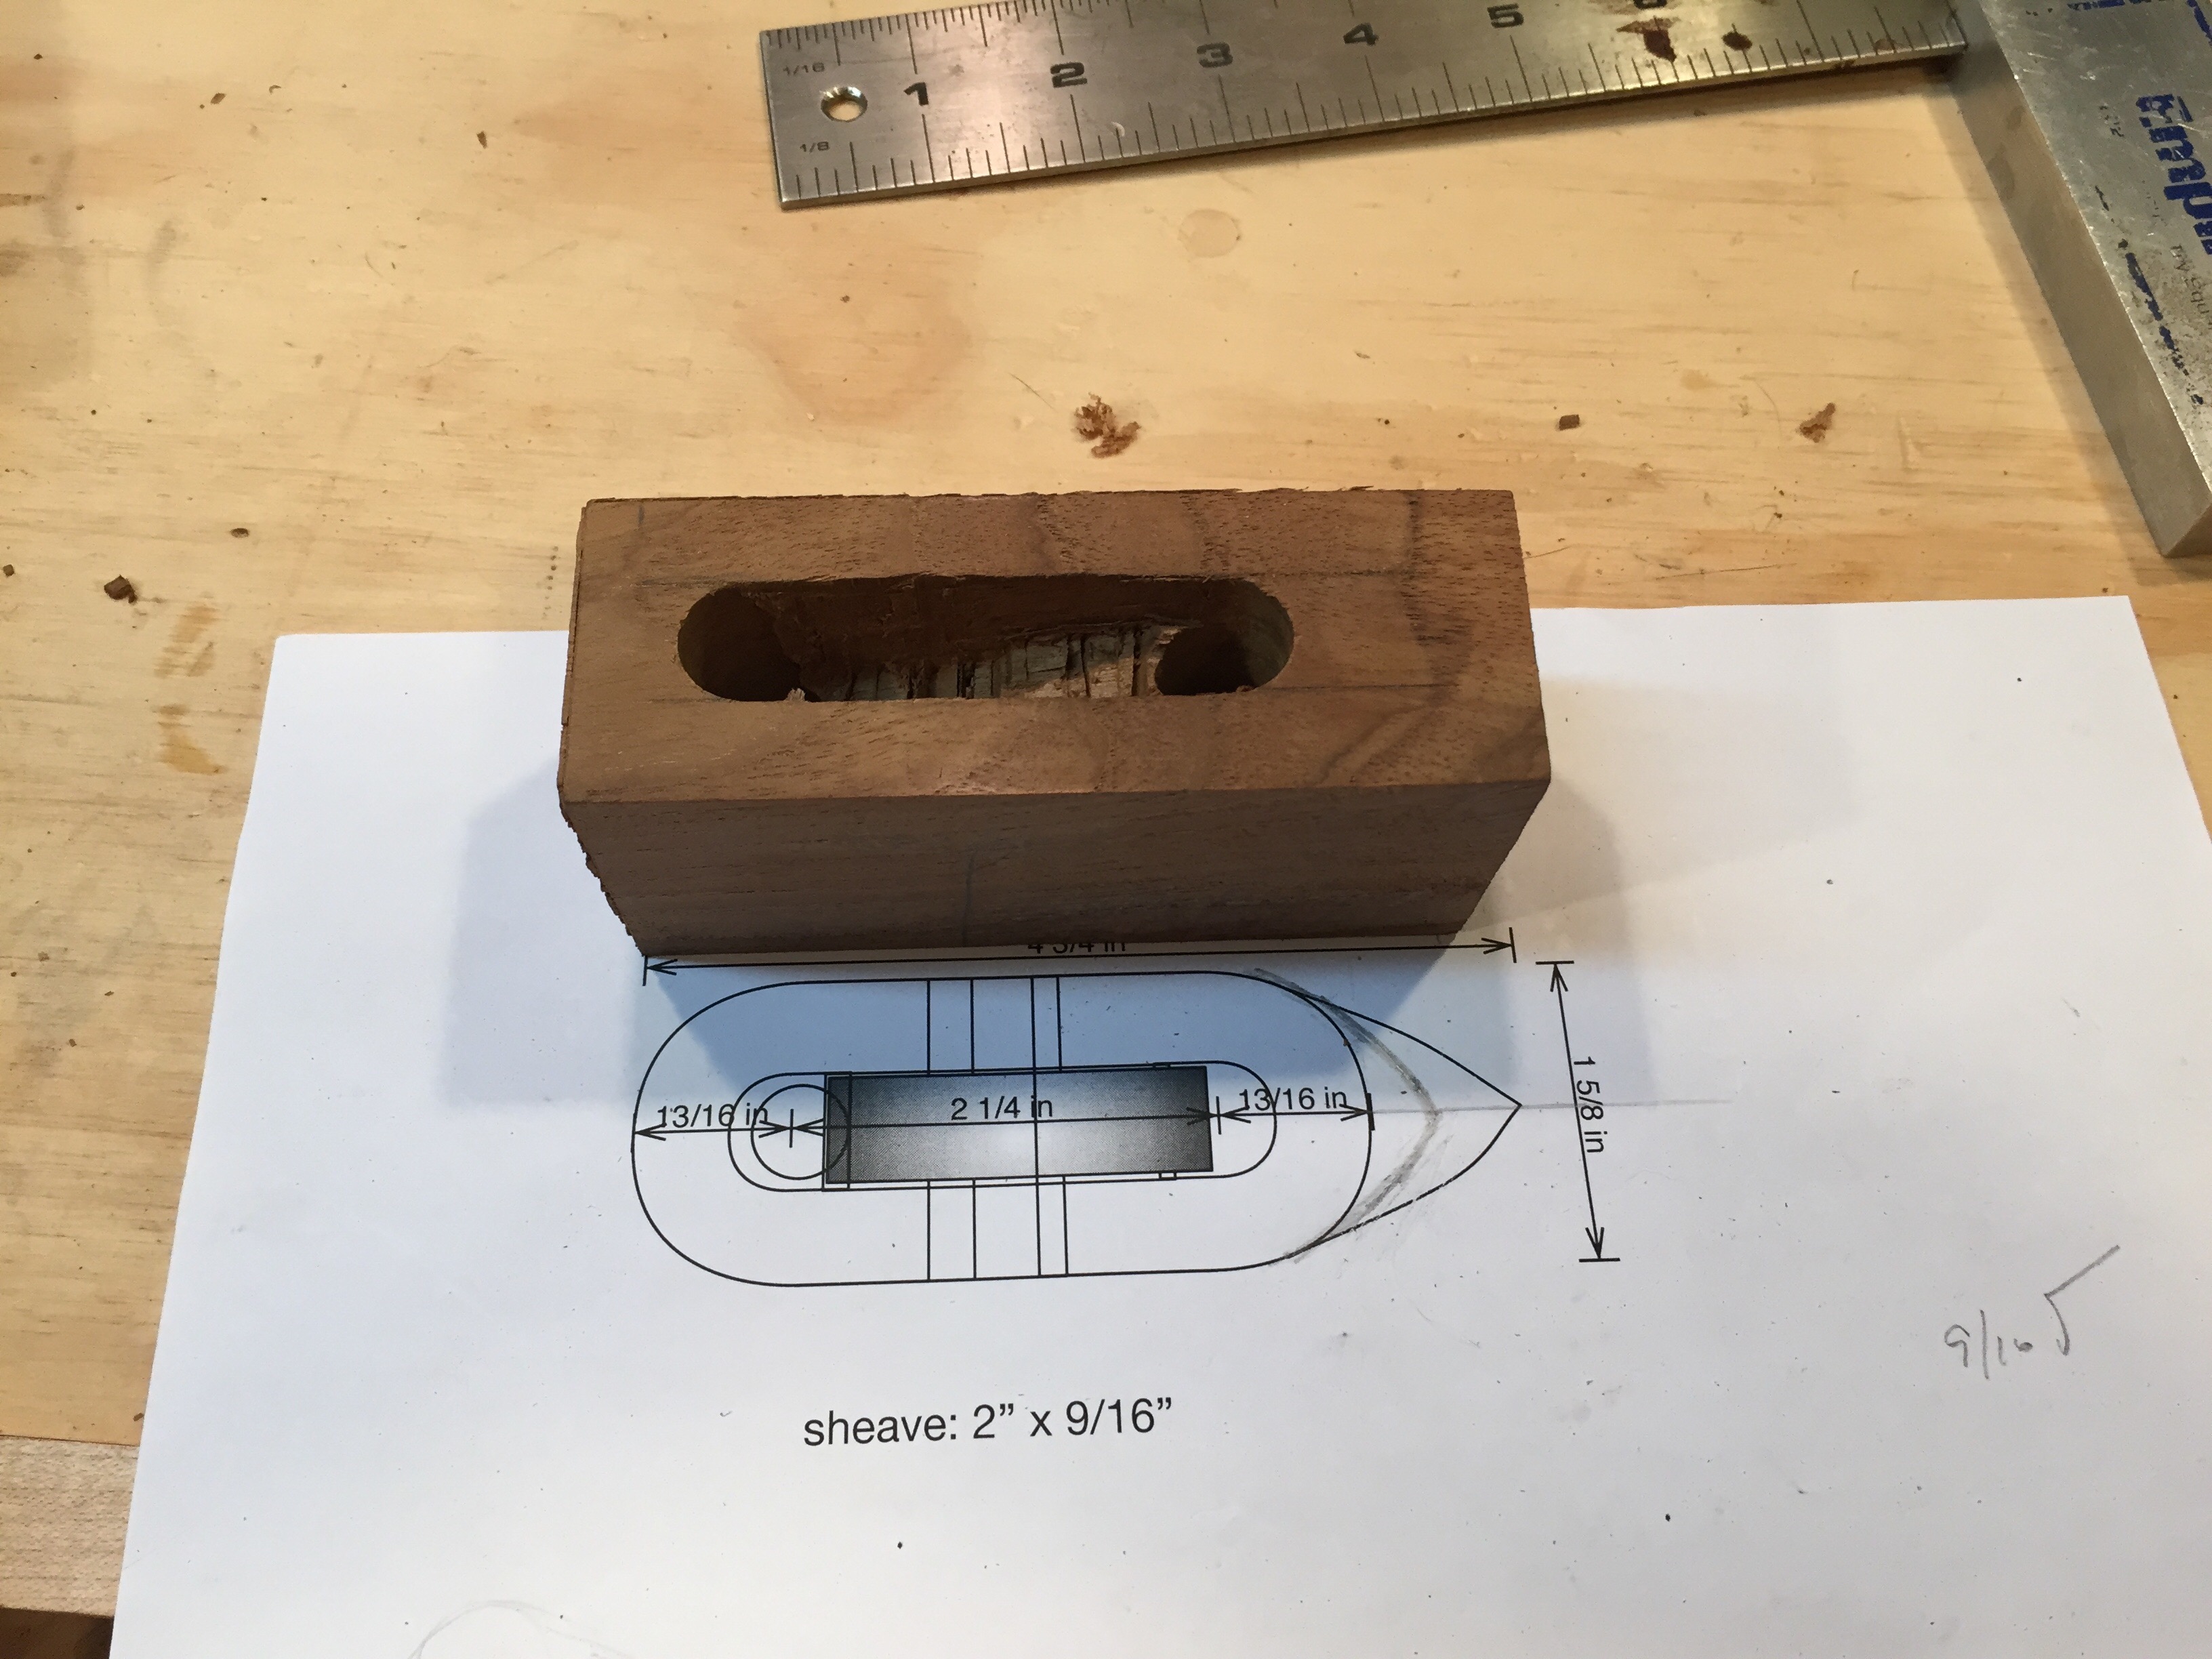 |
| Sanity check! |
The walls of the mortise were quite clean enough for a furniture joint, but of course nautical things are always more complicated, so I smoothed the inside first with a rasp, then with sandpaper, to make sure there isn't too much friction between the cheeks and sheave.
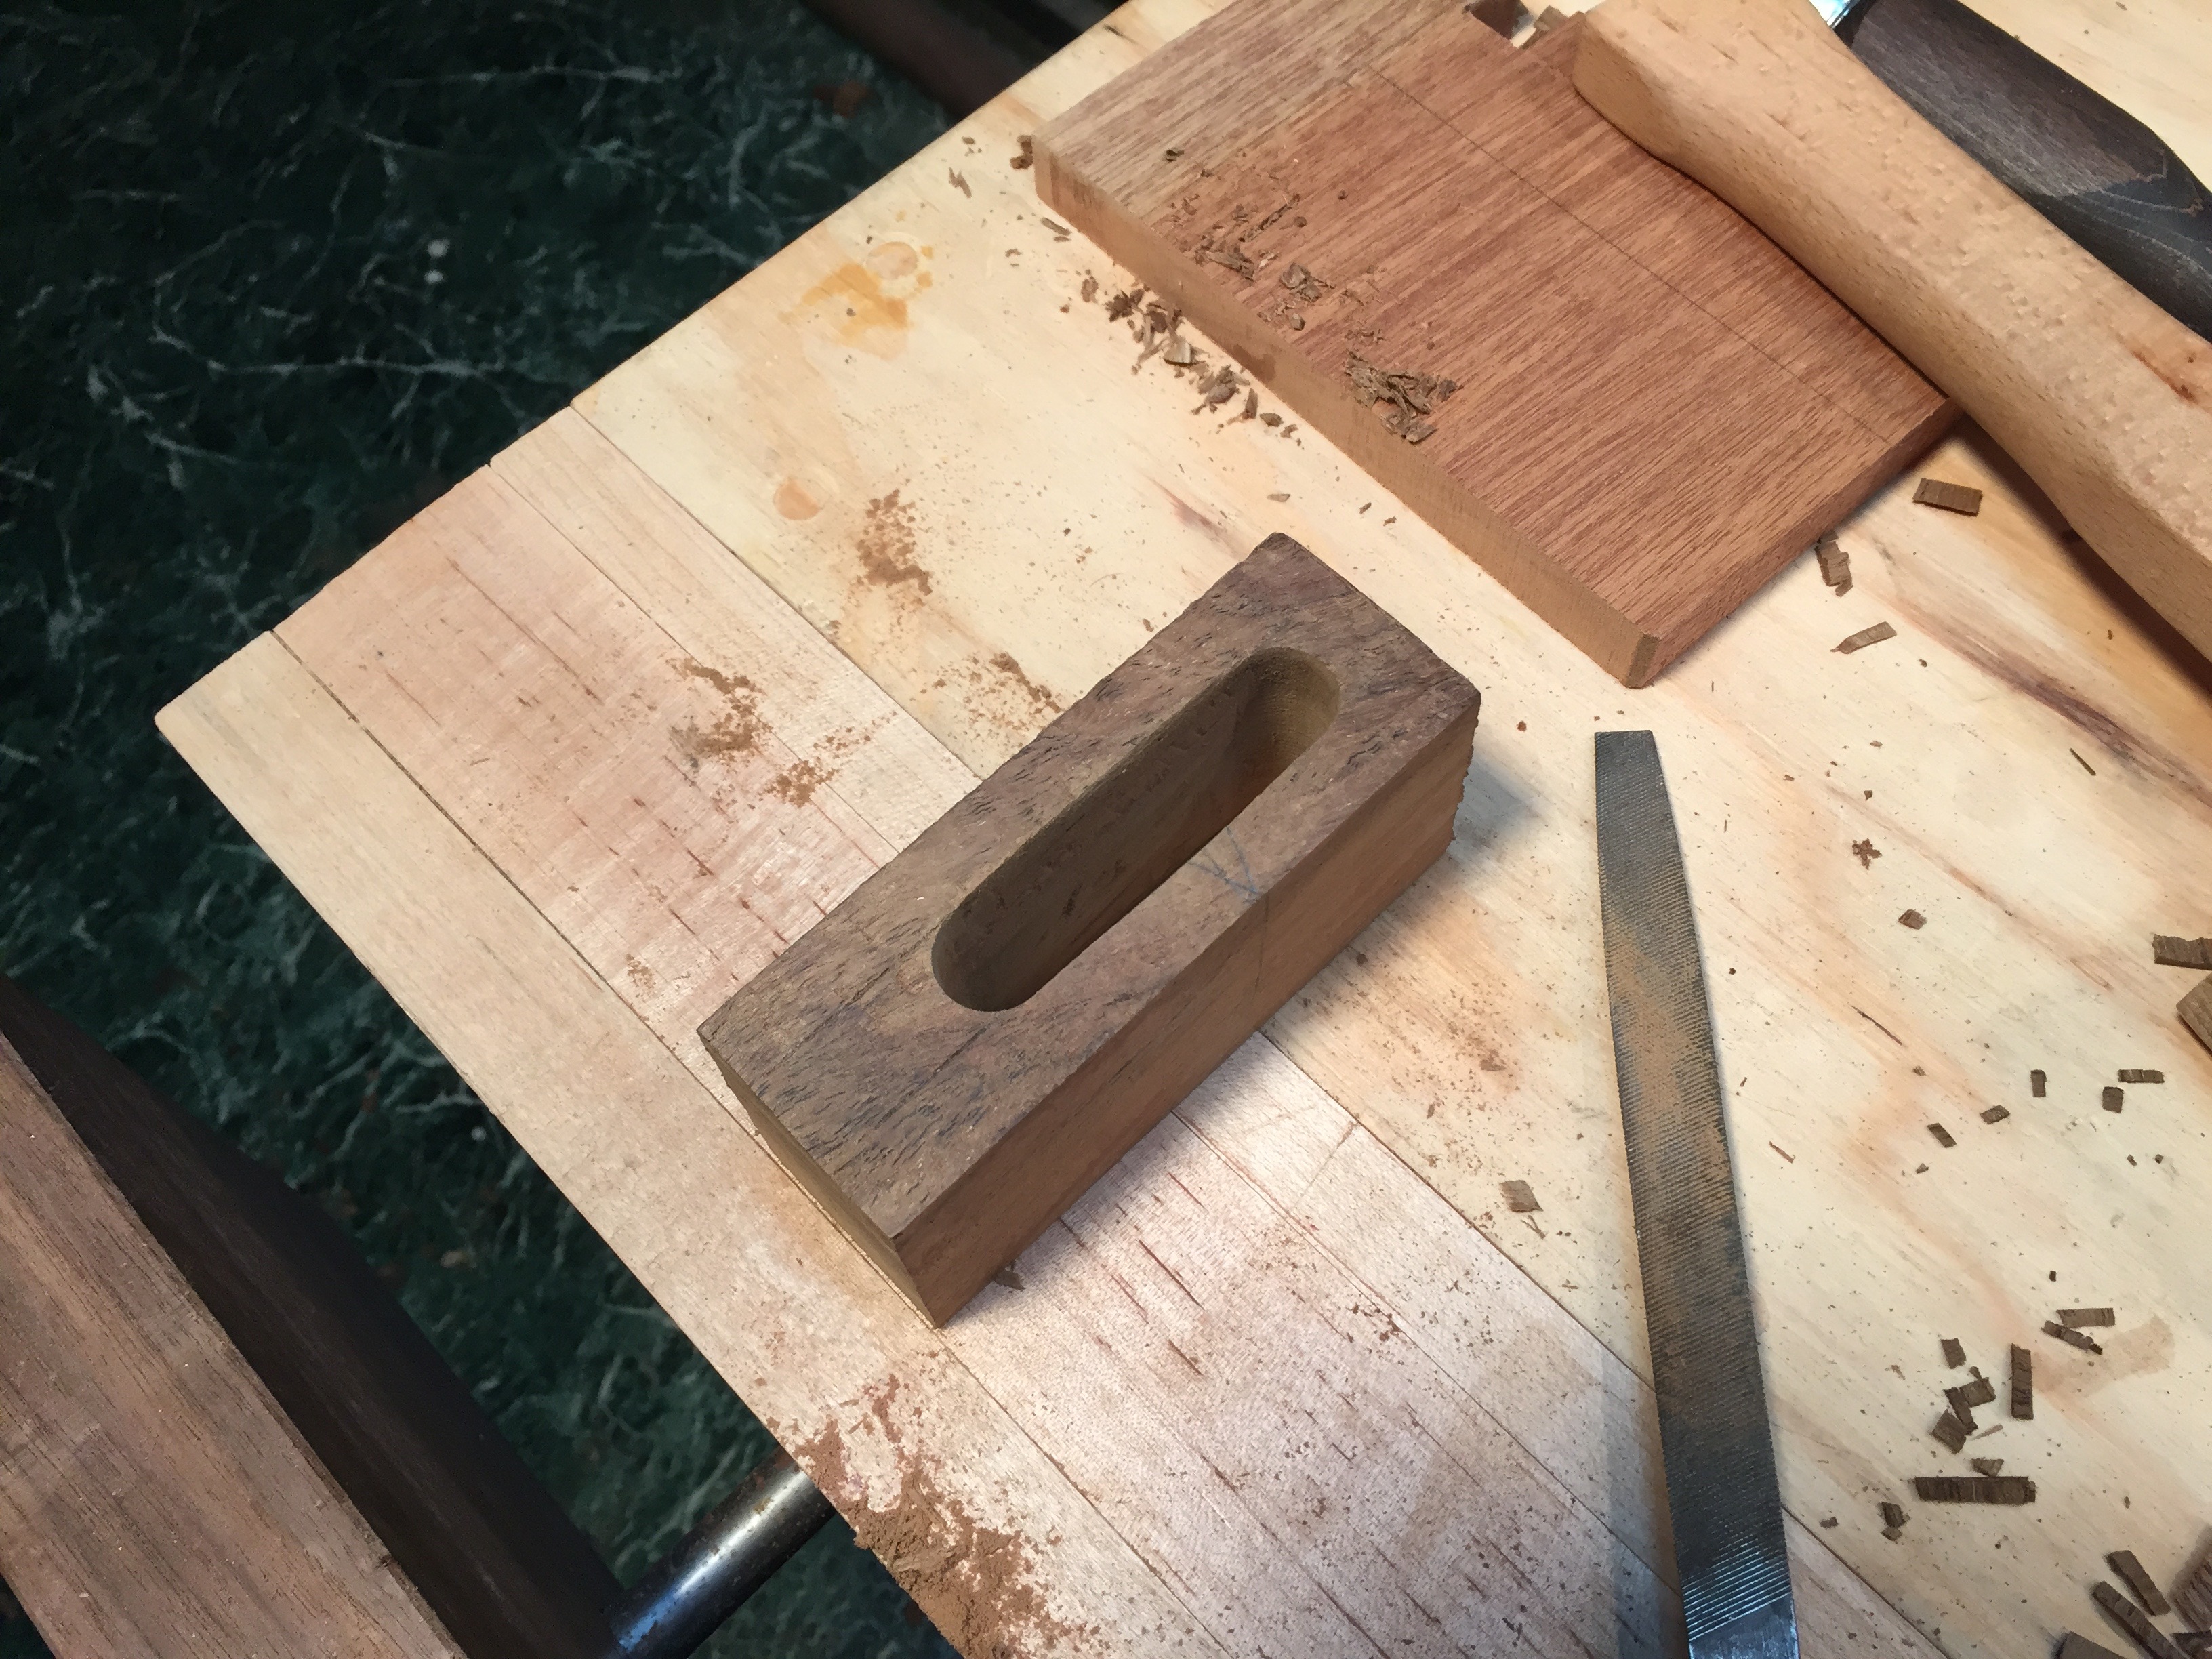 |
| After a little clean up with a rasp |
Total time? Perhaps 10 minutes. It took far longer to describe than to do. With a bit of practice and an assembly line set up, I could probably get it down to 5 minutes, easily.
But the real benefit is strength and precision. The size of a chisel cut mortise is defined by the width and straightness of the chisel, so it's guaranteed to be the right size and shape.
All you need are a couple of inexpensive hand tools and a little practice.
Think cutting the mortise looked easy? Wait 'til I show you how to shape it!
Next Up: Slow Learning
As I am building a sail boat with a chinese junk rig I am very interested to make the blocks from old oak I have and your description is perfect and I will definitely do it with a mortice and insert most probably sheeves from ss because I have no turning maschine to make them from wood. Greetings from Karl ( Austria )
ReplyDeleteI'll be getting to the sheaves soon!
ReplyDelete