If winter is too short for boat builders, then the arrival of spring is The Deadline That Can't Be Ignored.
There was the Blue Moon's mooring to prepare: give mooring ball a fresh coat of bottom paint, touch up the numbers, overhaul the pennants, try to figure out why my pick-up stick gives me fiberglass splinters, etc., etc.
Then Cabin Boy had to be launched so he could help out in moving the Blue Moon from her winter berth in the town marina to her summer mooring. That meant finishing up his refit, finishing his oars, figuring out how to protect him in the scrum at the dingy dock, etc., etc.
Then I had to put the Blue Moon out on her mooring. That meant paying a ransom to get her engine released from the mechanic, installing the engine on the boat, remembering where I'd put the kill cord so I could easily find it in the spring, etc., etc.
With a new iPhone project to work on (to pay the bills) and my book to finish, grandkids to visit and children getting jobs and graduating college, there's just been no time to blog. I'd skip to my current project (building a real galley in the Blue Moon), but there were a number of interesting things I wanted to at least touch on before moving on. So this week I'm going to try to catch up with a number of brief posts.
I bought Cabin Boy's oars from one of the bigger marine mail order houses. They are strictly okay. They did the job, but eventually I would like to make a set of real Pete Culler-style oars. But until that happy day comes, I needed to fix these up a bit.
I re-varnished them a year or two ago, but did not want to use them again until I'd had a chance to leather them.
I started with a fairly nice bit of leather that I bought at the Mystic Wooden Boat Show last year. The first step was to cut a piece of the right size. For length, I used the whole length of the piece of leather. Longer is better.
For width, you want the piece of leather to be about 1/4" less than the circumference of the oar handle. In other words, when you cut out the piece and wrap it around the oar, there should be a small gap between the ends, so you can lace it tight without bunching up.
In the photo below, you can see the tick-strip laid on the piece of leather.
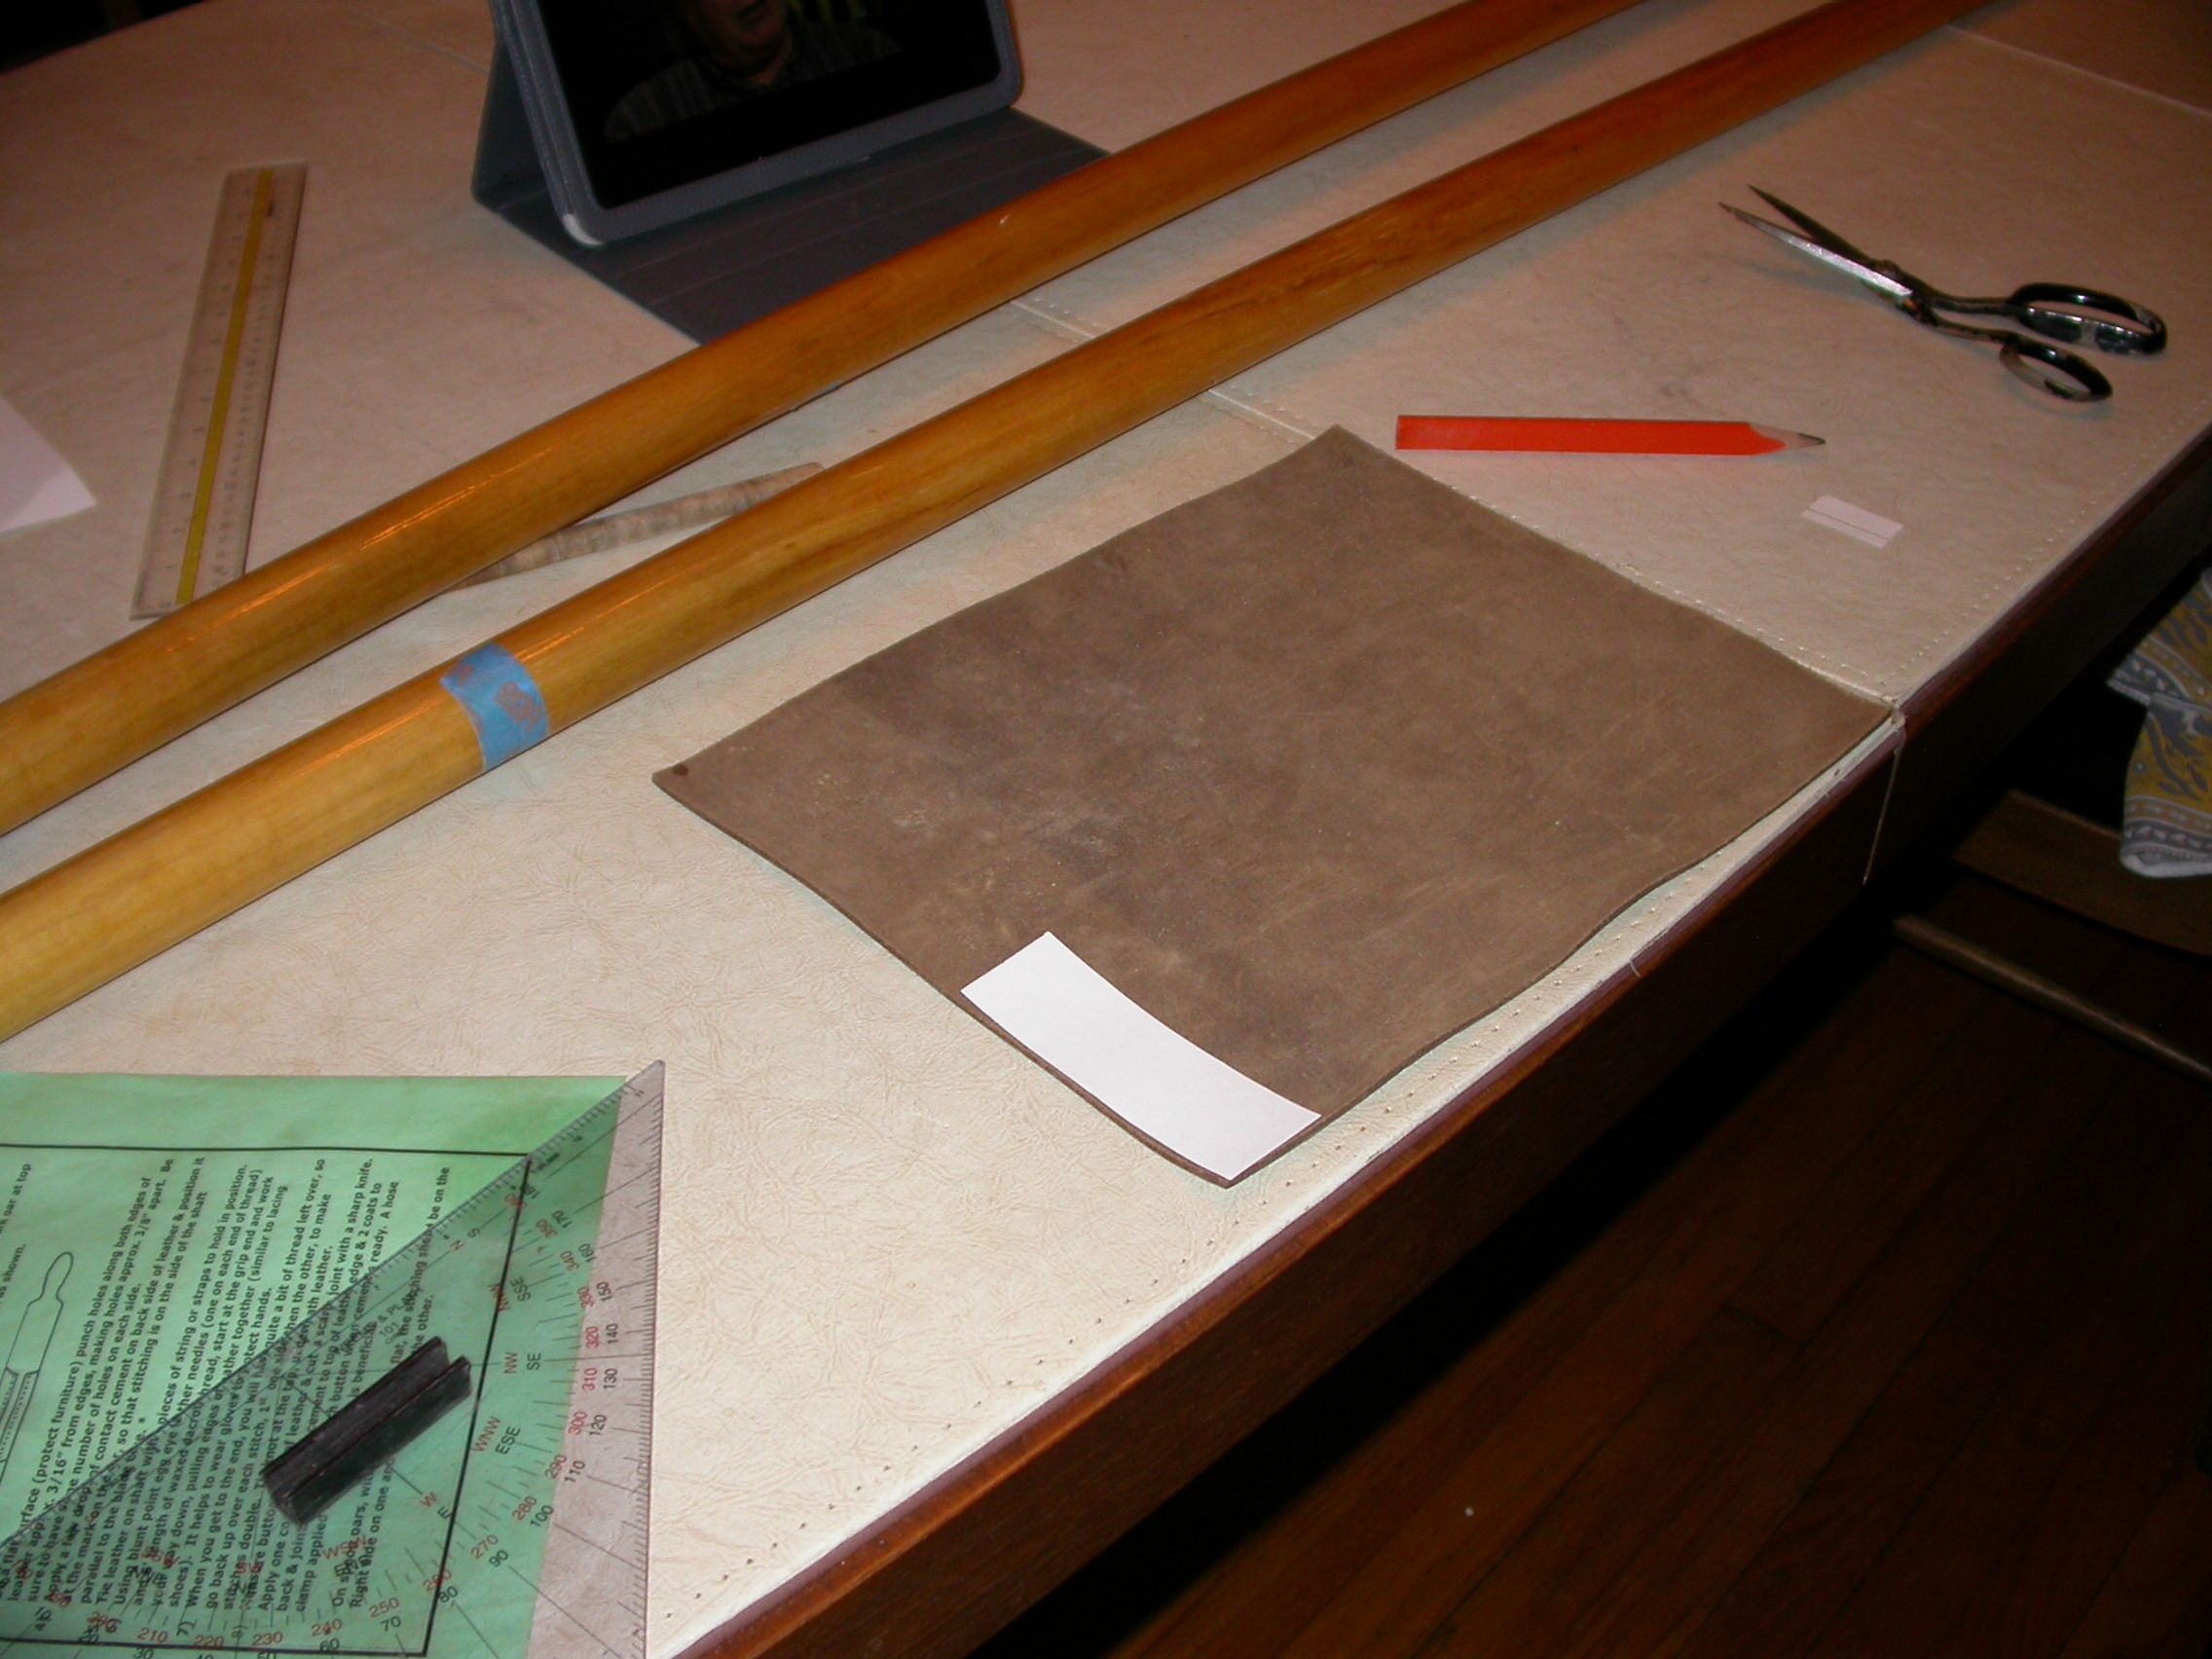 |
| Use tick strip to measure width of leather |
The holes need to be approximately 3/16" from the edge, and about 3/8" apart. You need the same number of holes on both sides, and they should line up fairly closely. Think laces on shoes.
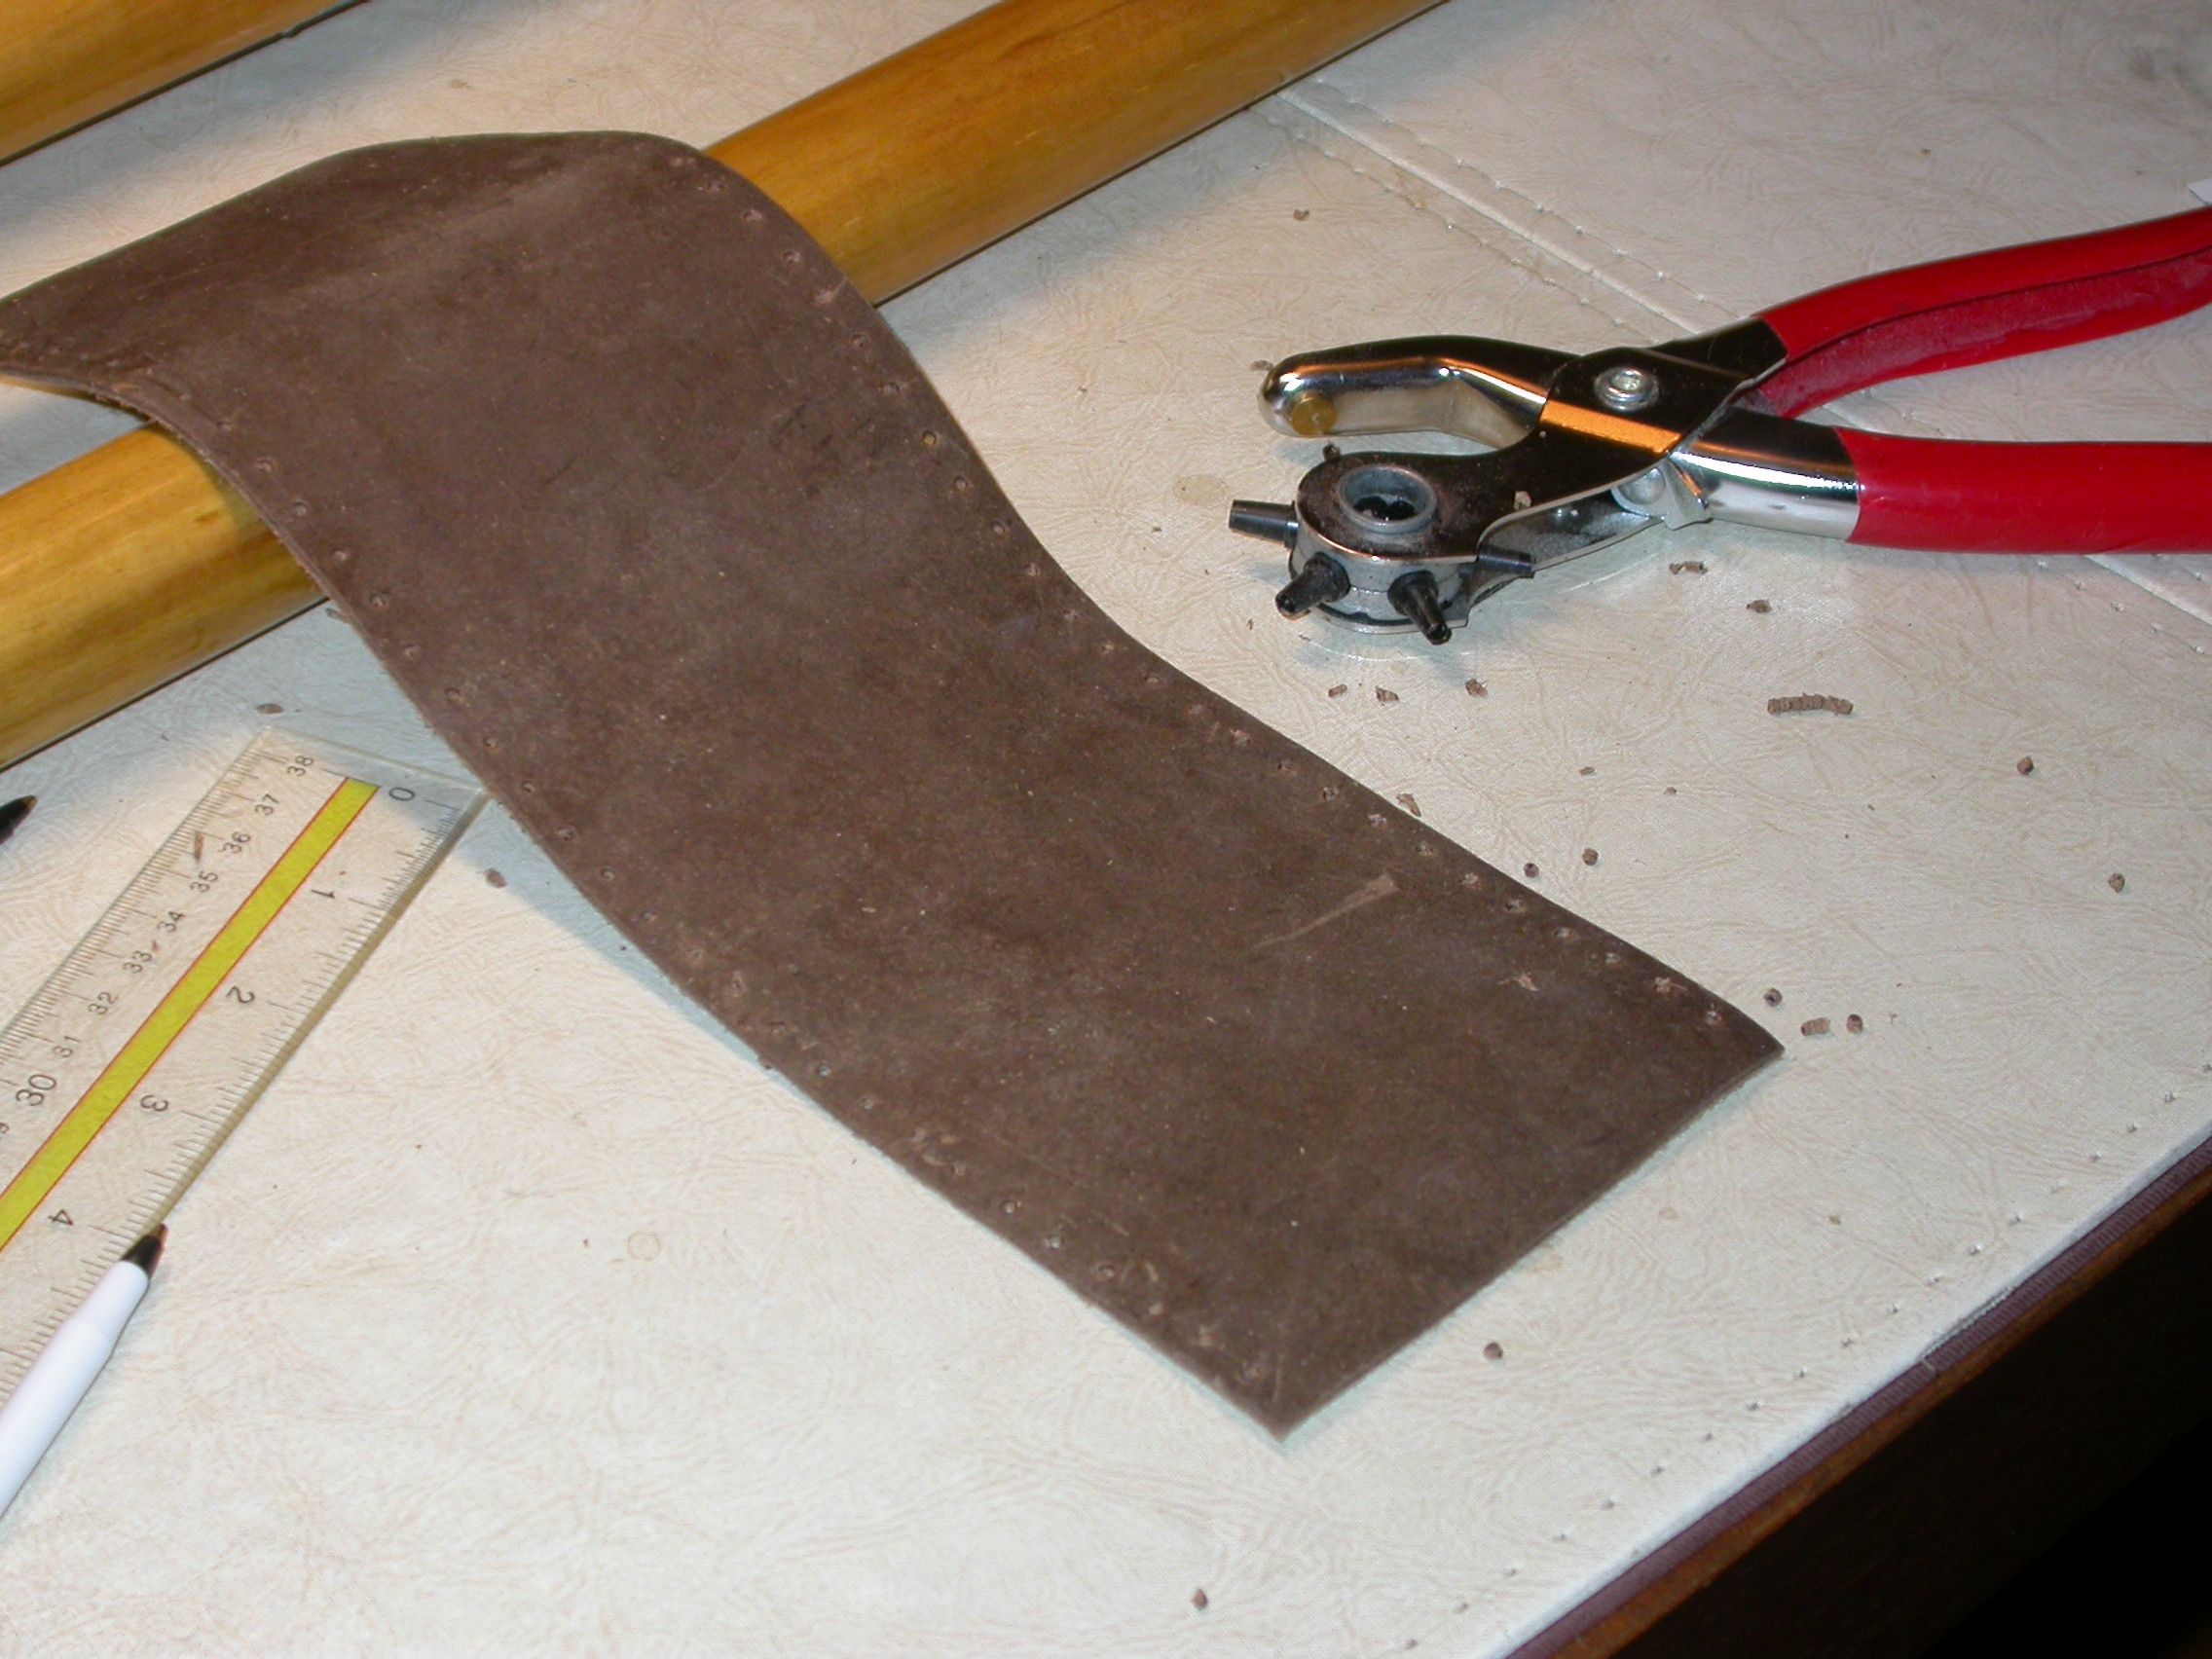 |
| Holes punched on each side |
Not! Tarred marline is incredibly useful. If it lasts me through the next two years I'll be pleased (and buy another roll.) It's perfect for this application. The nylon string is very strong, and the tar just makes it easy to use. When you tie a not in tarred nylon, it stays tied. When you pull the laces tight on the leather, the slight stickiness of the tar helps keep it from slipping. Again, you could use other types of light line, but why would you want to?
It helps if you can clamp the oar in the right position for lacing. Inconveniently, this is with the blade on edge, so you can't just lay the oar on your work table. I padded a vice with an extra piece of leather, and clamped the blade vertically in the vice. For ordinary, symmetric oars, it doesn't matter which edge is up, but if you have fancy curved oars, the top edge of the blade must be UP.
Position the leather on the oar so the middle of the leather is about where your oarlocks will be. Wrap the leather around the oar so that the seam will be at the top -- in line with the top edge of the blade. The idea is, when you are rowing, the seam should be up so the lacing doesn't chafe on the oarlock. Secure the leather in position with something. I used wire ties.
Cut a long piece of tarred marline. You need a lot, and it's hard to estimate how much so use twice as much as you think you need. 6-feet minimum. The first time I tried this, I got 3/4 the way done and realized my laces were too short. The second time I used 10-feet.
When you've cut your marline, thread each end onto a large sail needle. You will need two big needles because the marline is fairly thick. The needles make it possible to thread the marline through the holes. Don't even try to do this without needles.
Start like you are going to put laces on your shoes. Thread the marline through the first two holes and even up the ends. At this point, it should look like the photo below:
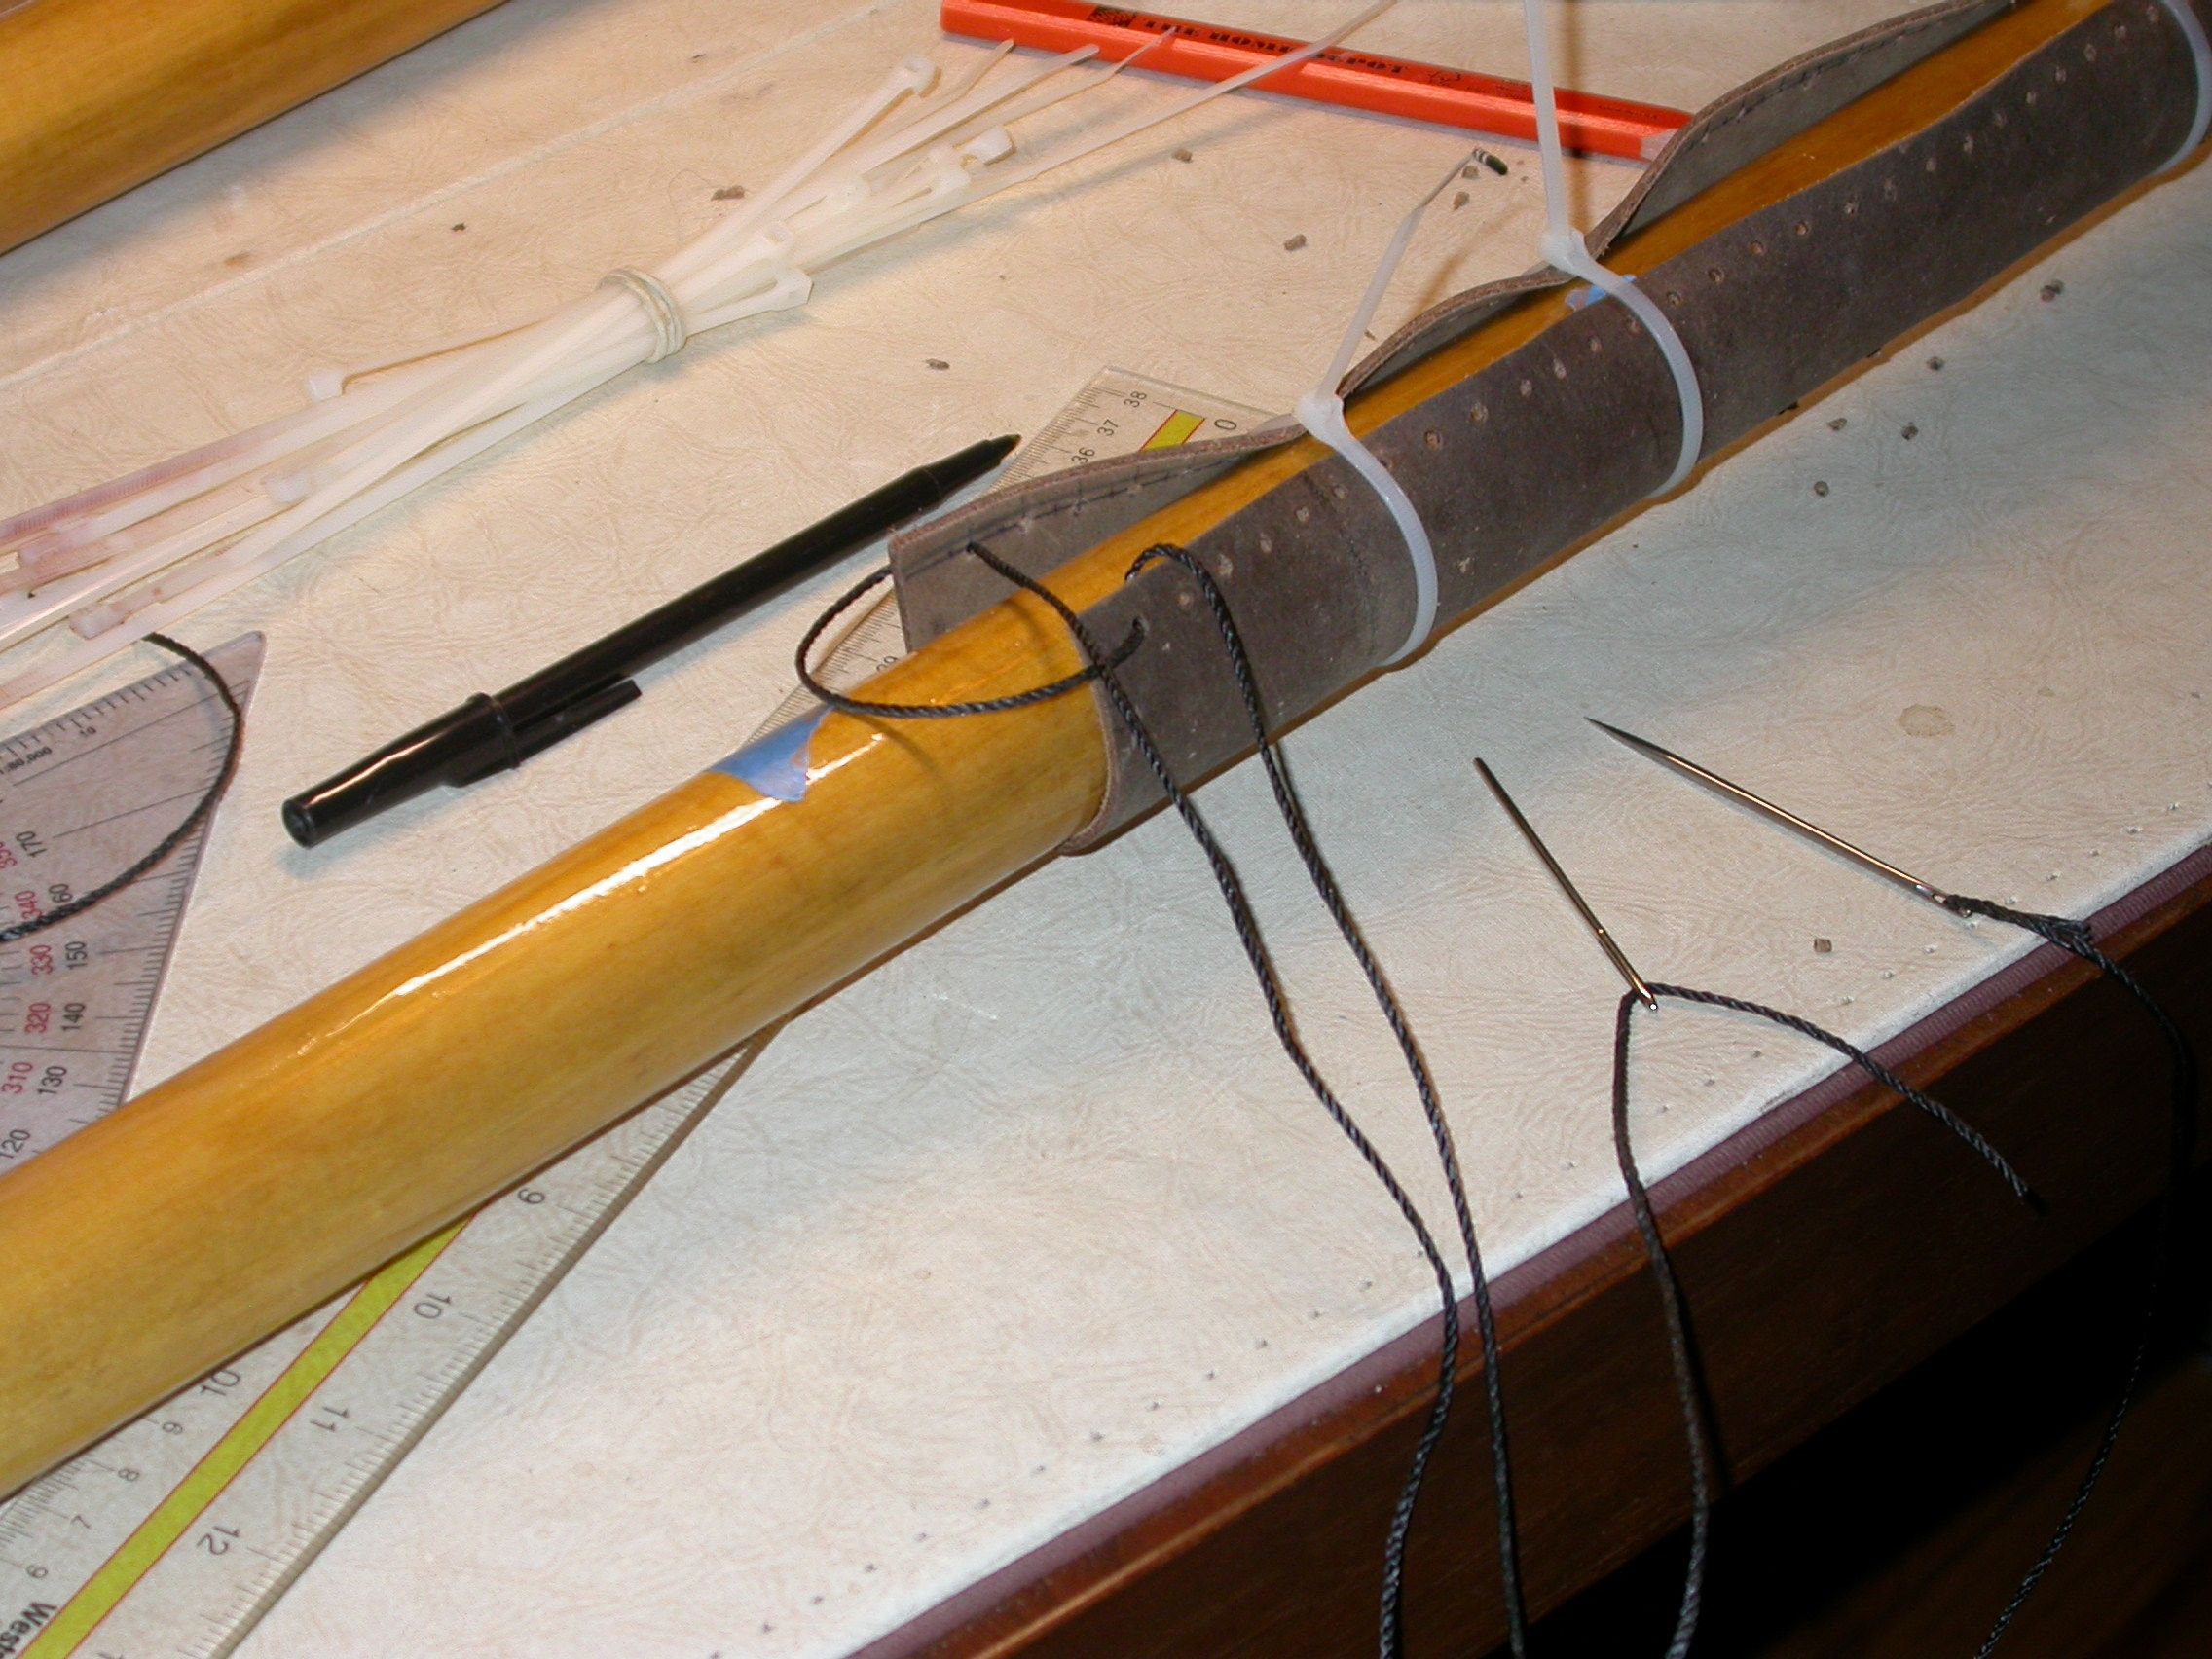 |
| Leather secured in the right position. Needles on marline. Marline threaded through first two holes. |
I don't think it matters much how you do the lacing, as long as you are consistent with each course of lacing. If each course is the same, the finished lace will look much better than if it's laced every which way. If you make a mistake, you'll see it immediately. Probably. No matter. Its easy to unlace back to your mistake, and try again. Ask me how I know this. You will probably have to remove the needles for this, which is a real pain, so focus and do it right the first time!
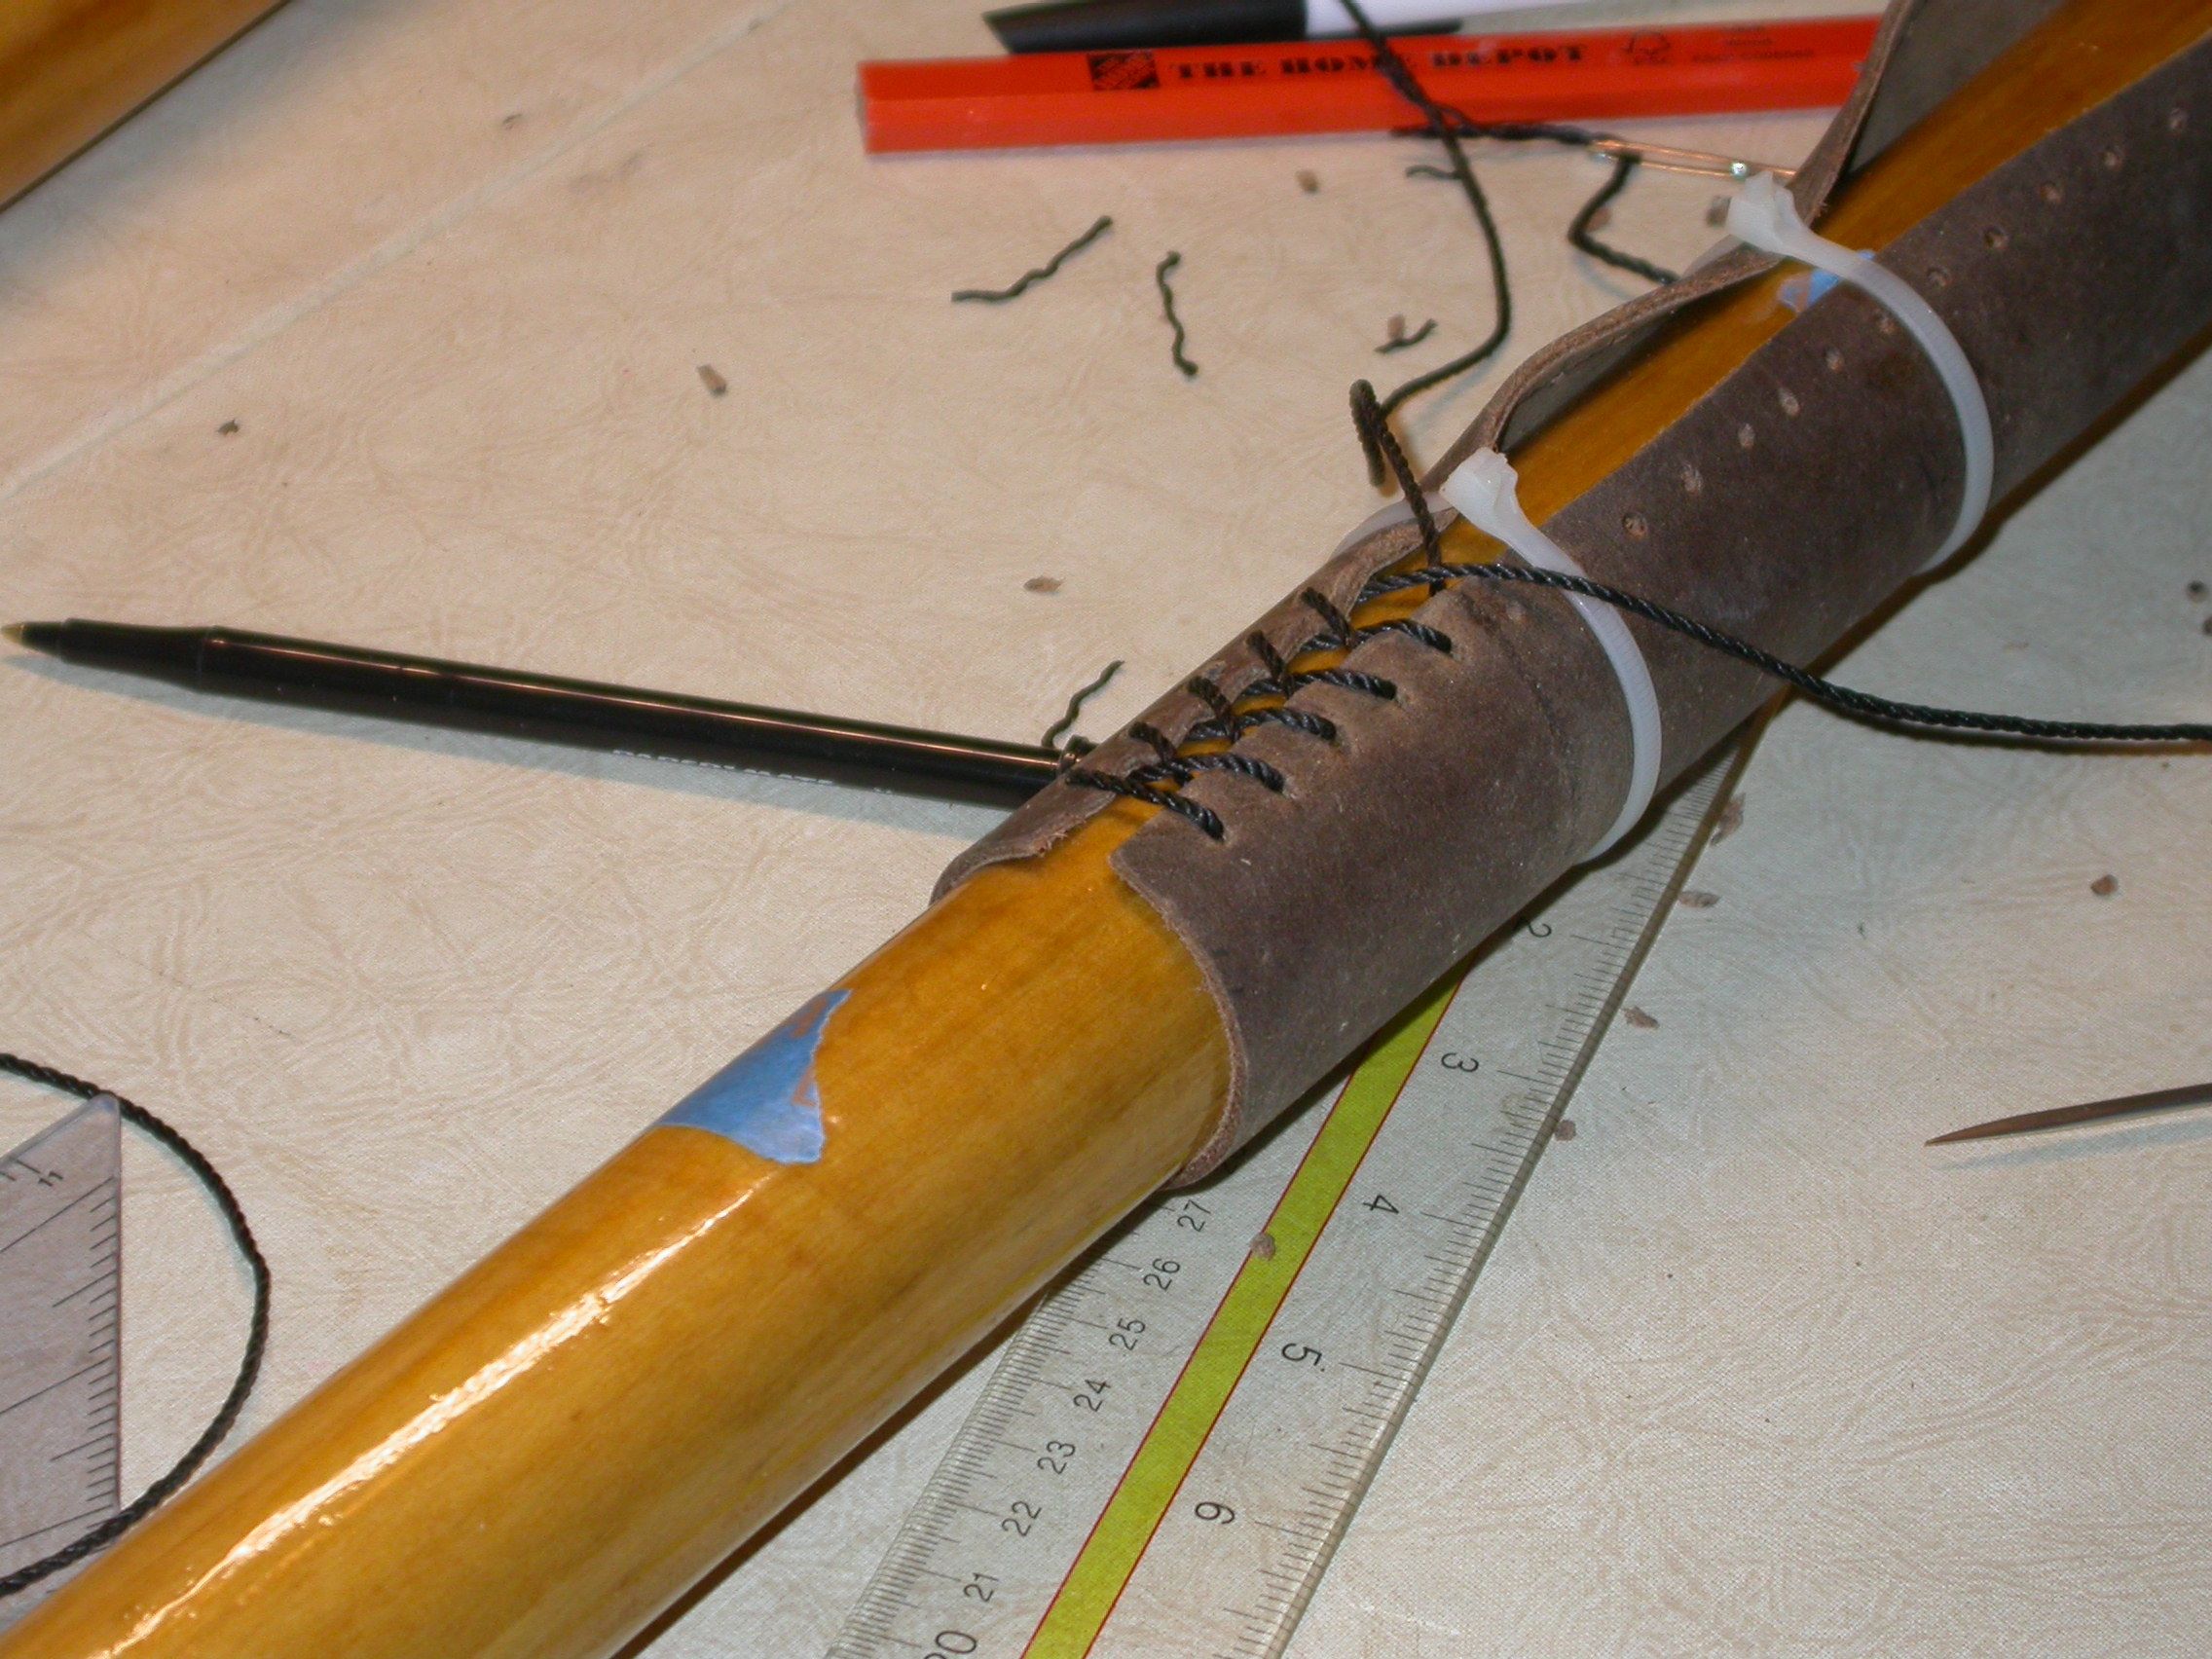 |
| Lace consistently! |
Voila, leathered oars:
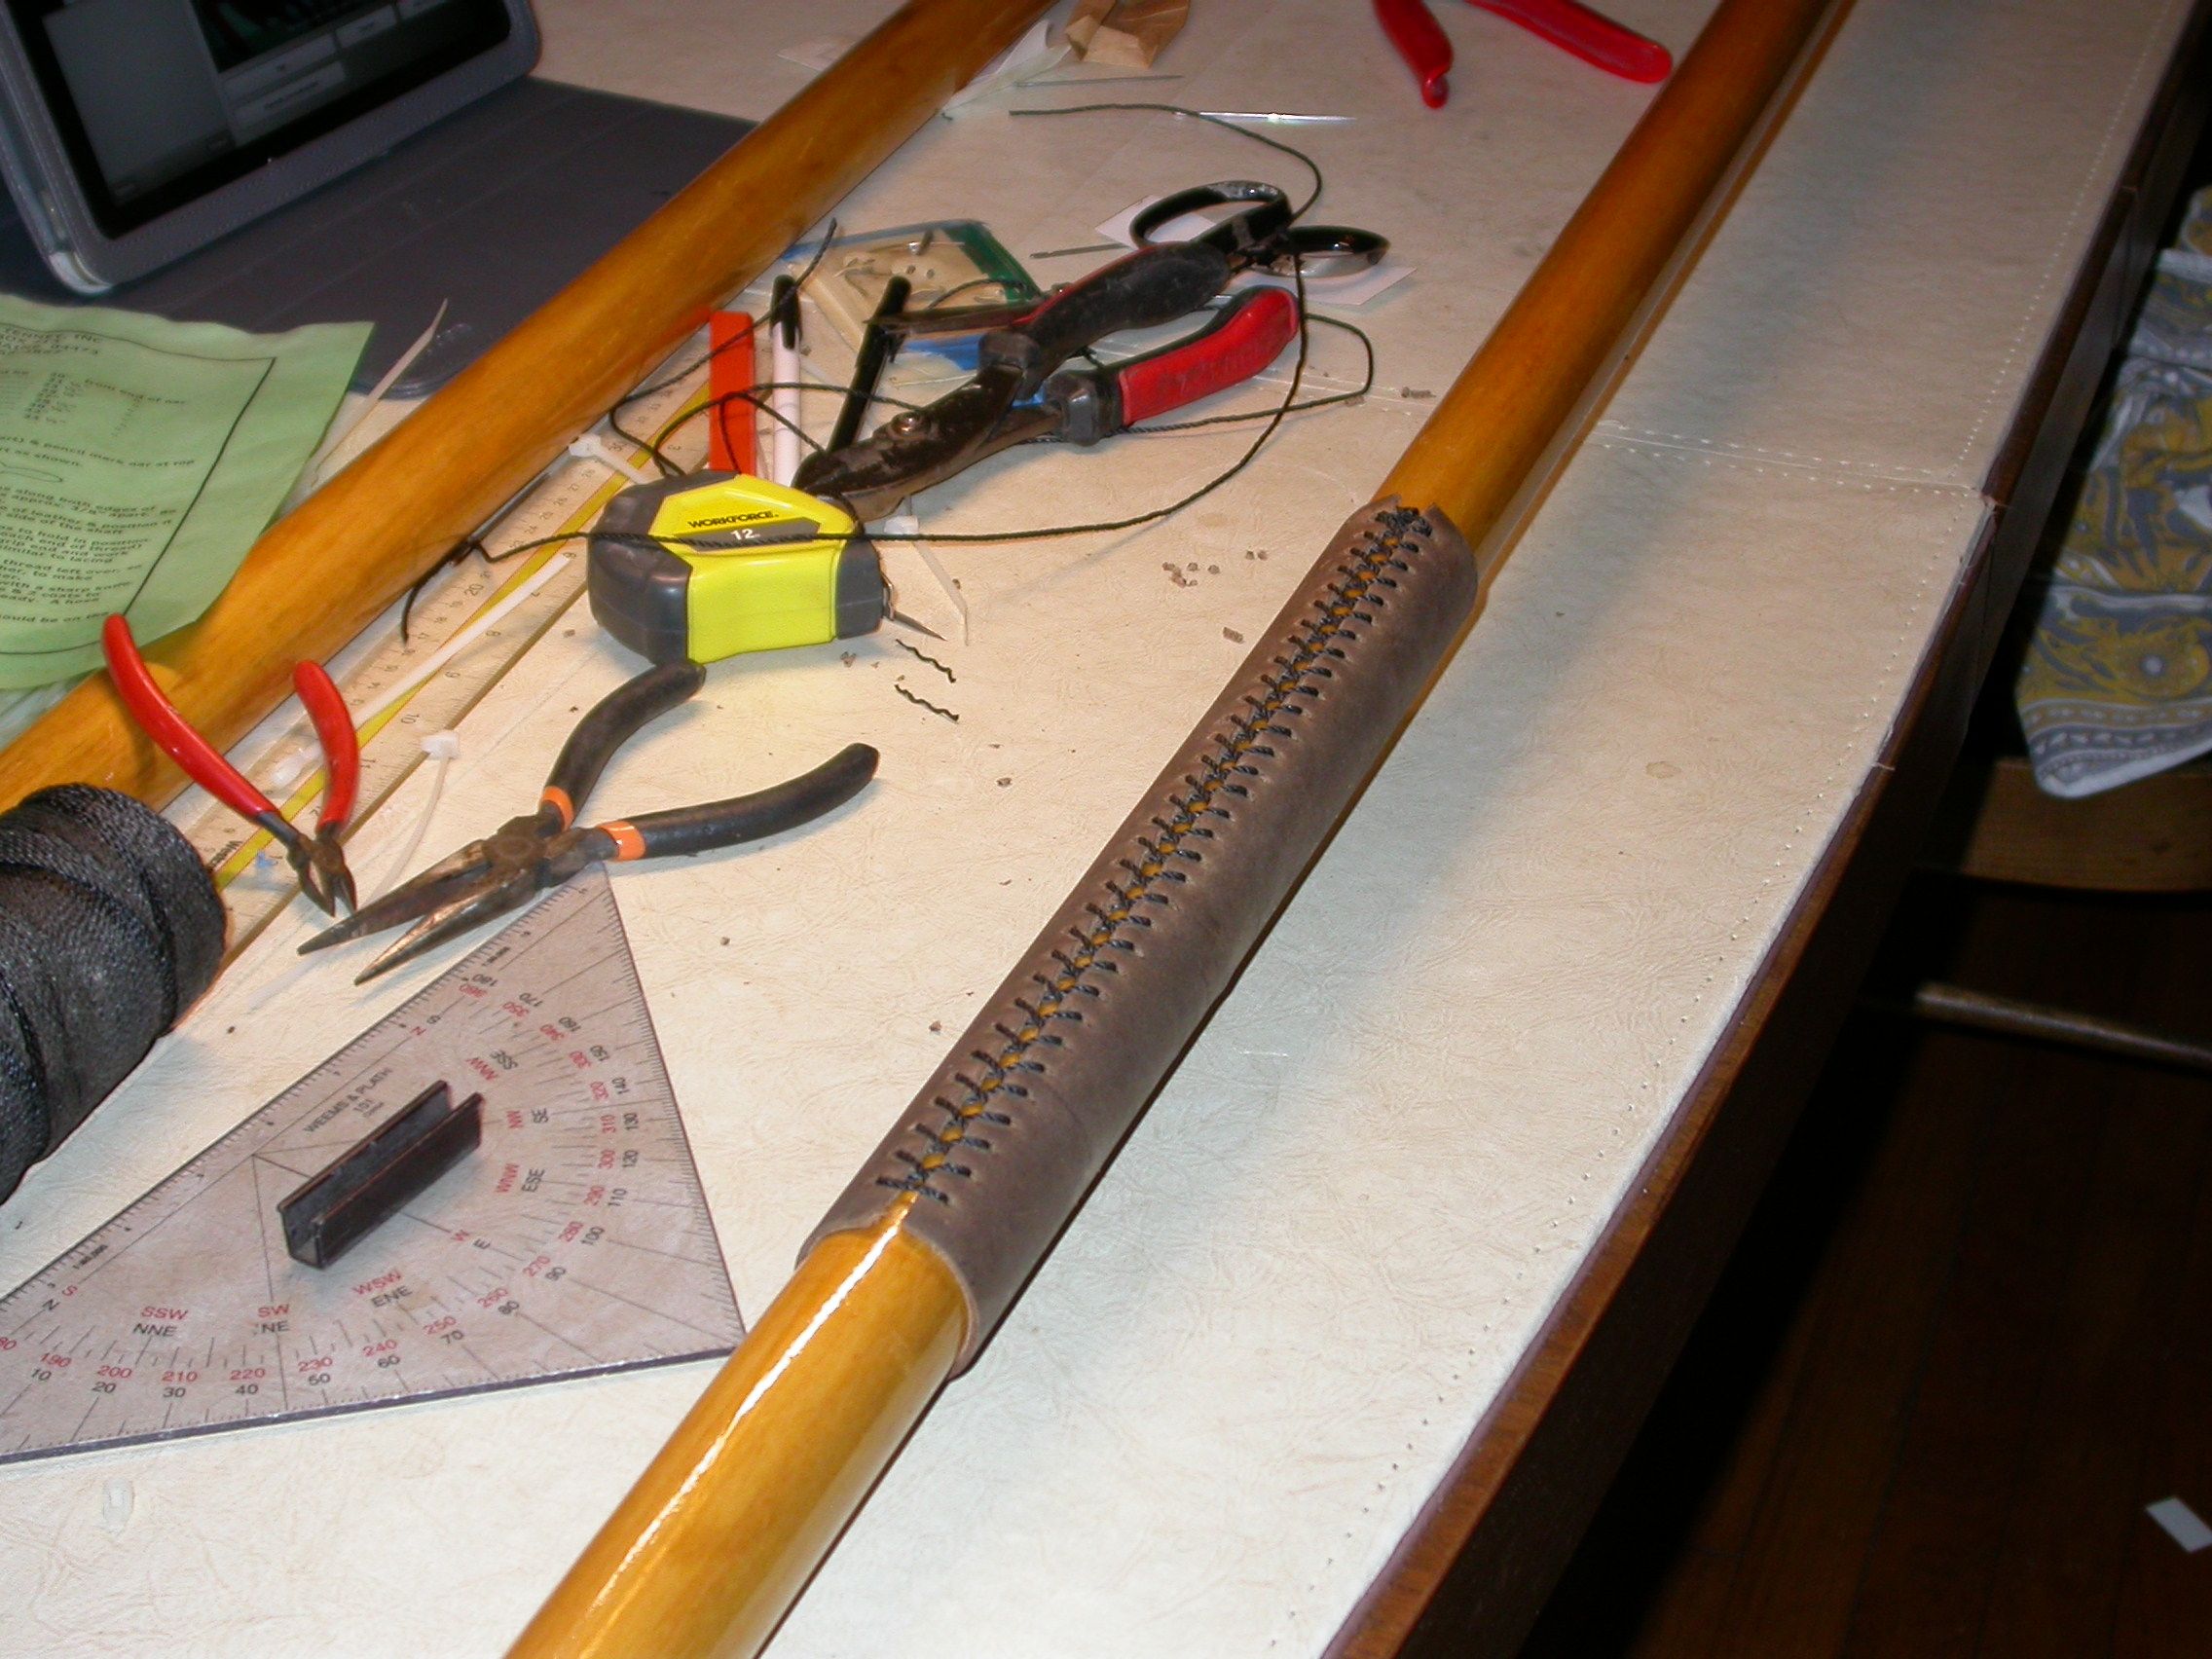 |
| How it looks complete. |
A button is anything that prevents the oar from slipping out of your oarlock when you let go. All too often, this button is a strip of leather glued round the handle-end of the leather. I could not bring myself to add an abomination like that to my beautiful job, so at the moment I am rowing without a button.
Buttons are totally optional, so if you can row without dropping your oars too often, you don't need them. If I ever decide I need a button, I will probably get a nice bit of thin rope and tie a Turks Head on the leather. I think that might look pretty nice, and I can custom fit it so it looks and fits just right.
But so far, I don't see any need for a button. Ask me how I feel about this at the end of the summer!
Next time, I will wrap up my Cabin Boy refit and show you how he looks. I'll give you a hint: pretty darn good!
Next Episode: Water Line
John -They look GREAT! Nice lacing!
ReplyDeleteThanks! It's a fun easy project.
DeleteJohn, I was in your shoes a few years back with my tender oars and to button or not to button. I went for it and don't regret it. I wrapped a short length of good old thick hemp rope around and at the critical point lashed the ends together, as they overlapped by an inch or so. then to add strength tacked them through the leather. As it worked out the overlapping parts fit nicely into the top of the yoke adding to the feel of the correct position. Also looks appropriate to my nutshell pram.
ReplyDeleteYes, I like the idea of using some sort of rope thing for a button. I actually have a length of thick hemp, which would do, but I think the Turks Head would be more fun to make.
DeleteHi John,
ReplyDeleteYou mentioned 'my book to finish'!
Are your writing a book on Blue Moon?
That is the boat I would build for myself! I have already bought and lofted the drawings. At the moment I am finishing a half hull model of her.
Looking at the pictures of Cem Kur, that Turkish boatbuilder that has launched a Blue Moon a few years ago.
Only if I head not bought that big GRP boat 7 years ago!!
She is for sale and when she is sold? I will start the building of ….
Yes, on my voyage home from Florida. I tried to blog on the voyage, but as usual, it was pretty hard to keep up with everything that happened. Lots of time, I didn't have an Internet connection, or I was too tired to write, or things were happening that I didn't want to scare Helena or my Mom with.
DeleteThe Blue Moon is a pretty great boat. If building from scratch, I'd build in 6 or 8-inch bulwarks all around, and use a one-piece mast, like Tom Gilmer did on the original BM. I mean a mast that is big enough for the topsail.
I have a top-sail yard which is a bit clumsy to store on deck.
Larry Pardey helped to build a Blue Moon back in the day. You should google around for photos of that build. It will open your eyes, if you haven't seen them already.
I don't know where to find them anymore, but I have one picture here: Blue Moon
Hi John,
ReplyDeleteHow did the dry sewing of the leather work out? Is it really tight enough?
Wouldn't it be easier to sew the leather wet and make it shrink when drying? The result should be even tighter. I have never tried dry.
Thanks, regards,
Erwin.
Yes it's more than tight enough. Between the laces pulling it tight and the friction of the leather on varnish, it's not going to shift.
Delete