"Split them for firewood!" I said.
"What year?" She asked, curiously.
"Ummmm...."
The problem is, most of the logs I collected were hastily cut into longish length by the power company, which was more interested in getting electricity back on than supplying conveniently-sized firewood to cheapskates like me. So when it came time to split it, I realized most of it was too long to fit in my wonderful arm-powered splitter.
 |
| Hand-pumped hydraulic splitter |
The ideal tool to accompany my hand-powered splitter would be a hand-powered saw, and (having watched a lot of Roy Underhill videos lately) that was all the excuse I needed to build my own bucksaw. Here's what a traditional bucksaw looks like:
 |
| traditional bow saw |
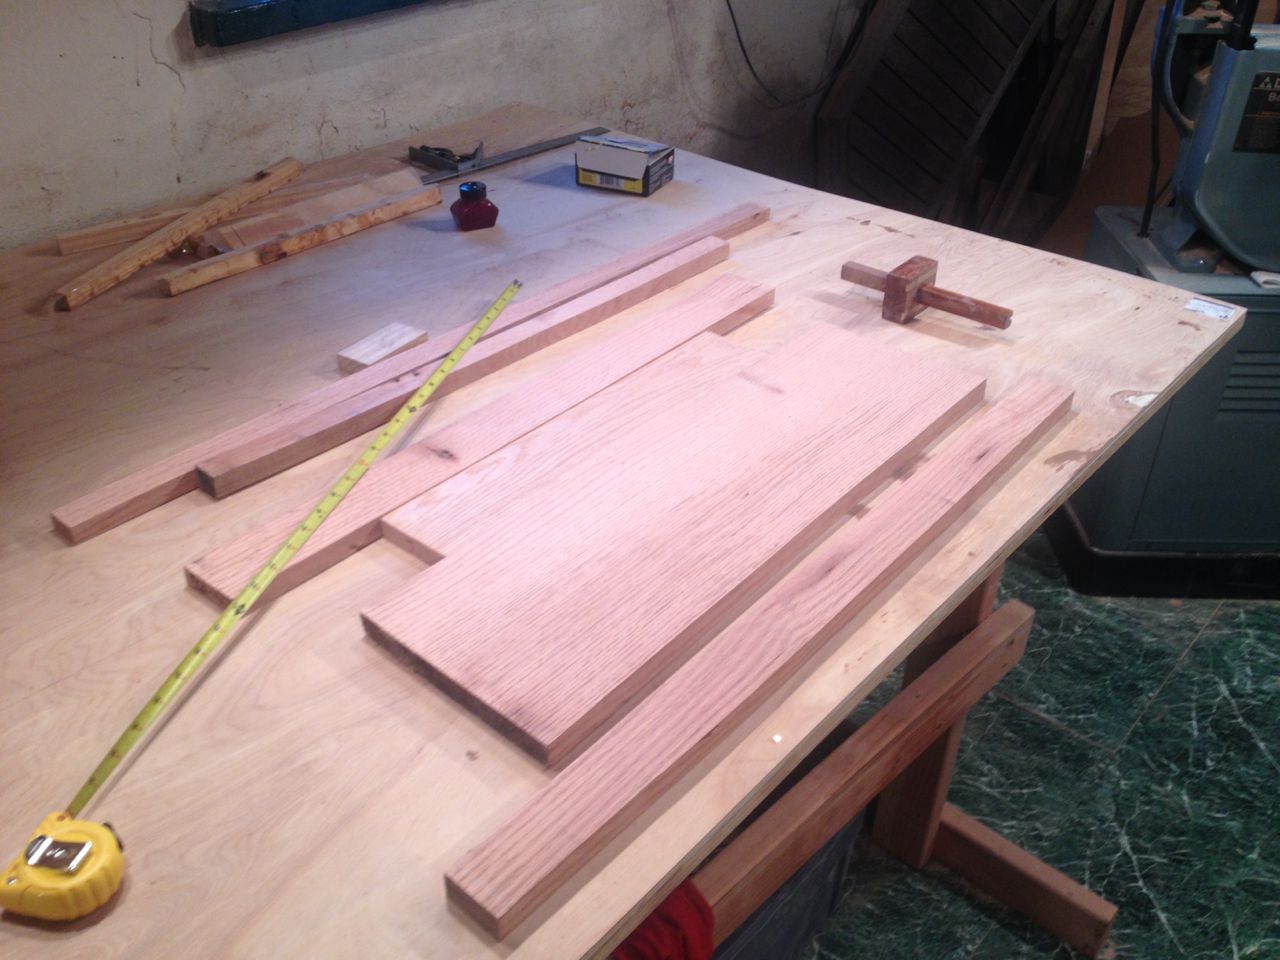 |
| Red oak |
 |
| The three main pieces cut out and laid end-to-end, to see how they look. So far, so good. |
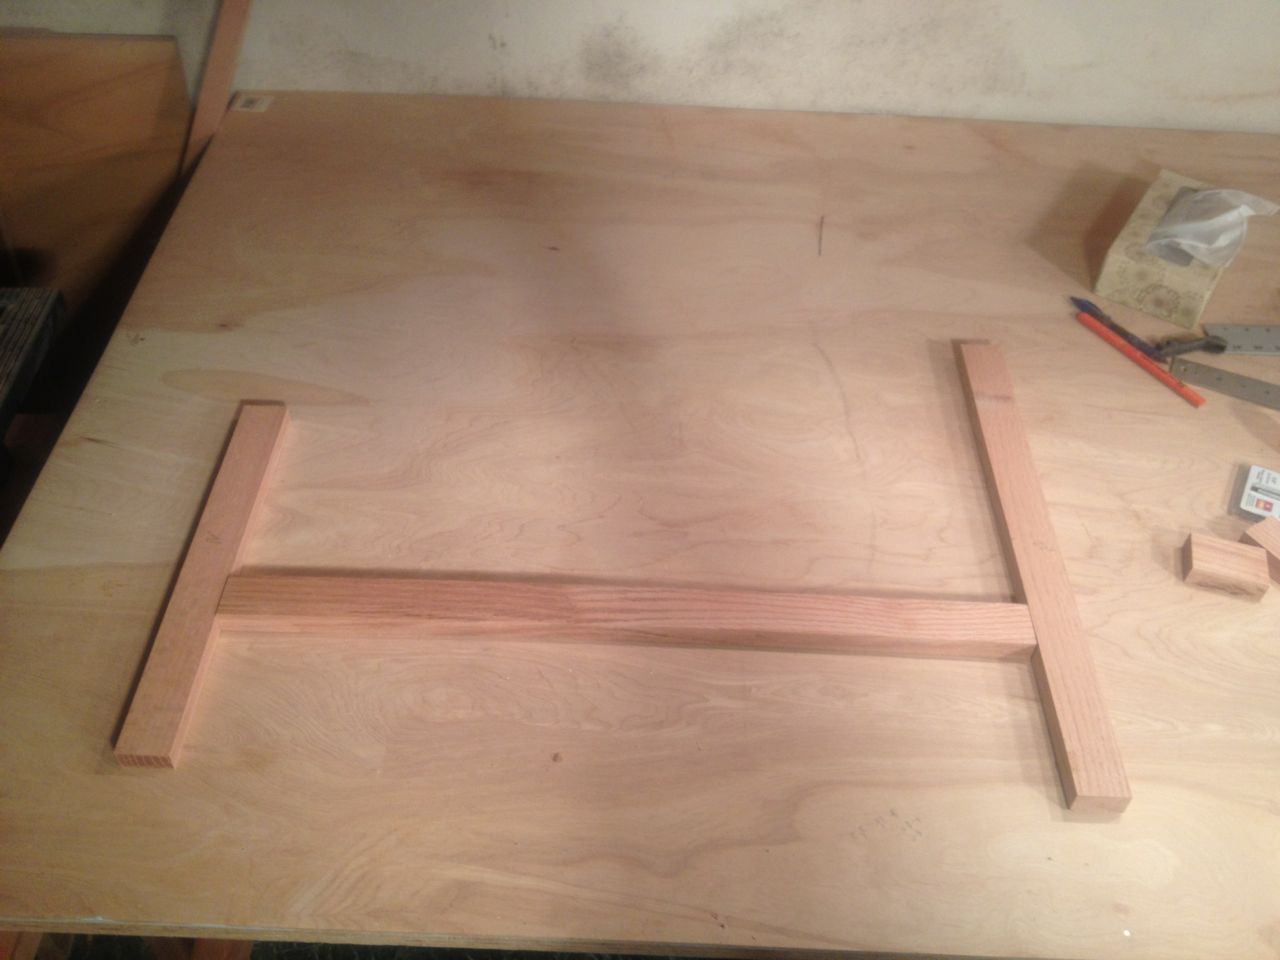
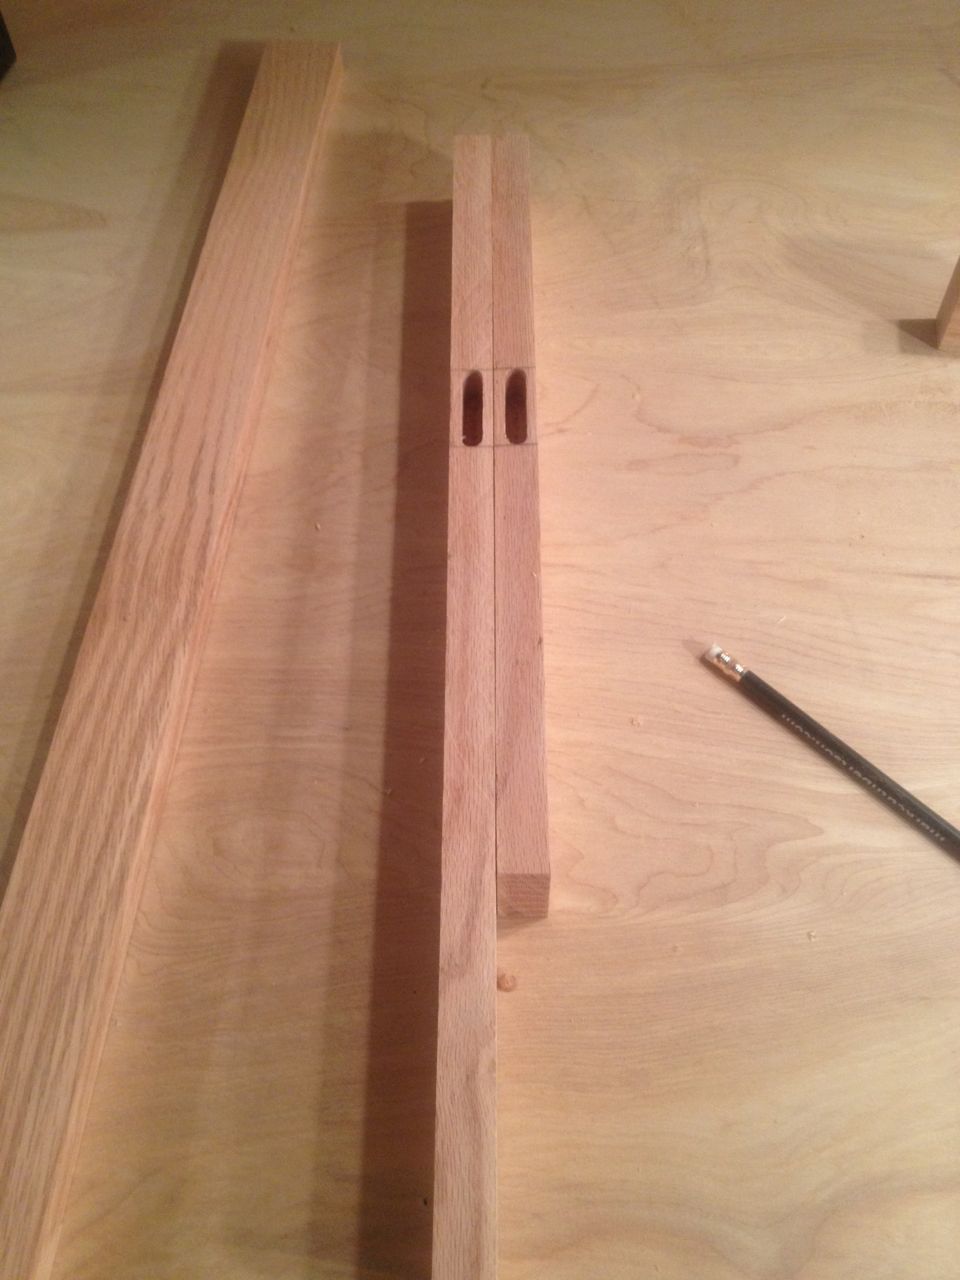
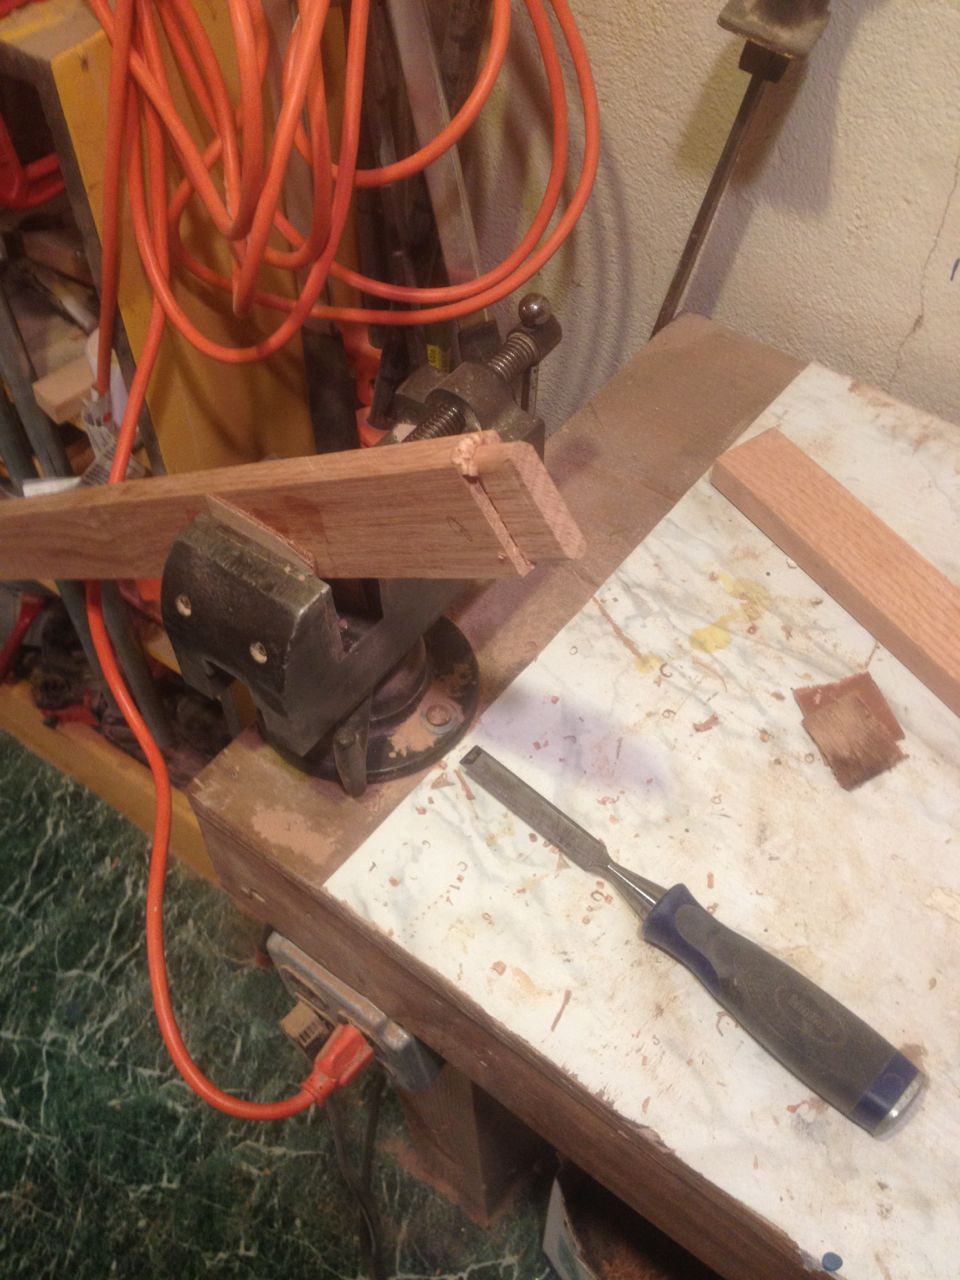
I planned on morticing the pieces together, which I have practically no experience with, so I wasn't sure which to tackle first: the mortise (hole) or tenon (thing that goes in the hole.) The tenon seemed easier to cut, so I figured I'd cut the mortise first, and then cut the tenon to fit. Not sure if that's the official way to do it, but it made sense to me at the time.
 |
| Mortises cut |
After doing this, I thought, "there must be a better way!" And of course there is. This being a how-not-to blog, I'd urge you to find a youtube video on mortice cutting before tackling a job like this, instead of after. Turns out it's not that hard to cut mortices with square ends, but I was making this up as I went along.
Having got that far, I turned to the tenons. I roughed out the tenon on my bandsaw...
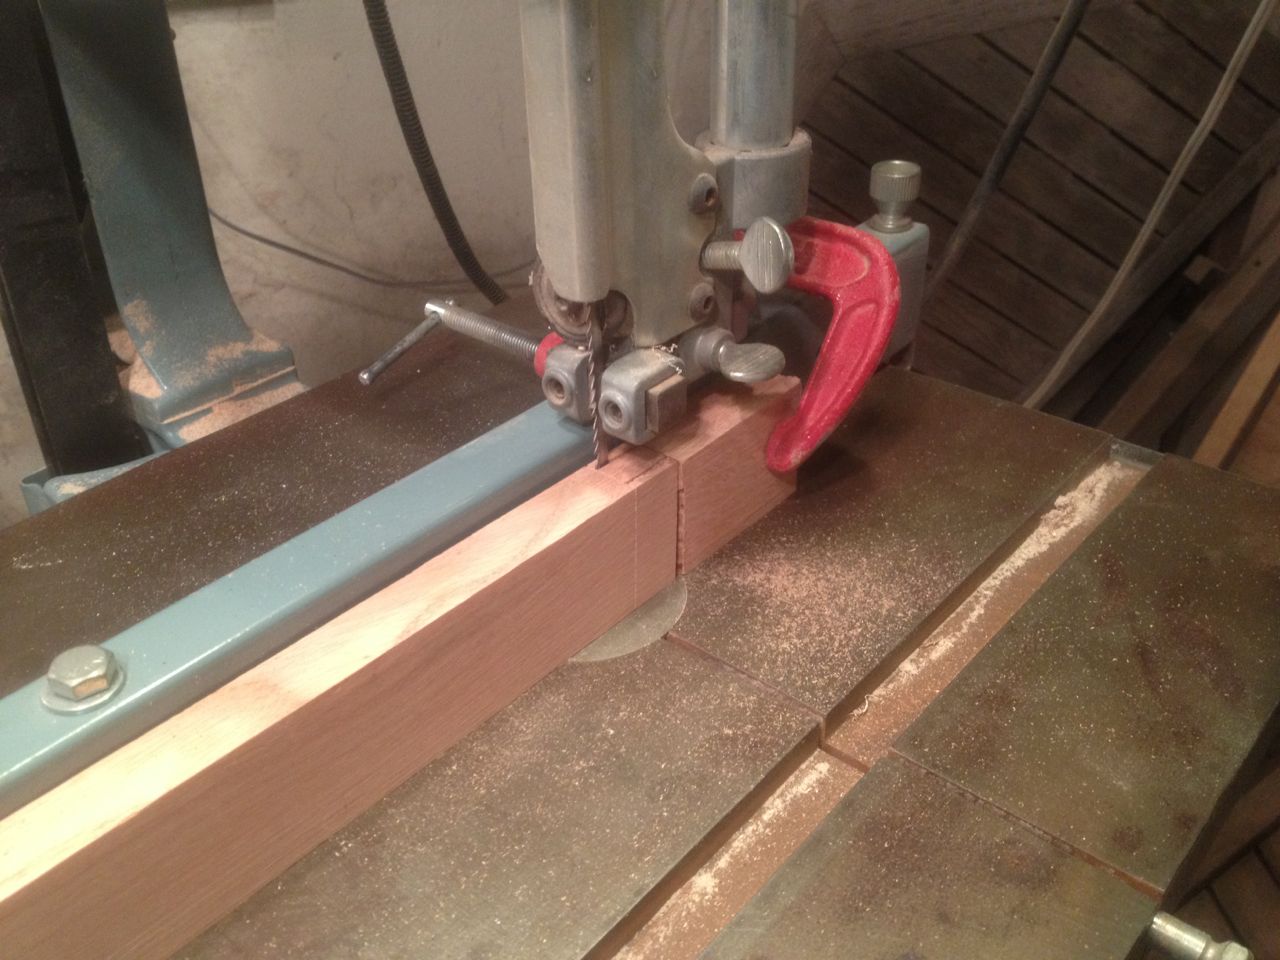 |
| Cutting the mortise on my bandsaw |
And then had to deal with making the square peg fit the rounded hole. Actually, it wasn't that hard.
 |
| Make mistakes slowly... |
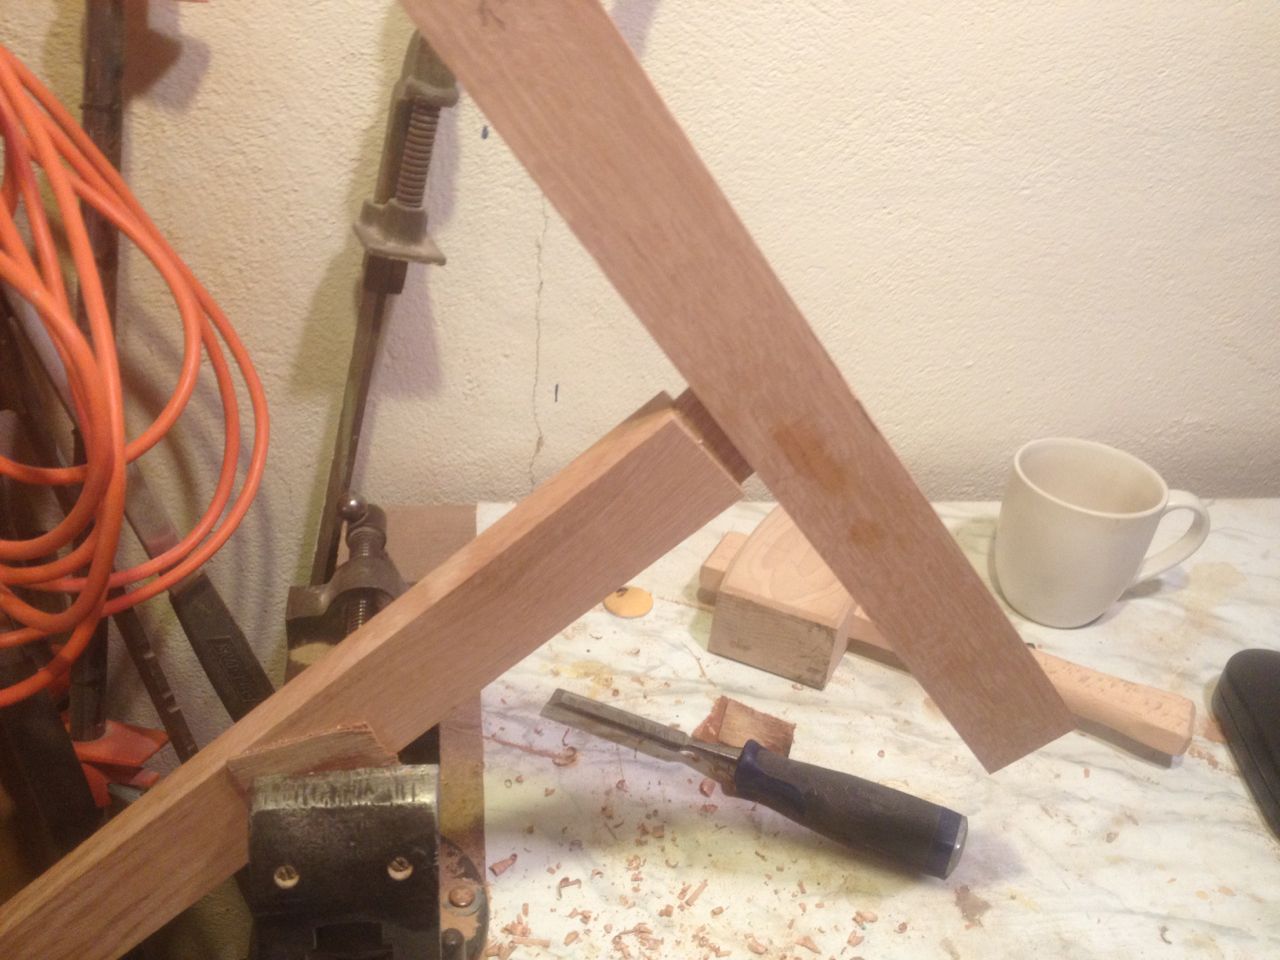
Fitting the tenon to the mortice was a trial-and-error process.
 |
| test fitting |
With the main joints fitted, it was time to cut the slots for the blade.
For the long handle, the slot needed to be cut right in the middle of the wood. Again, I did what seemed the easiest: I drilled a hole just big enough to thread a coping saw blade through, and then sawed the rest of the slot.
 |
| cutting slot for blade |
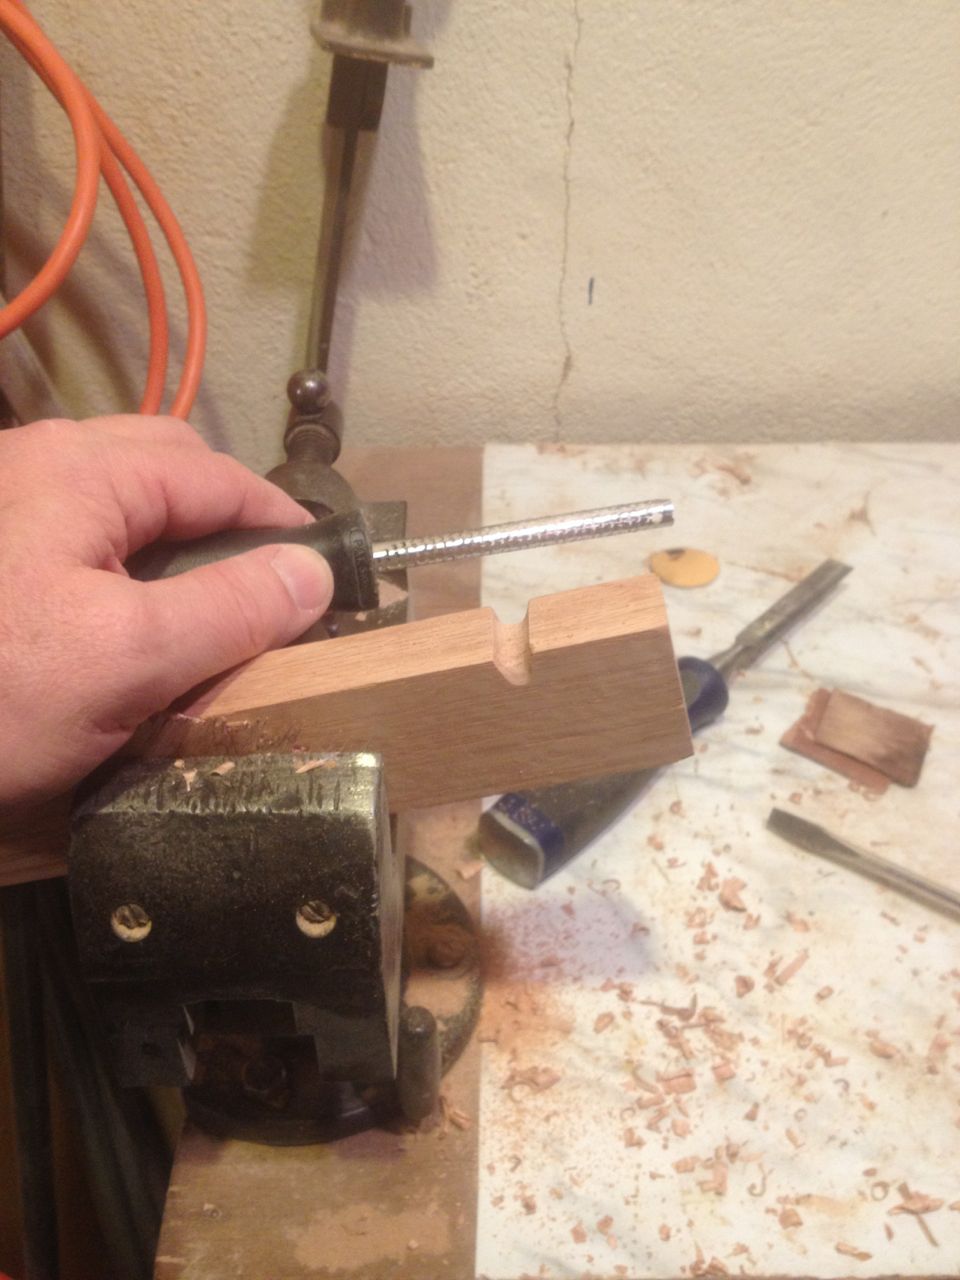
Finally, I cut groves for the tensioning string, so the string would stay in place, rounding them over with a microplane file.
 |
| tensioning string grooves |
After rounding over all the sharp edges on the router table, and giving everything a good rub with linseed oil, I assembled the saw.
 |
| The finished saw |
You'd be amazed at how powerful that Spanish windlass is. If you build one, don't over-tighten the blade. It just needs to be tight enough so it doesn't flex when you use the saw. Too tight, and you will take the set out of the teeth, or so I heard on the Intertubes.
And there you have it! A saw big enough to tackle the largest log in my pile. A nice weekend project, and I'm sure it will come in handy on some future boatbuilding project.
Now I just need to build one of these:
 |
| Log holder |
Next Episode: Hello Agnes!
The 'log holder' pictured looks like a folding 'saw buck'.
ReplyDeleteThere are better designs to be found on the net.
In use I prefer to place the chainsaw bar outside the saw buck so as to not make the saw buck into firewood.
I haven't actually settled on a design. I just need to get the wood off the ground for sawing.
DeleteAny suggestions for a better design, much appreciated.