Sometimes, not often, 'wow' is the only appropriate word. Long time readers of this blog know that I wow fairly easily, but this time is different. I really mean it.
For the last week or so, I've been trying to figure out how to fit a new breasthook into Cabin Boy's bow. His original breasthook, installed before launch, looked okay, but when it came time to finally install the inwales, I realized it was wrong. All wrong. Wrong angle in the boat, wrong angle to the inwales, and -- most surprising -- too thin.
I figured that the breasthook should be the same thickness as the inwales. This sounds reasonable, until you look more closely at the geometry. Generally speaking, the breasthook lies flat across the boat, like the cross piece in the picture below.
 |
| Breasthook lies flat across the boat; inwales slope outwards. |
If you want the inwale to fit neatly into the breasthook, the outside edge of the breasthook must be slanted at the same angle as the top of the inwale.
How can this be? Does the breasthook need to be steam bent so it's higher in the middle, slanting down to the inwales and strakes on each side?
Even a steam lover like me wouldn't try that. No, the traditional way to solve this problem is to make the breasthook even thicker, and then plane a 'crown' into its top, so it is higher along the centerline, sloping down to the wales and strakes.
With all that in mind, I made a small sketch to get it clear in my mind.
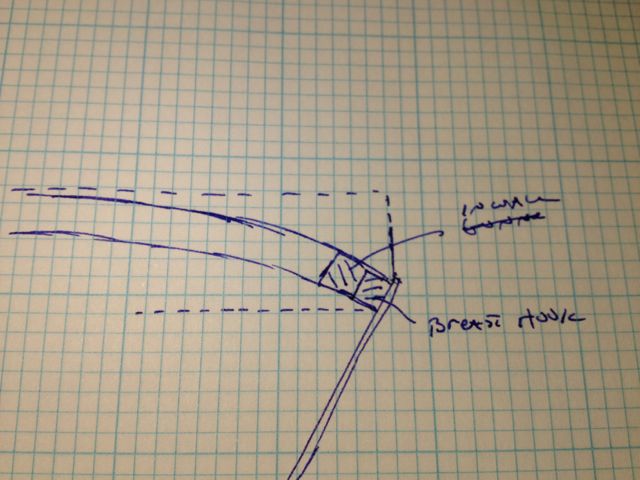 |
| Breasthook geometry |
Assuming a more reasonable crown of about 1/4", I figured I needed a piece of wood about 1 1/4" thick for my inwales.
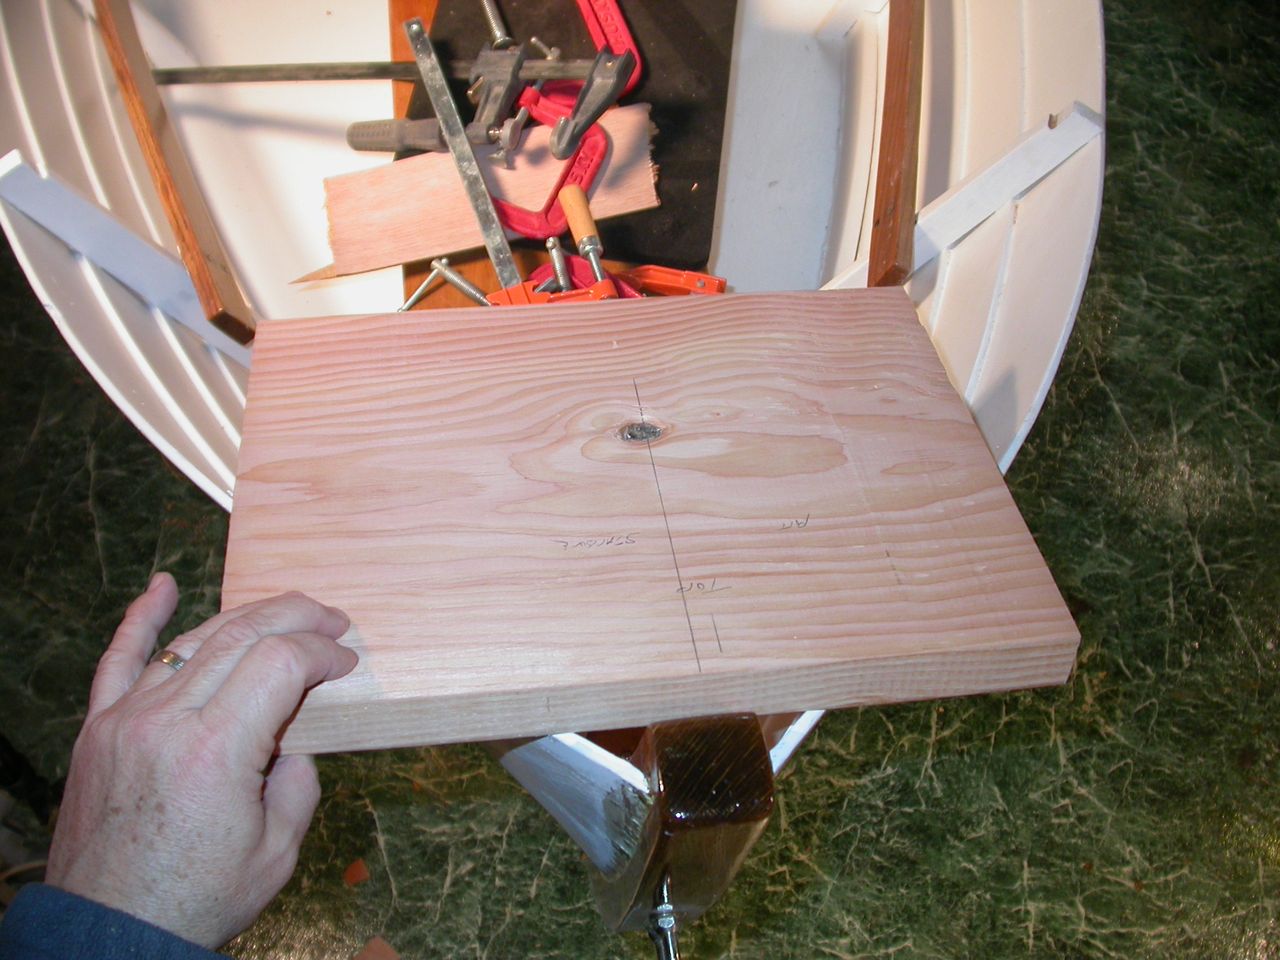
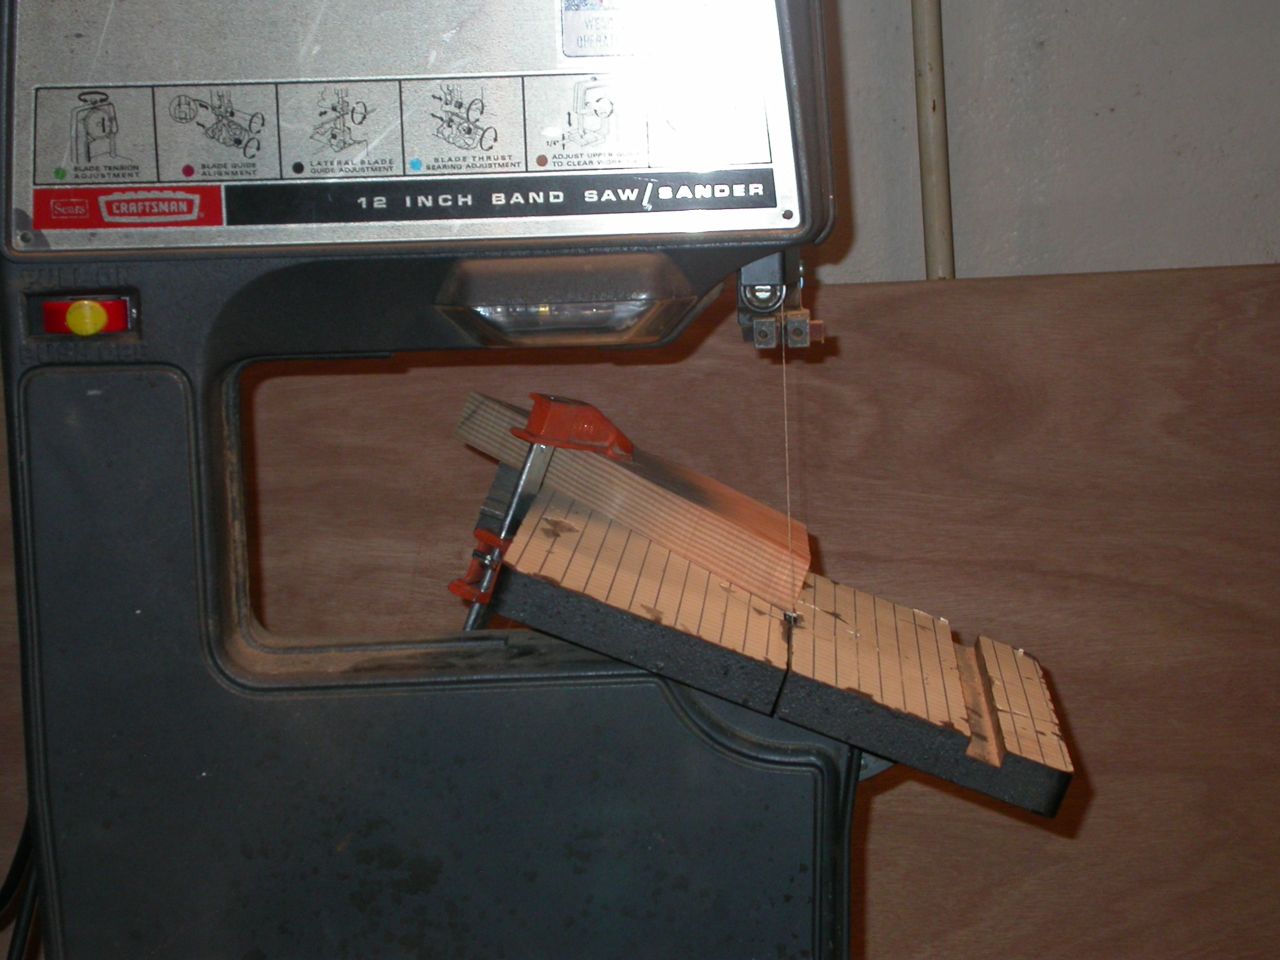
Rather than test this theory on mahogany, I decided to cut a test breasthook out of a 2x12 hunk of Douglas Fir I had in my junk box. First task was to machine it to the correct thickness. I suppose I could have done this with a hand plane, but my new planer made the job a heck of a lot easier. Just look at the pile of shavings!
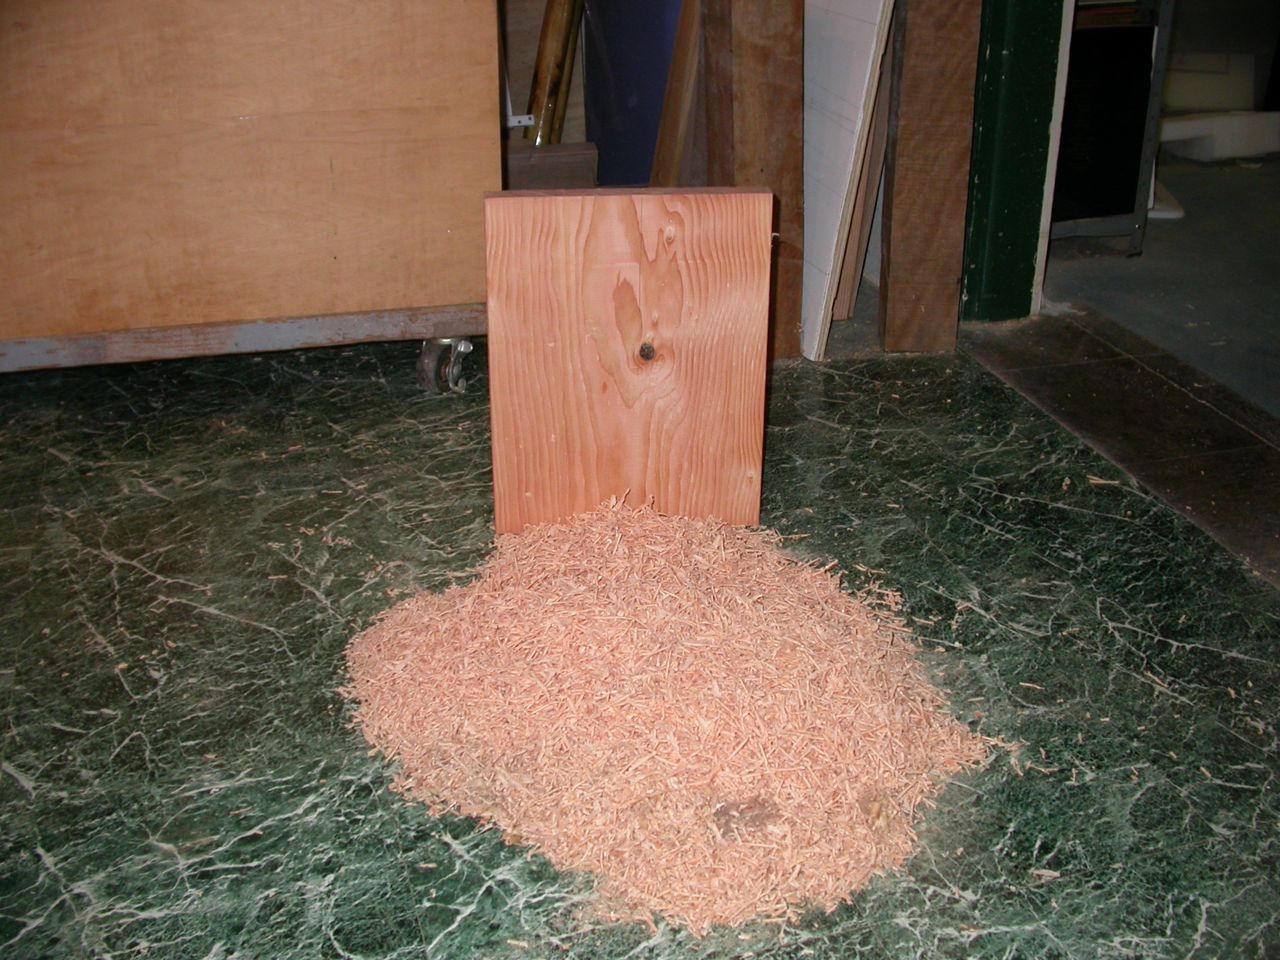 |
| 2x12 Douglas Fir planed to 1 1/4" thickness. |
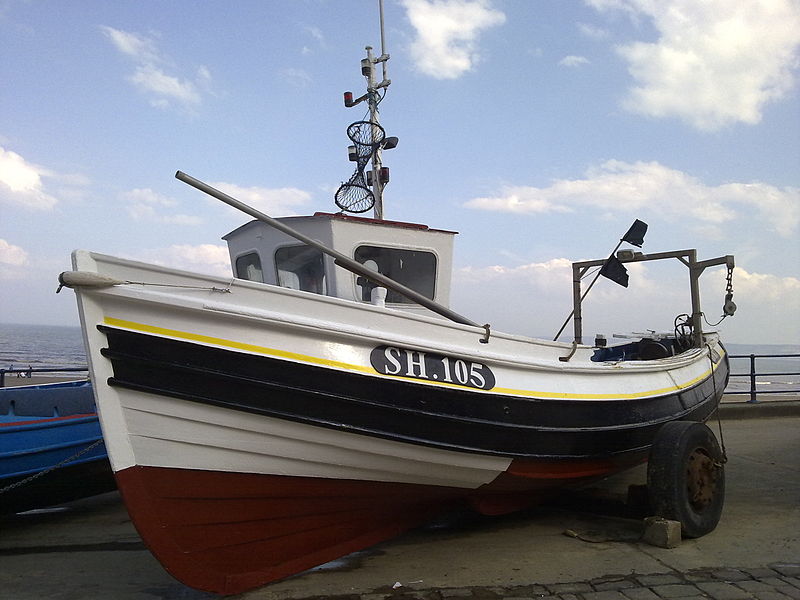 |
| Coble - stoutly-built fishing boat from the NE coast of England |
 |
| Marking the shape of the strakes. |
Here are the markings on the underside:
 |
| Shape of the shear strakes near the bow |
But my dirty little secret is that it was never symmetrical. Not even when the strakes were brand new. My boatbuilding skills weren't quite up to that. That is why, if you are smart, you will take your measurements from the boat, not your lofting, and not assume your flawless joinery resulted in perfect symmetry.
The next step was to cut the timber to size, making sure all the sides were perpendicular. Perpendicular sides are critical, because we will be 'lowering' the timber into the boat, by cutting various bevels. If the sides are perpendicular, the top of the timber will be the same shape and size as the bottom, so when it's 'lowered' into the boat, the top will fit as snuggly as the bottom did.
 |
| Timber cut to size, with perpendicular sides. |
What I did was make a fairly stiff 'platform' out of masking tape. I ran the tape as tightly as I could (without distorting the sides of the boat), and used enough to make it rather firm. Then I just laid the timber on top and taped it in place with a few extra pieces.
A bit kludgy, I know, but if you know a better way, I'd love to hear it!
 |
| 'Platform' made from masking tape |
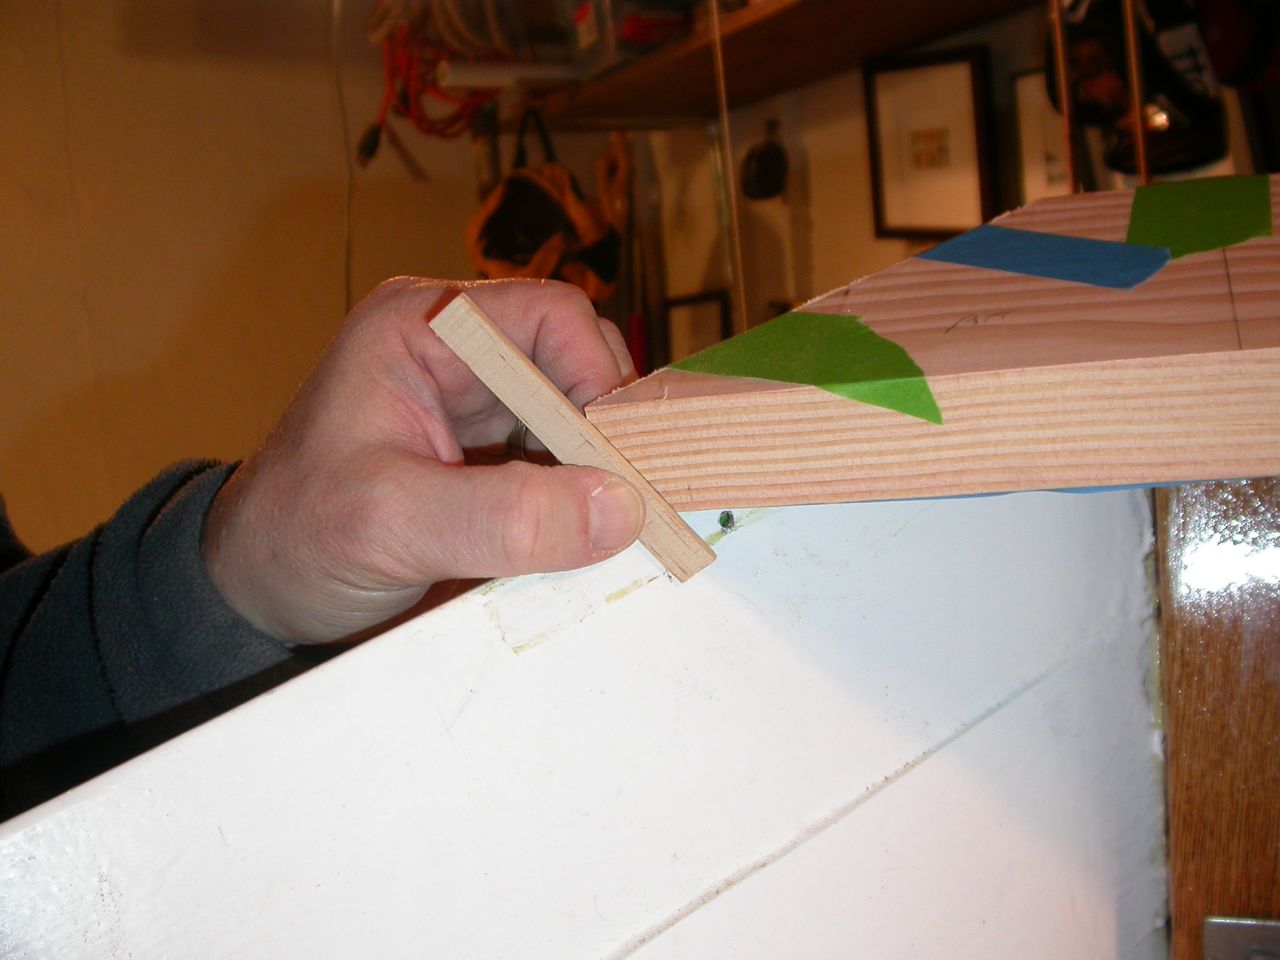 |
| Gauge for marking bevels |
When you are done, it should look something like this, only in focus.
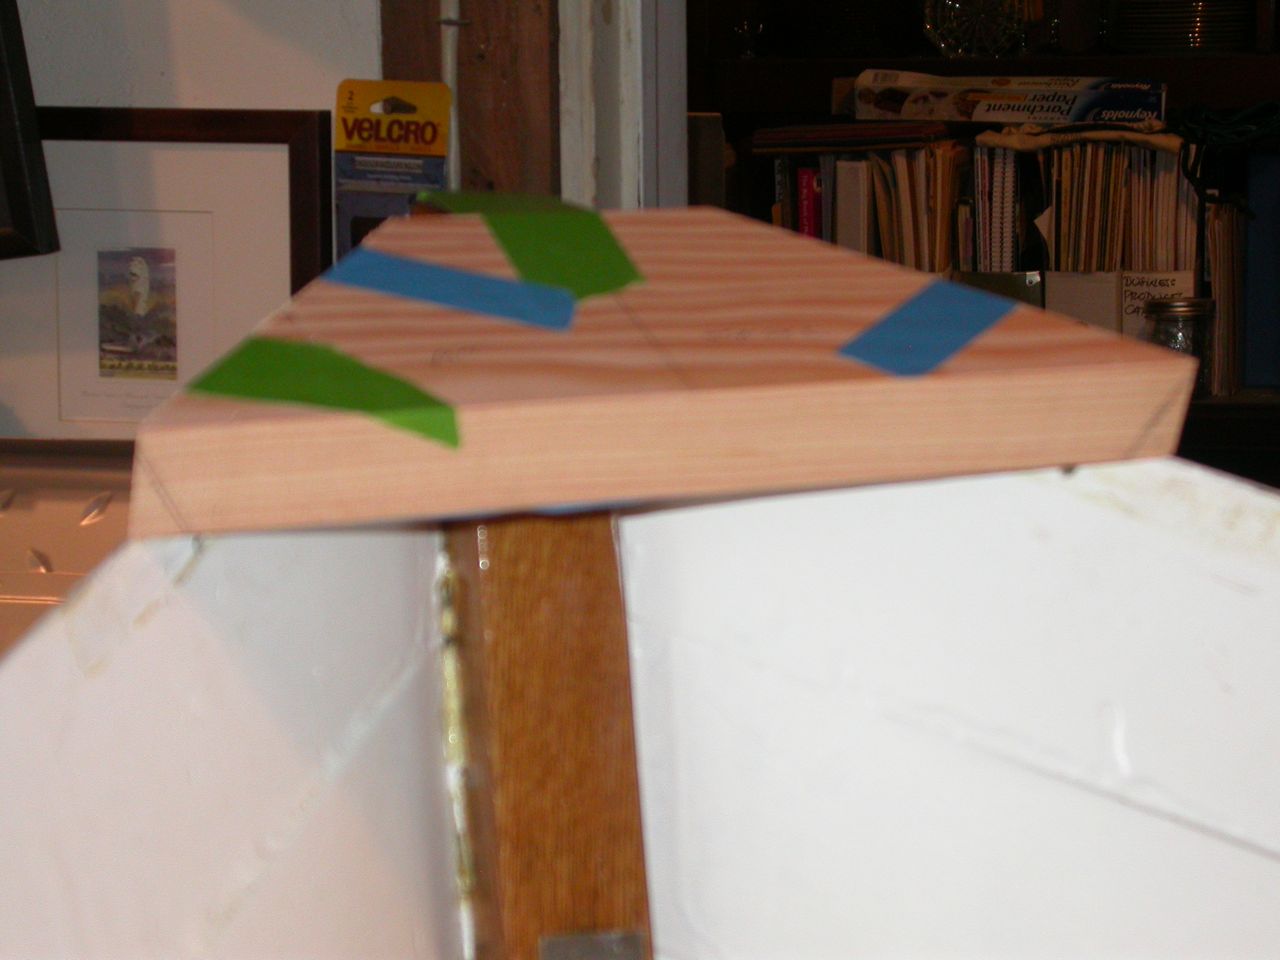 |
| Timber with bevels marked |
 |
| Lining up bevel by eye |
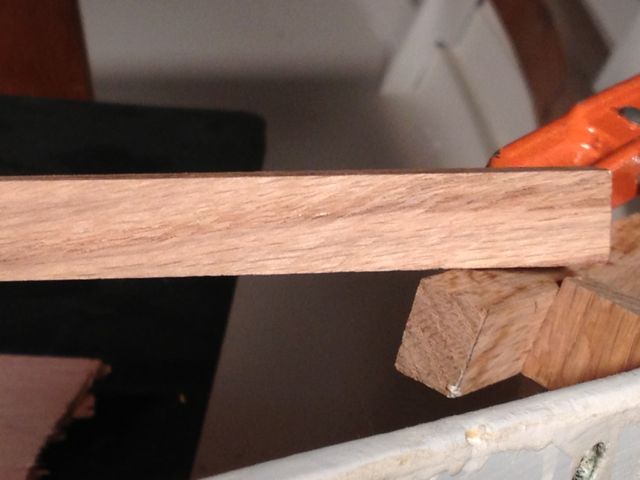
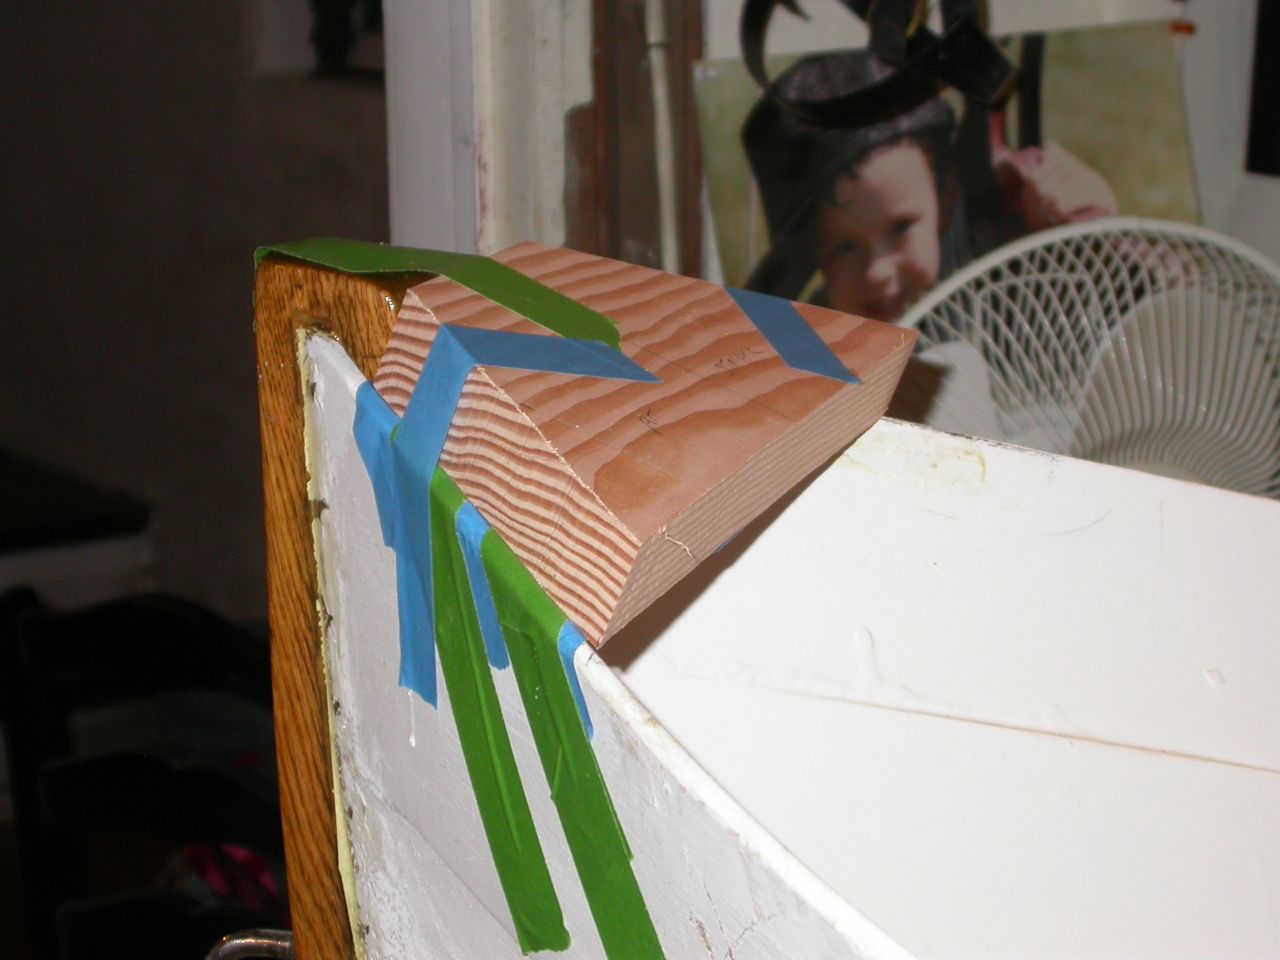
After cutting the bevels on both sides, and a bevel to fit the slope of the stem, here's how it fit:
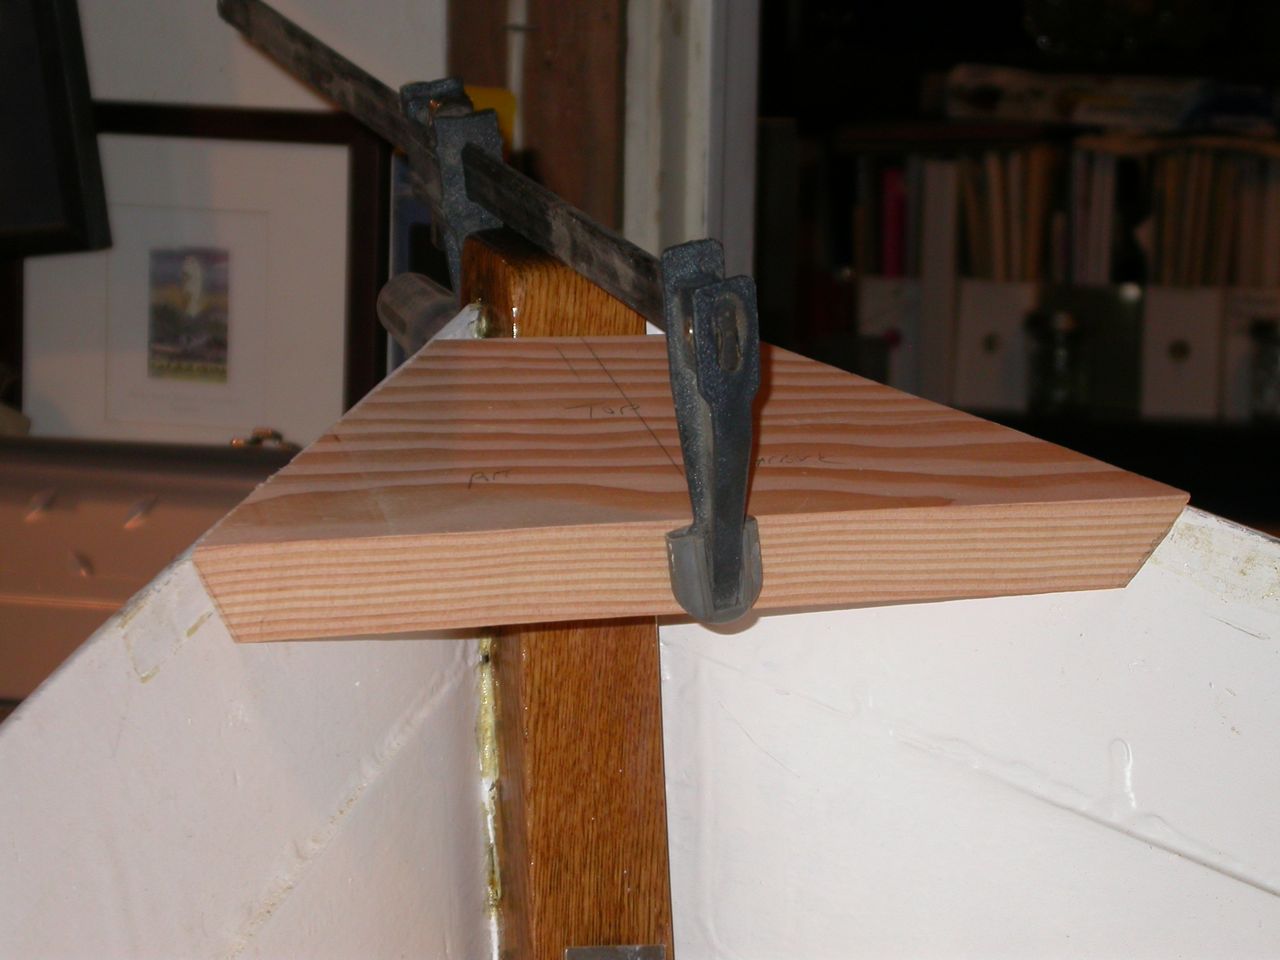 |
| A perfect fit. |
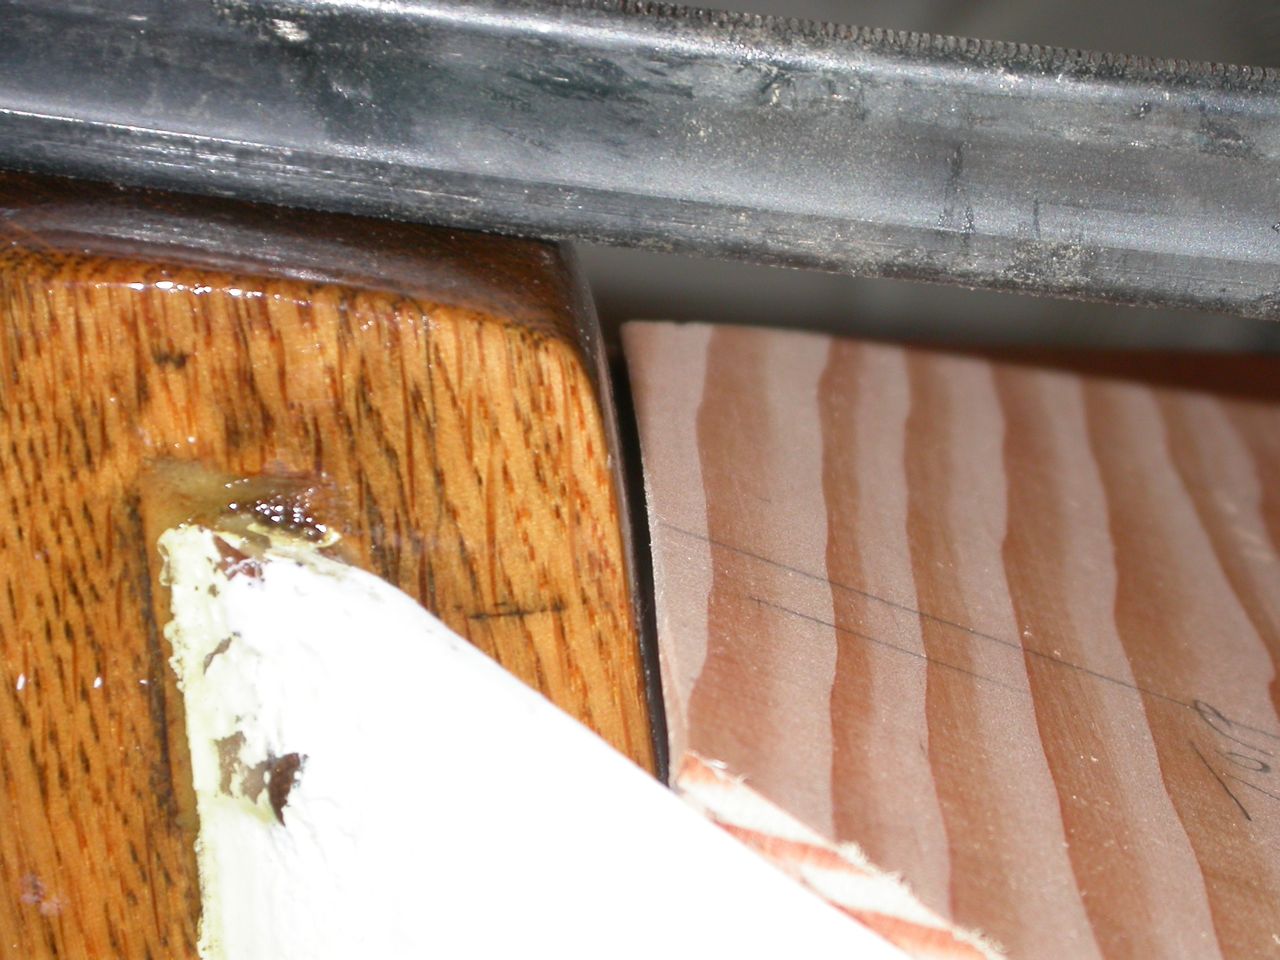 |
| Piece must be beveled to fit stem |
Not to waste too many words on it, it fit perfectly! The bevels were exactly the right angle and the piece was about 1/4" proud of the strakes, which should be enough for the crown. No trial and error. Just a few boatbuilding tricks that probably date back 200 years.
In other words, wow!
This is about half the work of fitting a breast hook. Next time, fitting the inwales and planing the crown.
Next Episode: Inside Bevels
I hate to say this, but, I think you should fit the inwhales before the breast hook. No need to panic, just re cut the bevels to accommodate the inwhales. If you look at other boats you will see what I mean. This makes a much stronger joint. Otherwise you would only have a weak butt joint. Traditionally the inwhales are let into the stem, to give a greater contact area which share the loads more equably.
ReplyDeleteAnother method of making a breast hook is to laminate several strips of thin timber, soak in boiling water for a bit and glue them together in a U shape jig. This imitates the use of 'grown' timber in days of old. The resultant laminated piece can be machined as you did before. I have even used contrasting colour wood to give a very pleasing look. If it looks good varnish it. If not, paint it!
Don't forget two more knees at the stern, quarter knees.
Good building, enjoy, Jerry in sunny Cumbria.
I probably should have made this clearer, but this was just a test piece, to see if I could cut the right bevels and make it fit. It's also not done, yet. I intend to let the inwales into the breasthook in the next step. Then I need to find or glue up a proper piece of wood for the real breasthook.
Delete