I've said from the beginning that my goal was to complete this refit with wood I had on hand in my shop. This was, admittedly, an arbitrary ruling, but one I've strived hard to keep. I'm always reading that boatbuilders of olde used the materials they had available, whether or not it was sanctioned by the wooden boat world's Gold Plate Society. Because I didn't have the ideal -- naturally grown crooks that just happened to fit the curve of Cabin Boy's breasthook -- I surveyed my scrap wood pile and considered many alternatives, including steam bending, laminating, and plain old-fashioned Yankee witchcraft.
But then I uncovered a hunk of old white oak that I bought a few years ago at the Mystic Wooden Boat Show. Actually, 'bought' is the wrong word. It was such a lousy off-cut from the Morgan rebuild that they just gave it to me.
I've used it to build blocks and cleats, and there wasn't much left. And what was left had so many knots it hardly looked worth keeping. But I did keep it and it just happened to be a bit thicker than what I needed for my breasthook. What if I could just cut the hook out of this bit of scrap?
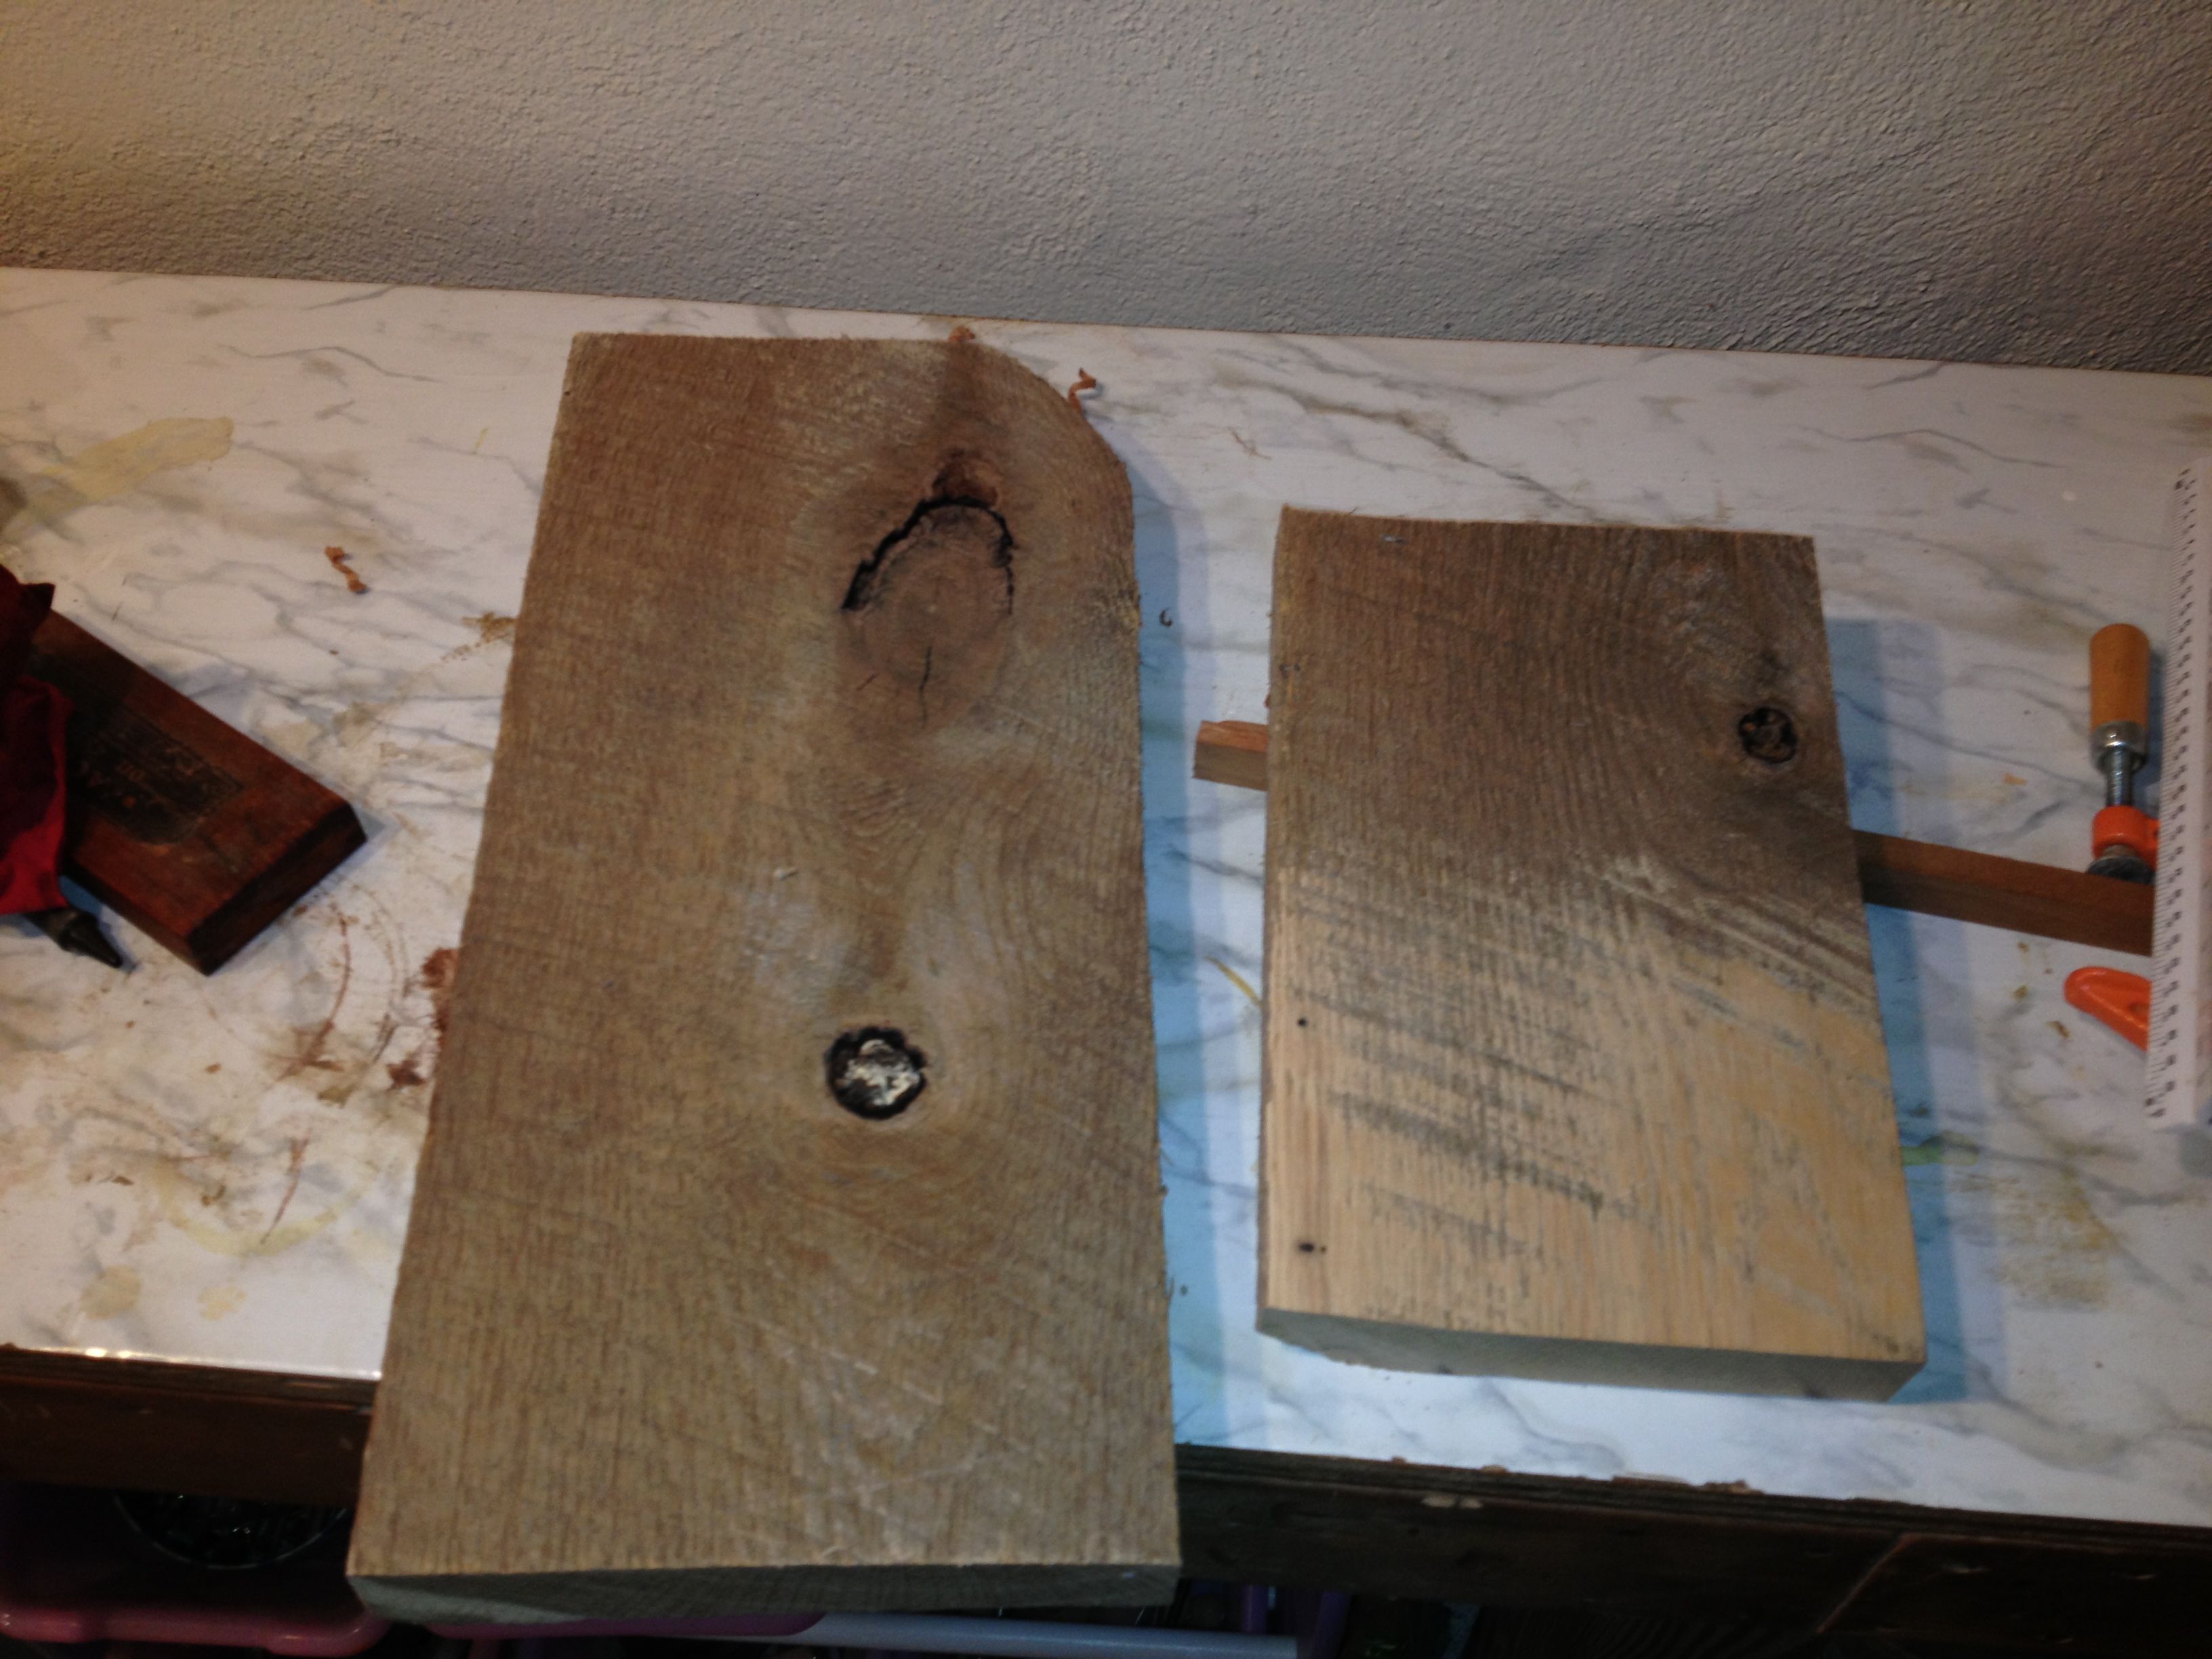 |
| Raw off-cuts |
No problem! Perfect excuse to fire up my new planer.
After running them through the planer a few times (making a surprisingly large pile of shavings... how did I ever live without a planer?), they didn't look too bad. Plenty big enough for a few more bits and bobs, but big enough for my breasthook?
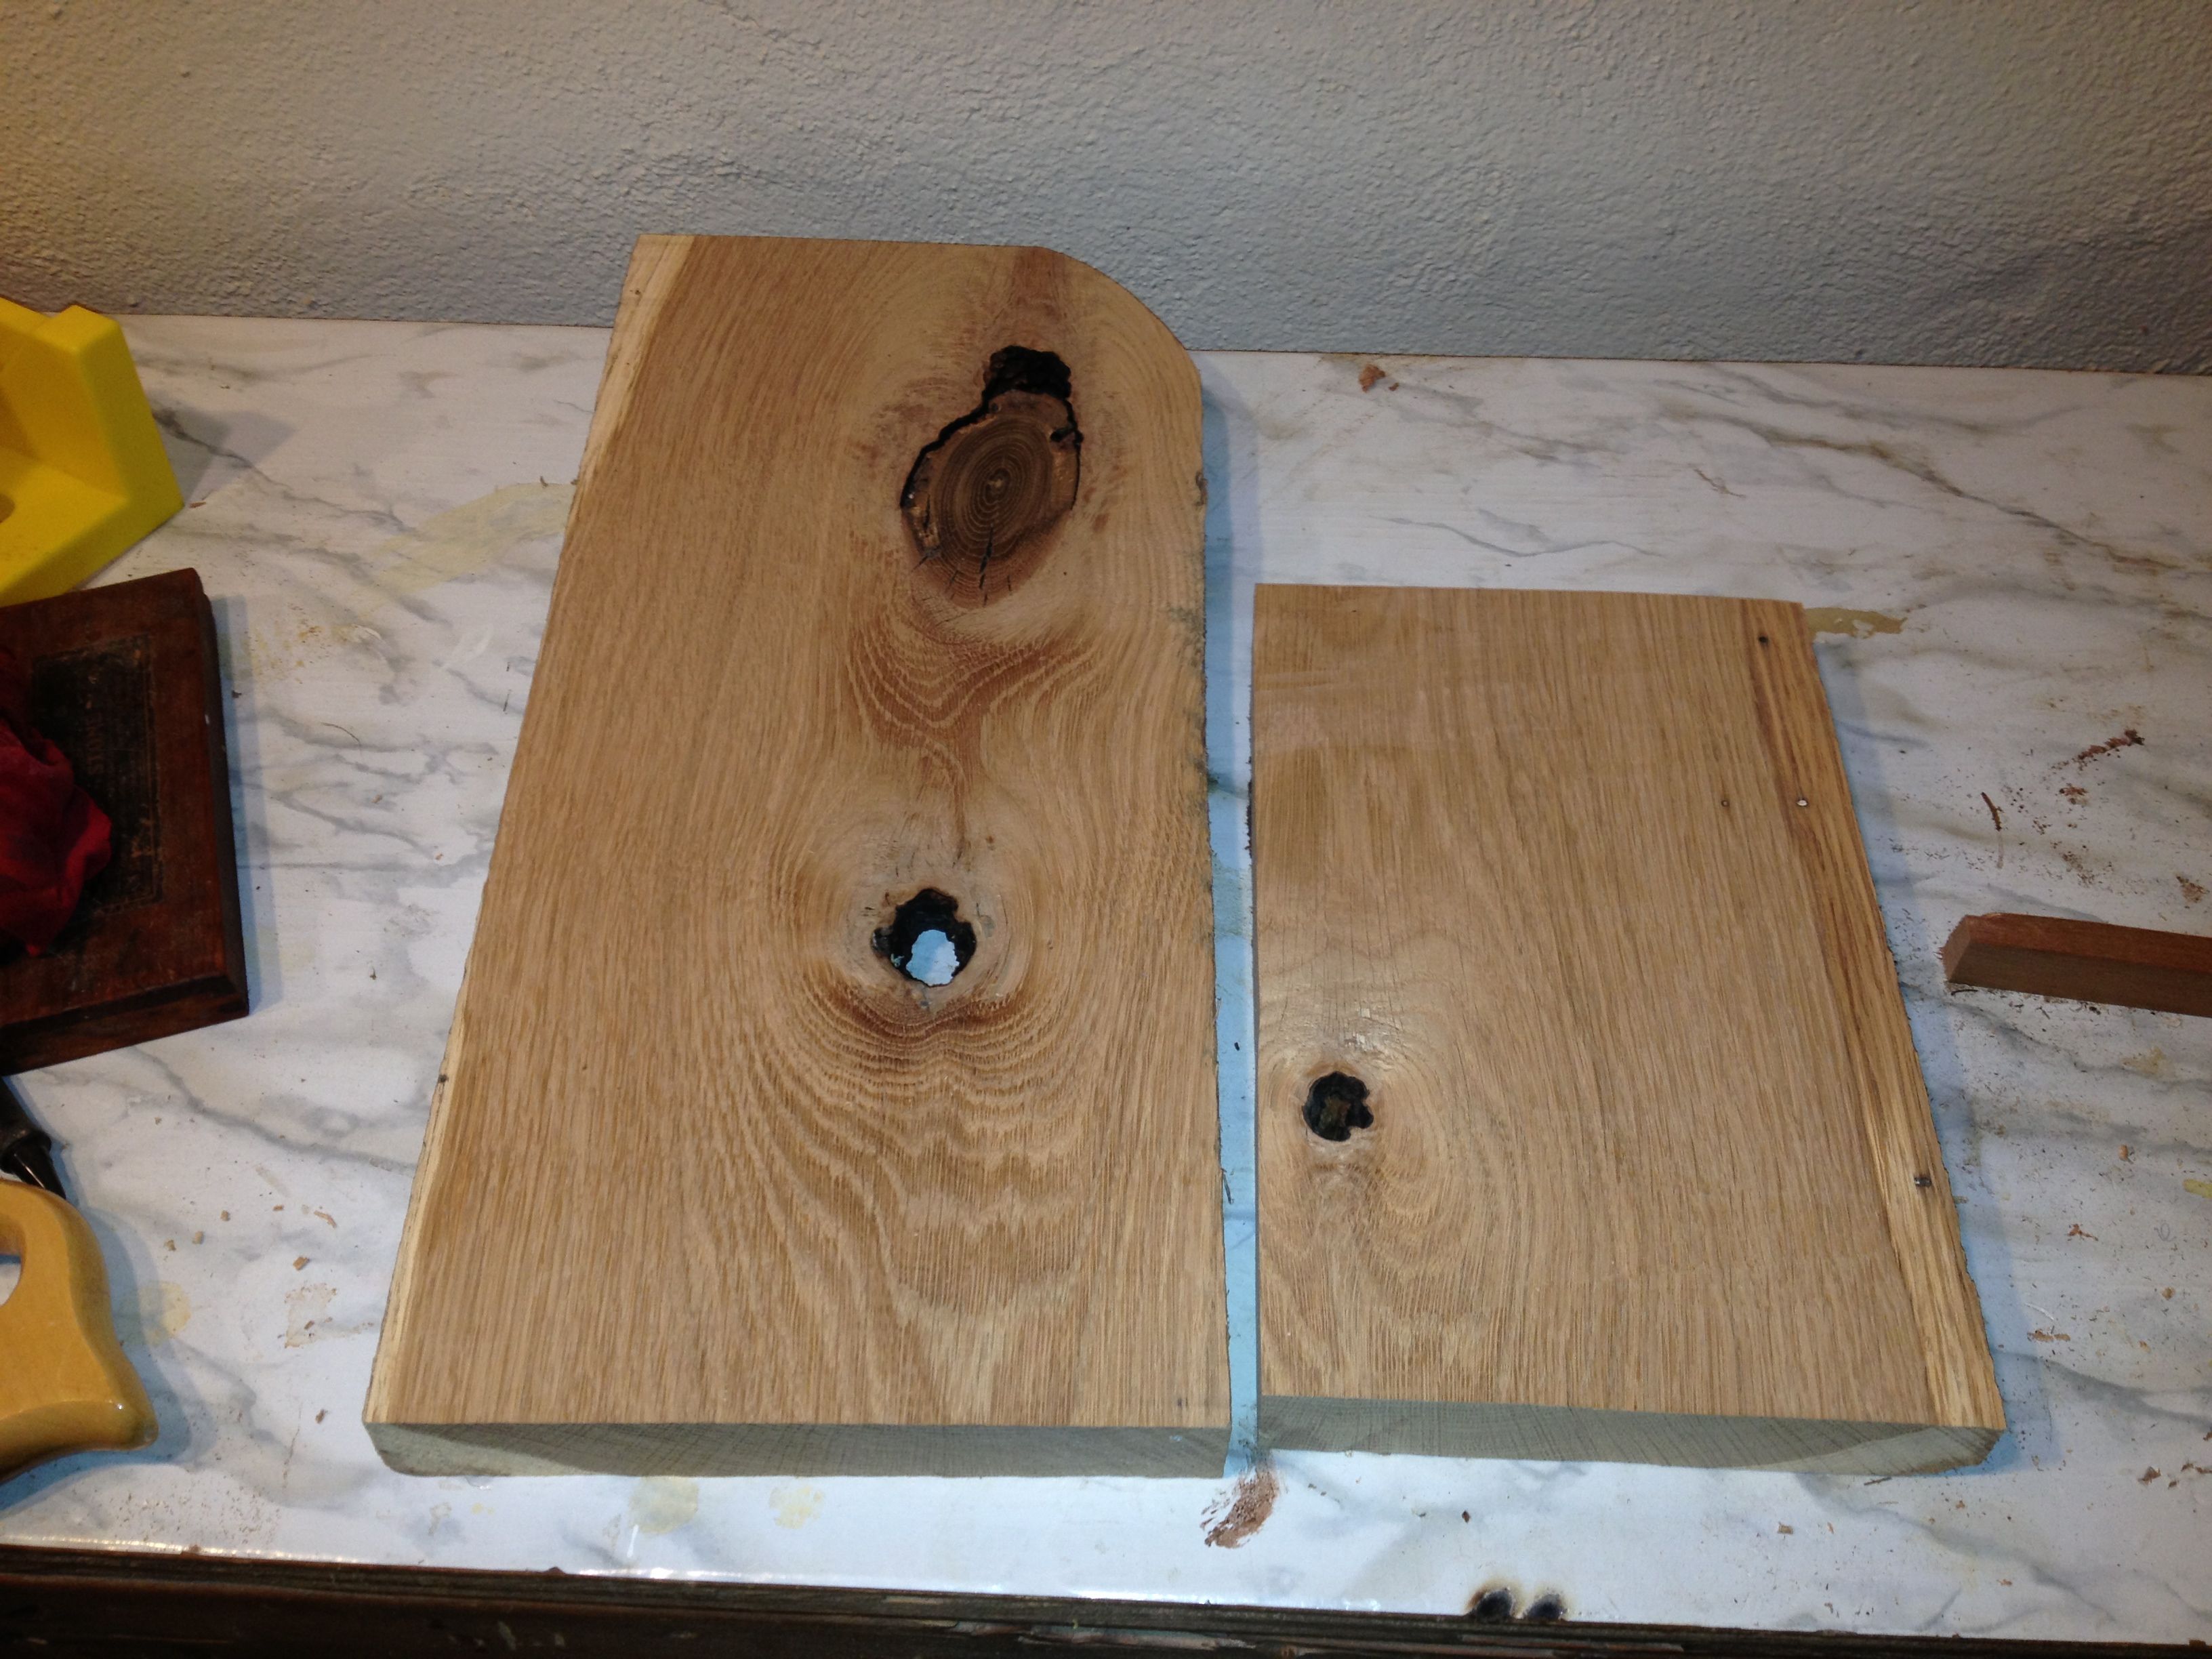 |
| Same pieces, cleaned up. |
 |
| Enough wood for a breasthook? Maybe? |
So, really, only a little sliver of sapwood would remain in the finished breasthook. I planned to varnish it very carefully, so figured it would take years and years to cause a problem, if it ever did.
Purity or practicality? I agonized over this question for several days, then decide, "What the hell. If it rots out in 5 or 10 years, I'll replace the darn thing!"
That decision made with the cavalier attitude of a man with nothing to lose, I steamed ahead fearlessly.
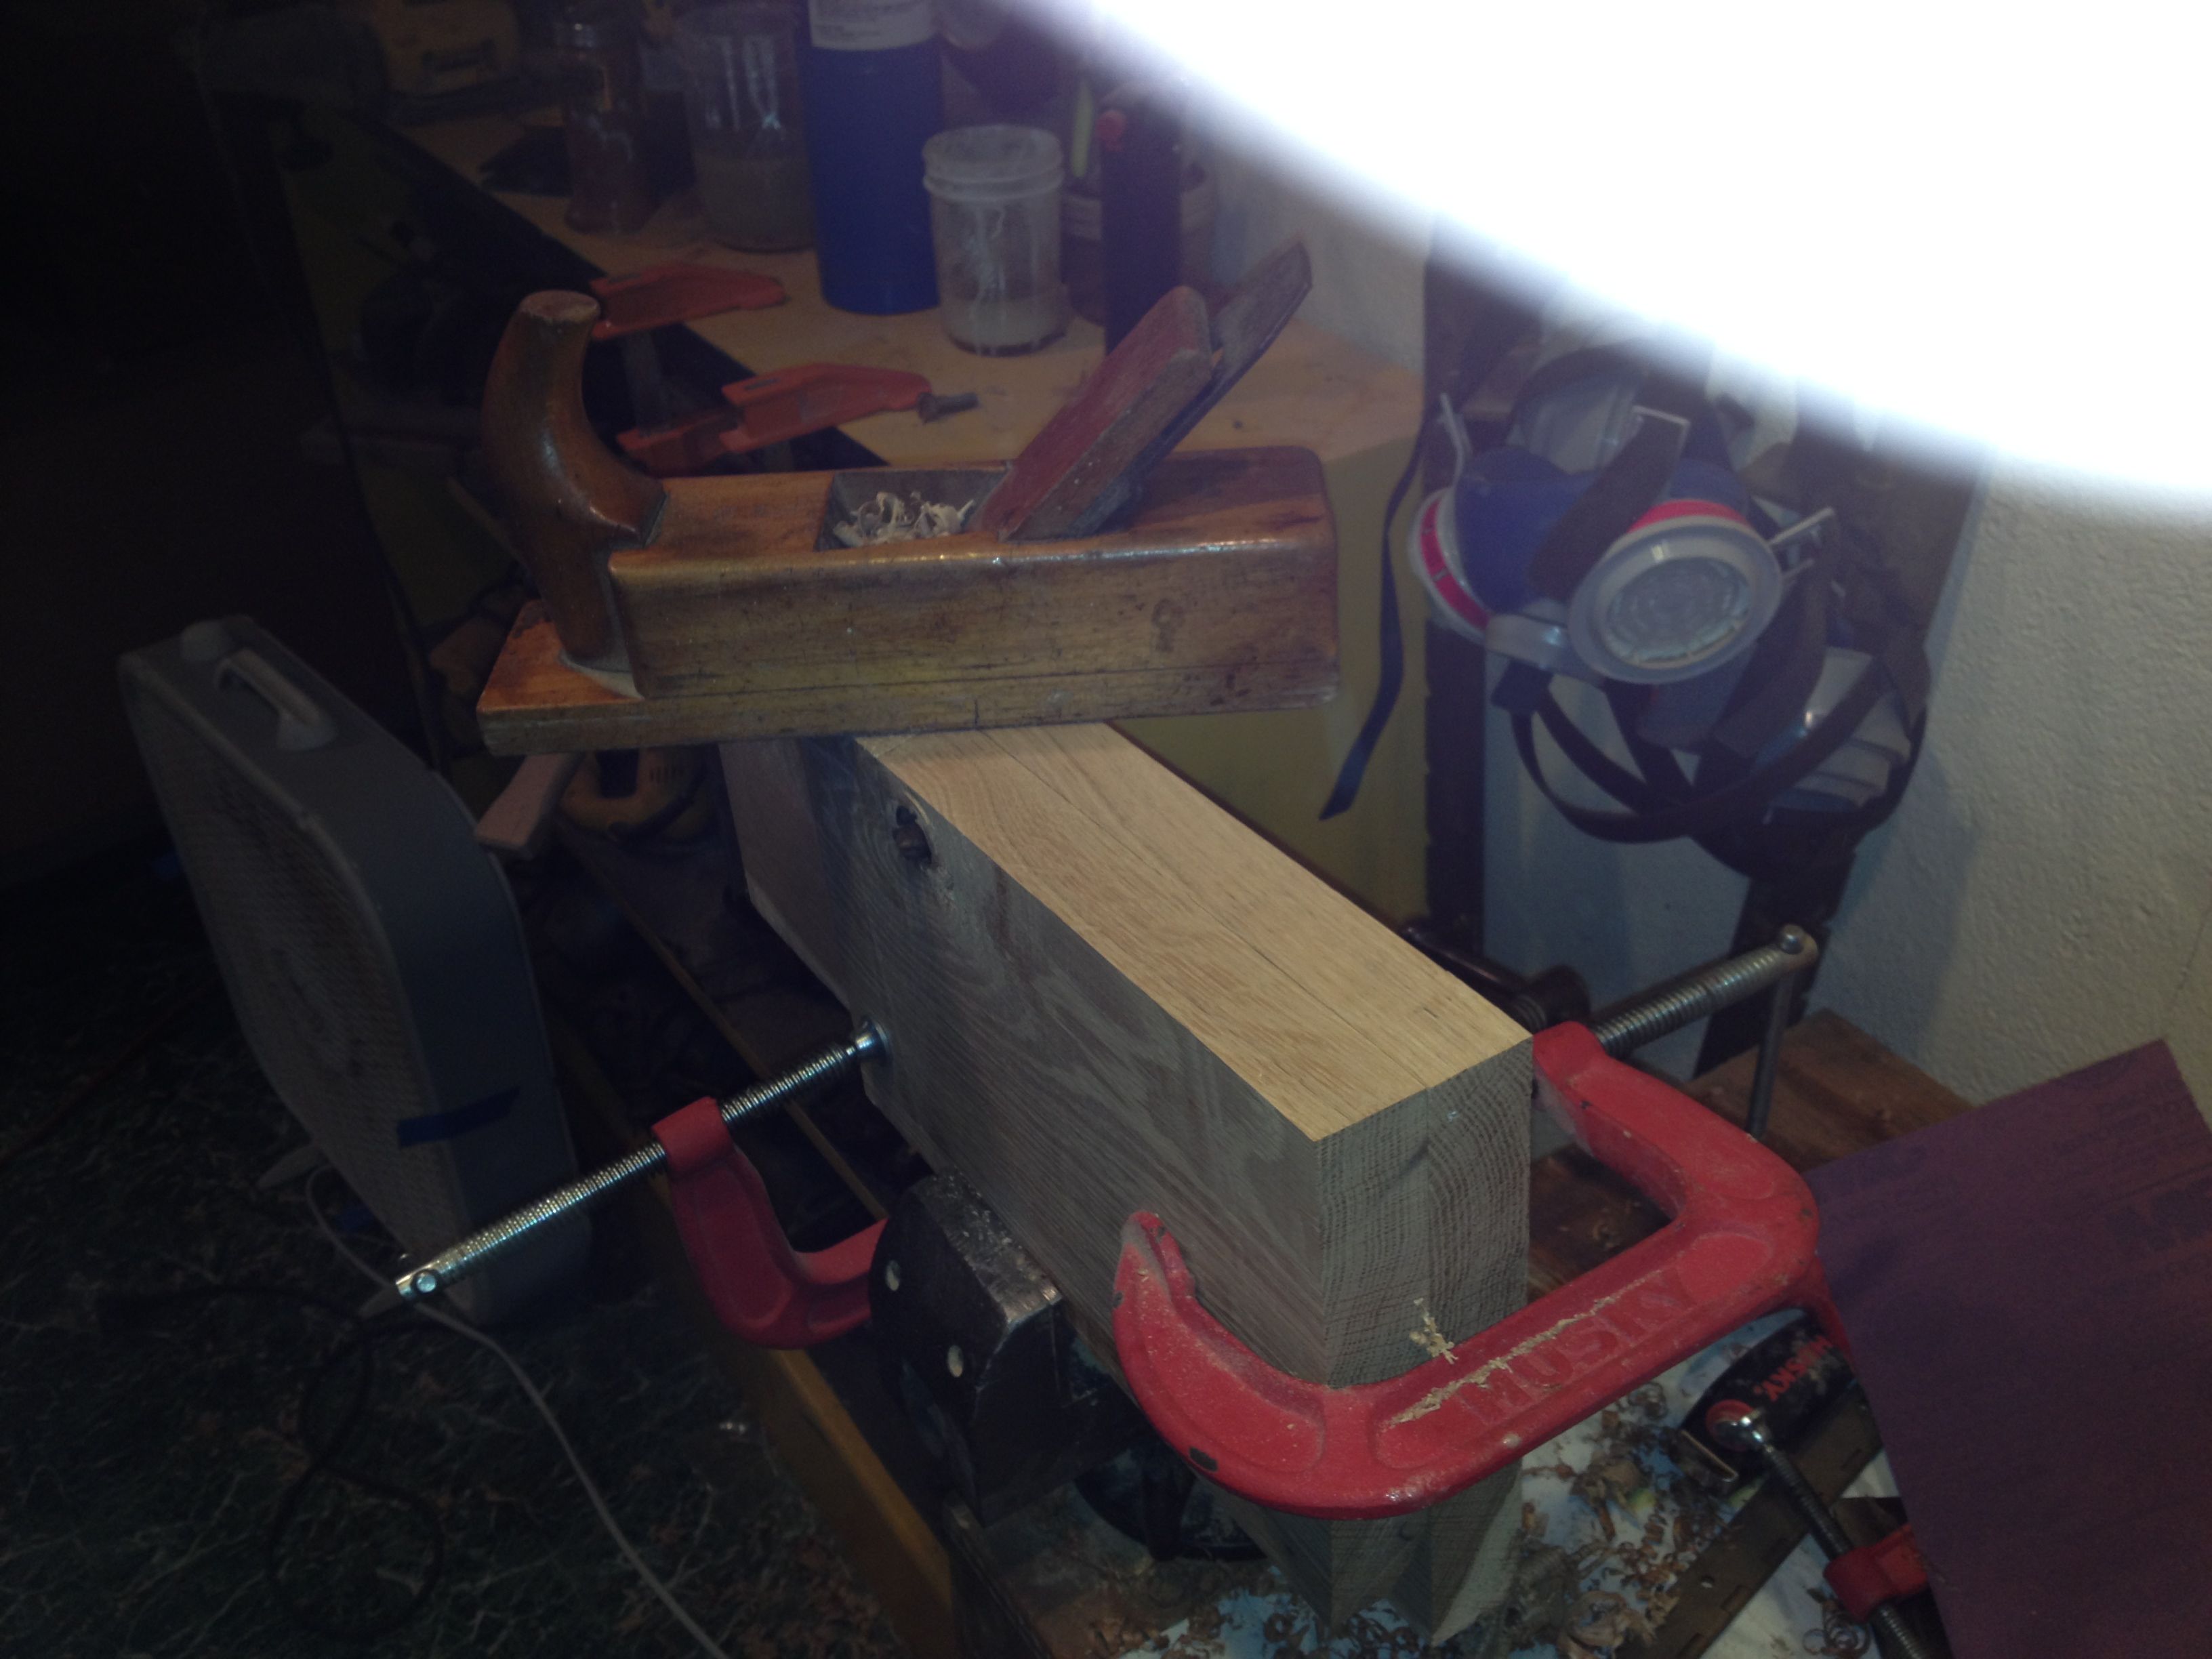
I used my old wooden plane to 'joint' the two edges to be glued, then sanded the edges with 60 grit paper to help the epoxy adhere. For good measure, I swabbed the edges with alcohol. I don't know if this really helps, but I've read it in a few places, so, why not?
 |
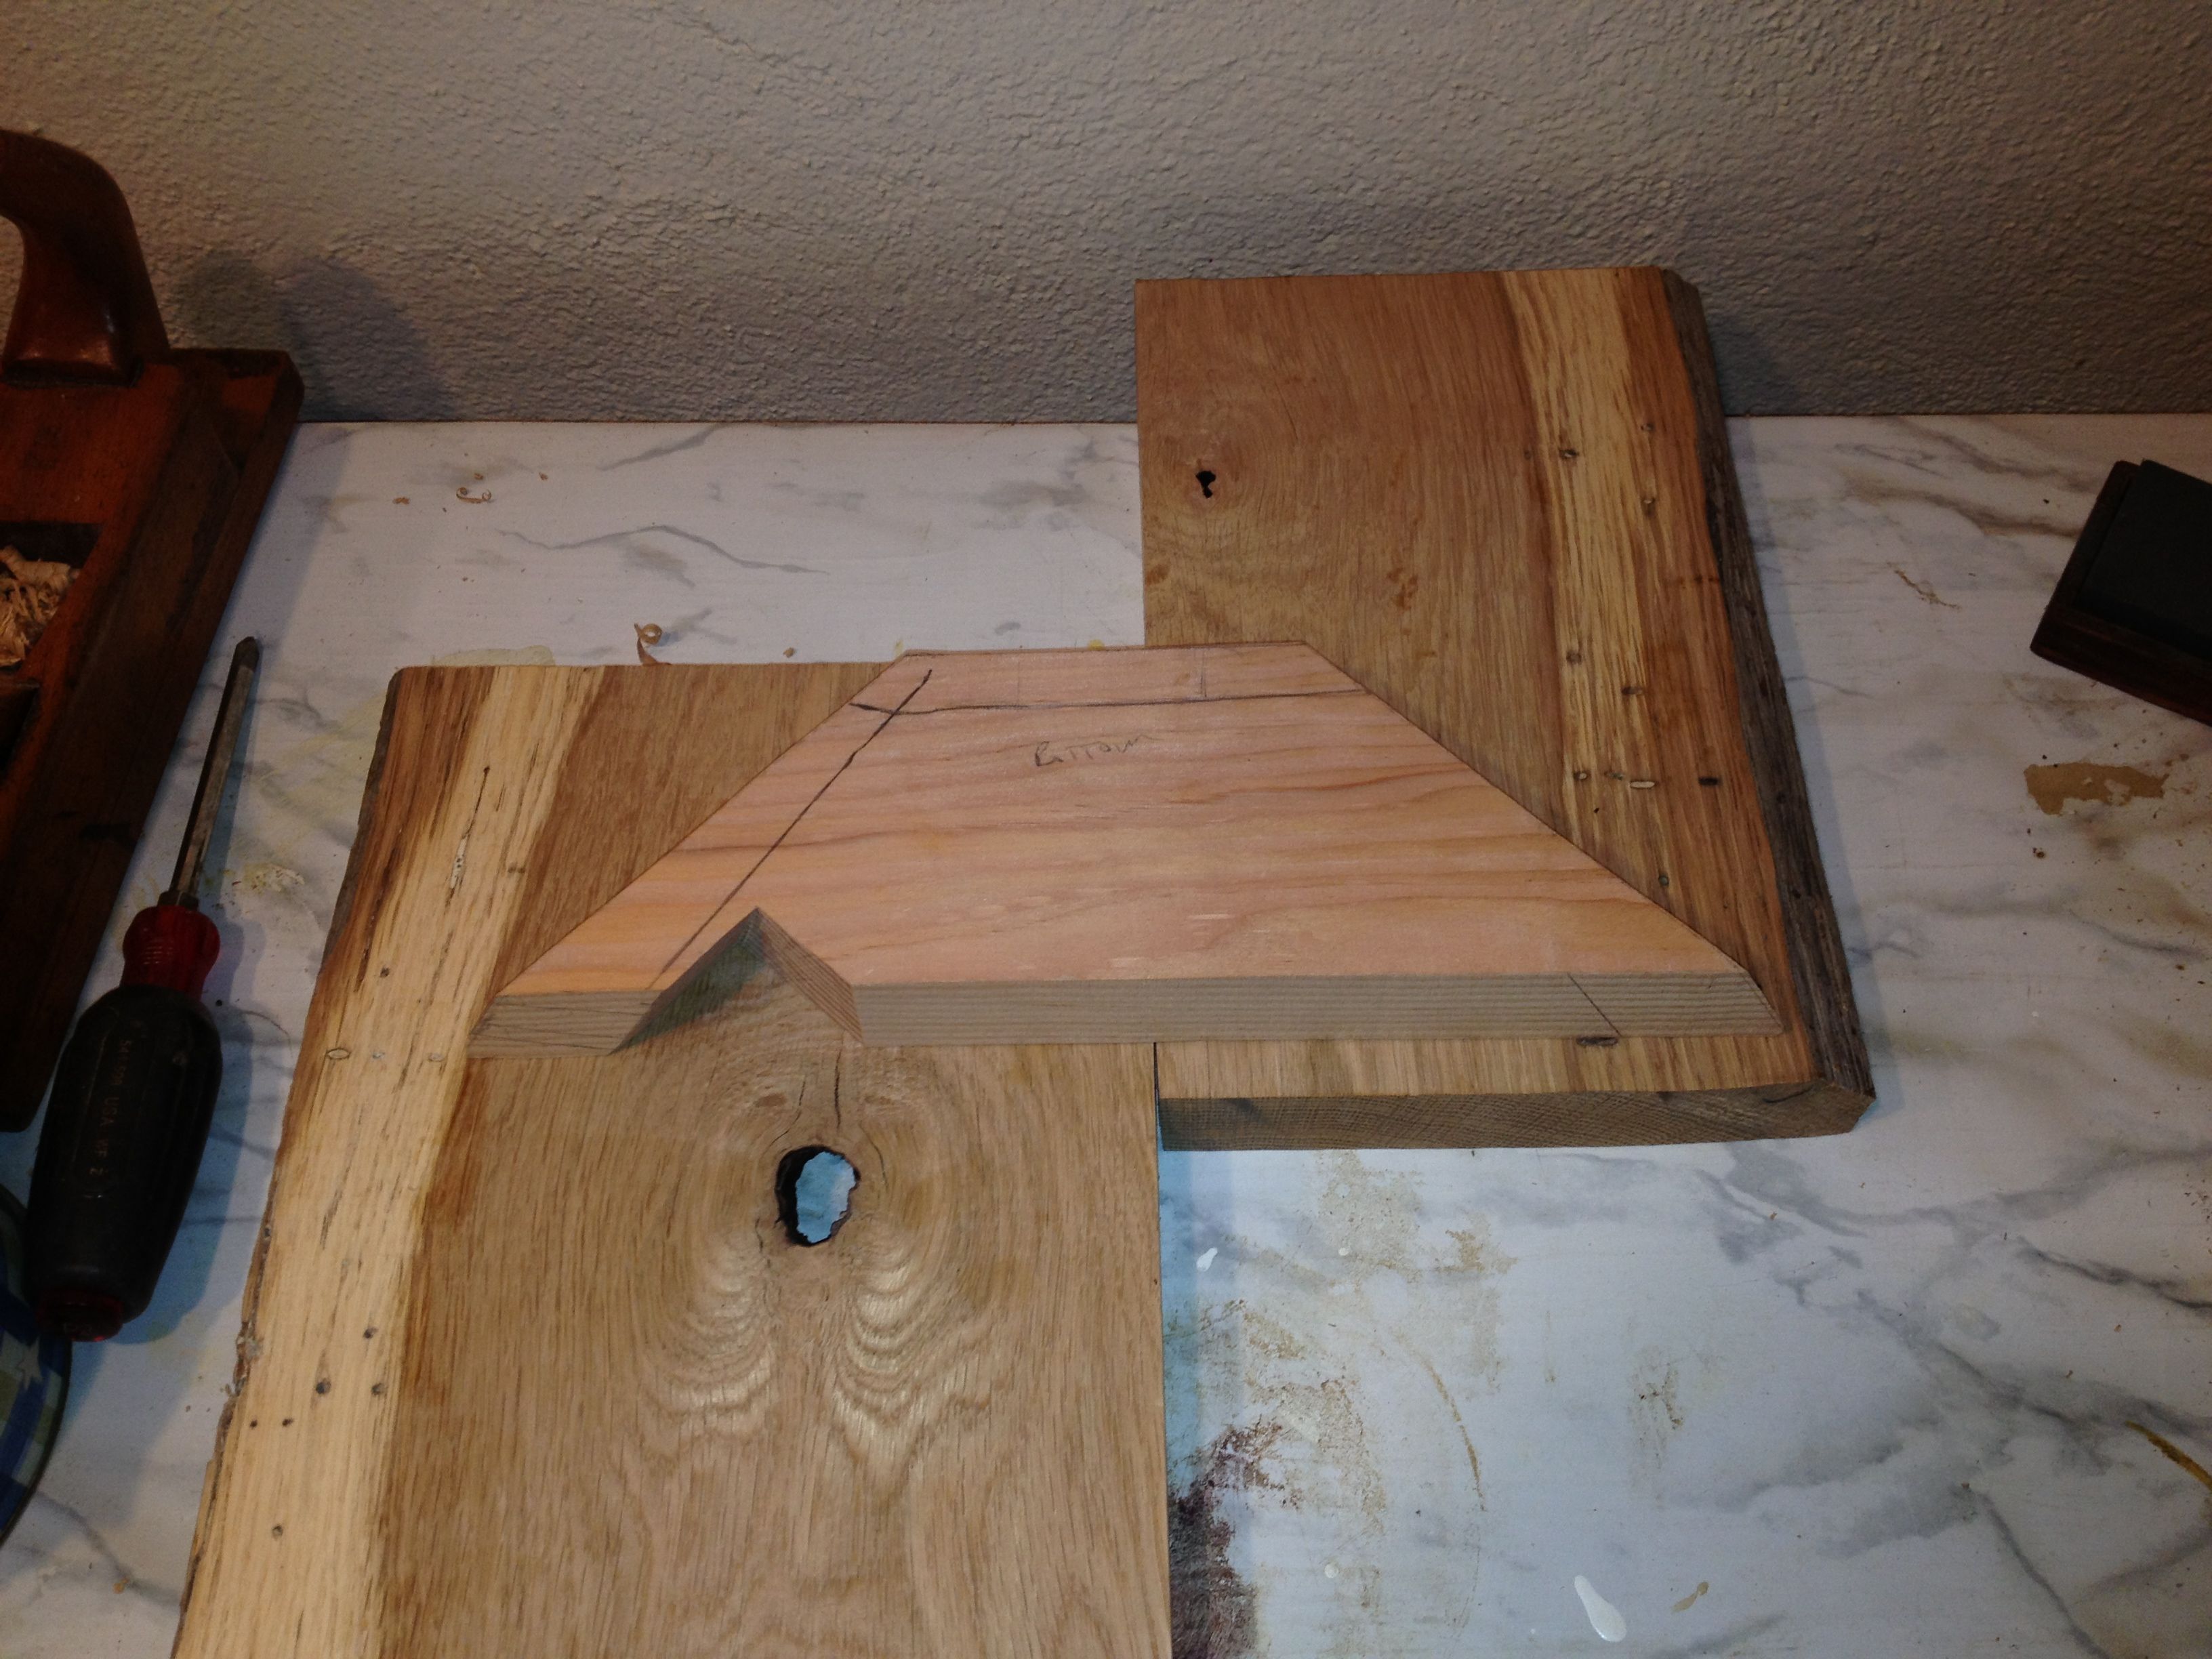
| Good, beefy wood. |
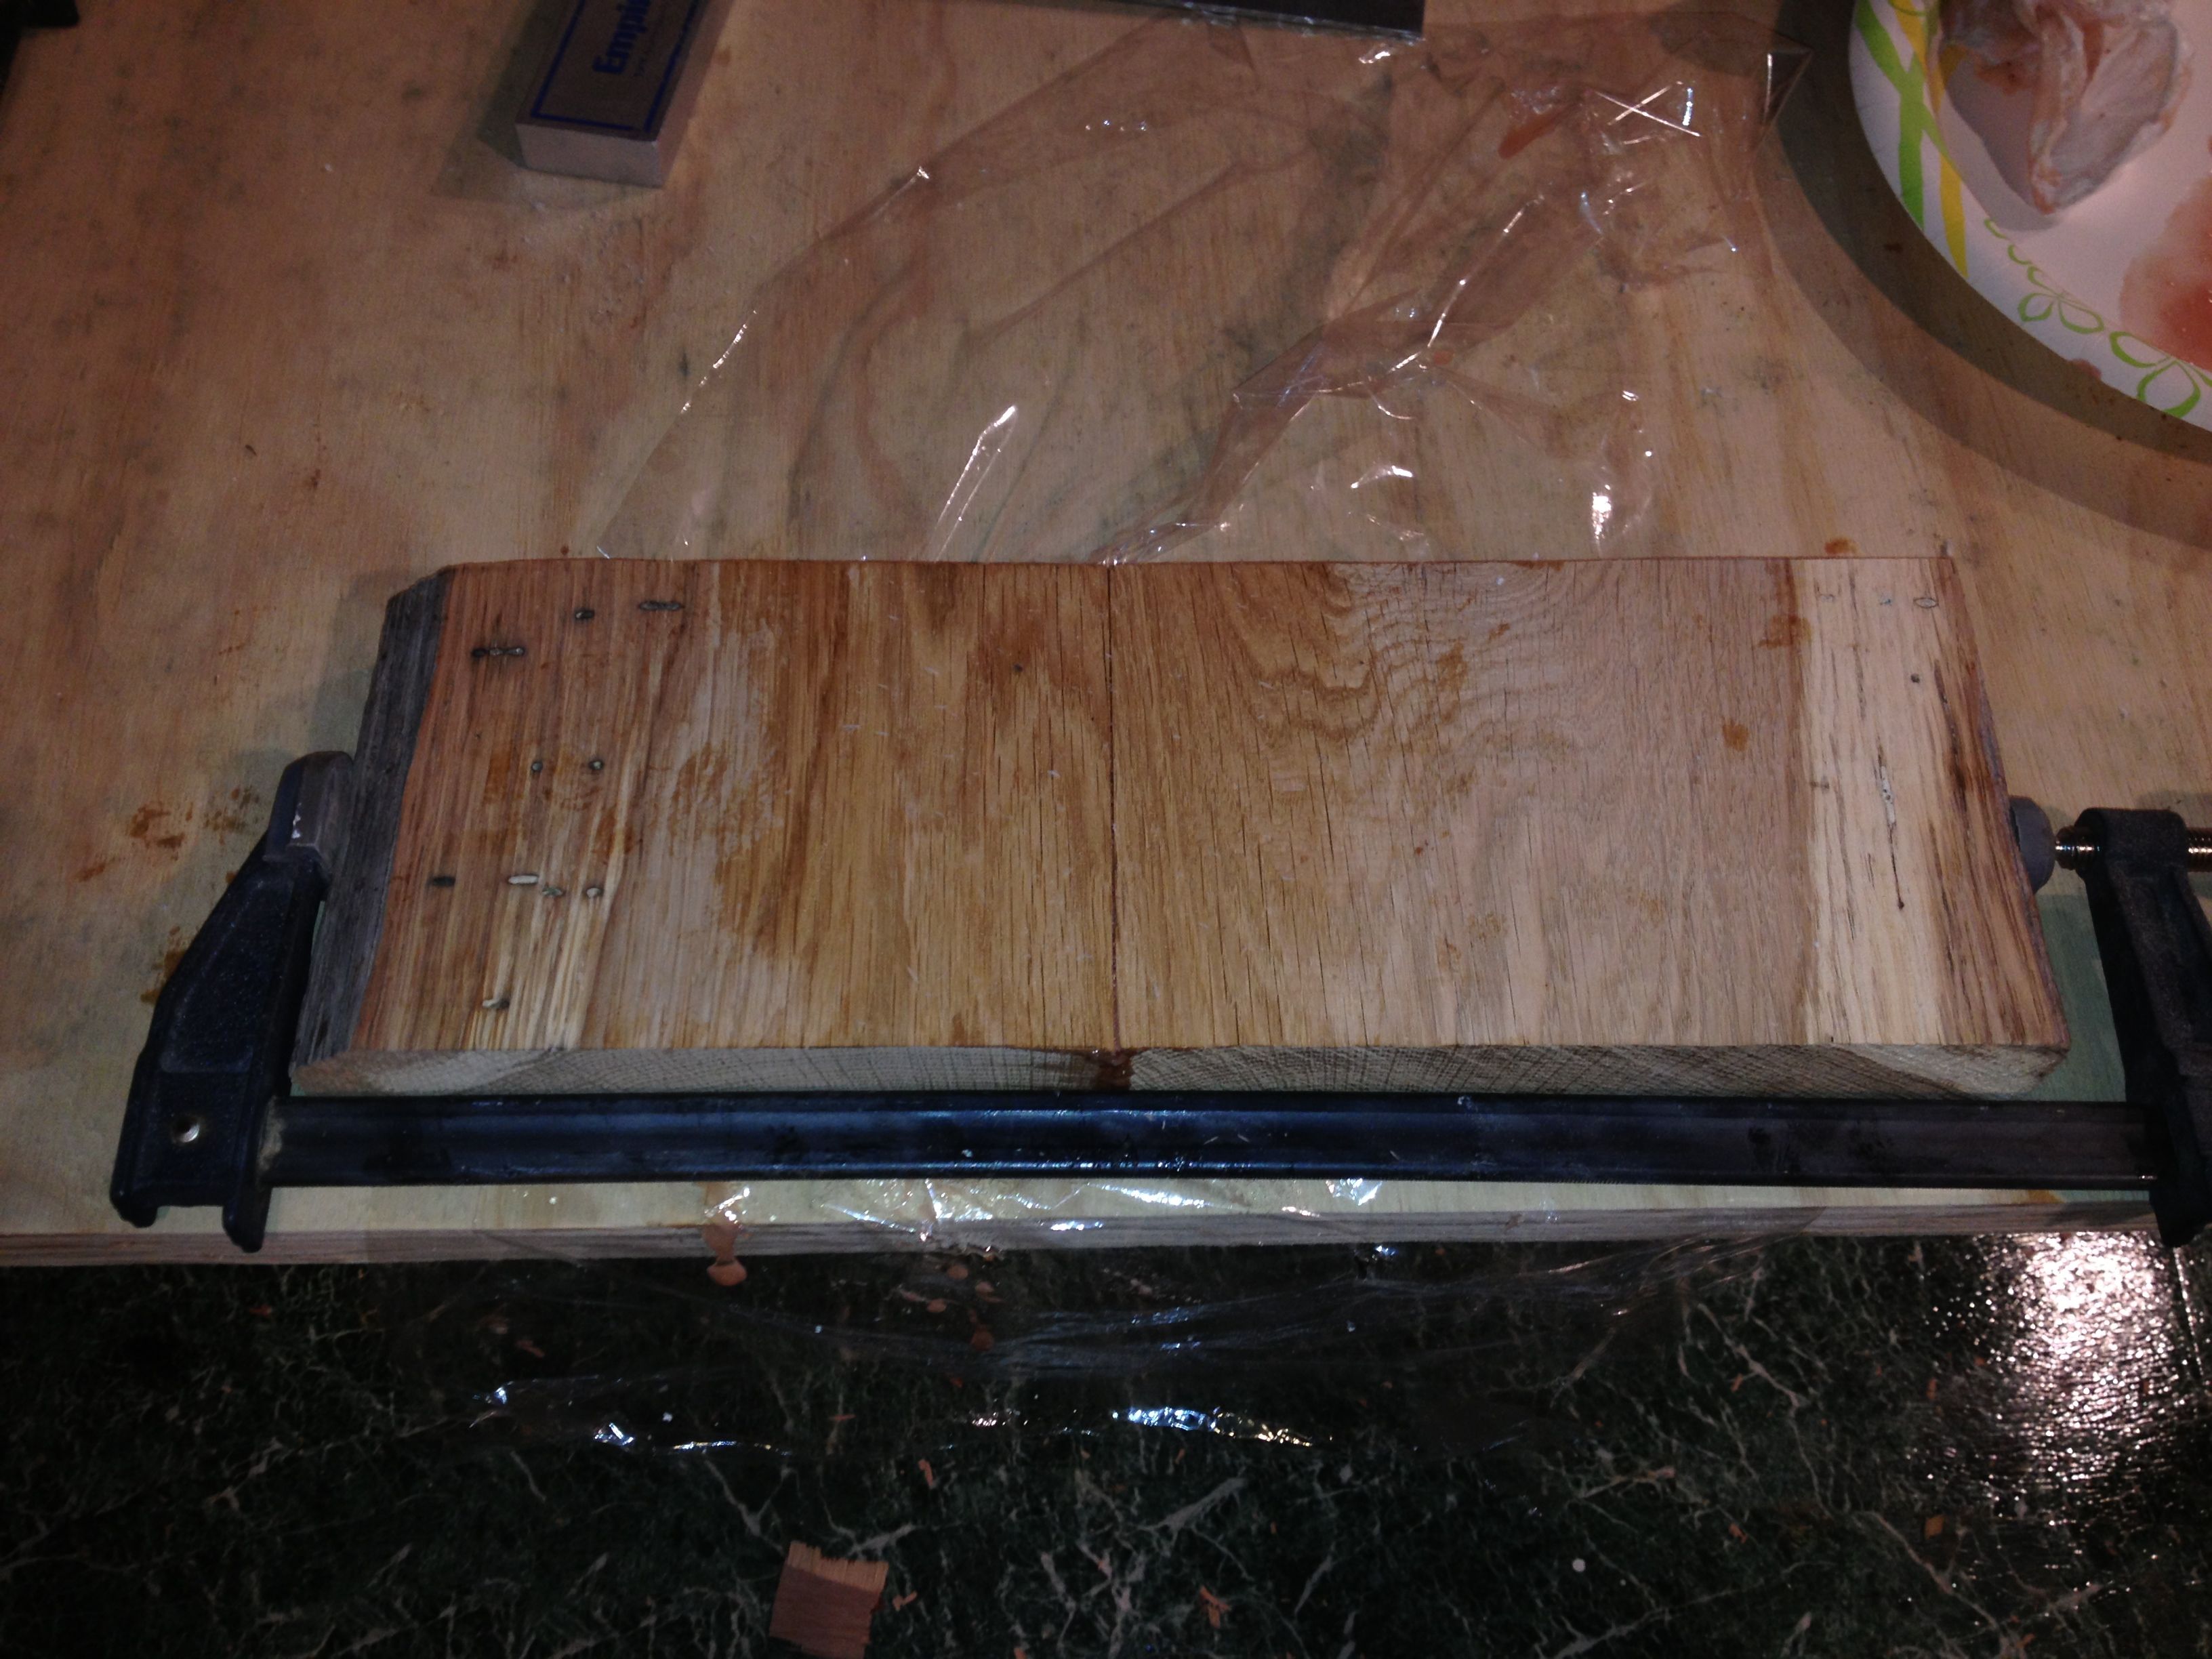 |
| Glued with epoxy |
You might be wondering what the heck I've been doing all winter, since I haven't been blogging or building much.
First, I decided if I was going to finish my book, I had to put my nose to the grindstone and work on it every day until it was done. This wiped out half my free time, but I've actually done it. I finished the first draft a few weeks ago, and the second draft today. Yay! I hope to have it ready for reading in a few months. Stay tuned...
Second, if you start building boats, and accumulate tools, and start to look like you are not a complete duffer with them, your wife will eventually notice. Helena did, and she started dropping hints about our front door, which was in fairly pitiful shape.
The previous owners had let the varnish go, and I hadn't done much to help. Actually, I never really noticed the peeling varnish. Helena says this has something to do with being a 'man'. I'm not sure what she means by that.
Anyway, she showed me the problem... showed it to me several times, in fact... kept showing it to me until I got the hint and said, "H'mmm... I wonder if I should do something about that before it gets worse?"
Helena knows my rule about the magic words, "I wonder if I should..." so I was done for. I removed the door, built a 'temporary' door, and have been working on refinishing ever since.
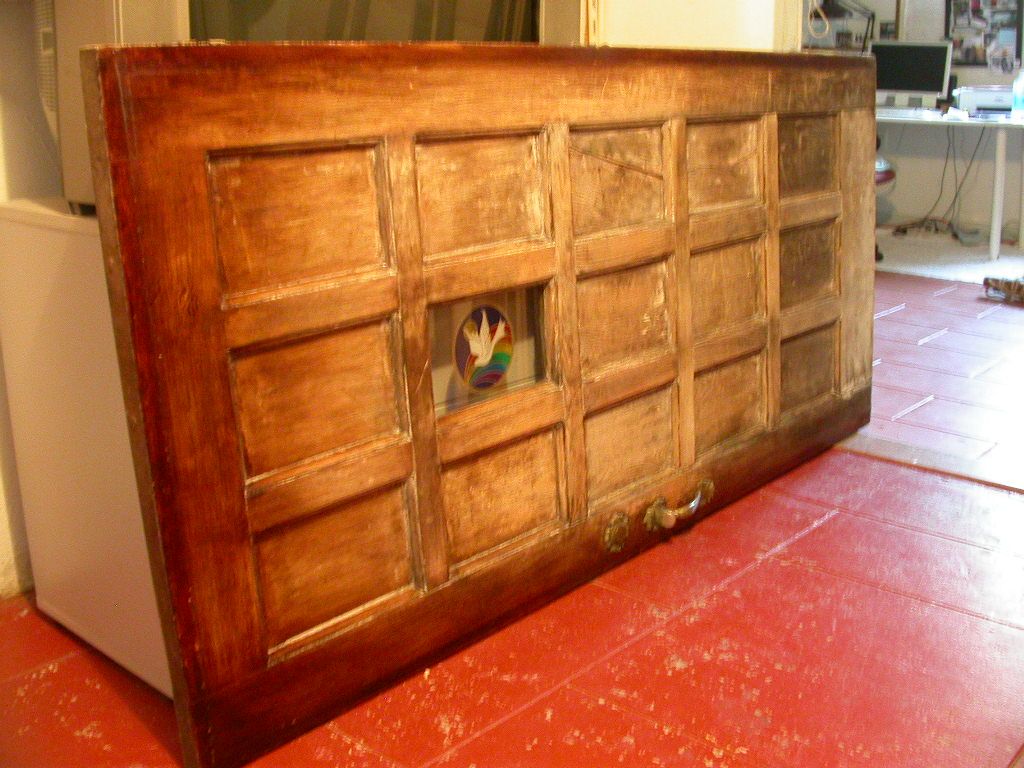 |
| Door with much of varnish gone |
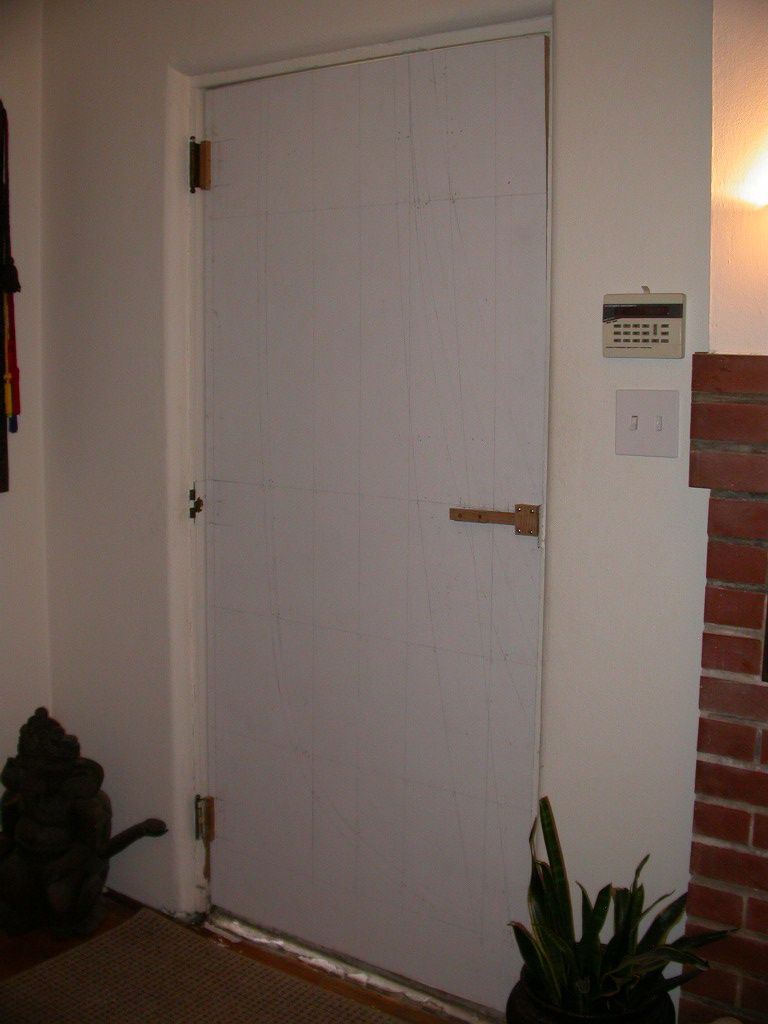 |
| Temporary door installed... Part of Cabin Boy's lofting board with home-made latch. |
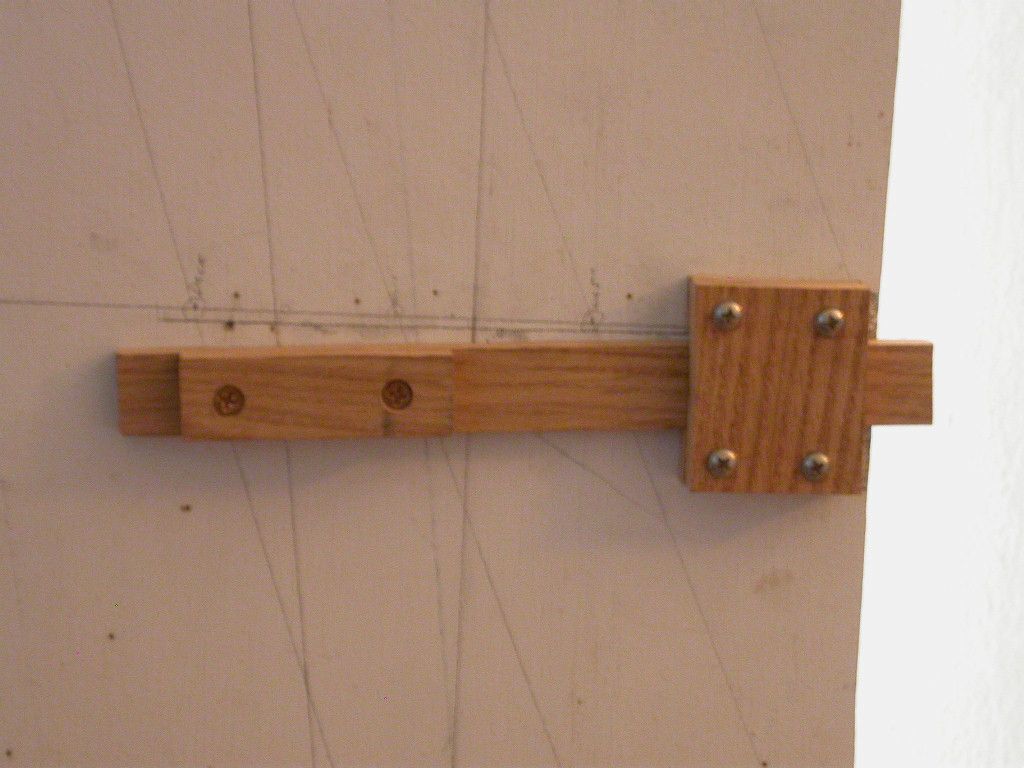 |
| Close up of my home-made oak latch... Helena's piano students call it the 'castle lock' |
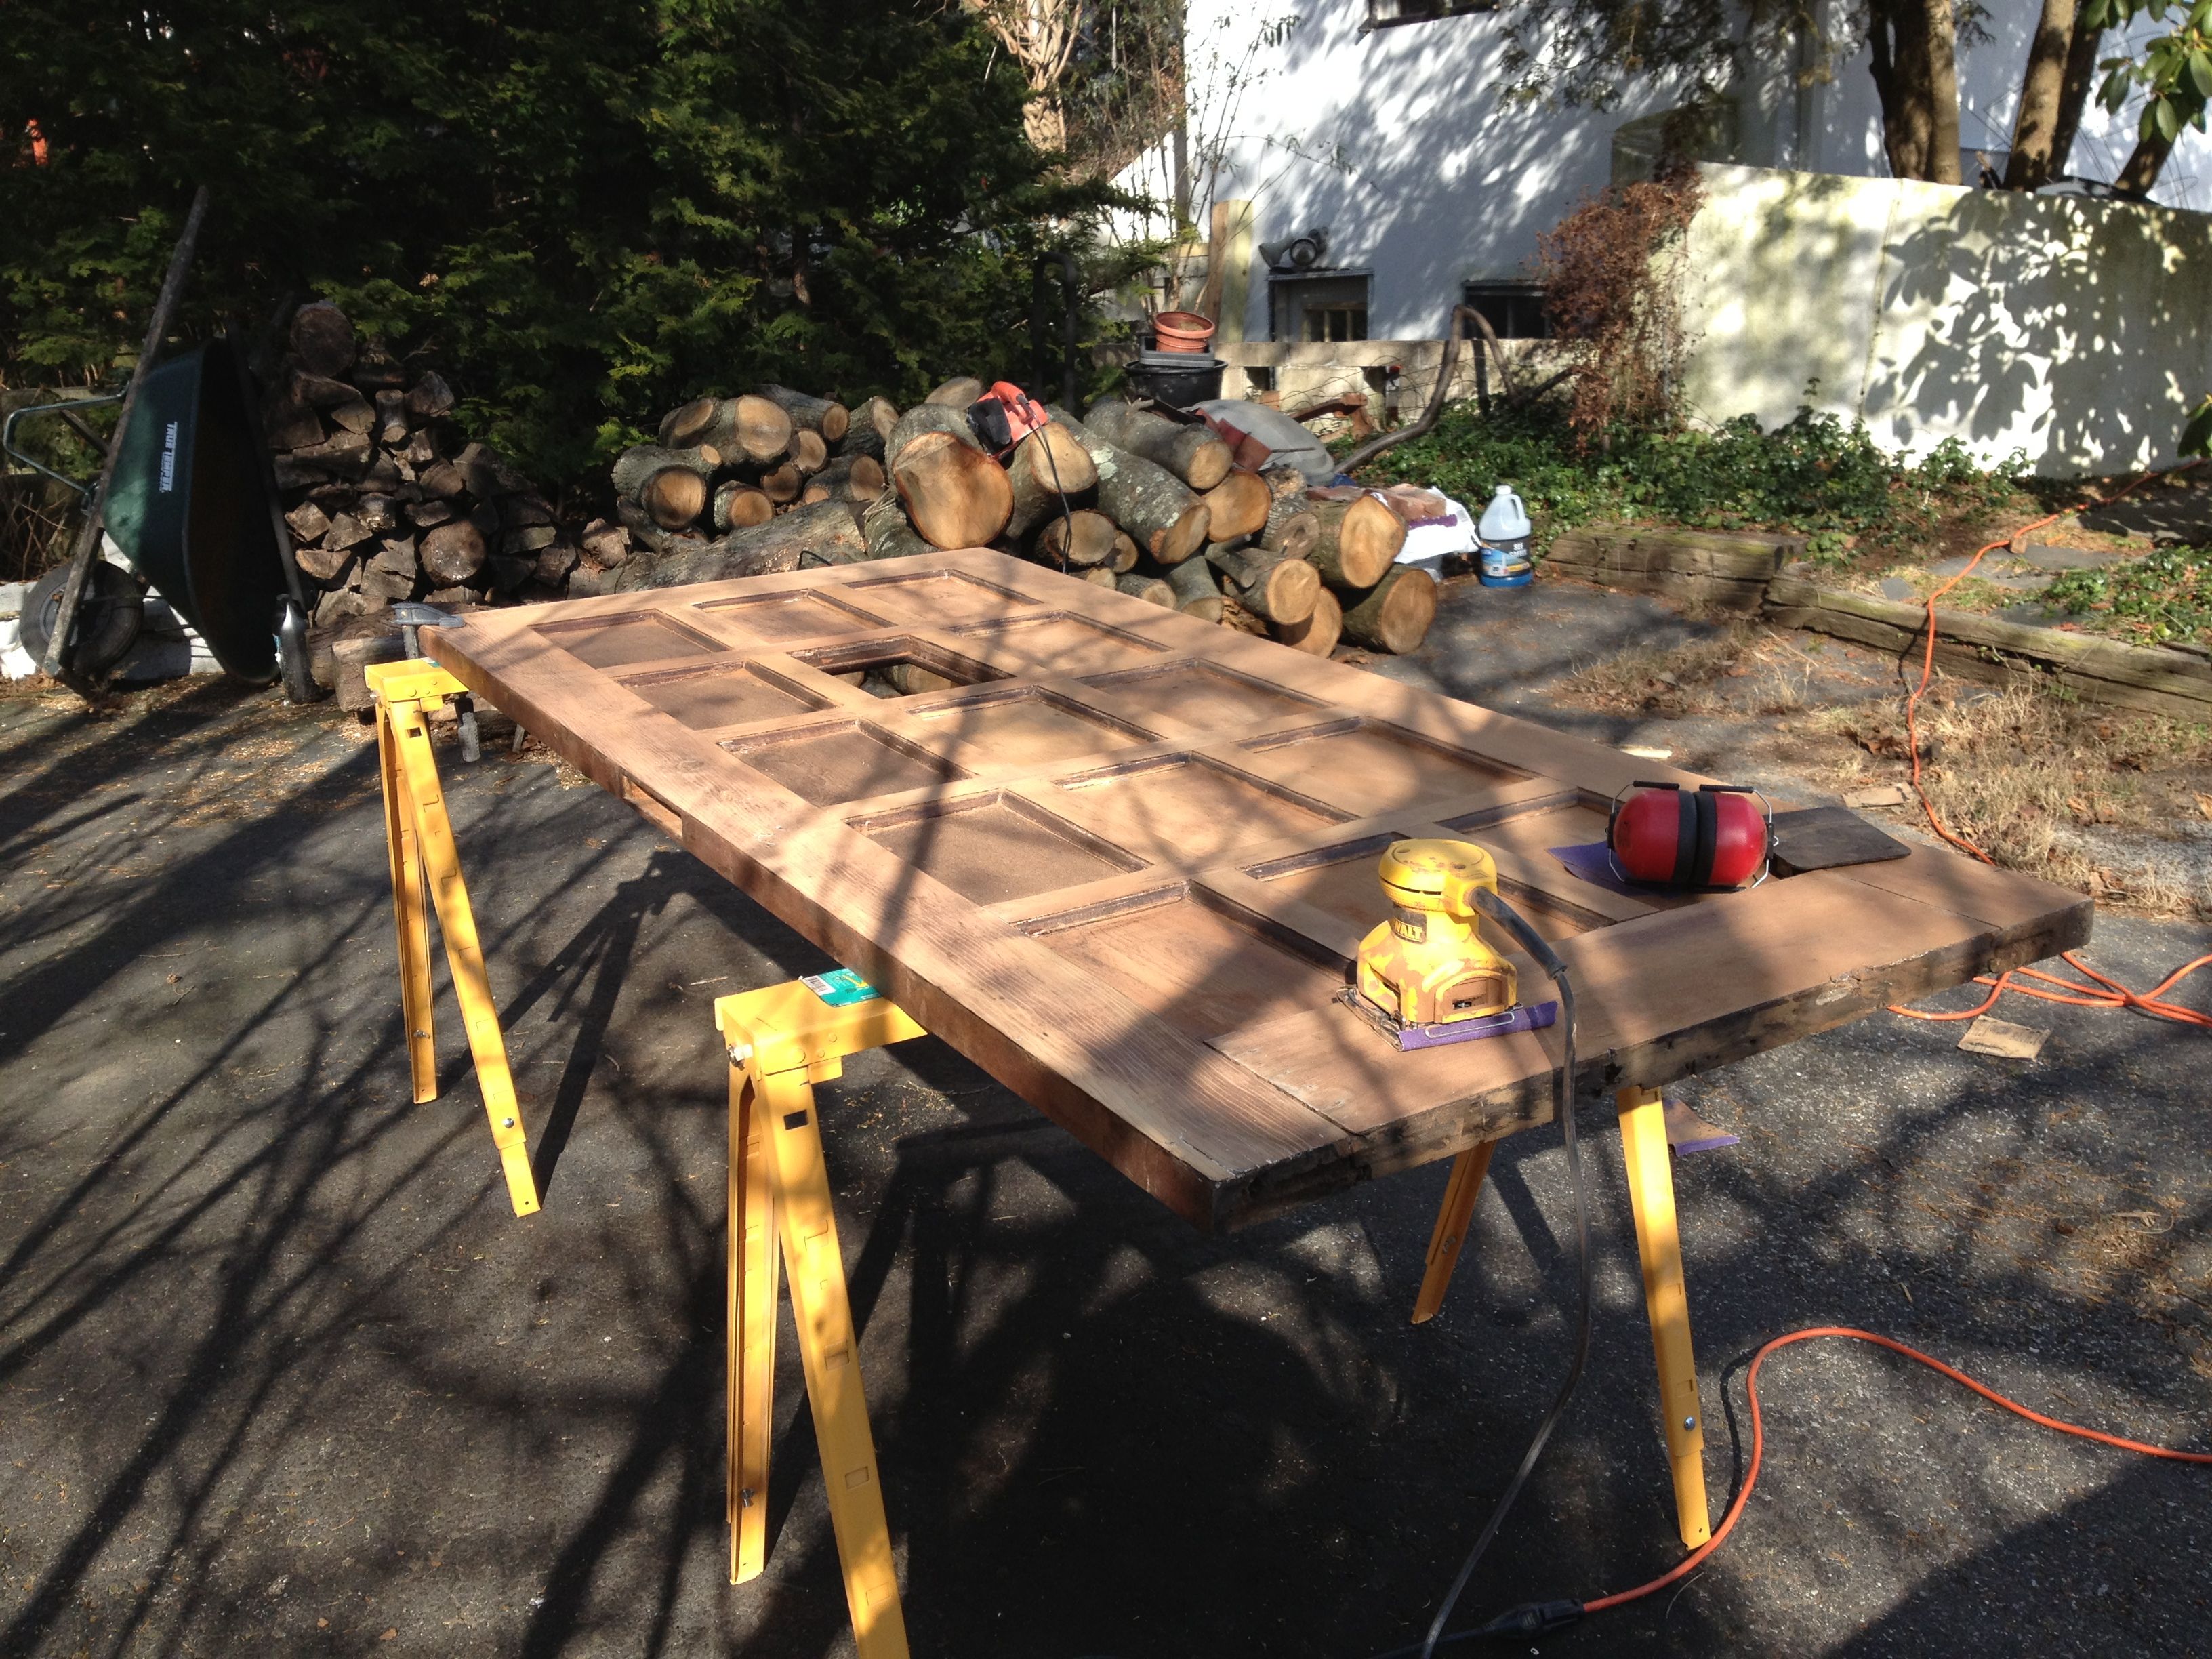 |
| Sanding, sanding, sanding... |
Next Episode: Cutting Camber
A friend ask me to redo her front door. She stripped it bare wood and I was to paint the outside red and the inside natural.....Guess
ReplyDeletewhat I hung the door and she said it was backward.She did not tell me which was which. So we both hd to do it all over again.
I love your stories and have followed them from the begining.
Thanks John....From Jack
Oh my gosh... I feel your pain.
DeleteI've had my ups and downs with this door, too. The previous owner had caulked the loose panels with some sort of silicon caulking. It was a real pain to get off, and I thought I got it all, until I wiped some stain on the wood to bring back the dark brown color. Then I could see all the caulking I'd missed, because it stuck out like a sore thumb. I had to go back and clean it all up.
Then I tried to replace the original pane of glass (with a rainbow/unicorn sticker!) with something nicer. I was thinking a piece of stained glass with a musical motif, but that turned out to be waaaaaay to complicated, so I found a piece of hand-poured glass with a really interesting pattern in it, but I broke it installing it! I finally found another nice piece and (with some hard-won experience behind me) installed it properly.
Whew.
Never knew it would be such a big job to refinish a door.