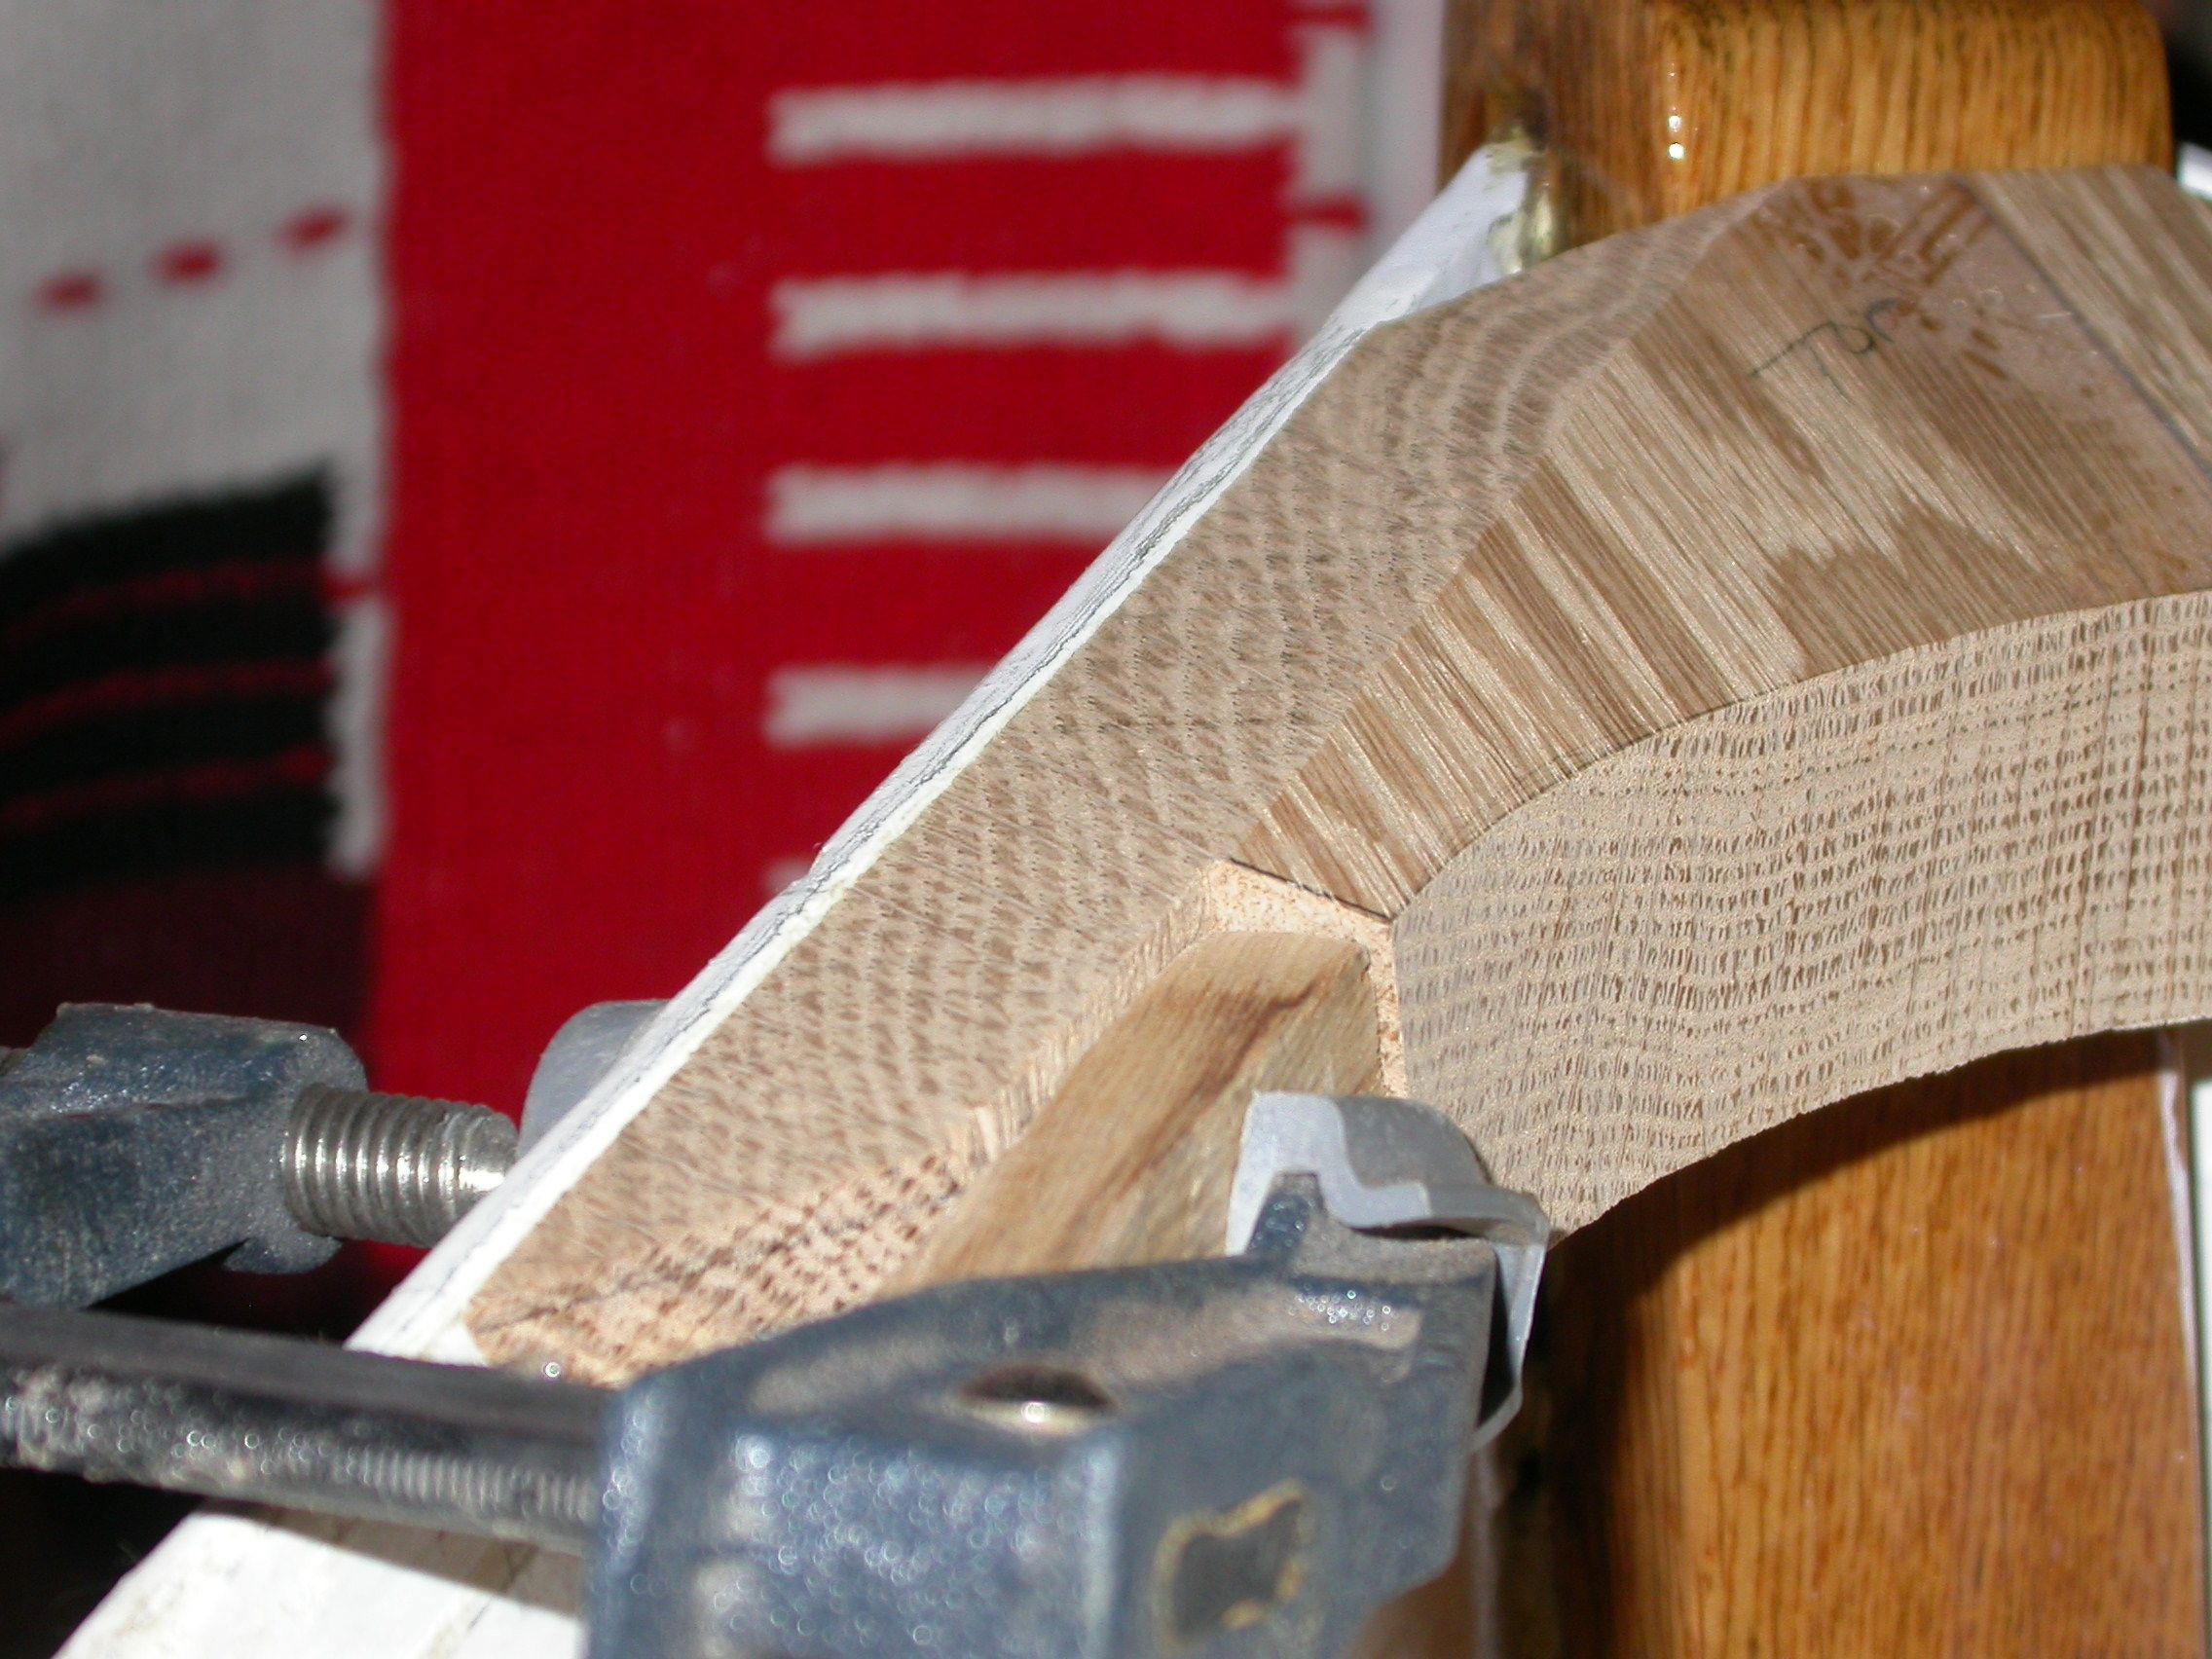
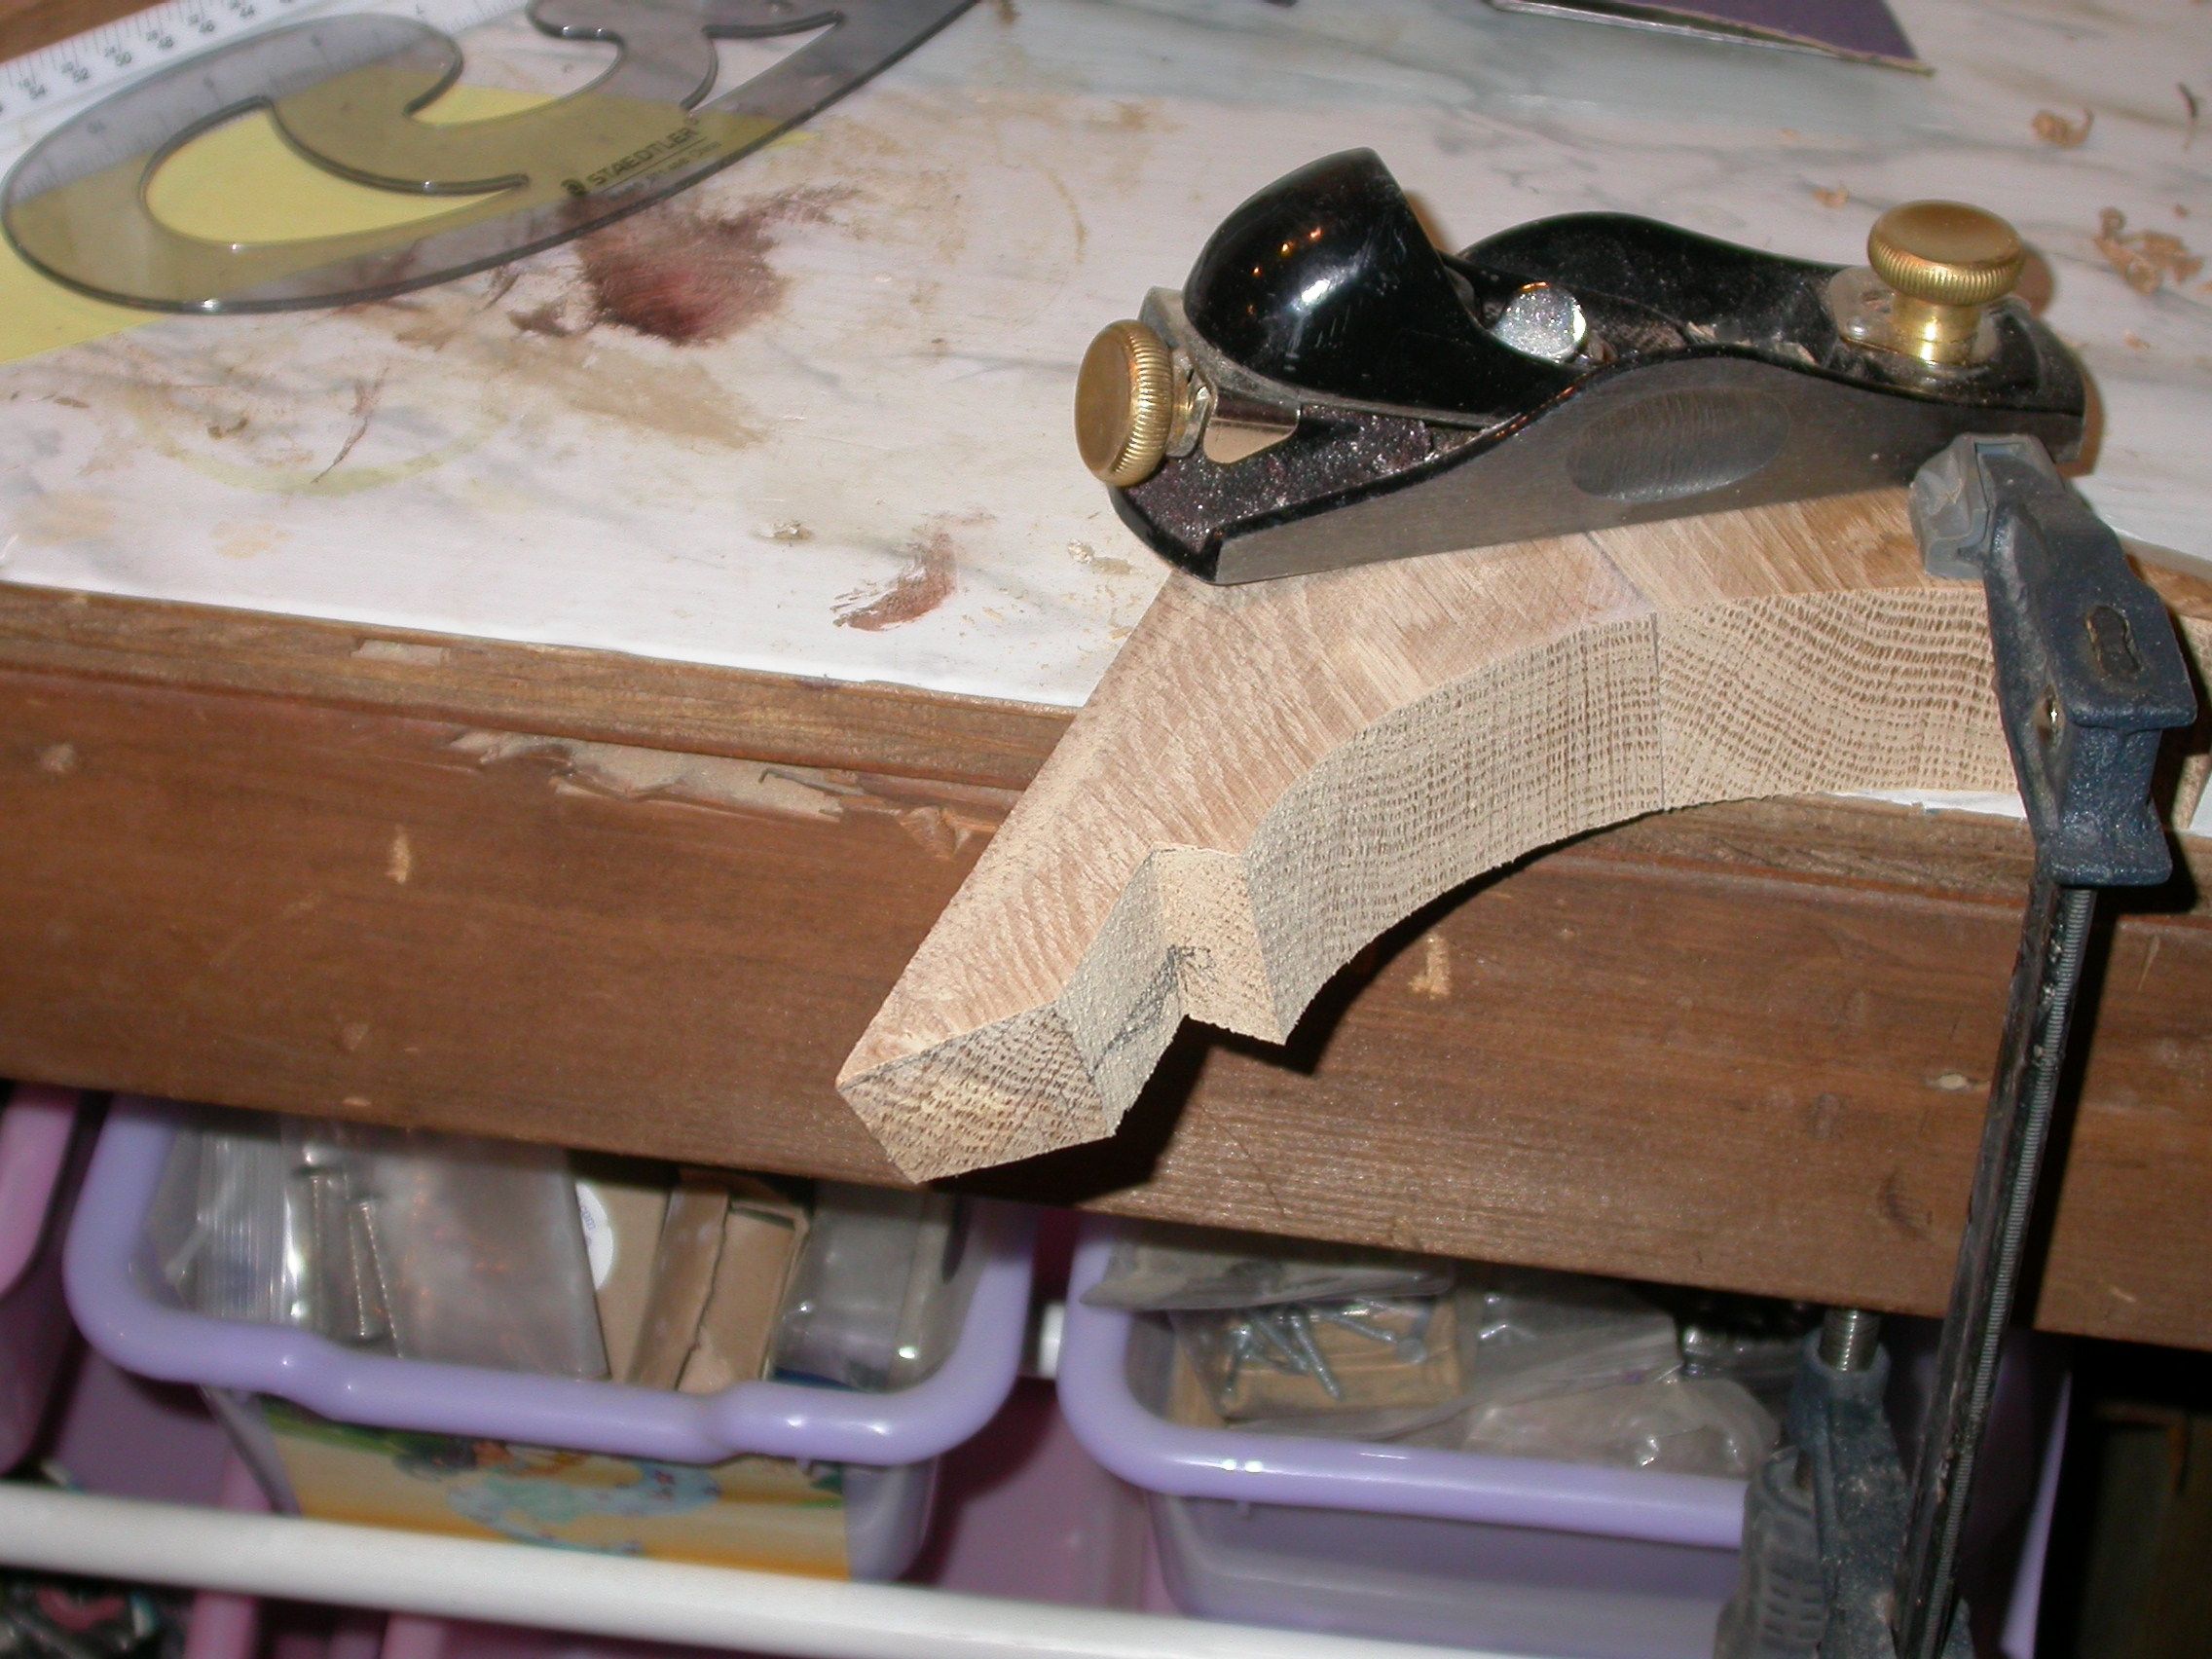
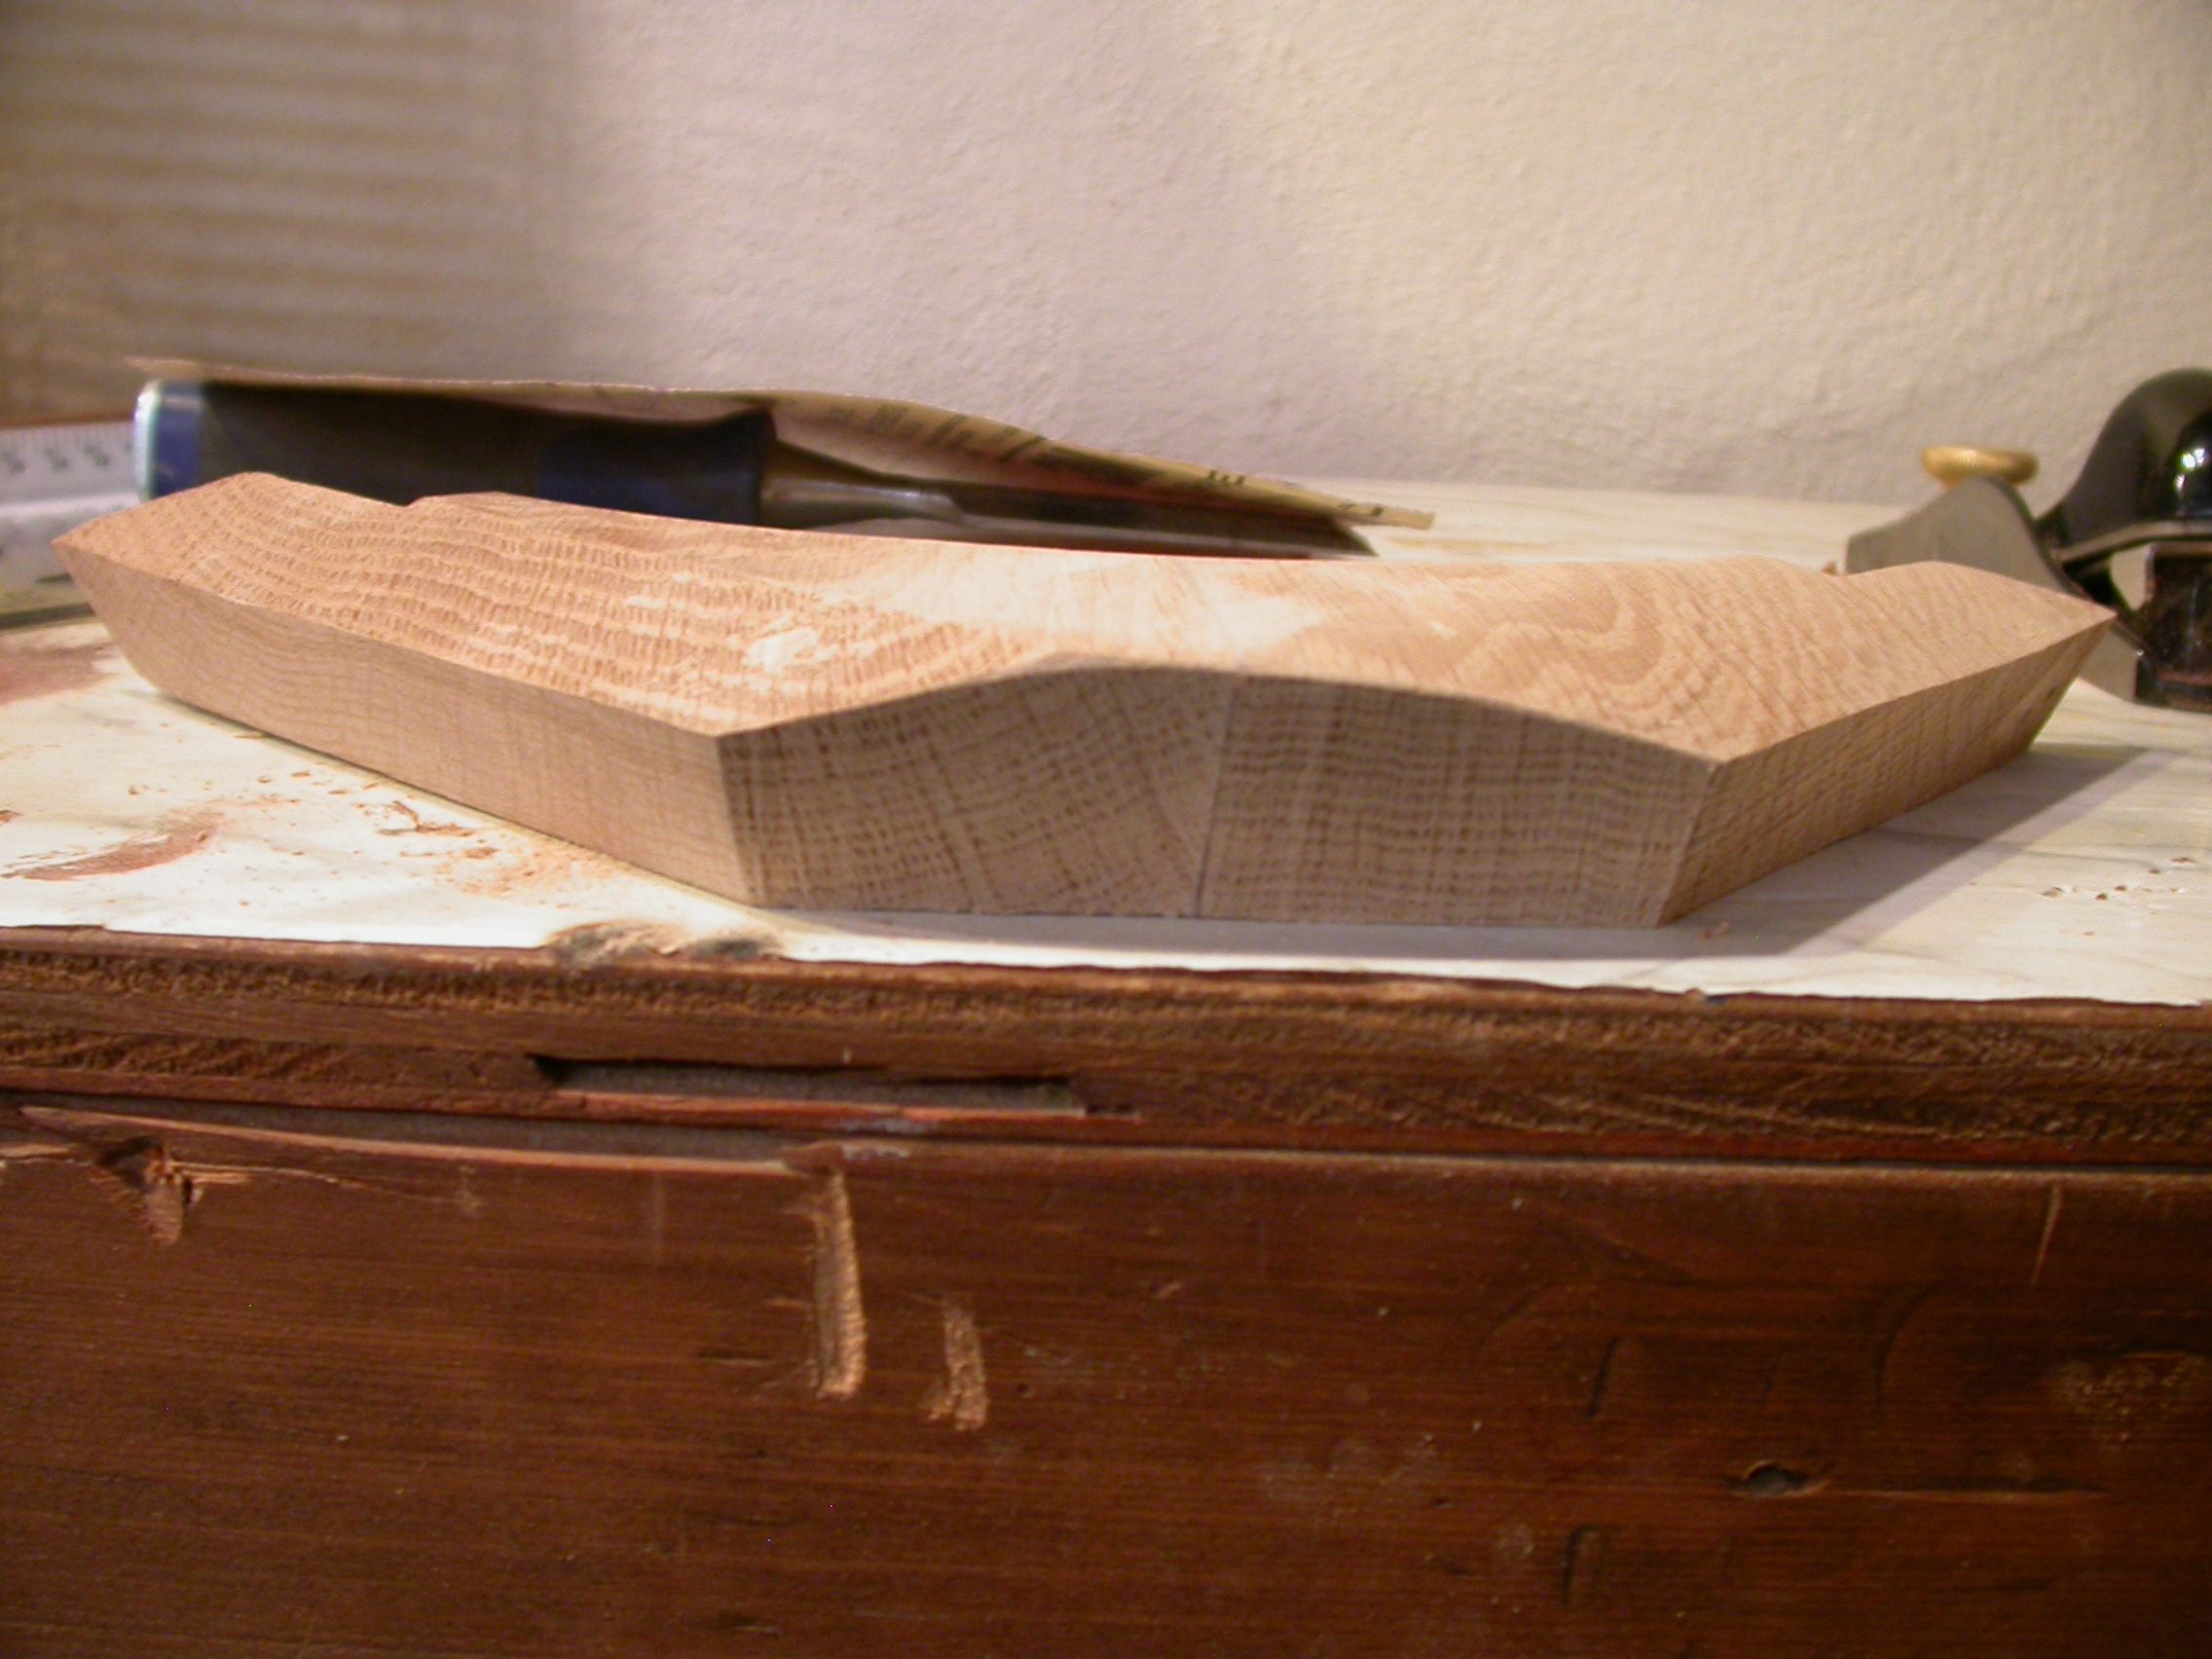
Then it was time to cut the camber in the top of the hook. I'd been thinking about how to cut this gentle curve into rock-hard oak. You can see from the picture below that there was quite a bit of wood to cut away.
A friend recommended a drawknife or a spokeshave, but I thought that would be a lot of work, and I didn't think my drawknife skills were up to producing a symmetrical, smooth curve.
In the end, I decided to use the trick used to create round spars. I'd make a flat cut to remove most of the wood, then shape the two flat sides into a curve with a block plane.
 |
| Lots of 'meat' to cut away |
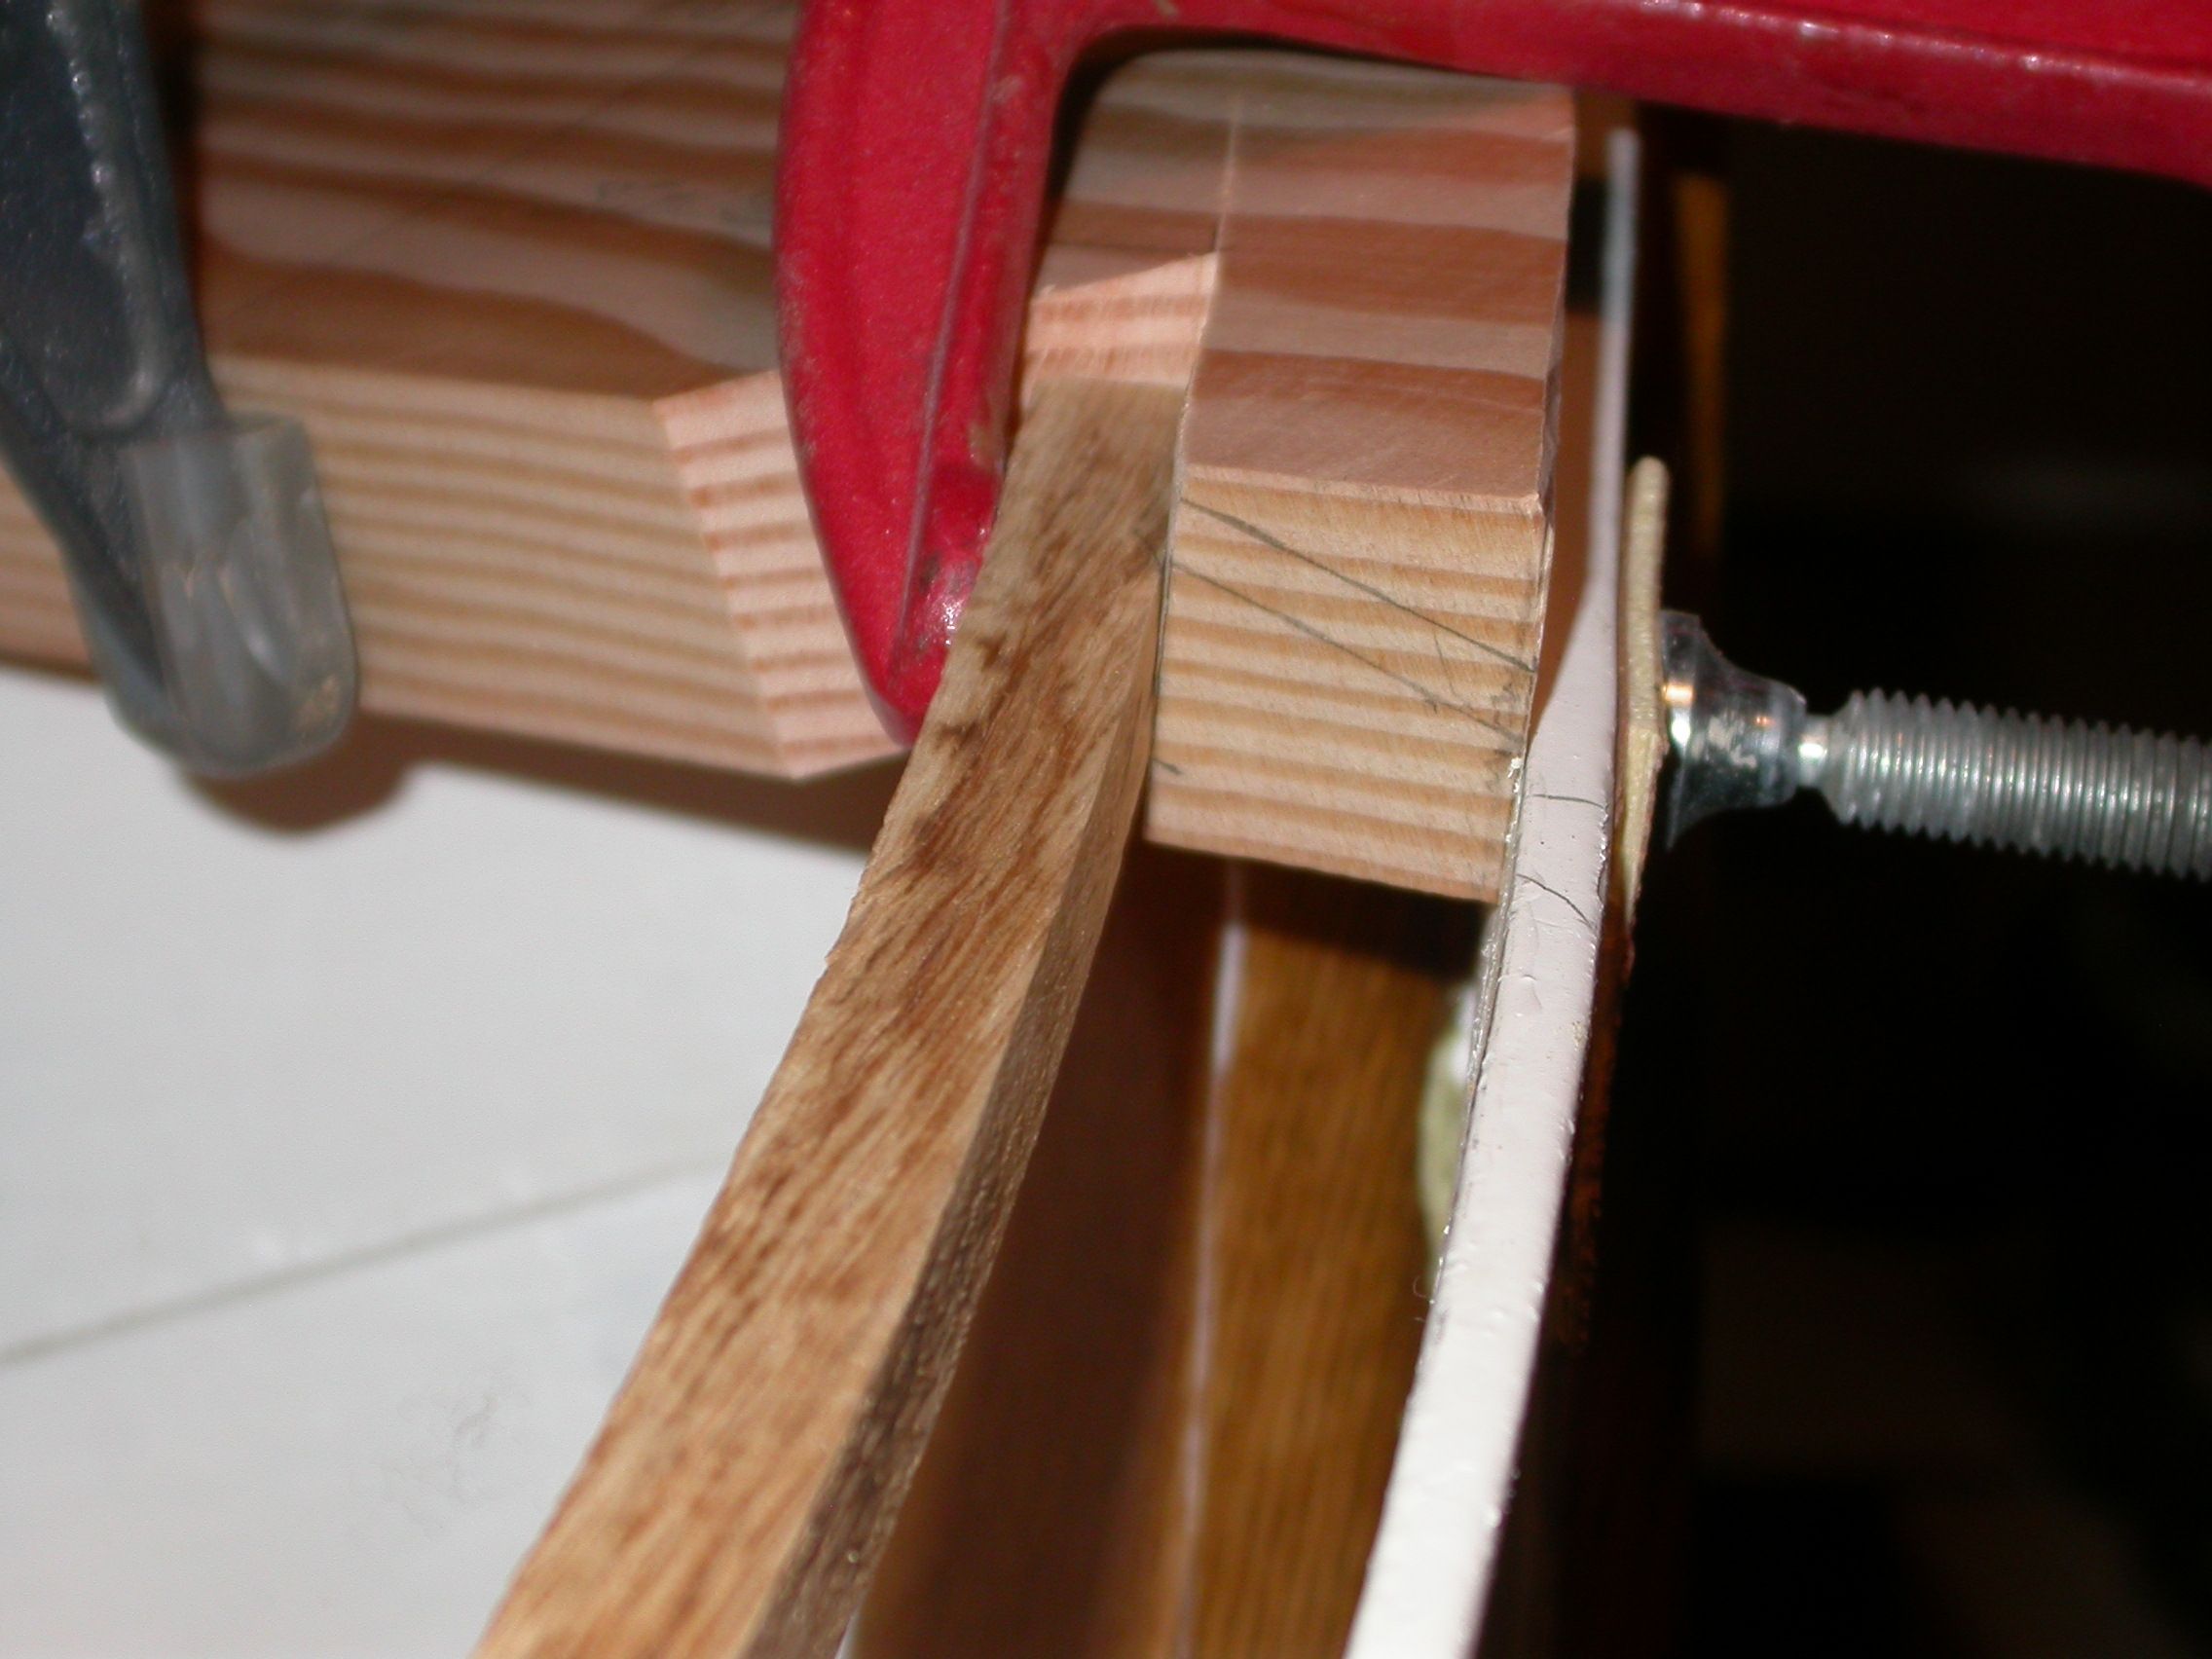
After cutting out the notches for the inwales, I cut out the curve. This looks straight, but it's actually beveled at the same angle as the notches. This makes sense if you think about it, because the inwale is rectangular in shape. The inwales lies against the notch, so if the curve is to blend smoothly with the side of the inwale, it must be at the same angle as the notch. QED!
I realized this while cutting the notches, so as long as I had the bandsaw at the right angle, I cut the curve at the same time.
 |
| Caption |
 |
| Caption |
 |
| Caption |
 |
| Caption |
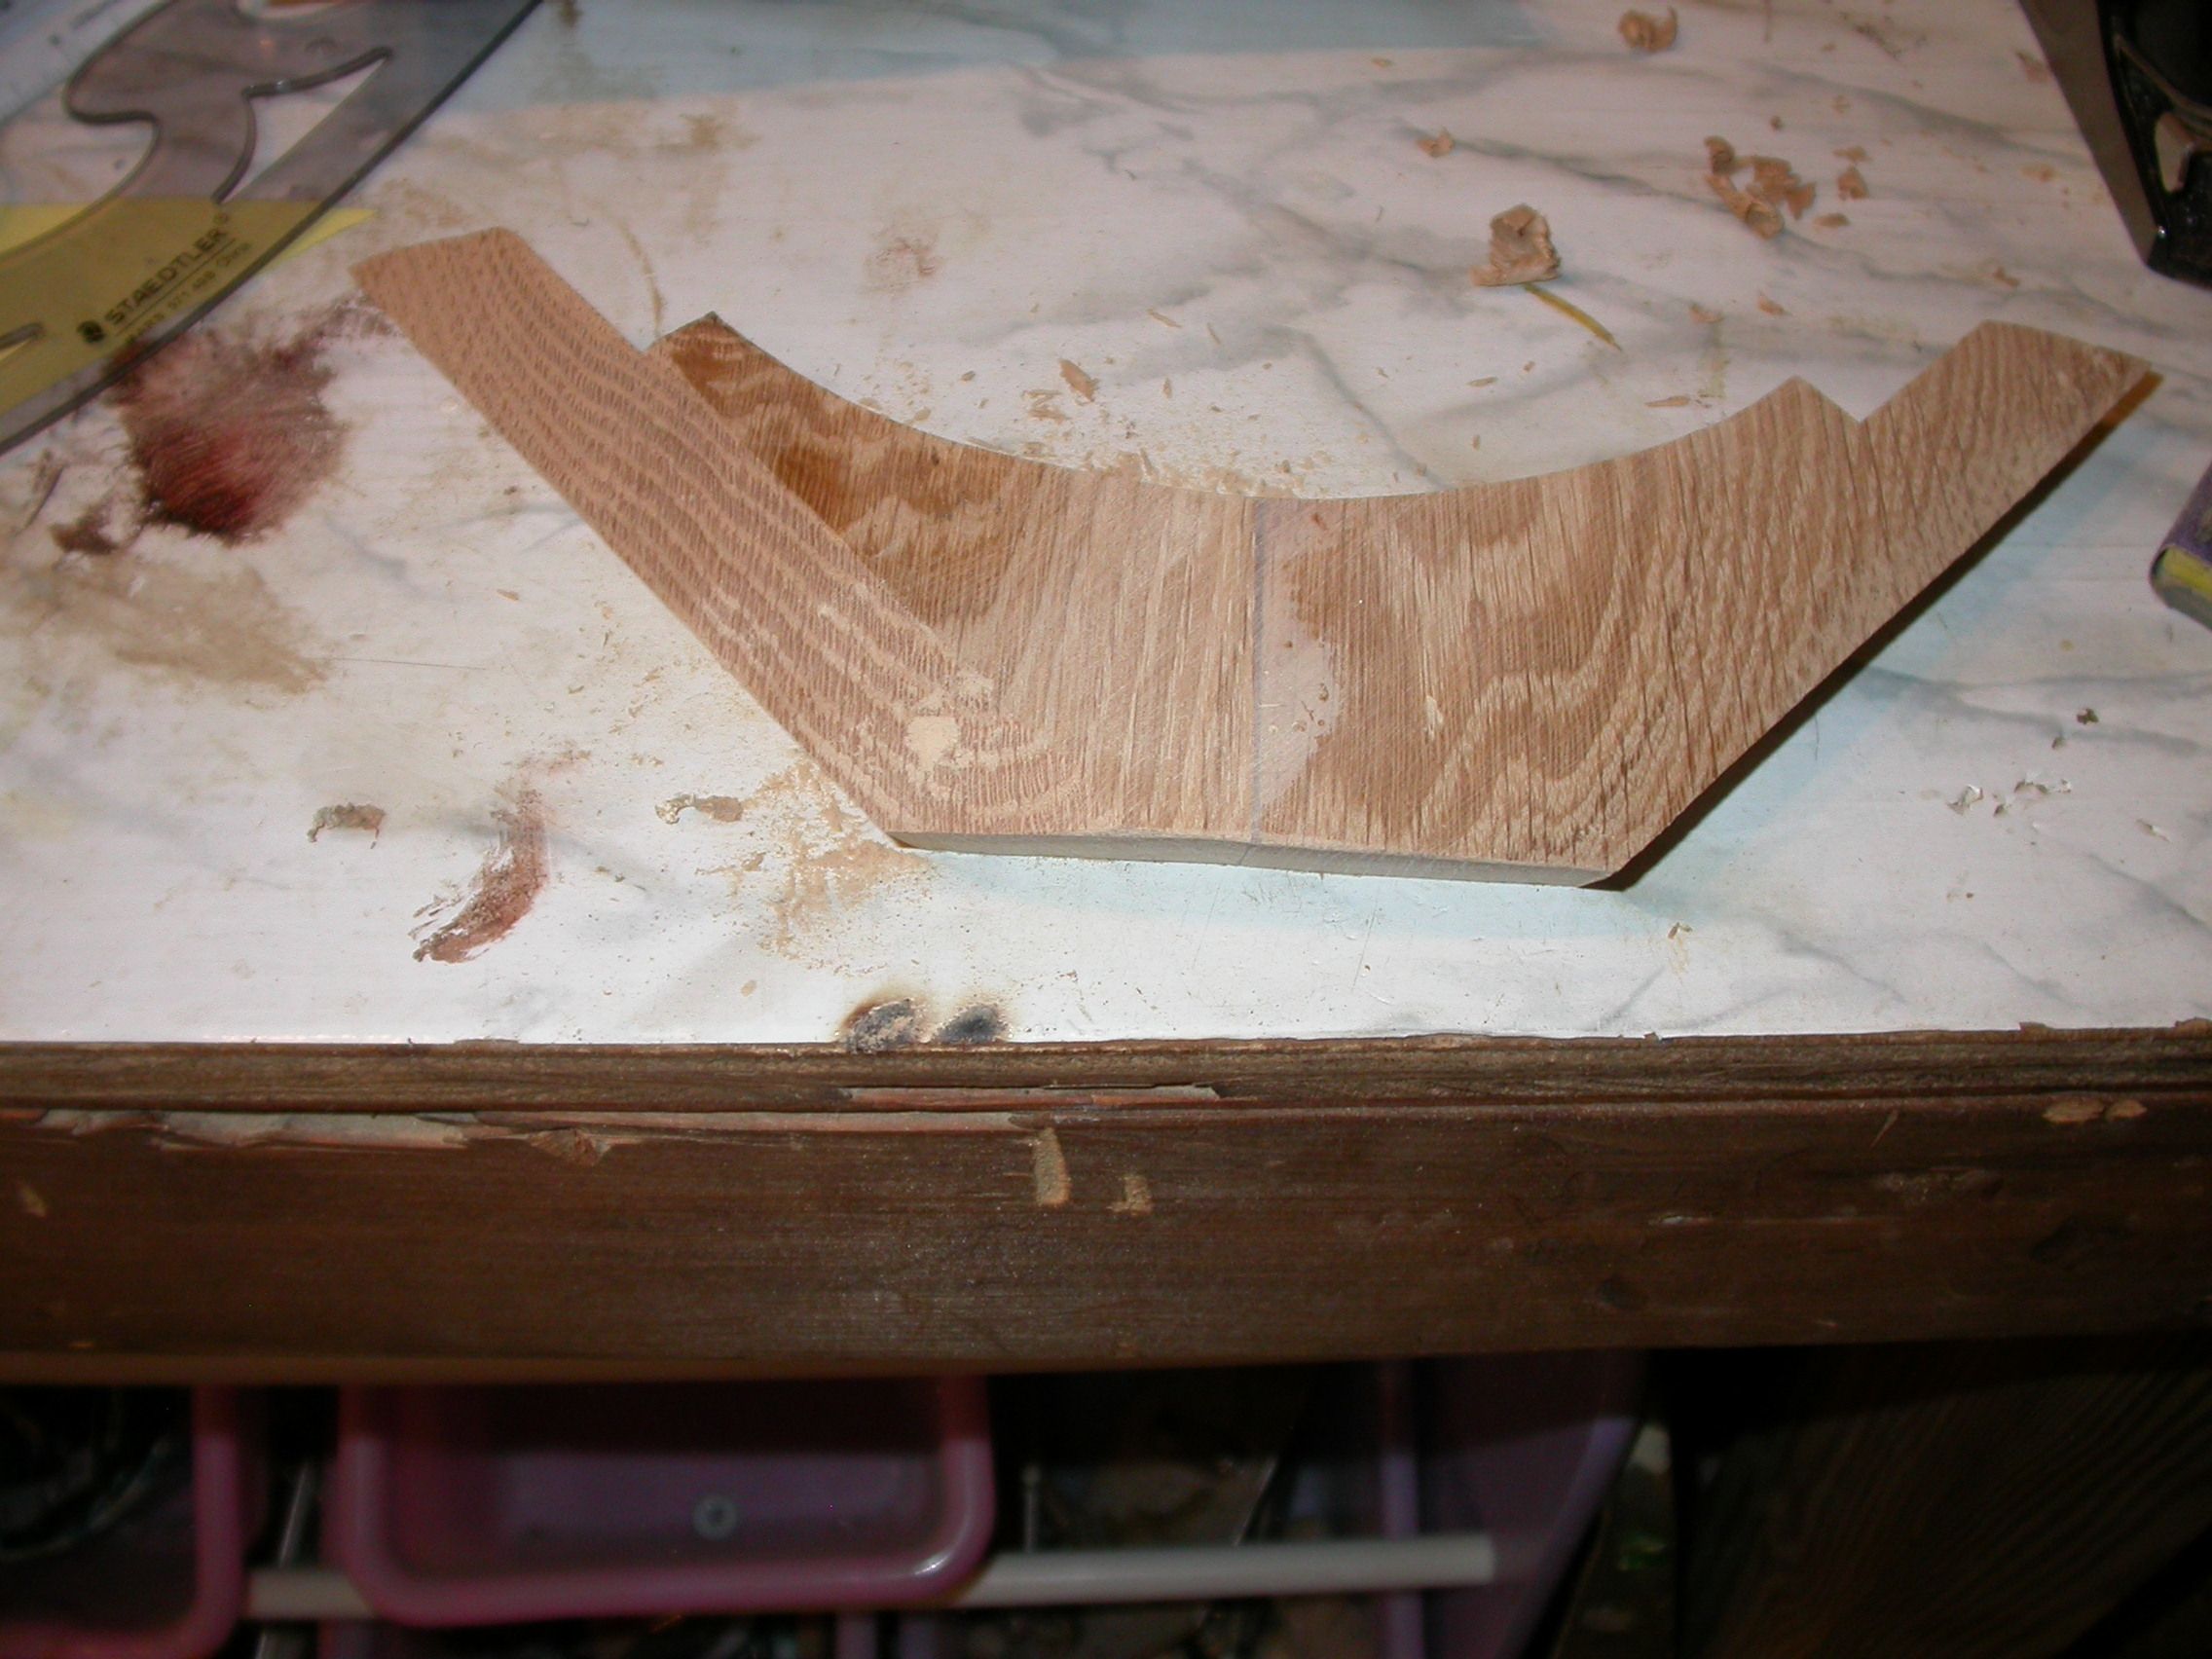
All in all, this step was worse in the anticipation than the execution. I was 100% sure I'd ruin this piece cutting the camber, but I was pleasantly surprised at how easy it was, once I came up with a plan.
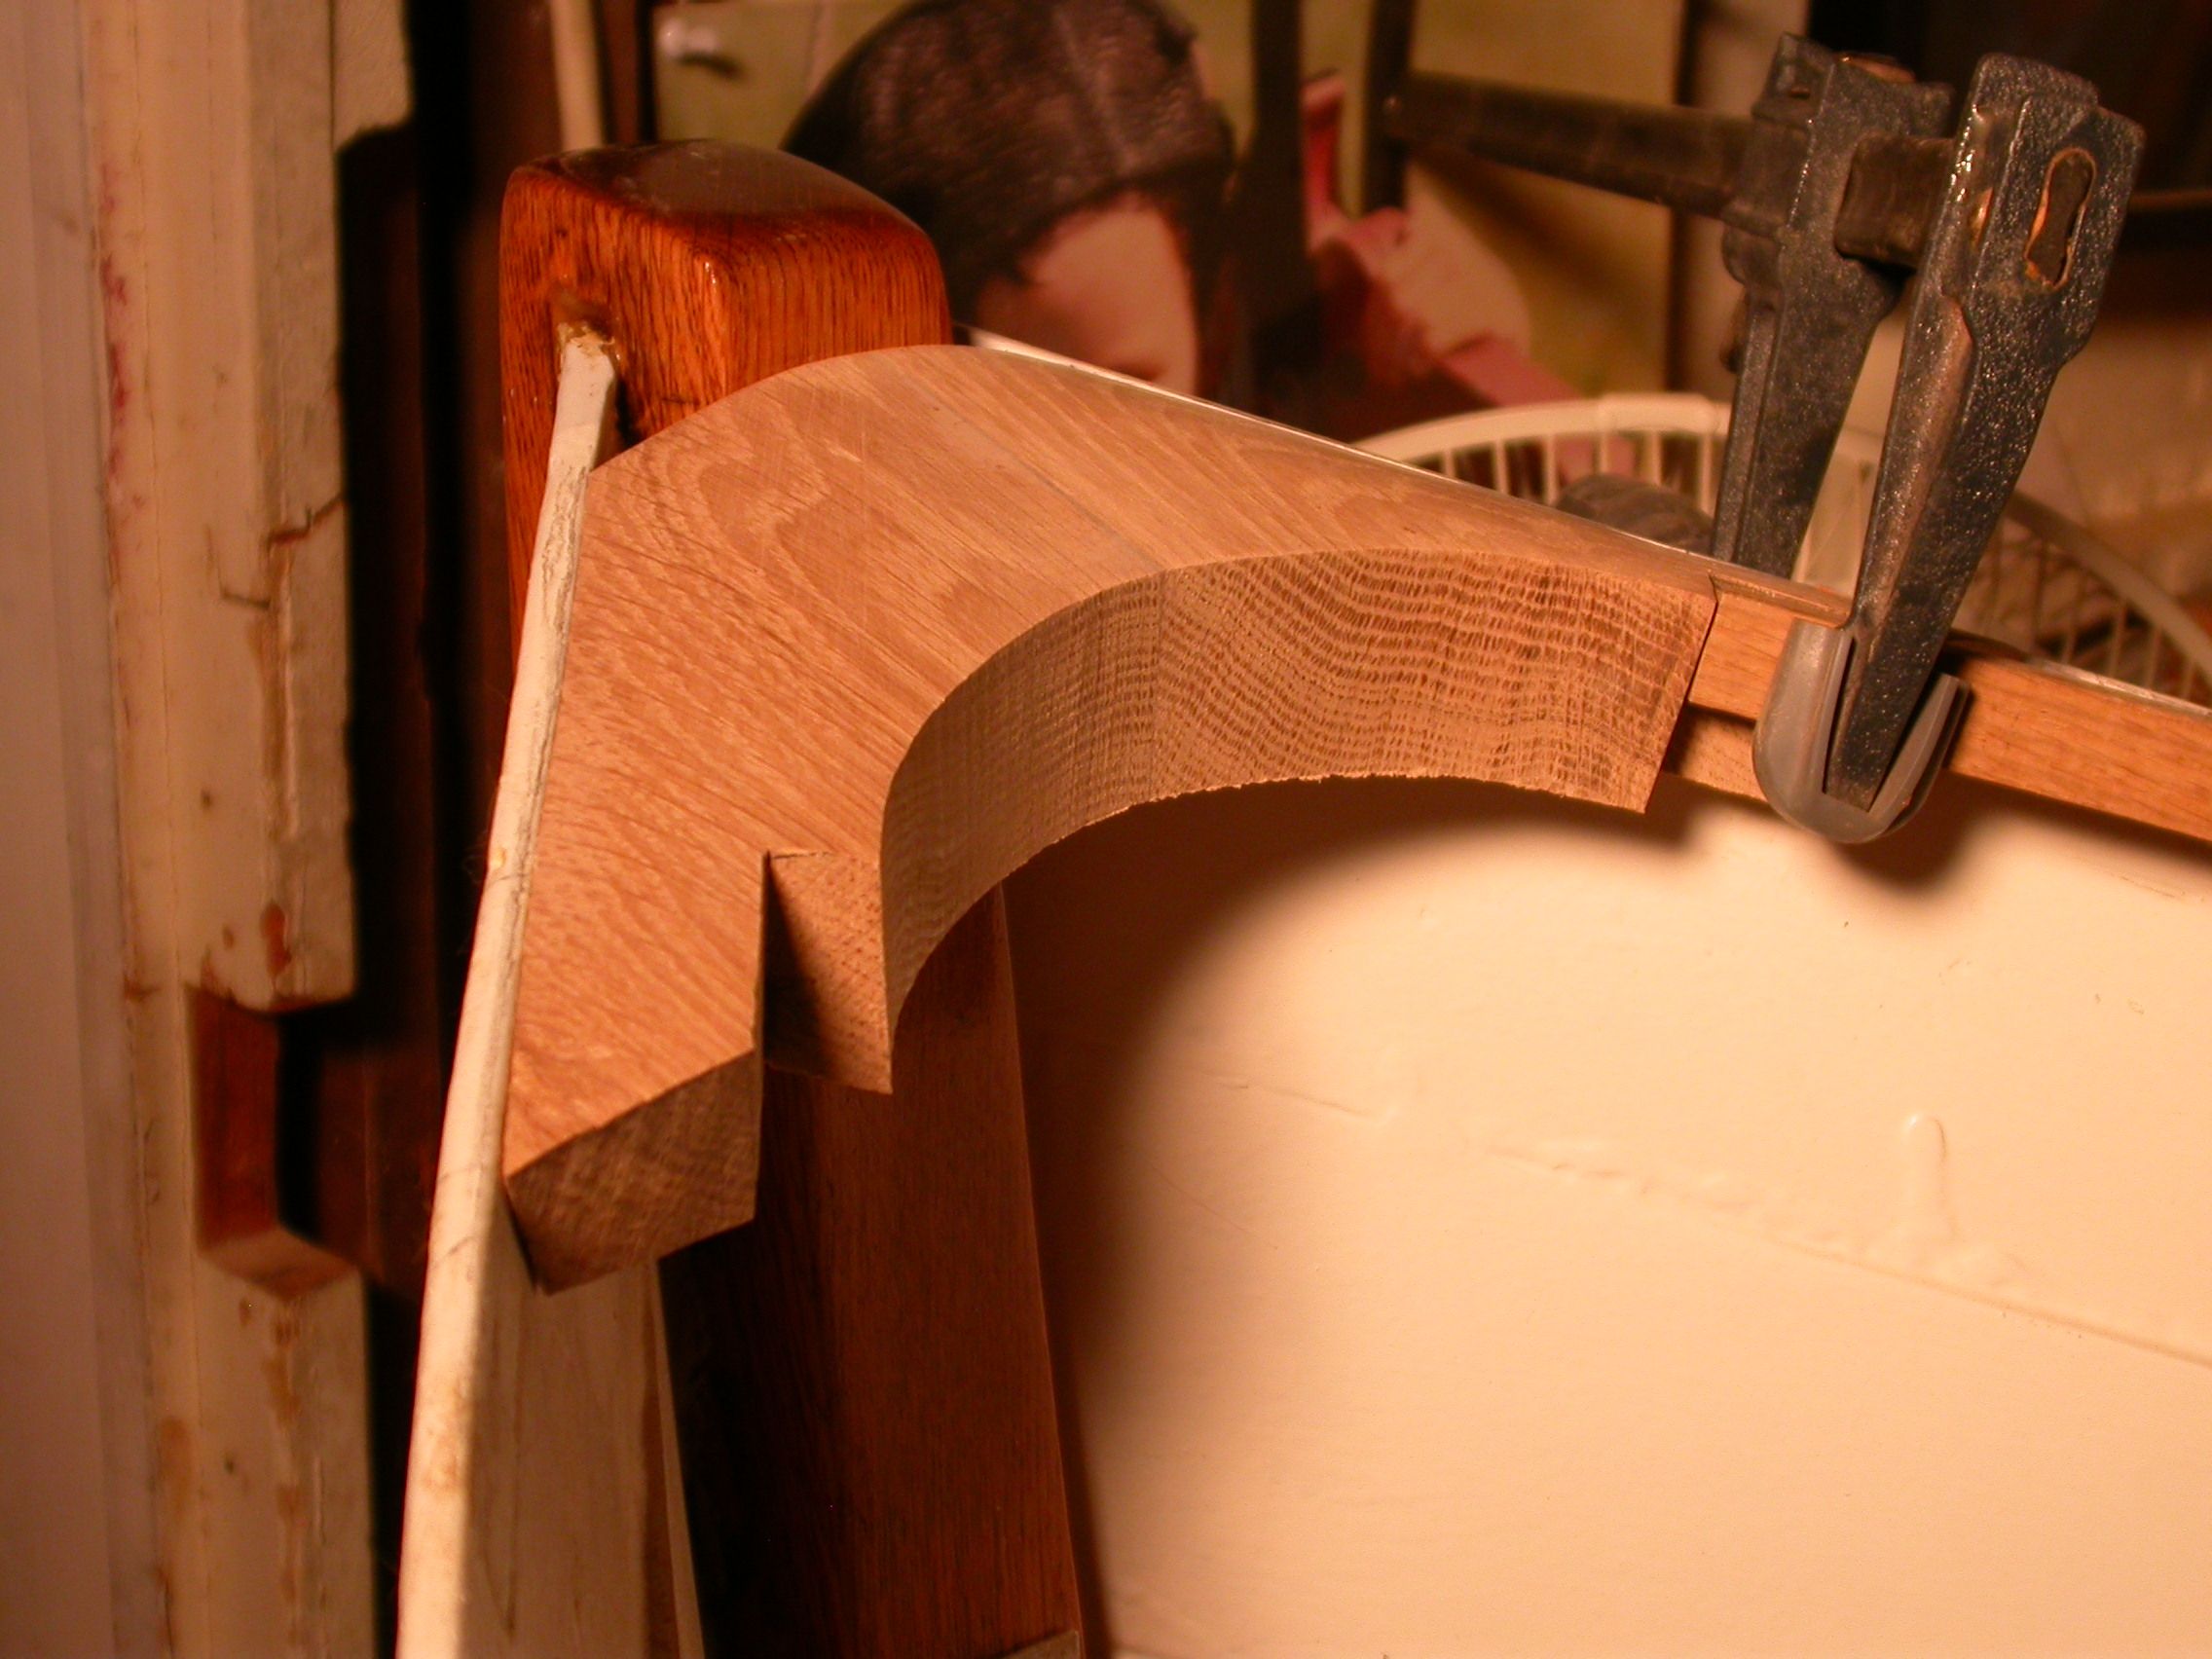 |
| Smooth camber |
This is one of those jobs that you don't know how to do, until you are done. That seems like an unbreakable paradox, like time travel, but some how you need to break it.
Speaking of which, my next step is to somehow cut the same camber into the bottom of the hook. I honestly have no idea how to do this, so time to have a sit in my thinking chair...
Next Episode: A Useful Trick
I can think of no good reason not to keep the bottom flat?
ReplyDeleteI don't see the point in cutting the negative camber you can make an argument for the asthetics of the thing I suppose. If I were to do it I would bevel the outer edge to assimilate the camber rather than trying to did out the entire piece. You can simply marke the mirror edge and grind out the waste sand and smooth.
ReplyDeleteThe bottom camber is purely for looks. If strength was the only issue, these breasthooks would be a lot easier to build. The tricky bit is making them look good.
ReplyDeleteThey say you can judge the boat builder by looking at how these final pieces fit together, and I believe it. It is by far the hardest part of the build. Ironic that the first step (lofting) and the last step (gunnel system) are the hardest. At least for me.
I agree with Knotabus. keeping wood for strength is always a good thing IF weight isnt an issue.
ReplyDeleteMaybe a scrub plan to remove most of the waste, then a chair scorp?
ReplyDelete