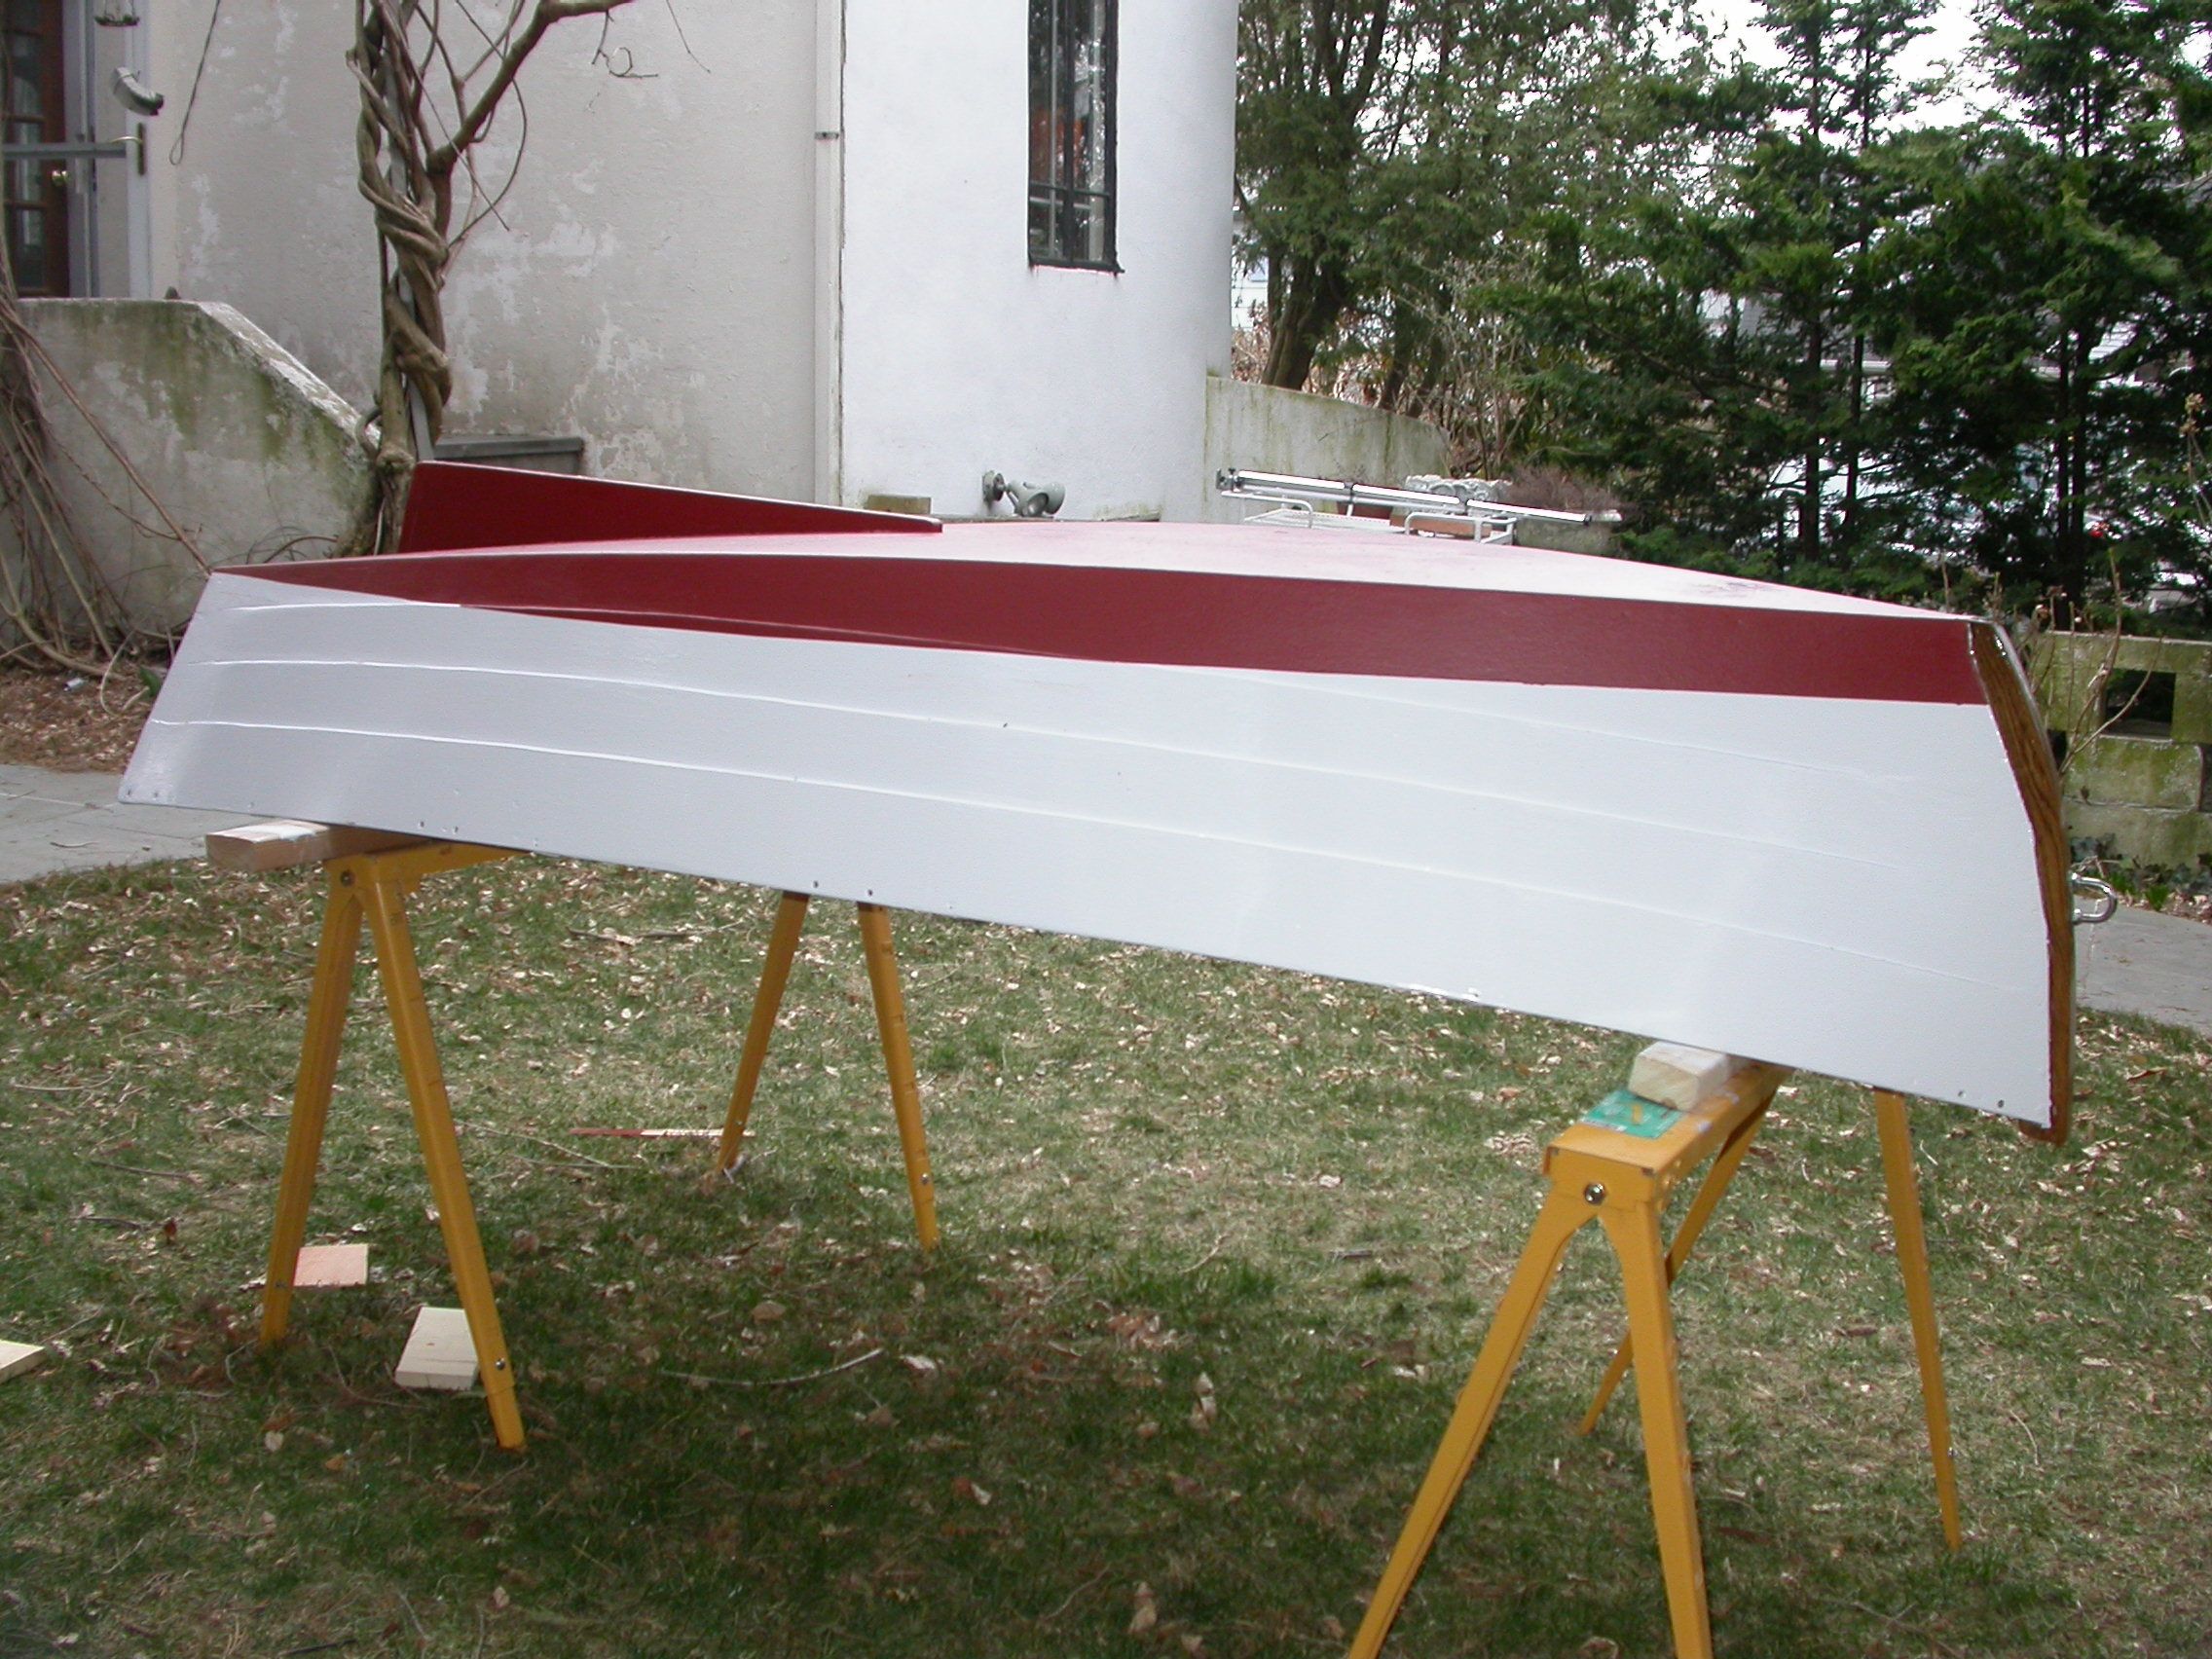
One problem: I had no waterline to draw to. How to paint one on a curving, lapstrake hull?
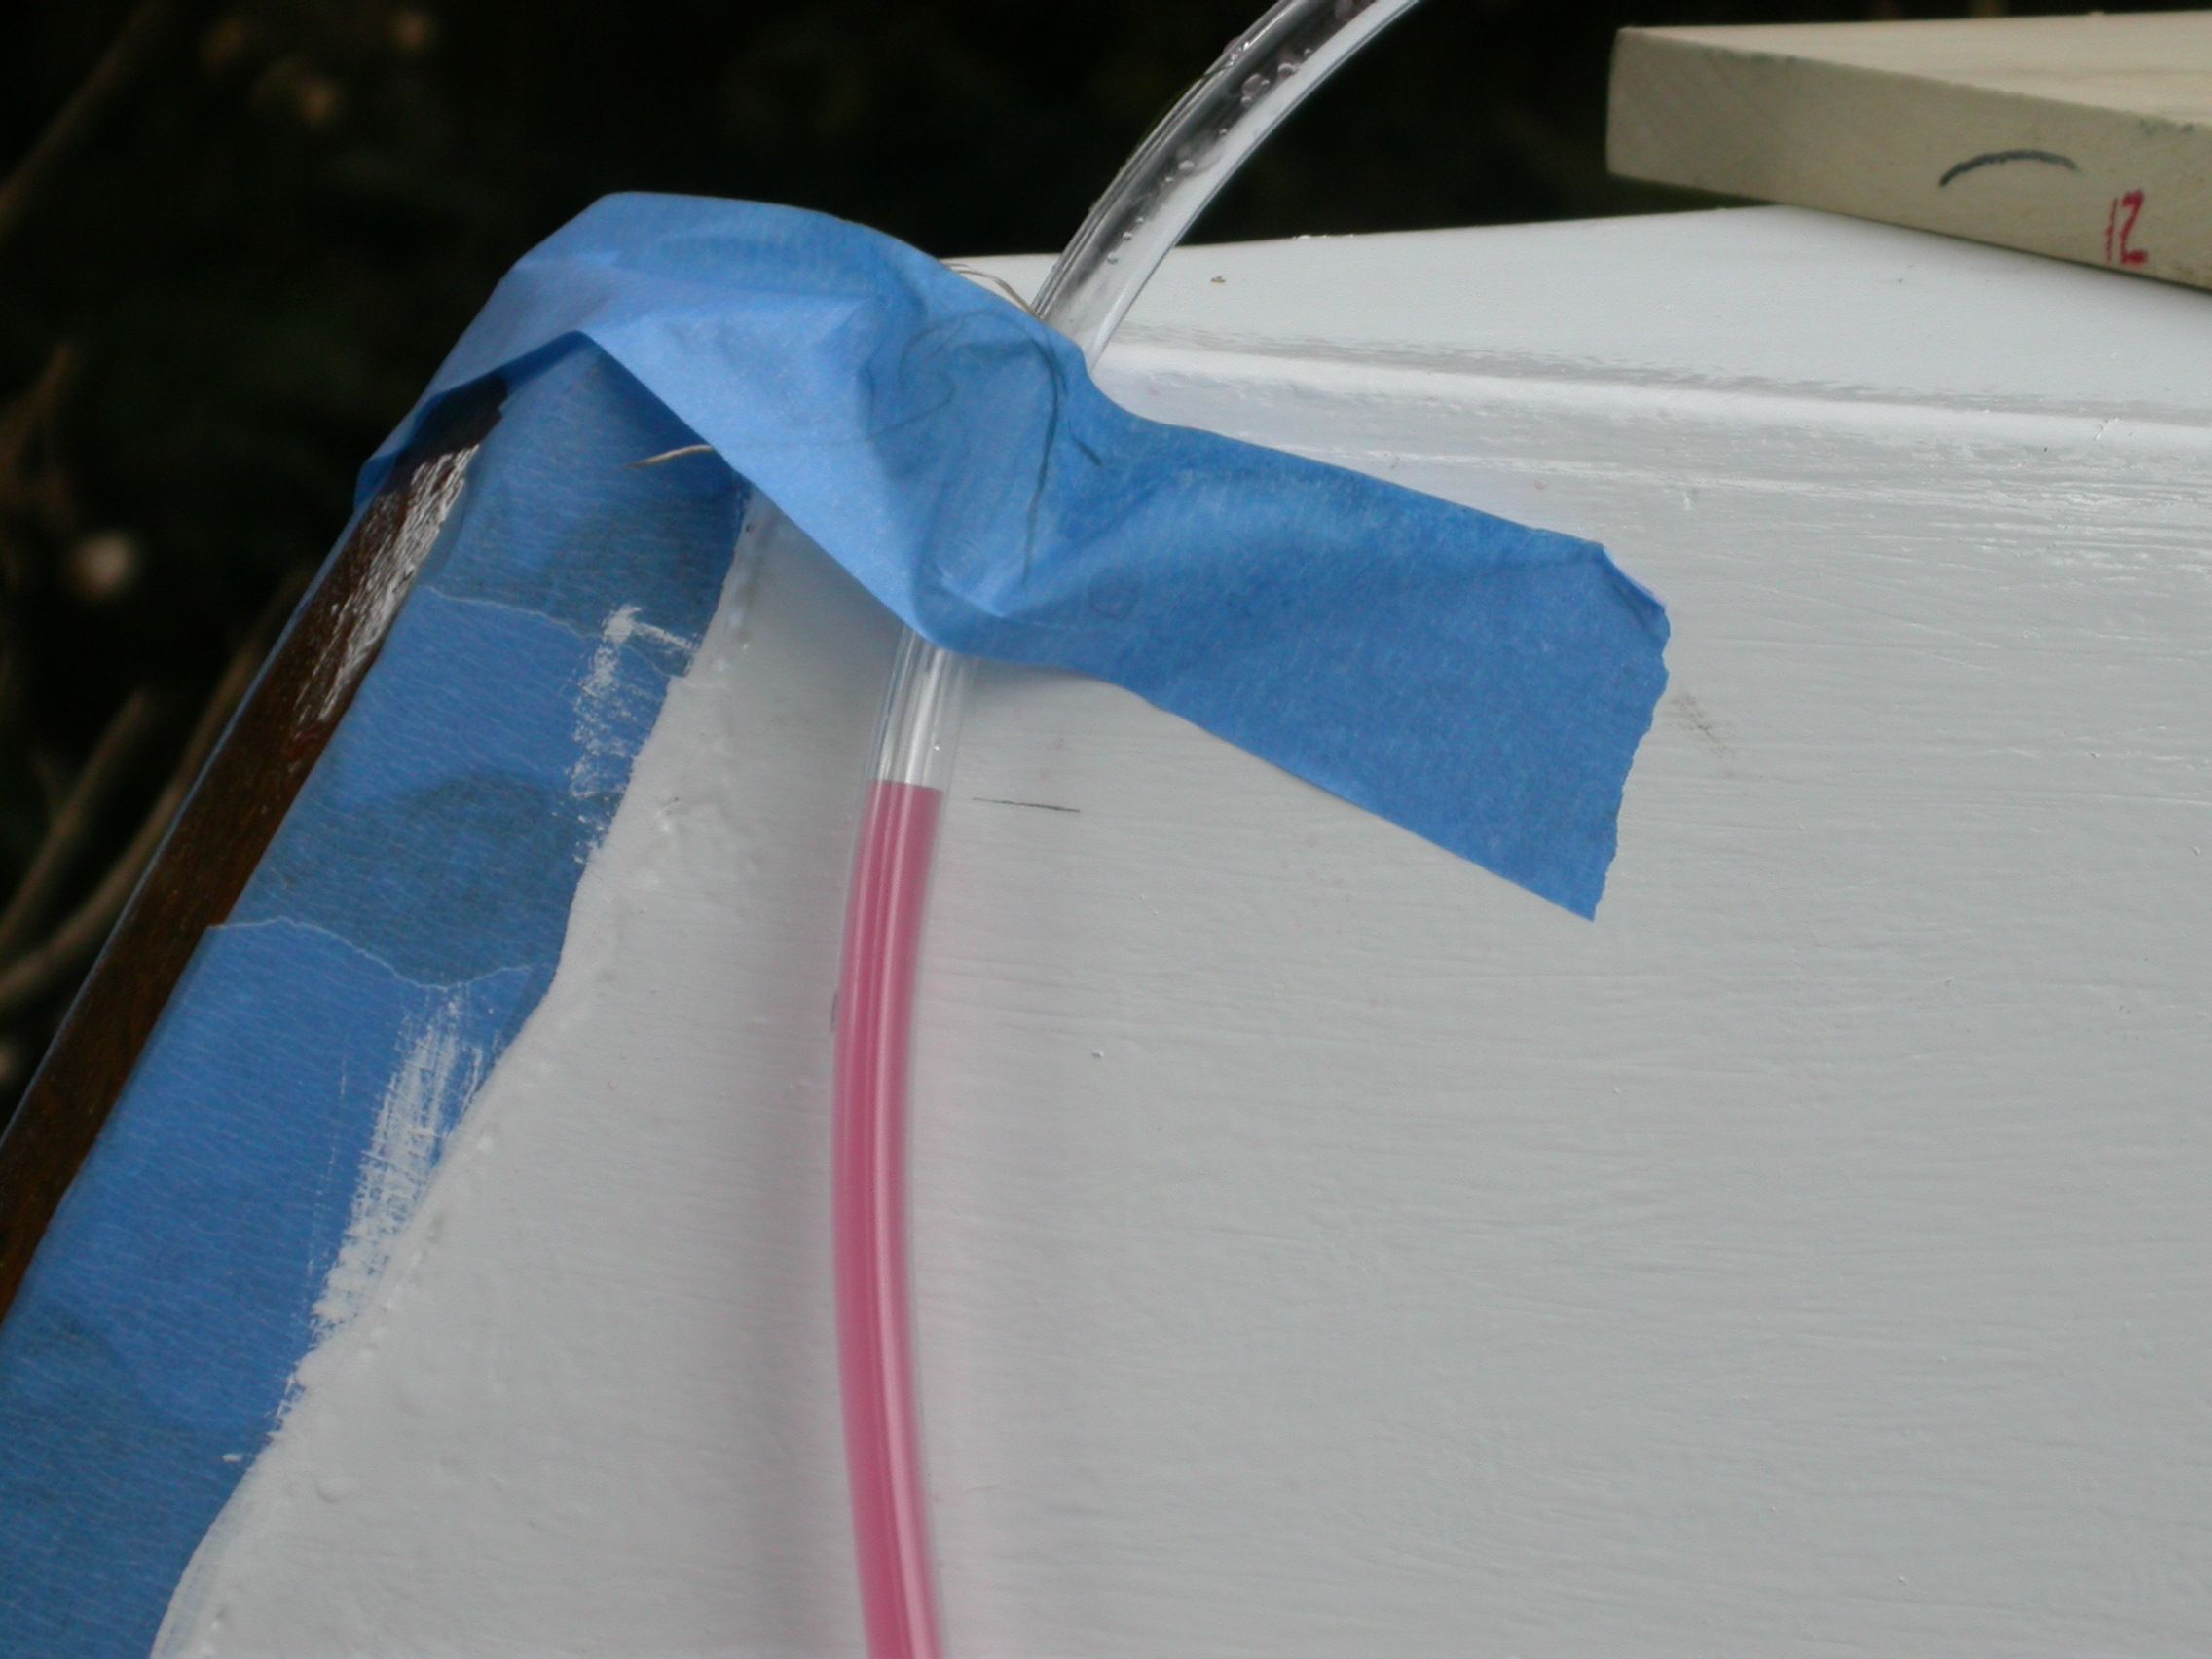
At one time, in the misty days of my youth, I might have been tempted to do something creative, like perhaps use a plastic hose filled with colored liquid to establish a waterline. It makes sense, right? If you take a long hose and attach it to bow and stern, and then fill hose so the water level comes right up to the waterline at both ends, then if you move one end around the boat, the water level should stay constant and show you exactly where the water line should be, right?
 |
| How Not To Draw A Waterline |
Naturally, that's what I did. (Helena, I told you to destroy those photos!!!)
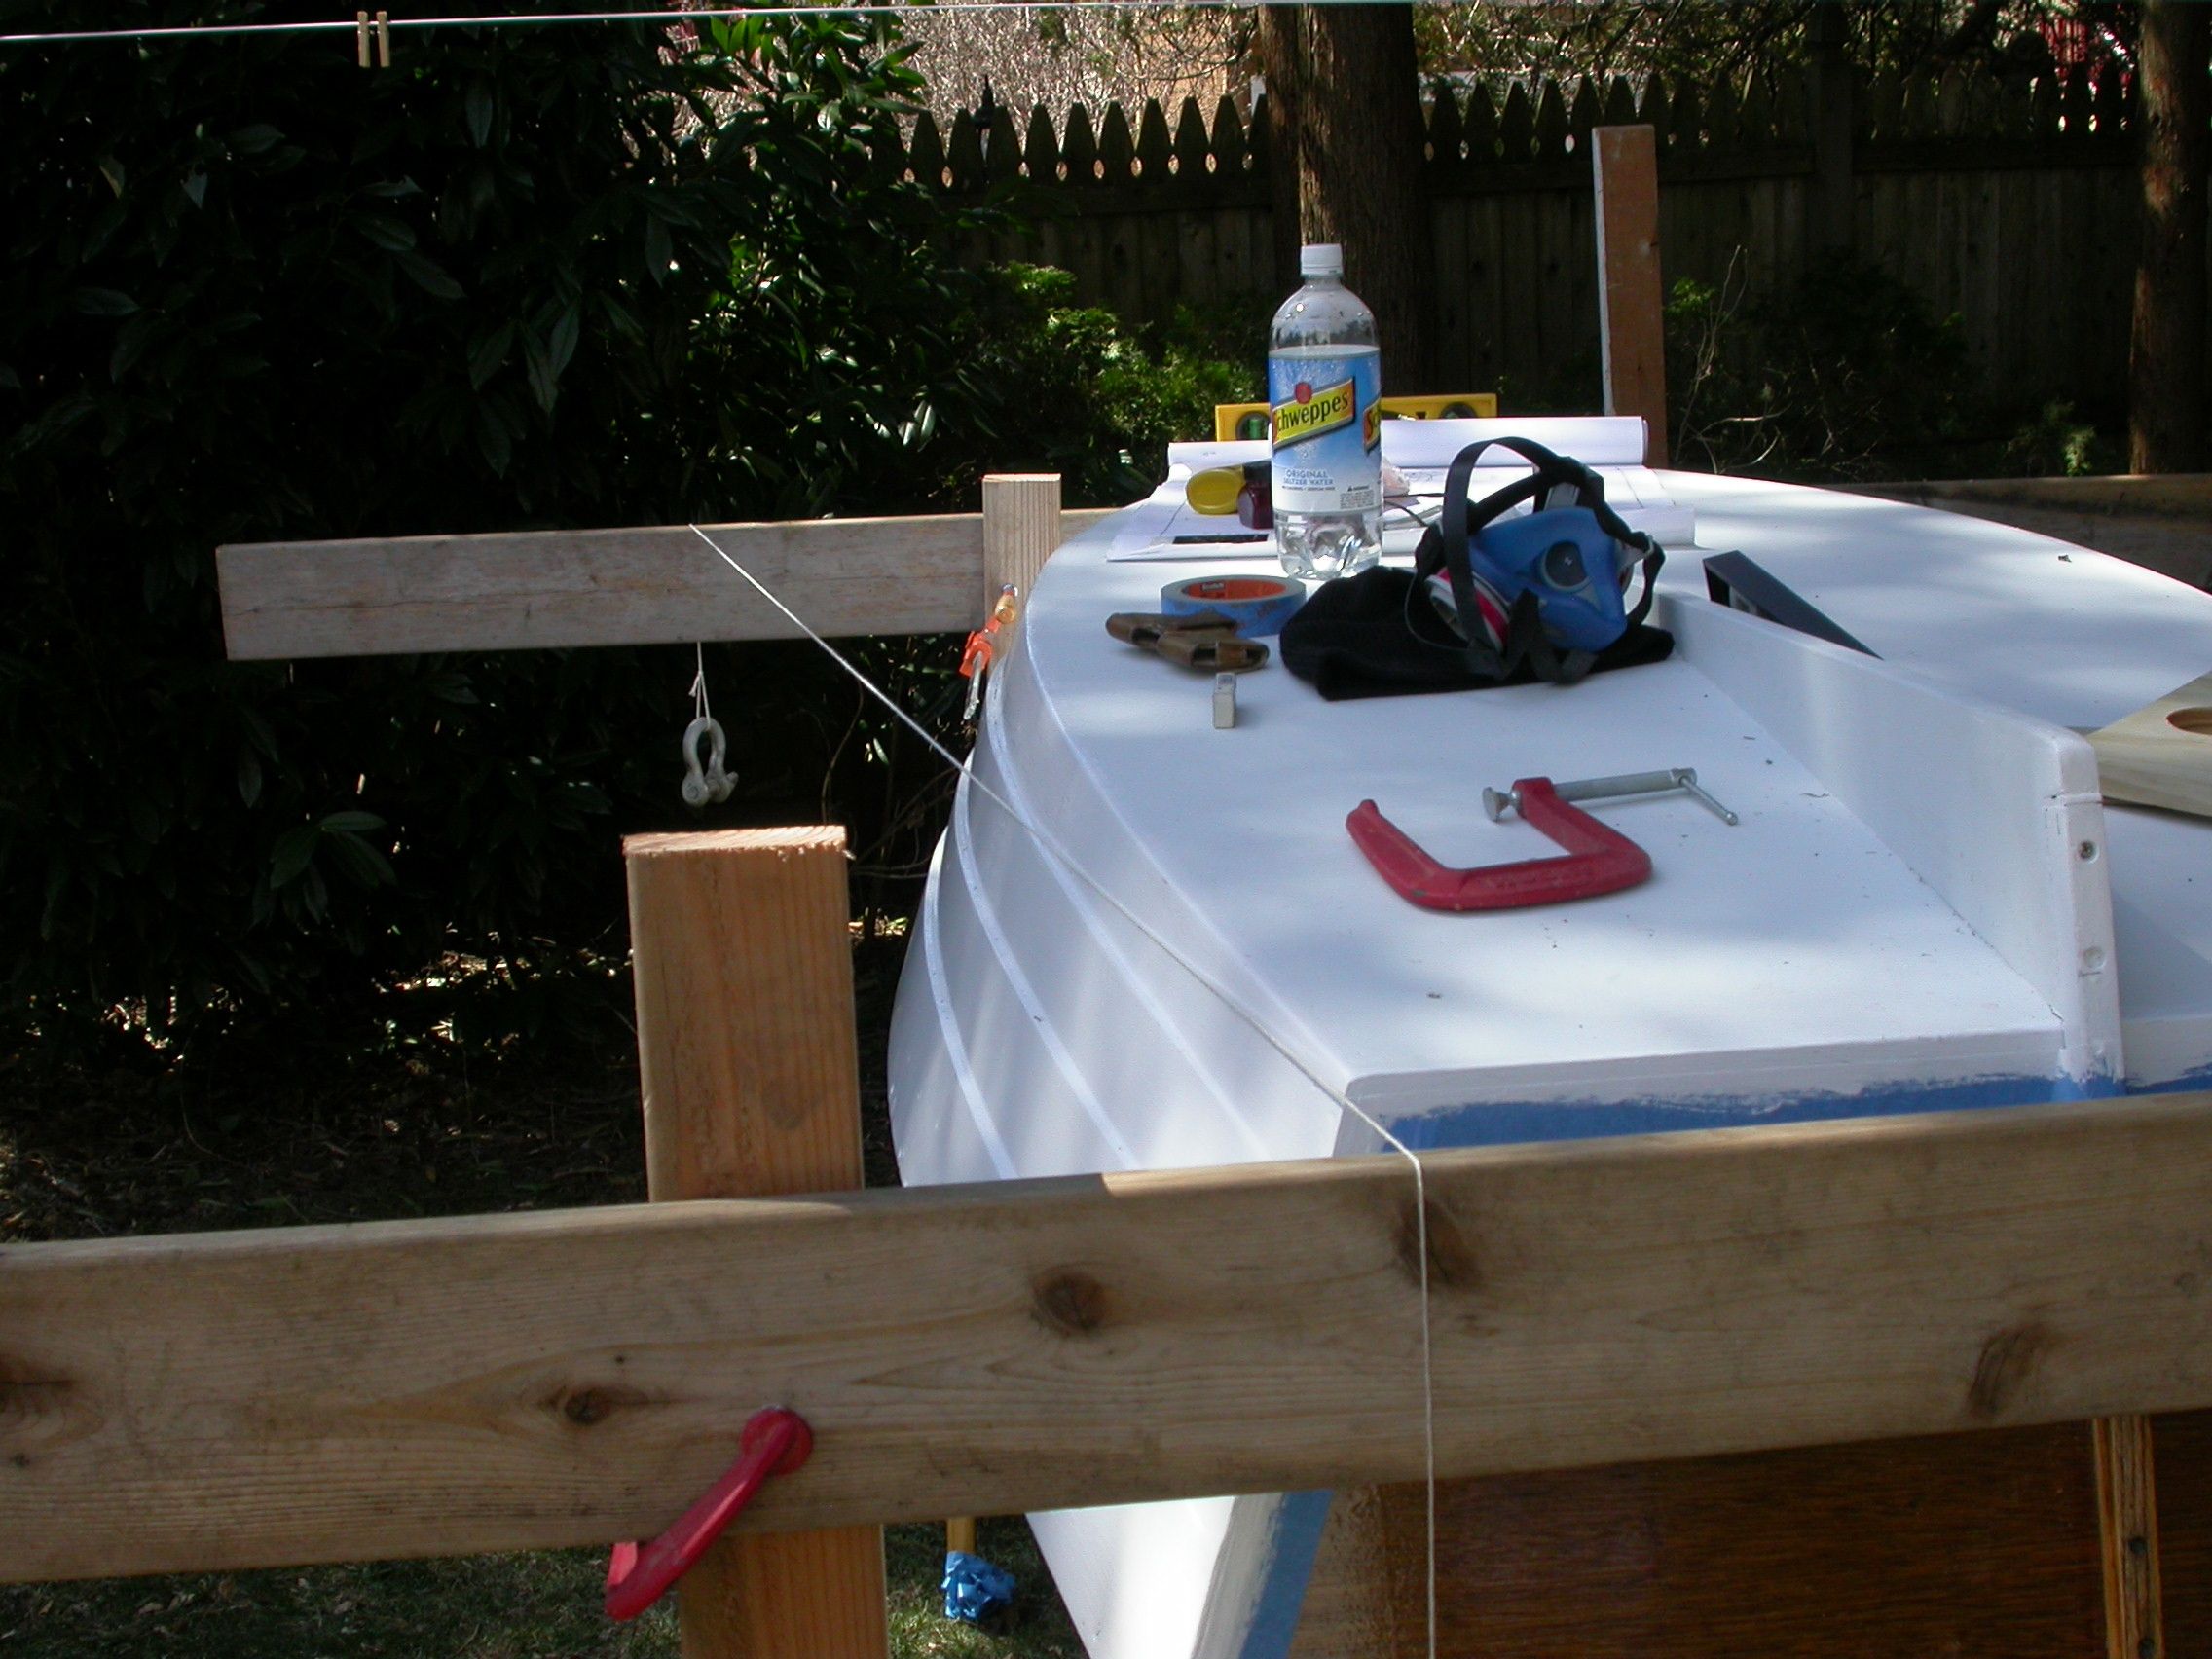
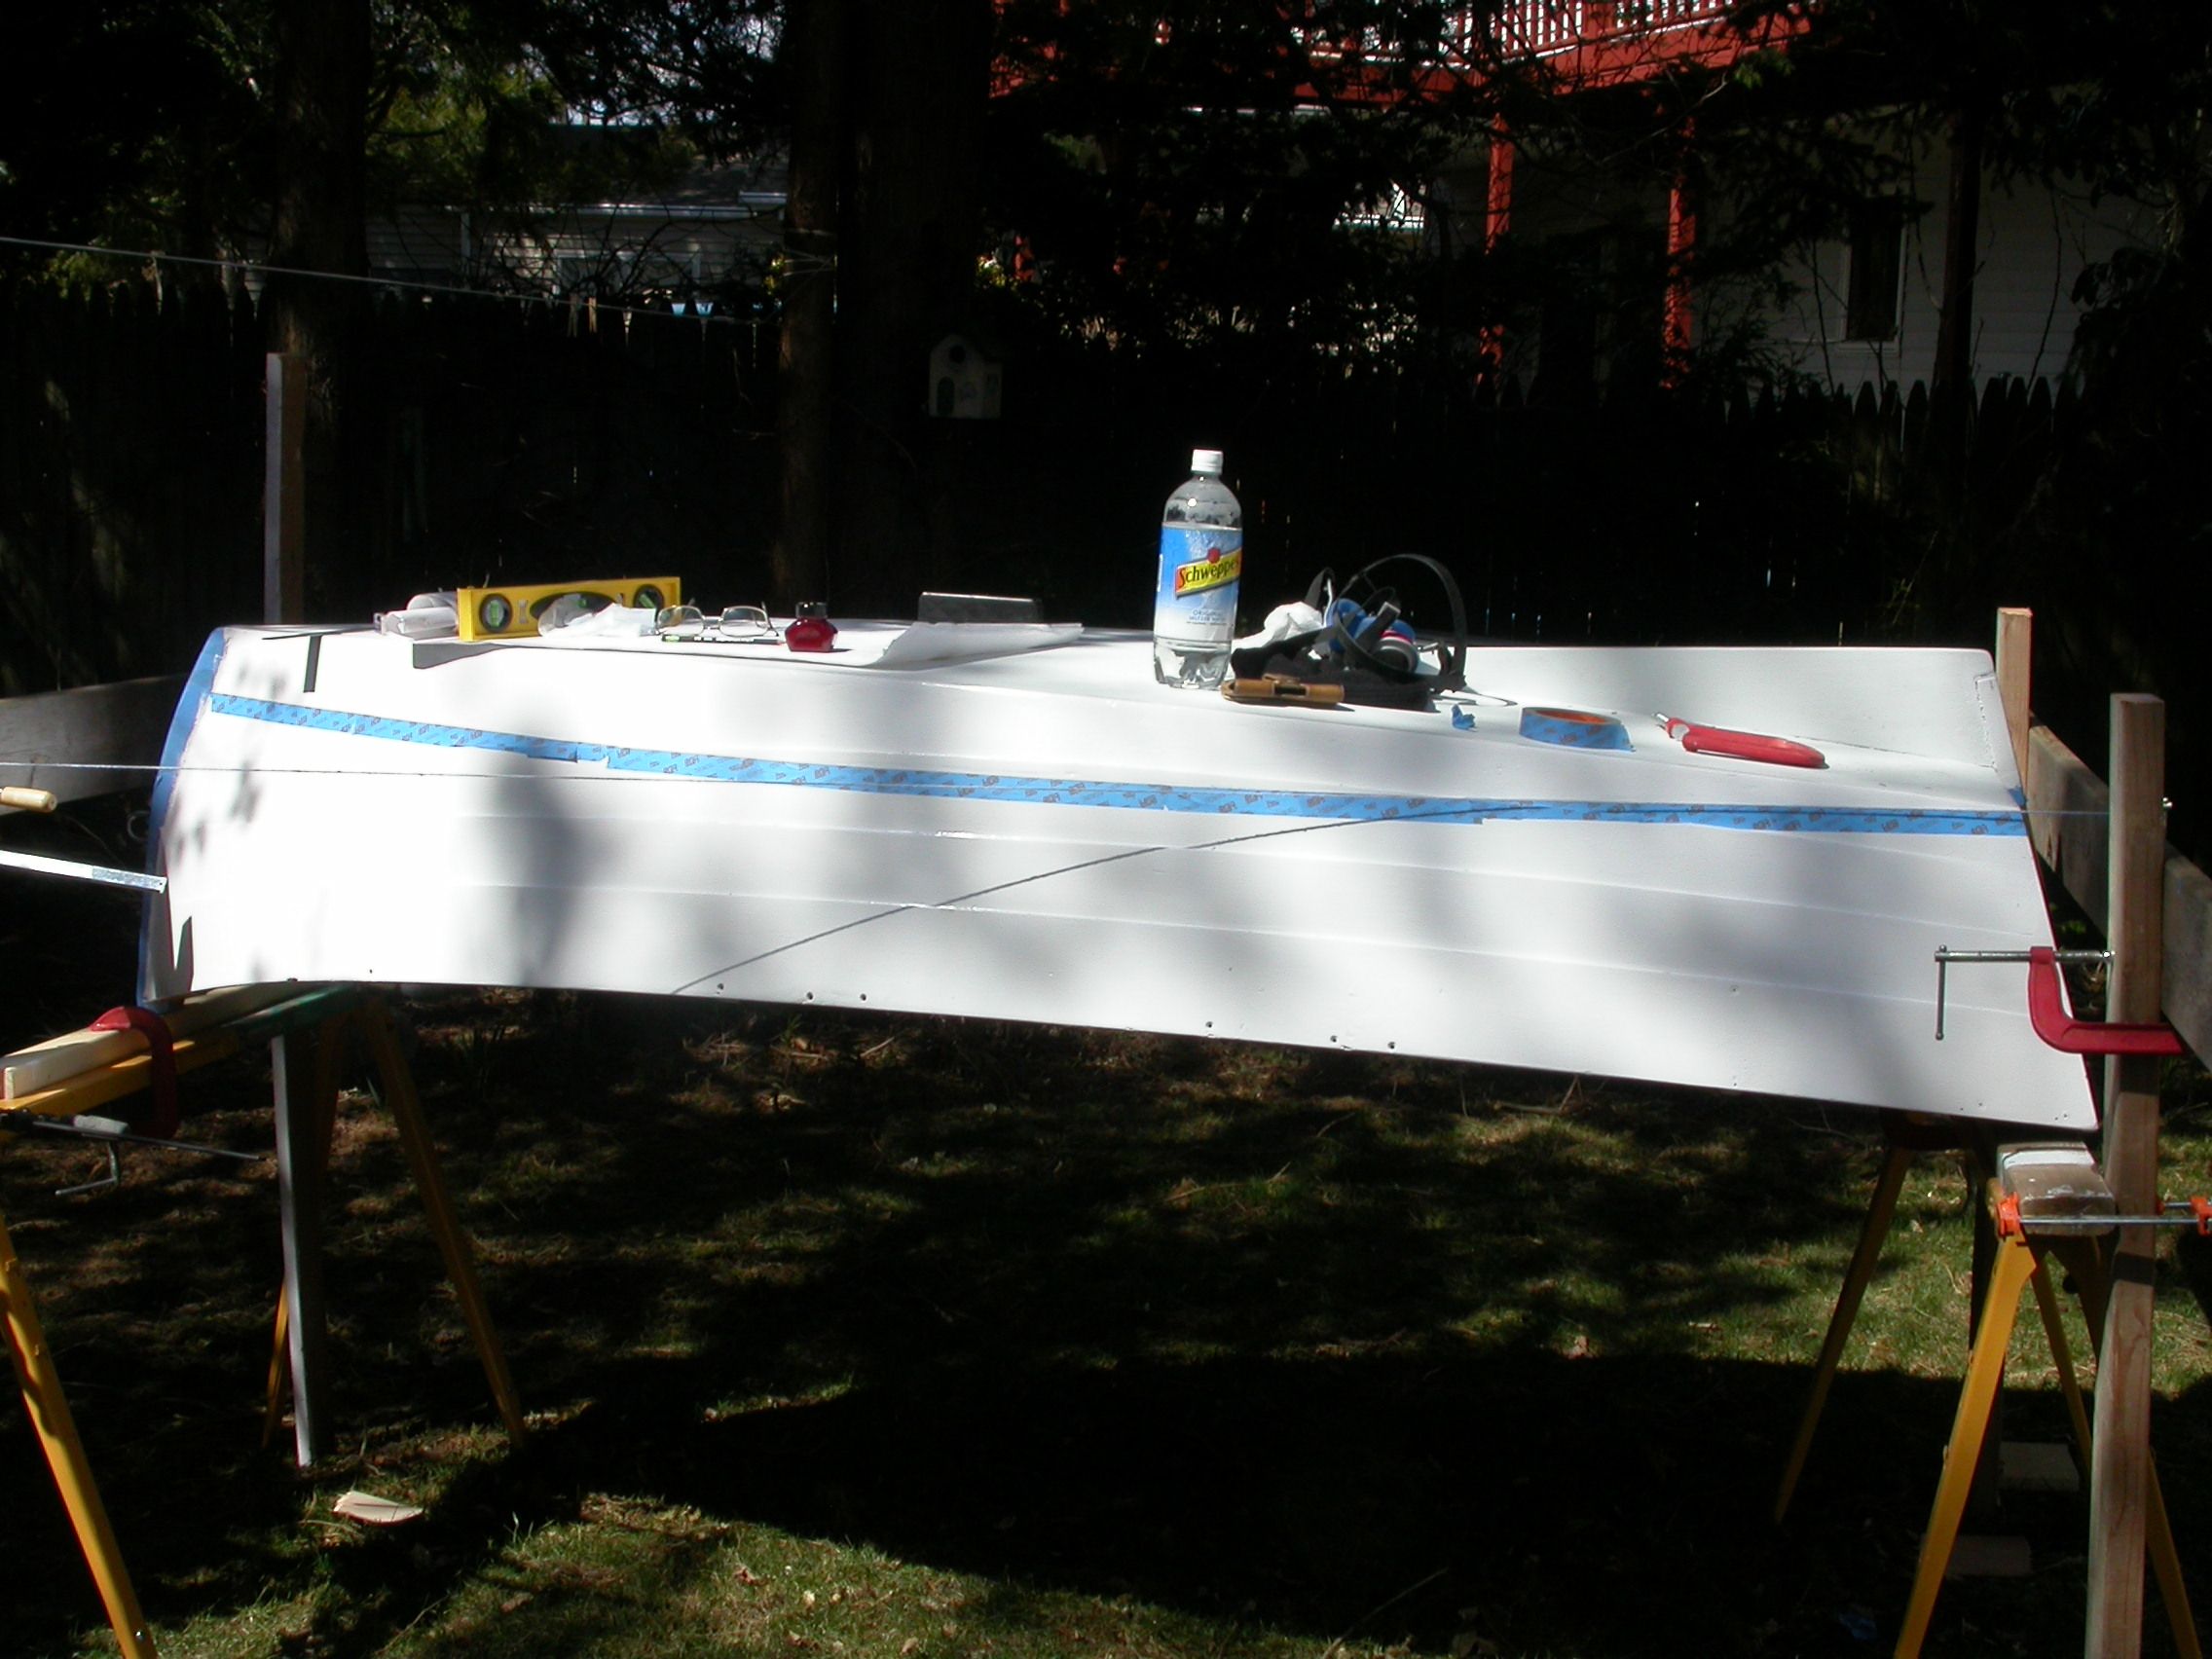
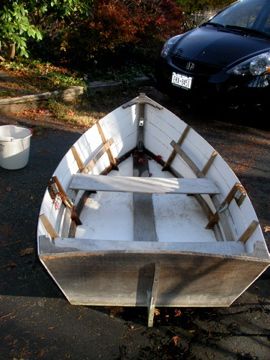
Yes, the correct way to do this is illustrated in the photo below. The two cross beams are level with the design LWL (load water line), fore and aft, as shown on the original plans. The cross beams (and the boat) are leveled using a bubble level.
Then a string is hung between the two beams. The ends of the string are weighted, in this case with two big shackles. If the two beams are at the LWL, then the straight line of the string is also at the LWL.
Move the two ends of the string so the string just touches the boat at one end. I stared in the stern. Draw a line under the string.
Then move the string so it bears on the next part of the hull, and continue drawing the line.
 |
| Drawing LWL -- actually, an inch above the waterline |
 |
| Move string to hit different parts of boat... draw line under string |
 |
| Tape showing line |
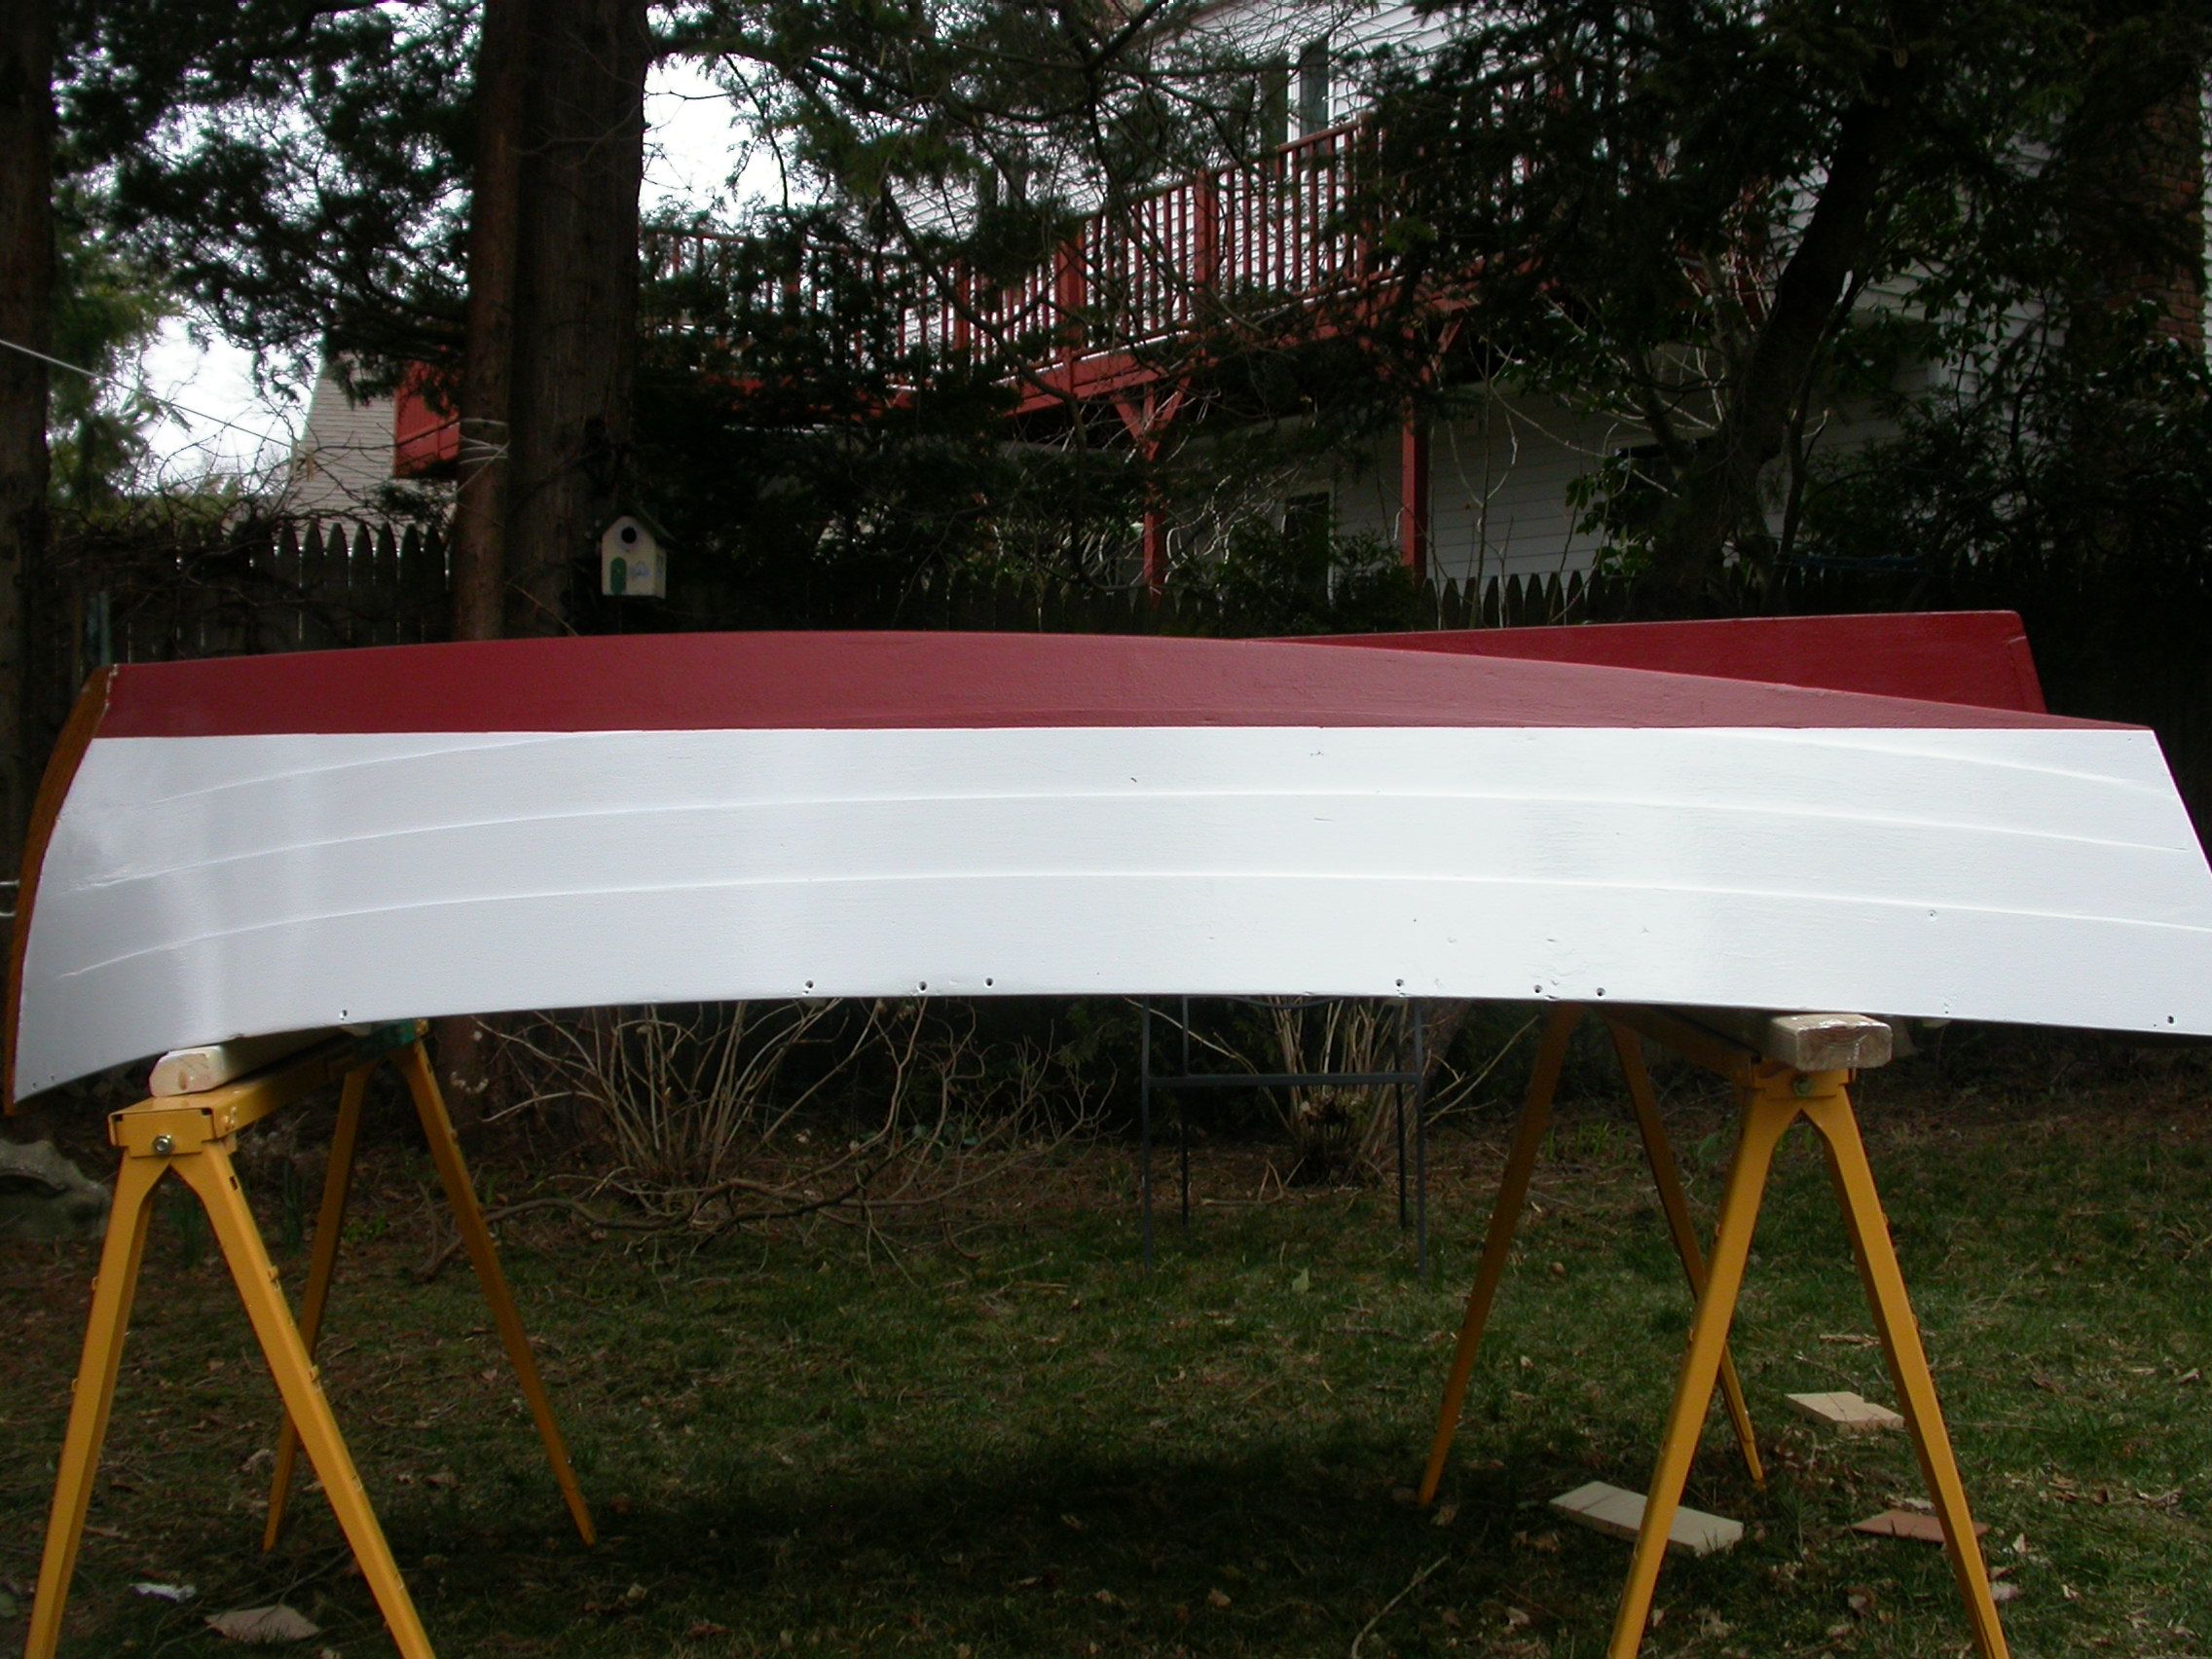 |
| Voila... |
 |
| Another look |
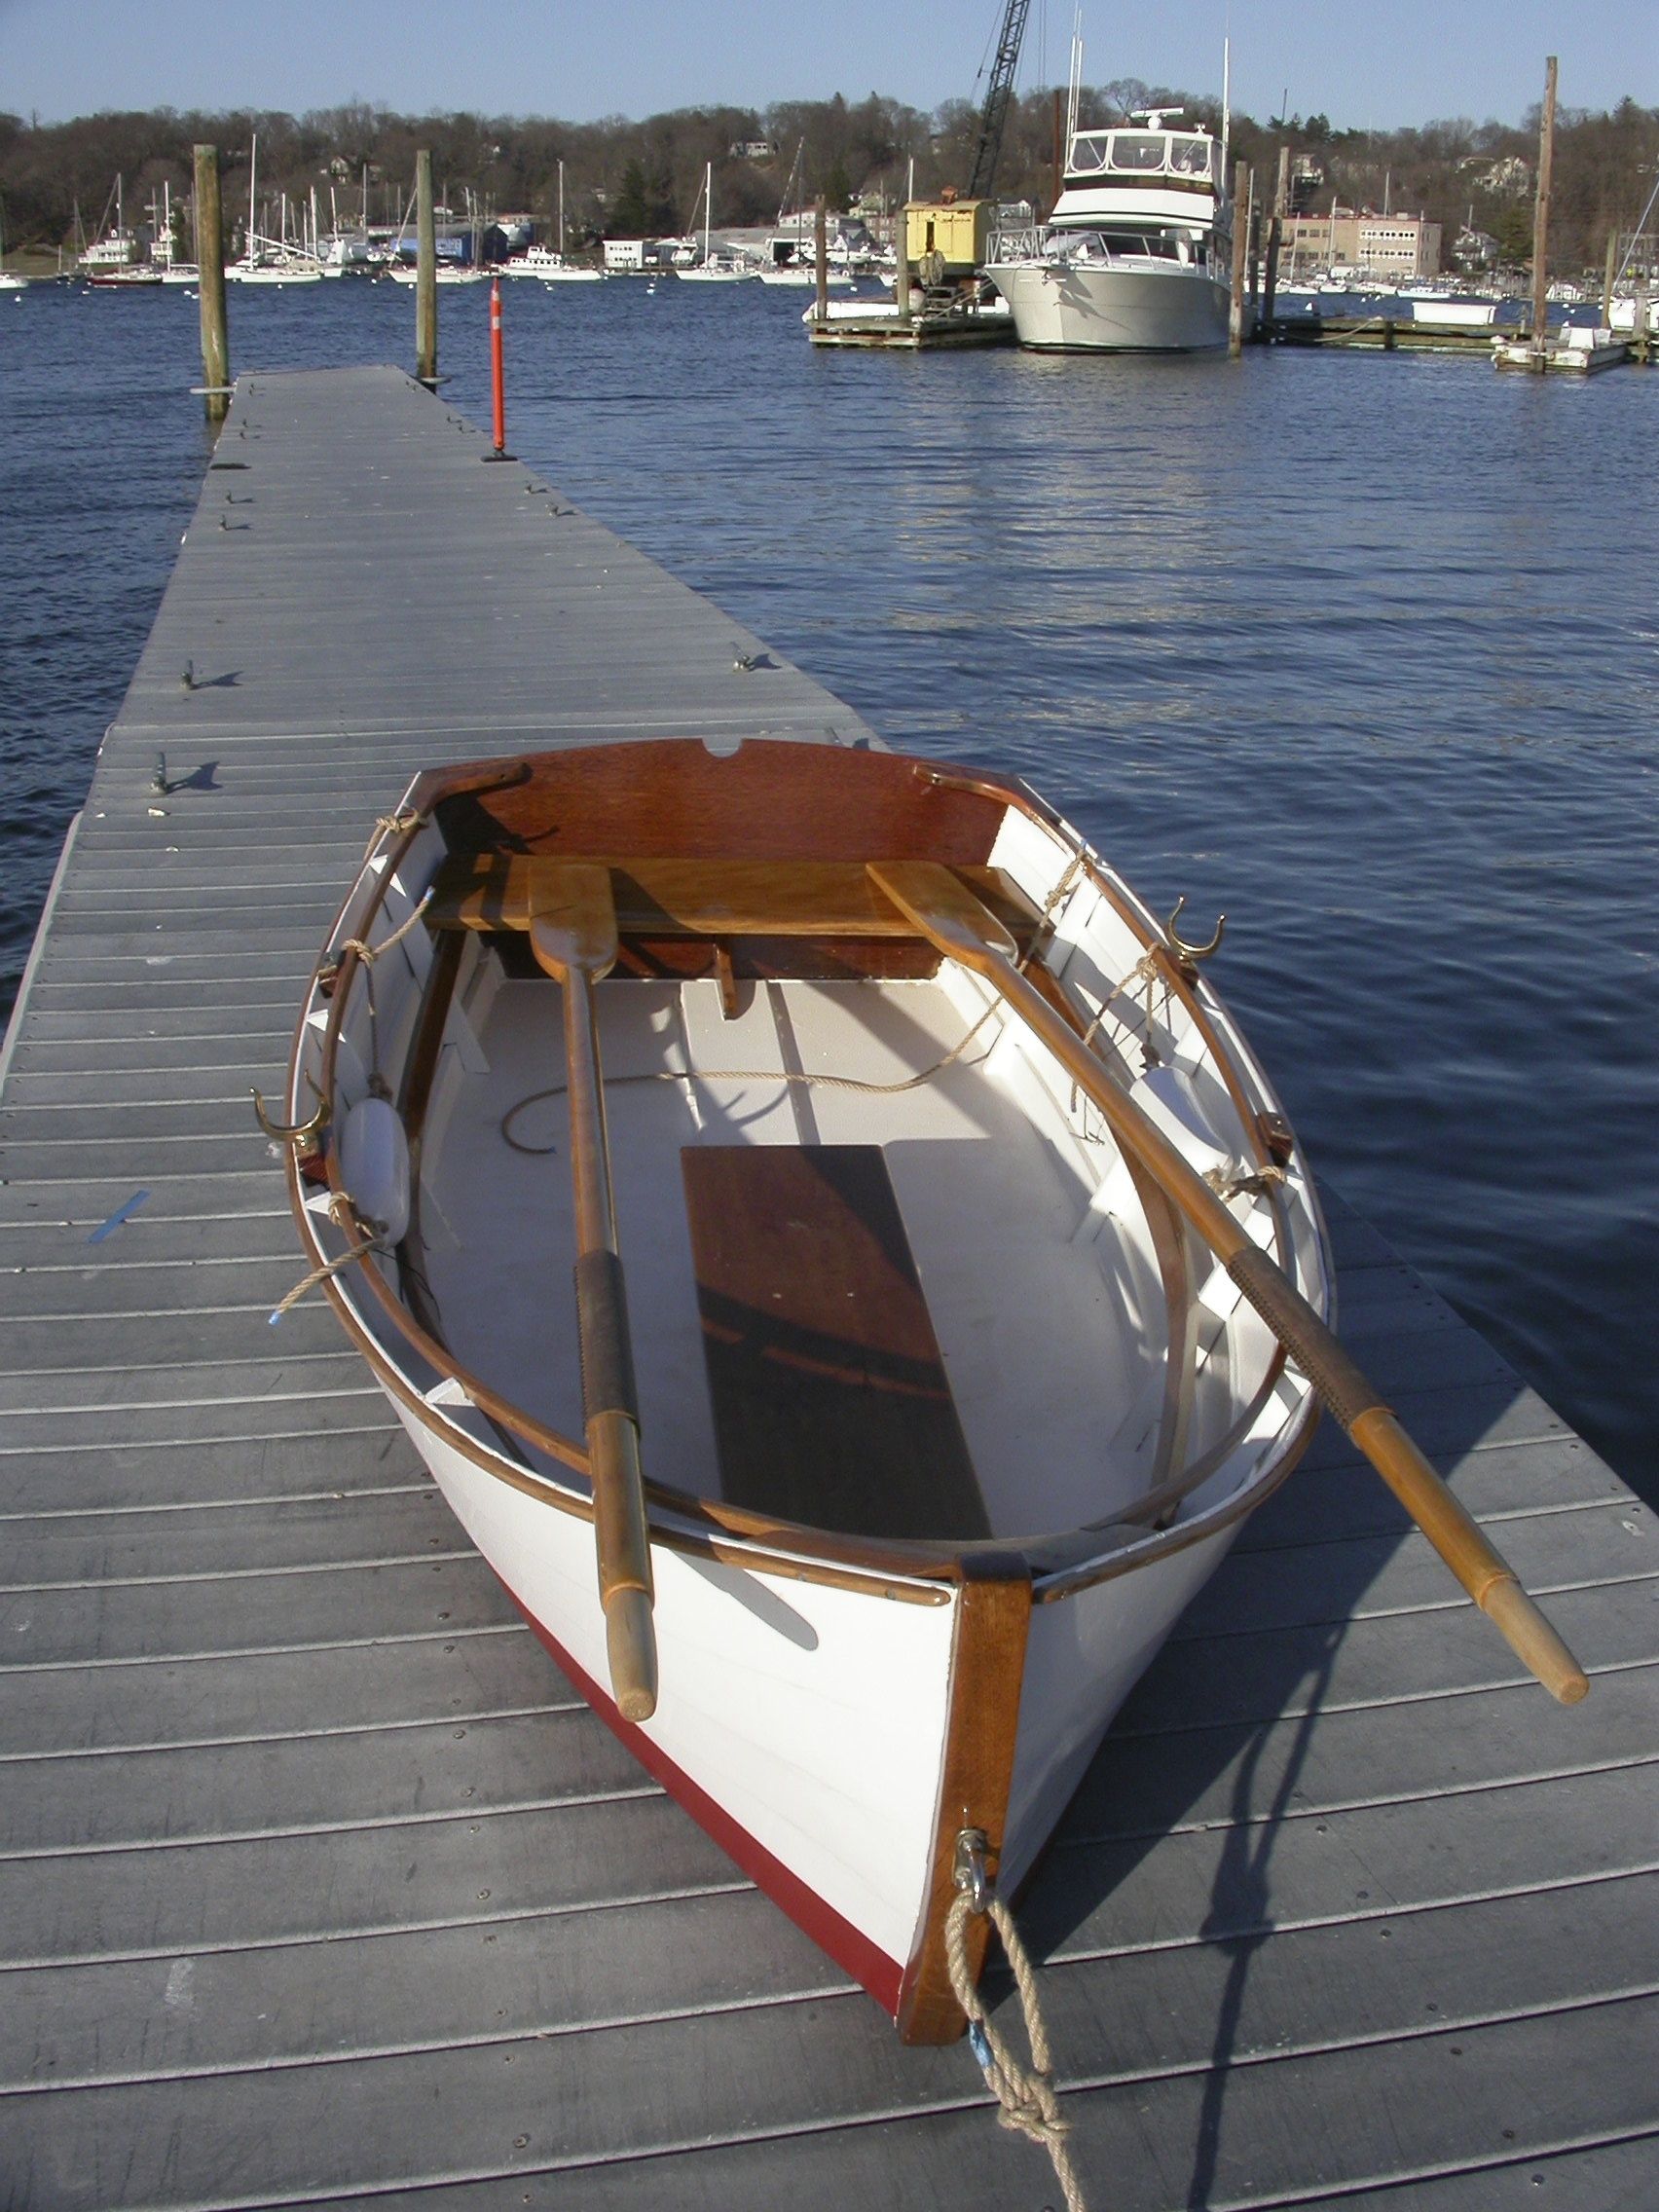
Here he is on the town dock, ready to be officially re-splashed. A suitably-beautiful spring day was ordered up for the occasion.
 |
| Ready for launching |
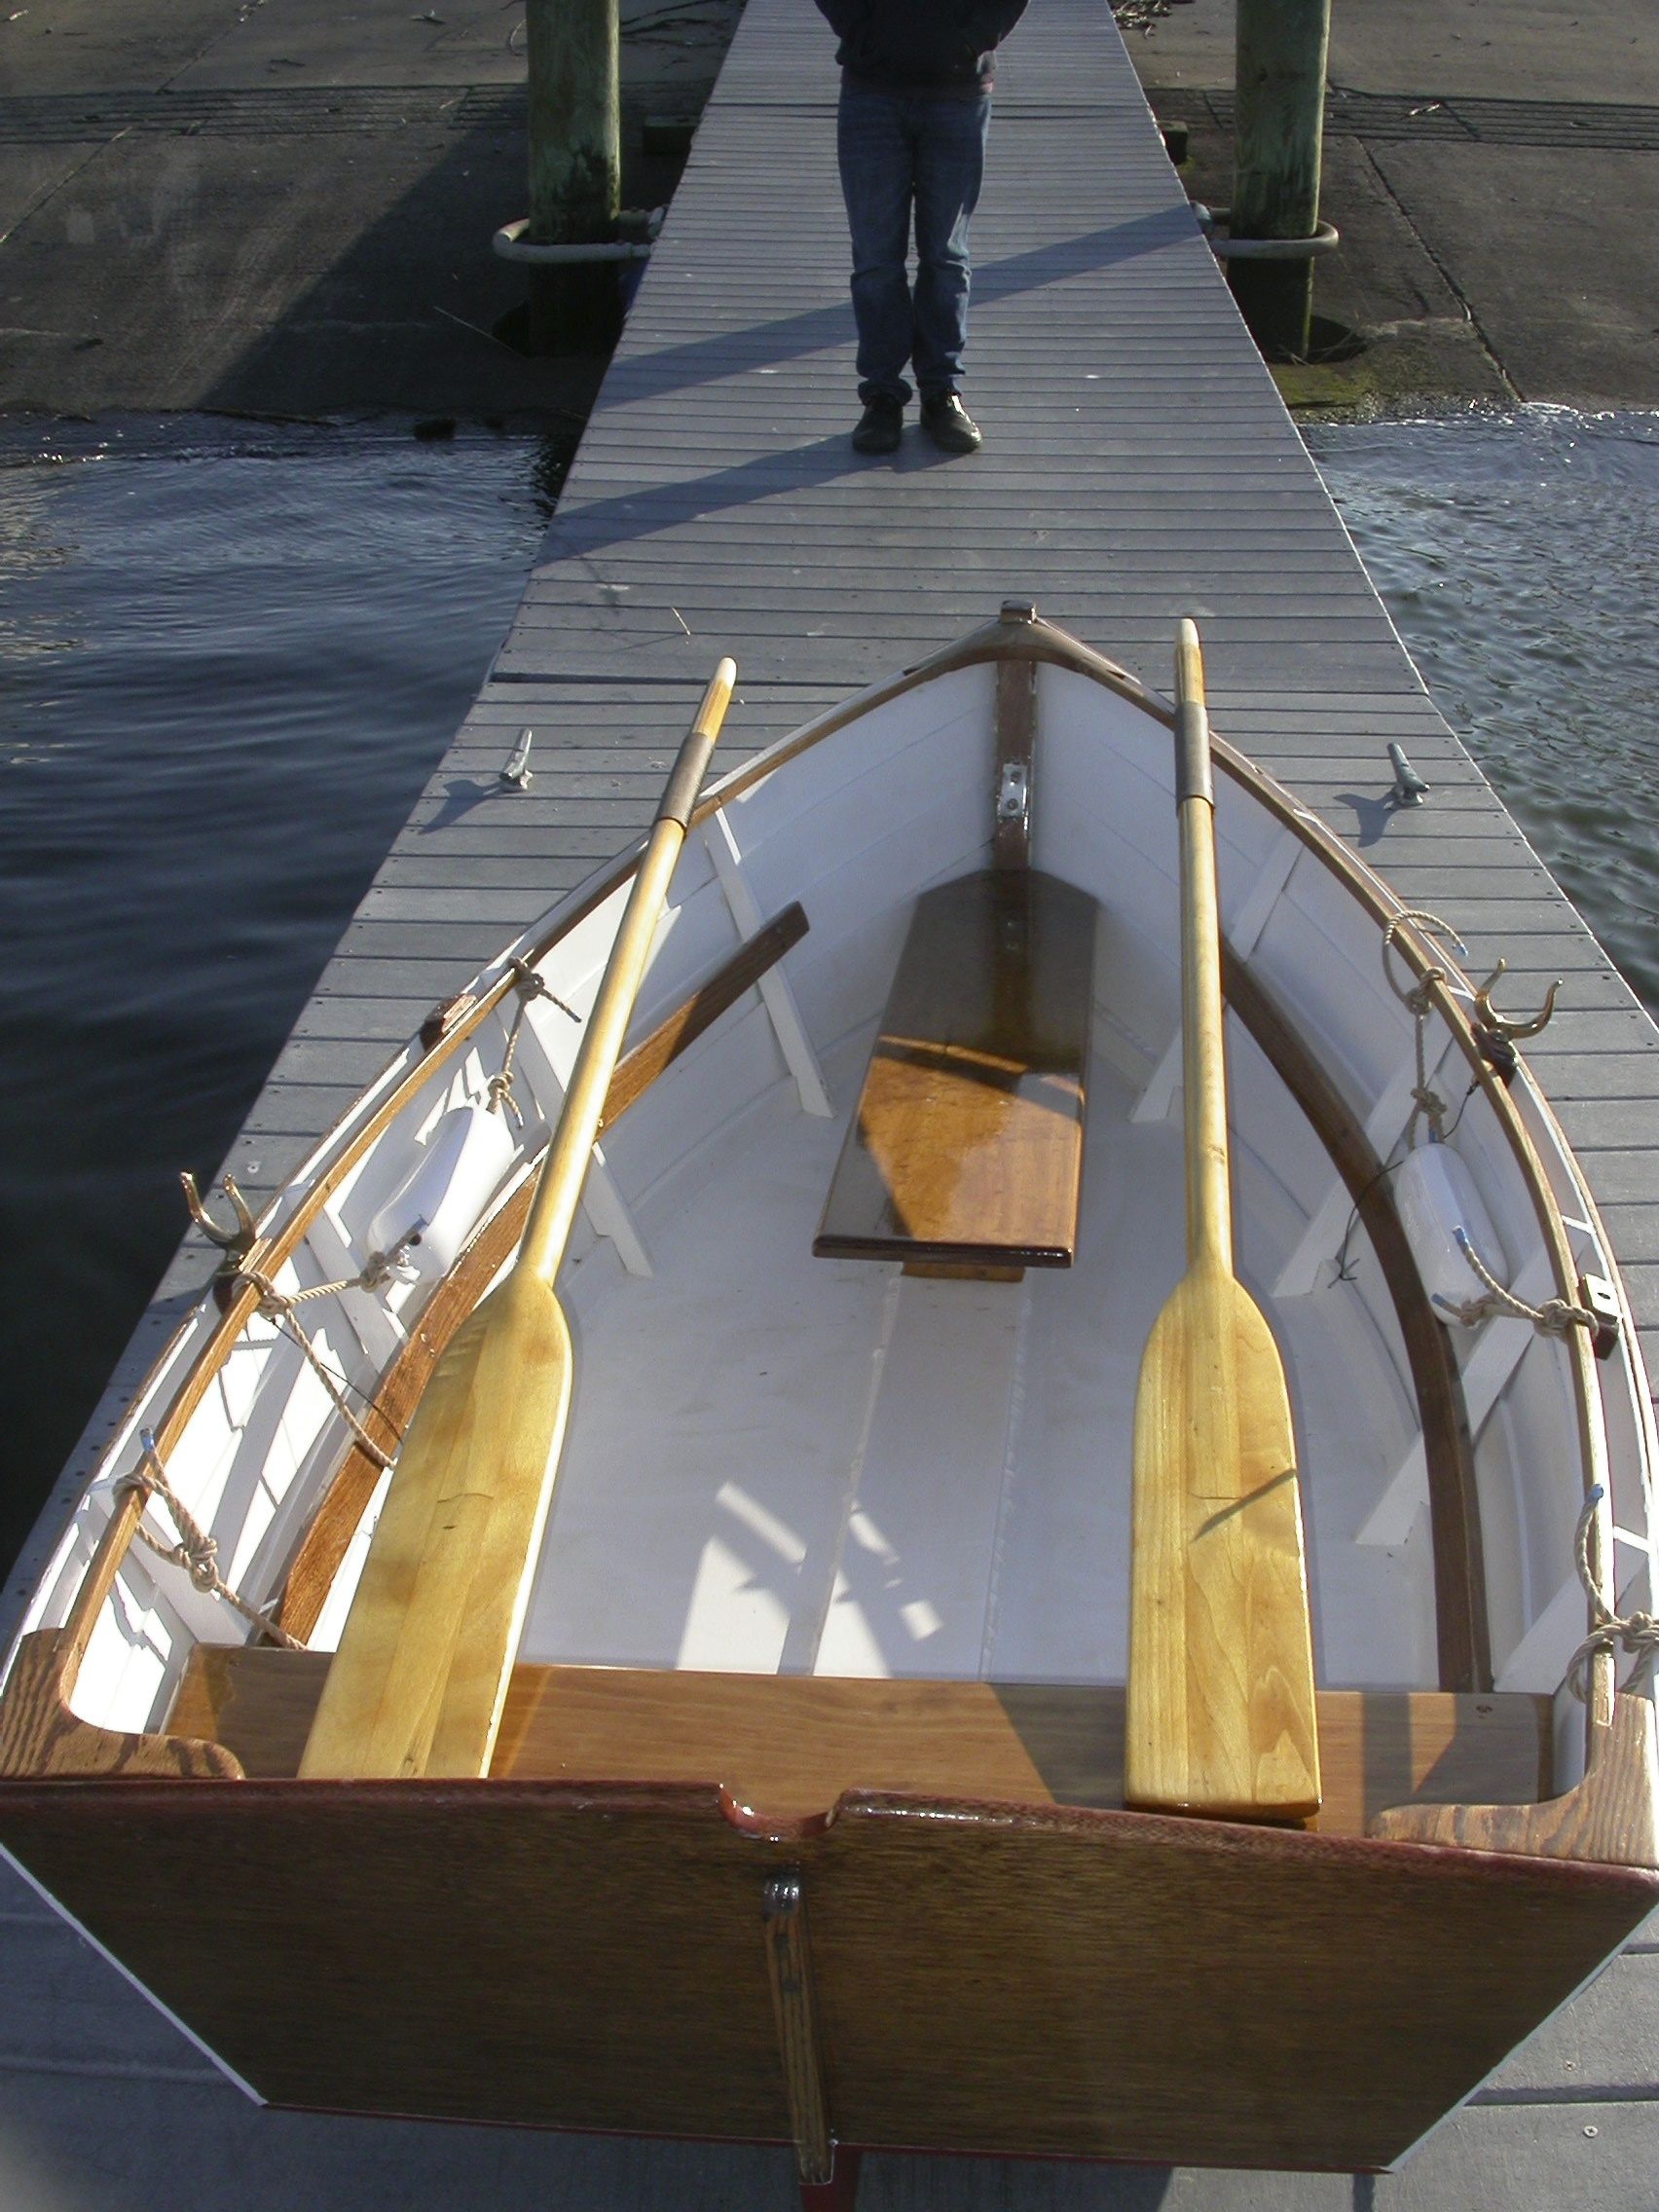 |
| Don't ask me why oarlocks are like that |
If the club had a contest for best looking dinghy, I'm pretty sure he'd win.
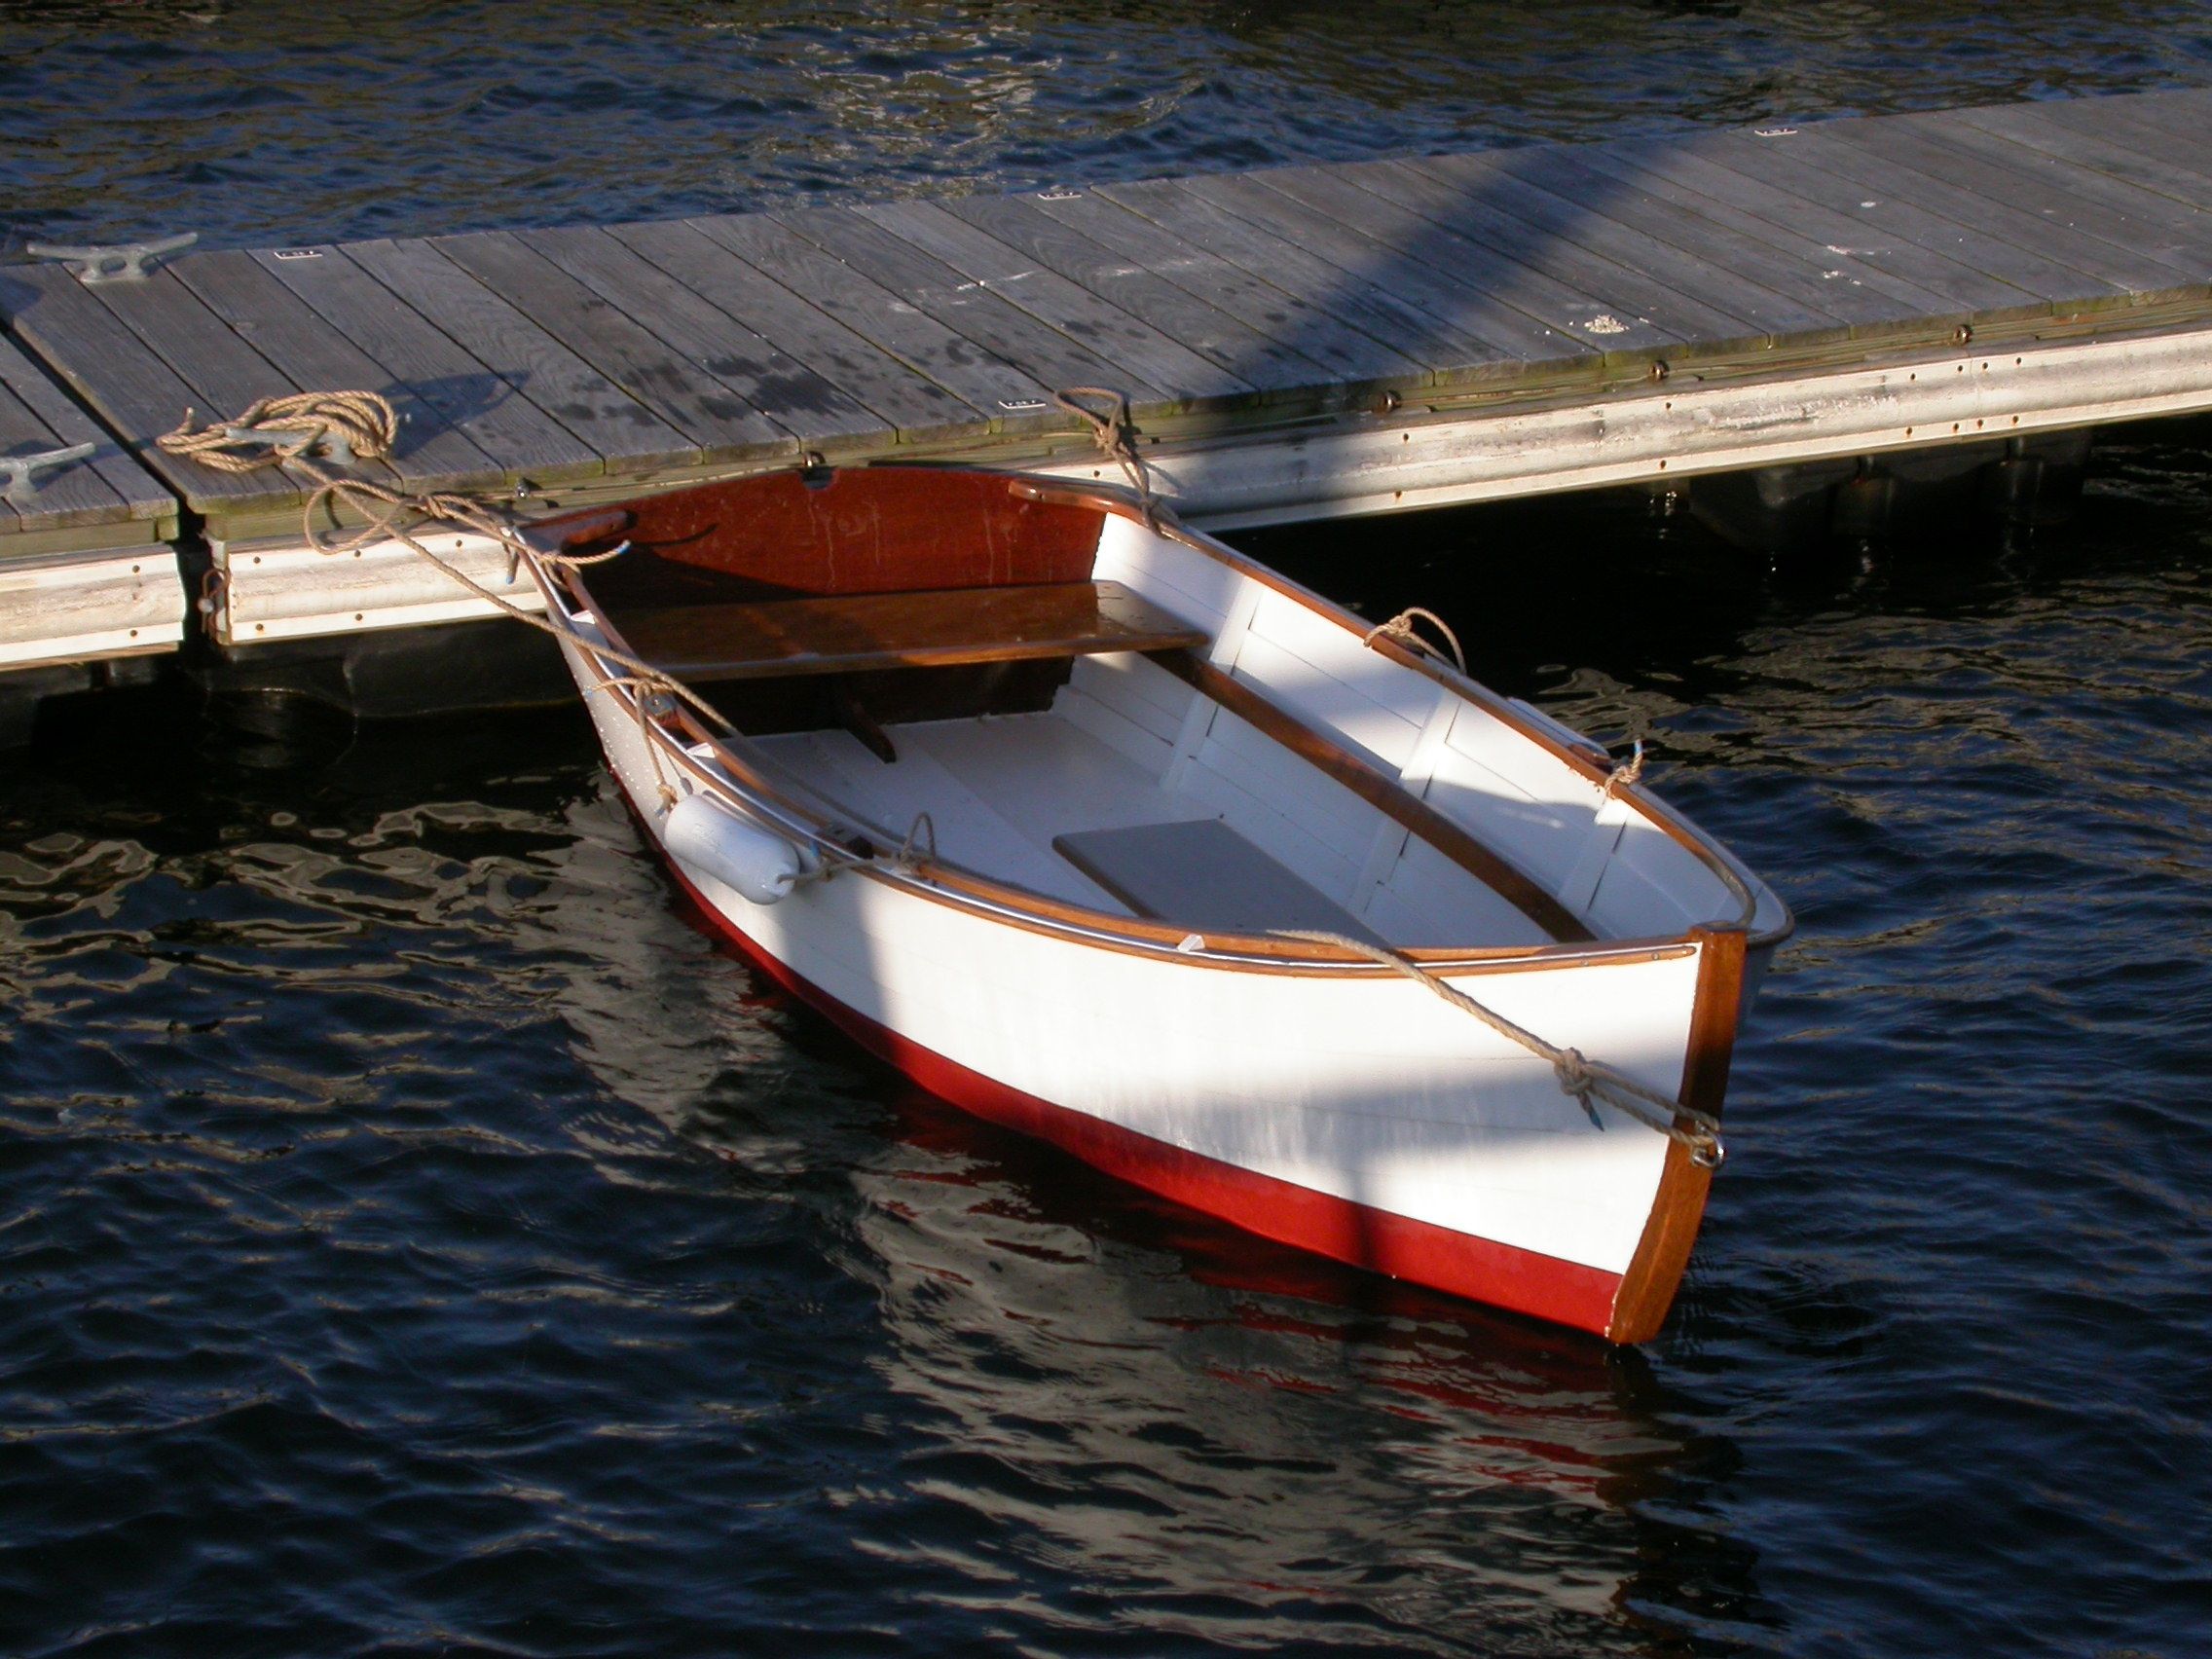 |
| On the Ketewomoke dingy dock |
And that is the end of Cabin Boy's refit story. A long way from how he looked after his Big Adventure:
 |
| The day after sailing into Huntington Harbor |
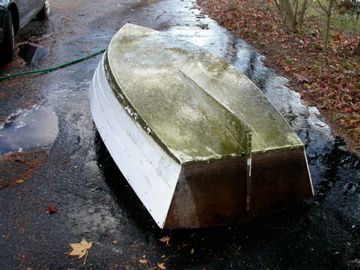 |
| AFTER having his bottom scrubbed! |
Next time, we turn to the Blue Moon's new galley...
Next Episode: When You're Ready
He looks absolutely stunning. Very handsome!
ReplyDeleteAnd very inspiring.
LOL... ENJOYED THE POST!
ReplyDeleteCould not get the post. The images were EXTREMELY Large.
ReplyDeleteH'mmm. They're not that big. Are you on dialup?
DeleteAlways wondered how to do that waterline thing Properly! As usual, it's pretty easy. (I don't want to talk about what I did, how long it took, OR how it came out.)
ReplyDeleteI got this method from the Greg Rossel book. It was really easy.
DeleteThanks for the post. That line came out very nice.
ReplyDelete