The next step in the project was to build a new bunk. I tortured myself over this bunk more than any other part of the job, mainly because it seemed so 'out there'... so different from accepted norms... so... old fashioned!
My main reason for choosing a root berth as my second bunk is that it rolls out of the way when not in use, clearing the way to the foc'sle where I wanted to keep the head, storage for ropes, fenders, extra sails, etc. Also, it was cheap to build and -- according to all reports -- a very comfortable berth.
A root berth is different from a traditional pipe berth because it only uses two pipes -- one on each side of the bunk -- rather than a closed frame. I would have actually preferred a pipe berth, but it would have been either two narrow to sleep on, or too wide to fold up against the side of the hull. Believe me! I measured that space at least 148 times.
I wasn't quite sure how to sew up the cloth part of berth itself, so I bought some cheap canvas material at a fabric warehouse, and just went at it. As I always say, you never know how to do something until you've done it, so don't let a lack of knowledge slow you down. Just dive in head first and figure it out as you go along.
To keep things simple, I decided that the in-board pipe (the one I'd climb over to get into the bunk) would be perpendicular to the galley bulkhead. Likewise the foot stretcher would be parallel to the bulkhead. The out-board pipe (the one closest to the hull) would run at an angle along the side of the boat. At the head of the berth, the pipes would be 28" apart. At the foot, they'd be 18" apart. Allowing extra material for the pipe sleeves, this made marking off the berth pattern fairly simple.
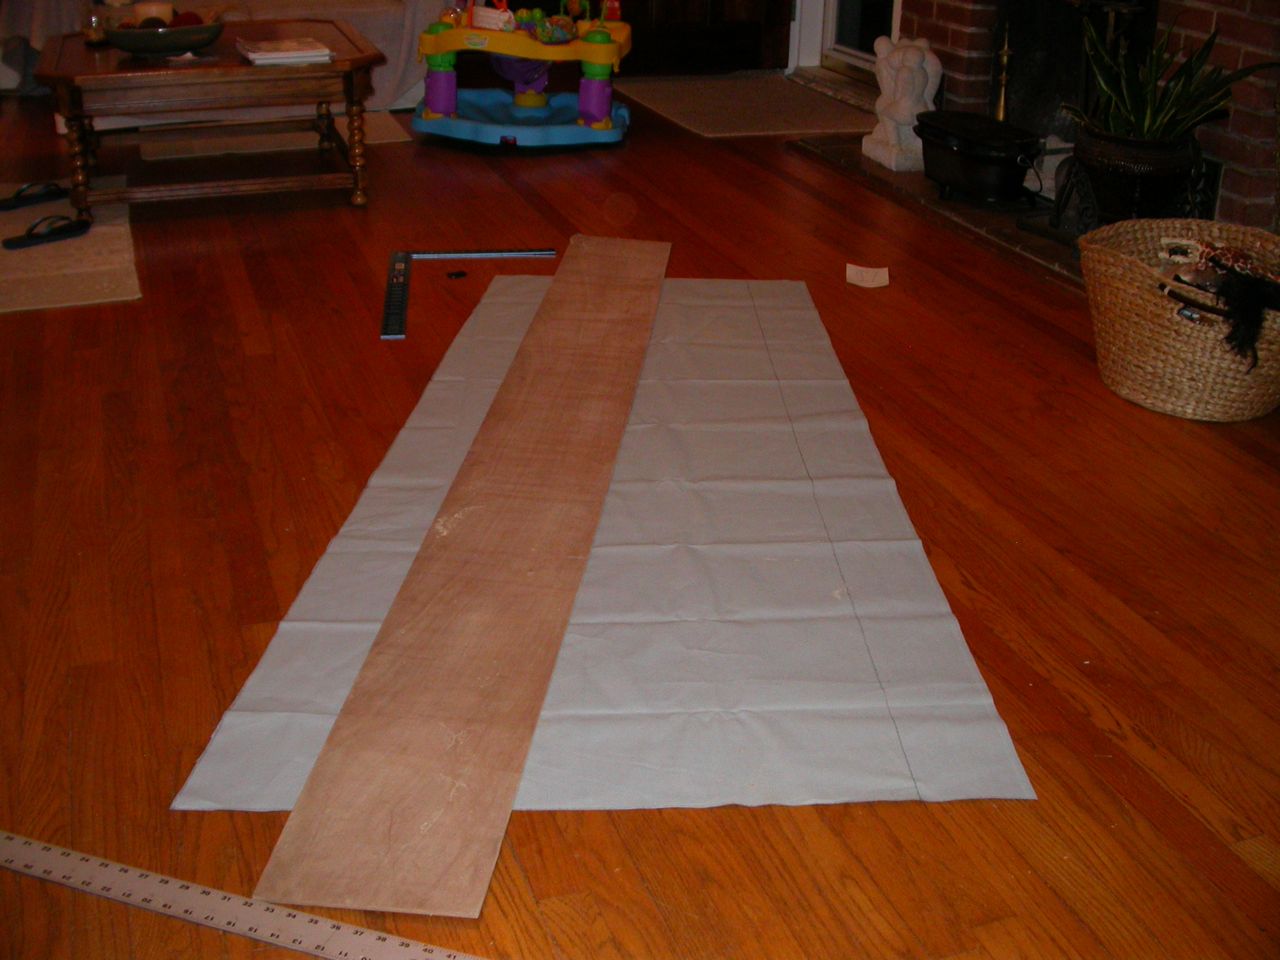 |
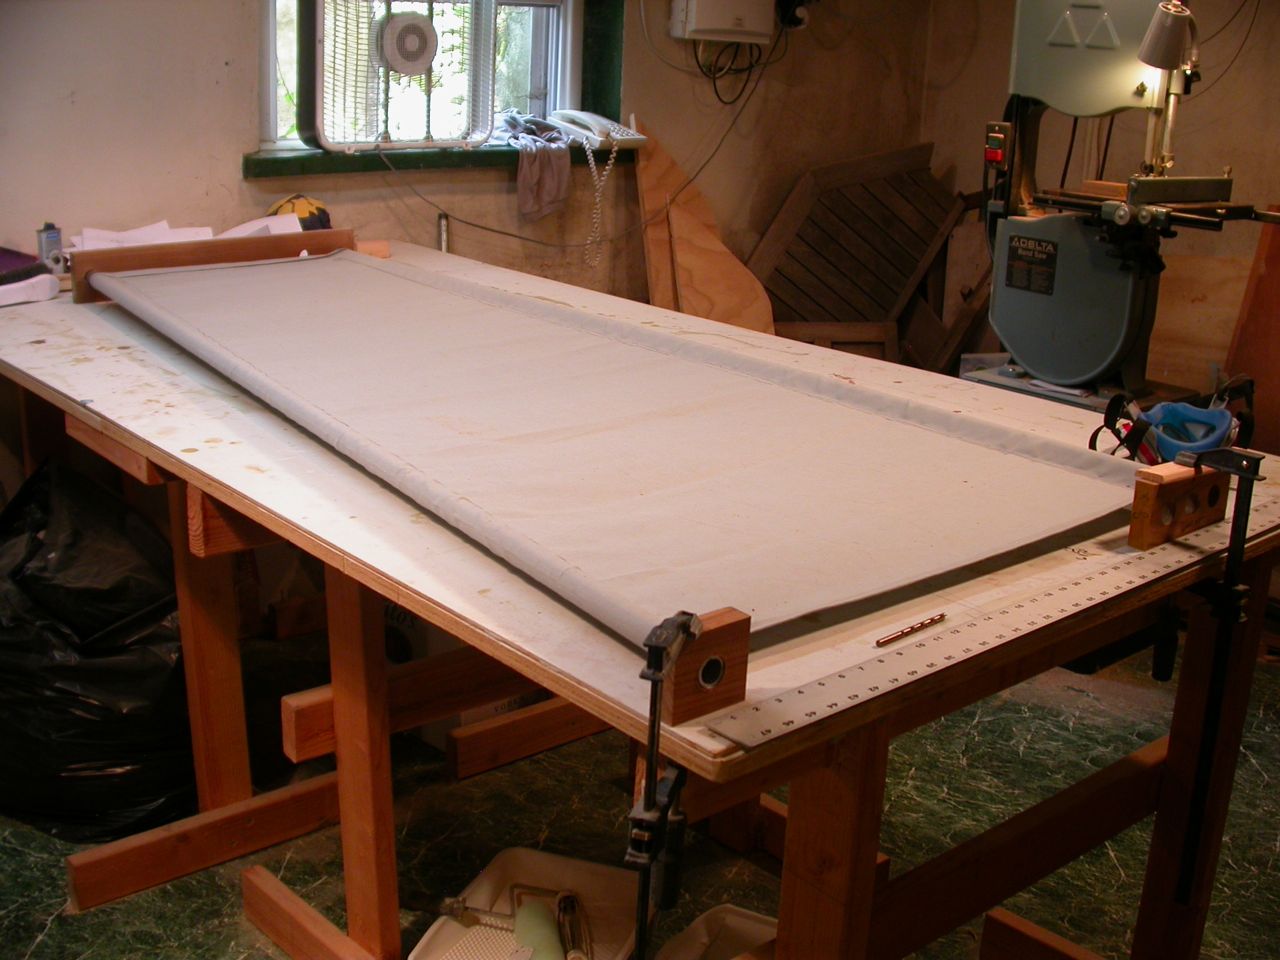
| An 8' Straight Edge |
If you click on the photo below, you will see the allowances made for hem at head and foot, and for sleeves on either side. The little scrap of paper at the head of the berth is my 'plan'. Obviously, I didn't over-think this one.
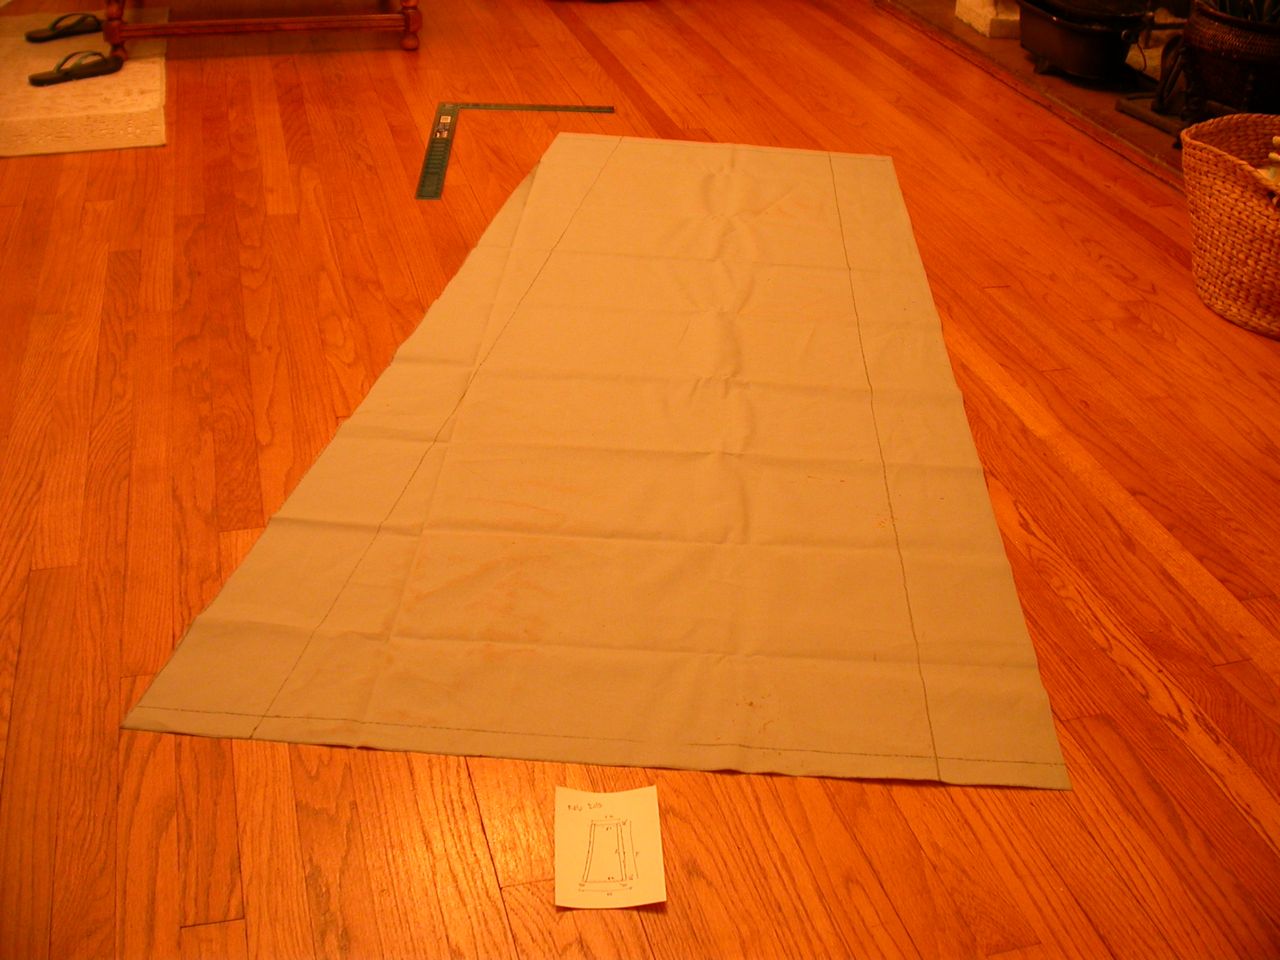 |
| Cut out, with hems and sleeves for poles marked off |
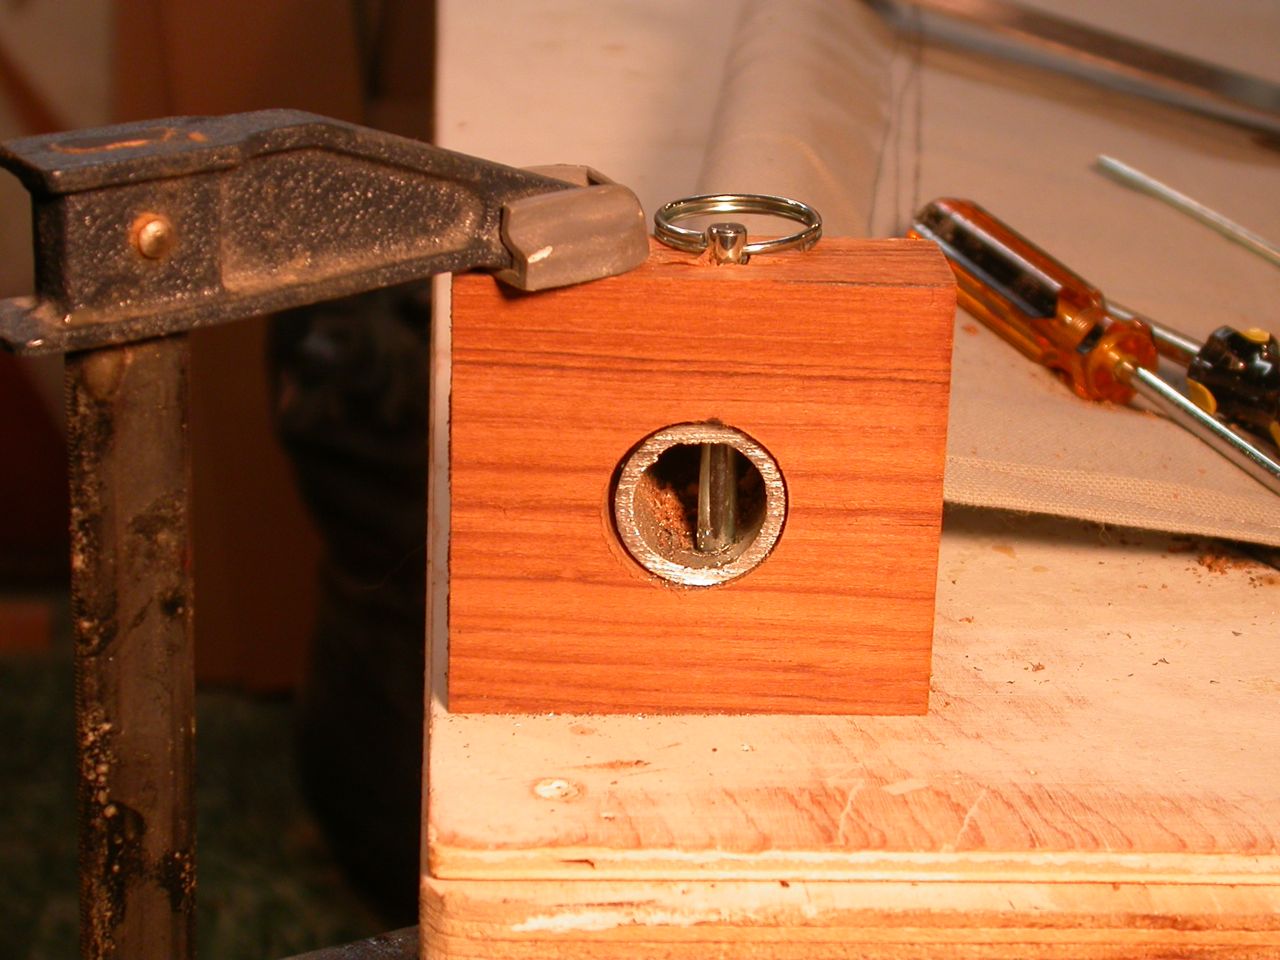
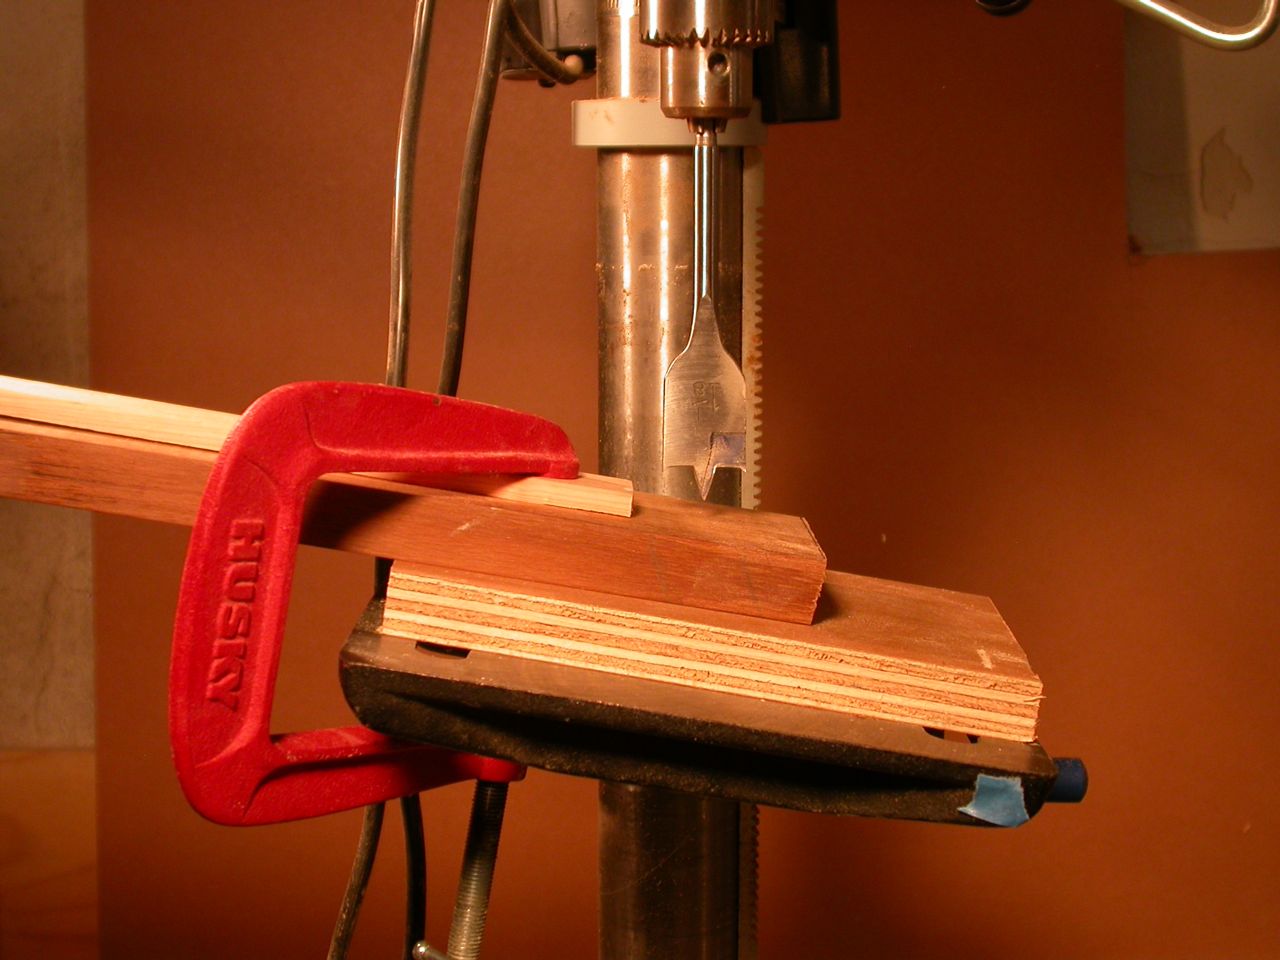 |
| The easy way to drill holes at an angle |
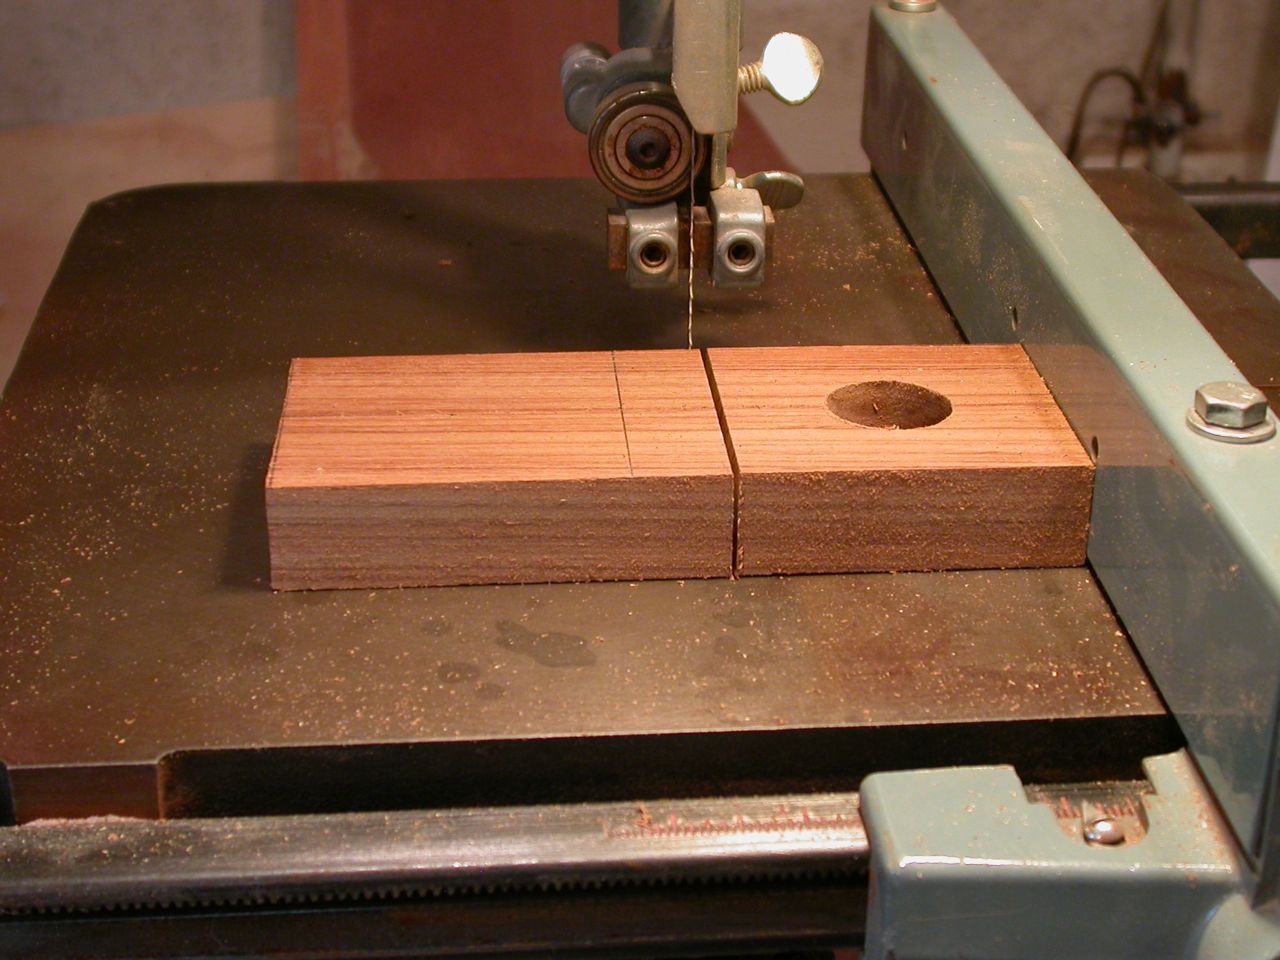 |
| The Luxury of a Good Bandsaw |
 |
| Stretcher and two Chocks |
 |
| 28" at head, 18" at foot |
Instead, I found some 1/4" x 3" hitch pins and drilled holes for them through chocks and pipe. The hitch pins will hold the pipes in place, while being easy to remove for stowage.
 |
| Steel pipe held in place by hitch pins |
Finally, it was time to install the chocks on the boat and see how she fit. As you can see in the pics below, the bunk fit perfectly. The foot stretcher is held up and against the side of the hull by 1/2" ropes with a rolling hitch, so the height of the stretcher can be easily adjusted. I'll eventually tie eye-splices in the ends of these ropes.
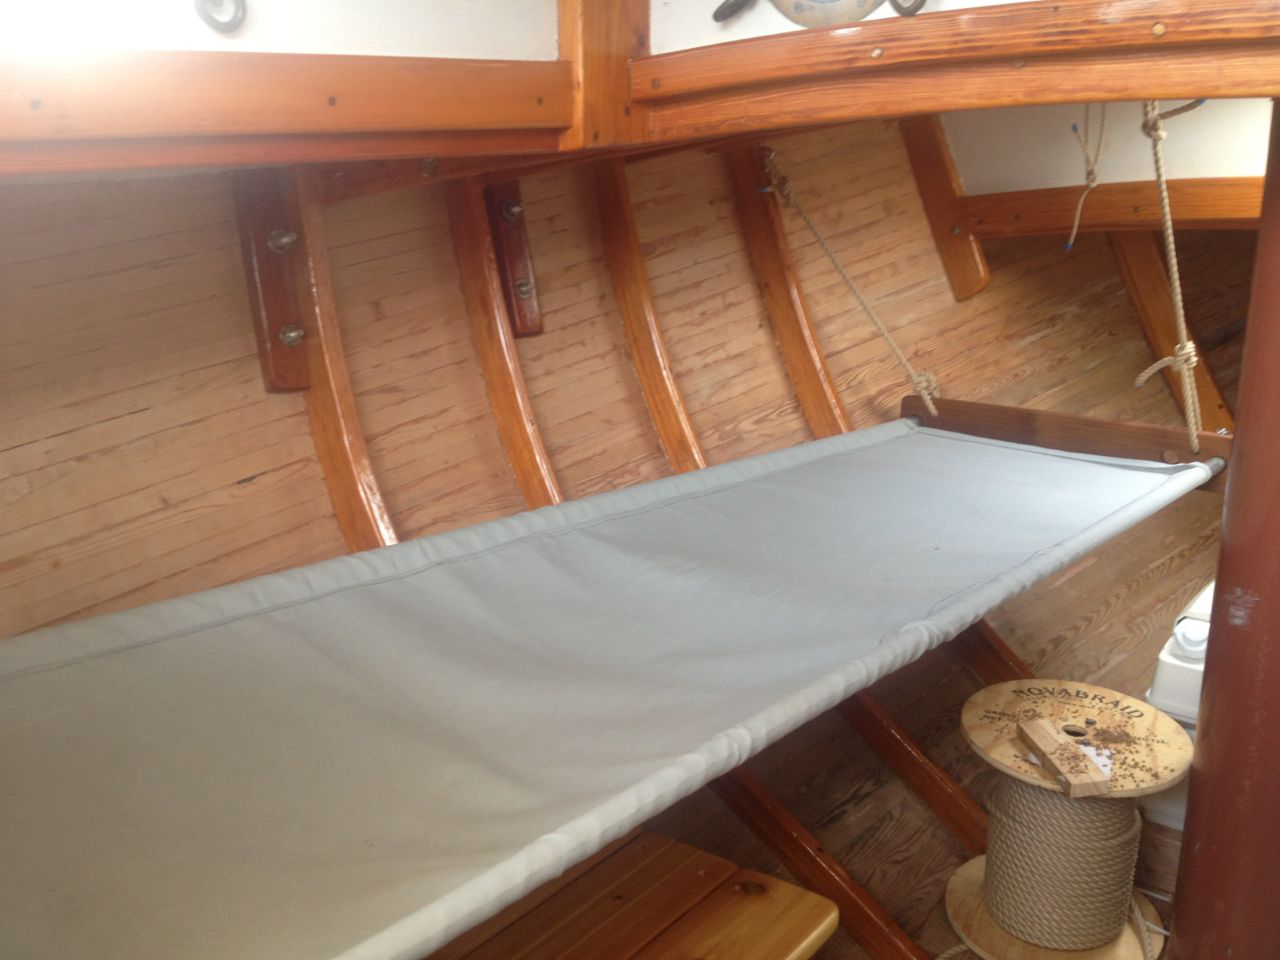 |
| Installed with temporary rope work |
Someone with first-hand experience with root and pipe berths told me I should double the material to avoid too much stretch, but did I listen? Of course not. The pic below shows just how much the canvas stretched after I laid in it the first time. Actually, it didn't stretch any more even after spending a night in it, but it just shows how much canvas will stretch when first put under pressure.
No matter, this was my 'learning' bunk. Now that I know about stretching, I'll double-up the material -- or at least re-inforce it under the shoulders and hip area -- and make it about an inch narrower than I want the finished berth to be. That should make it tight in the second hole (at first) and as it stretches, it will be wide enough to be flat in the first hole.
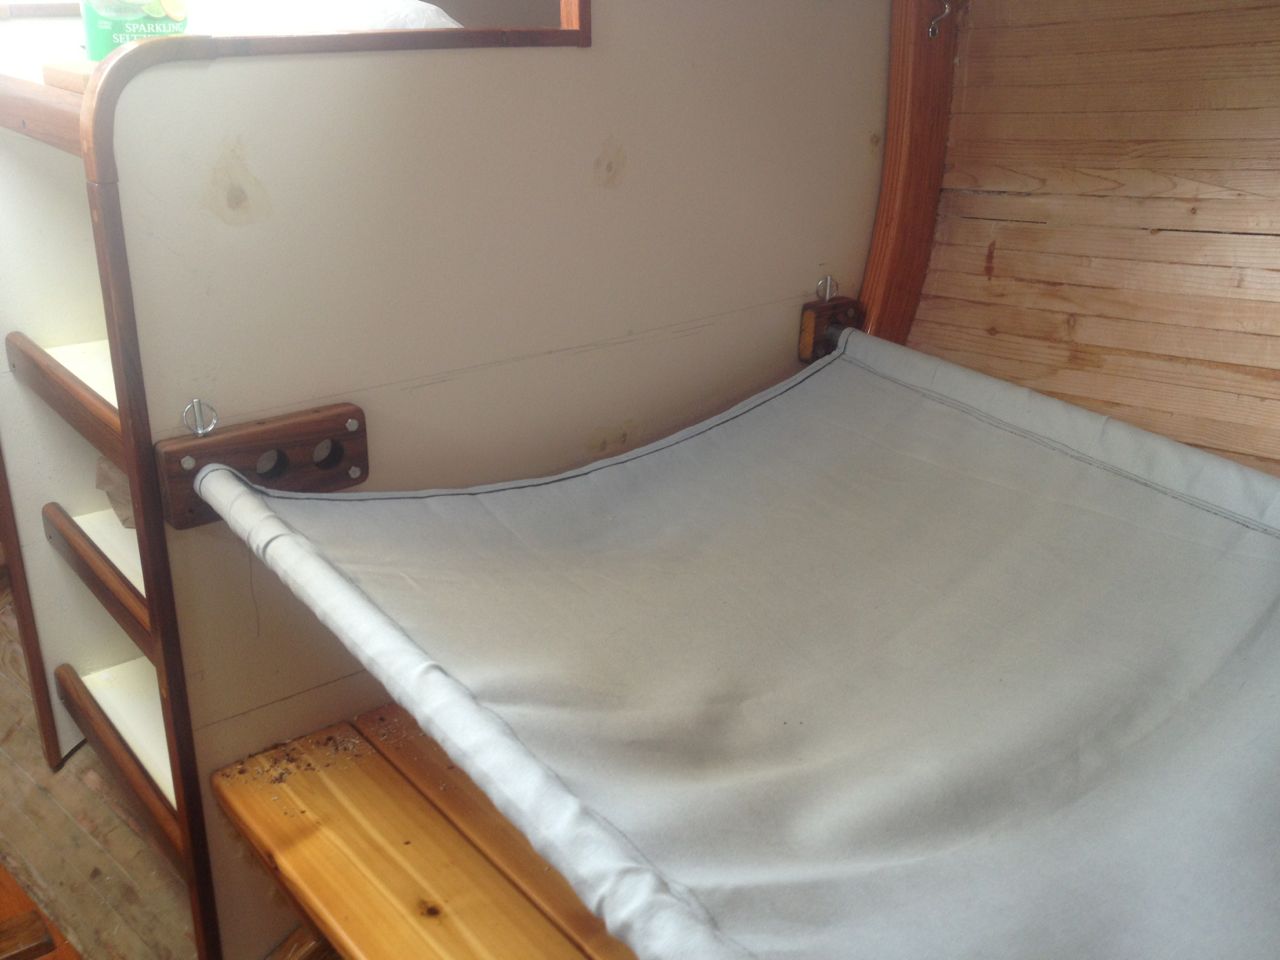 |
| Chocks are through-bolted for security |
 |
| Rolls up and out of the way when not in use. |
Helena and I spent a night aboard to try out the new accommodations, and discovered that both our deck cushions fit side-by-side on the bench to make a comfy little sofa. We put my iPad on the bunk opposite, made some popcorn, and watched a movie in comfort and style. Very nice.
These West Marine seats have had a lot of use and abuse, and have held up pretty well. They have new models that look even better. It's great to be able to use them both on deck and down below. Great seats.
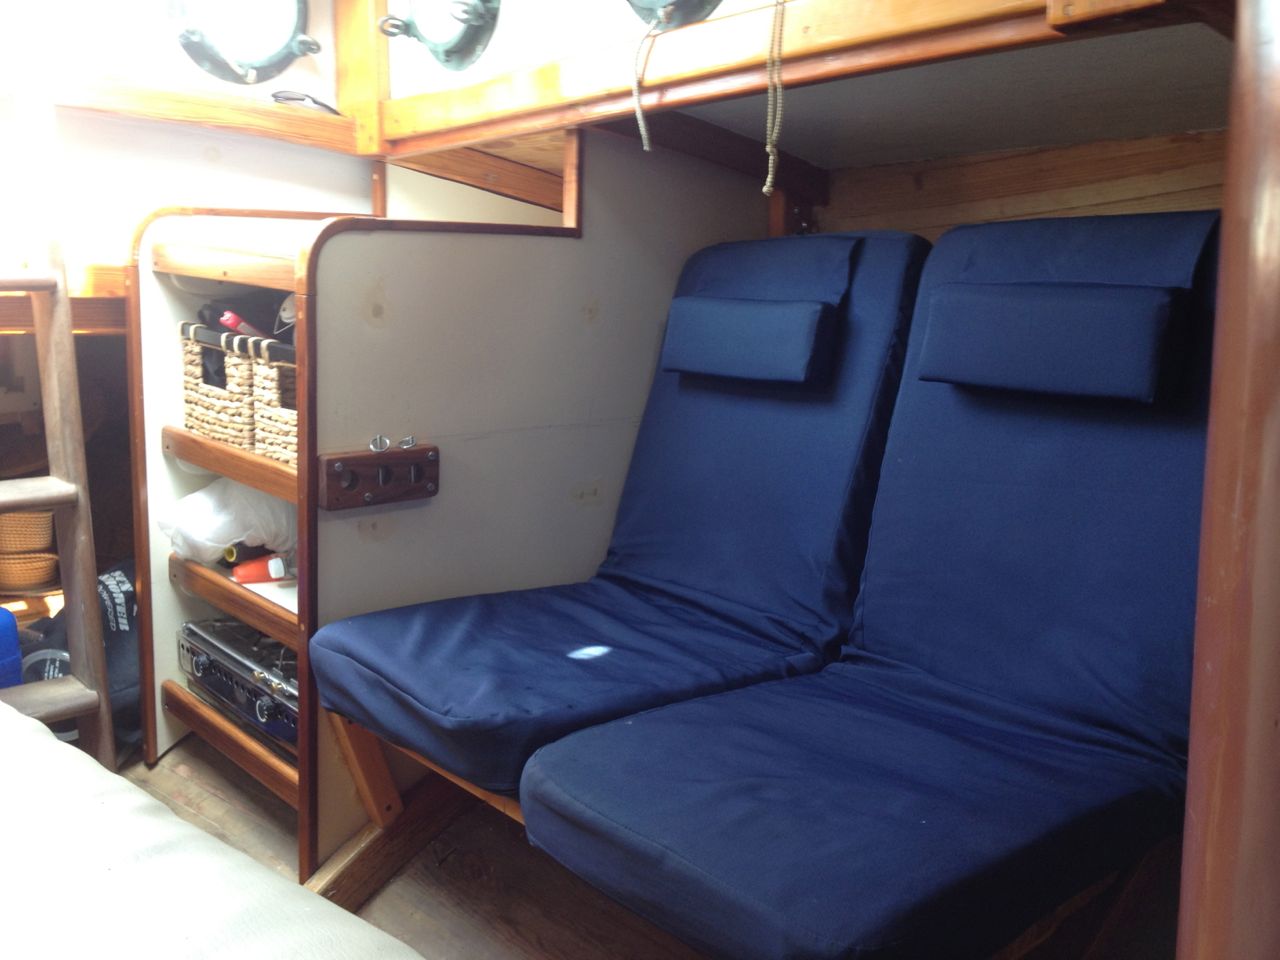 |
| Deck seats fit side-by-side on bench to make a little love seat. Bunk is folded away behind the seats. |
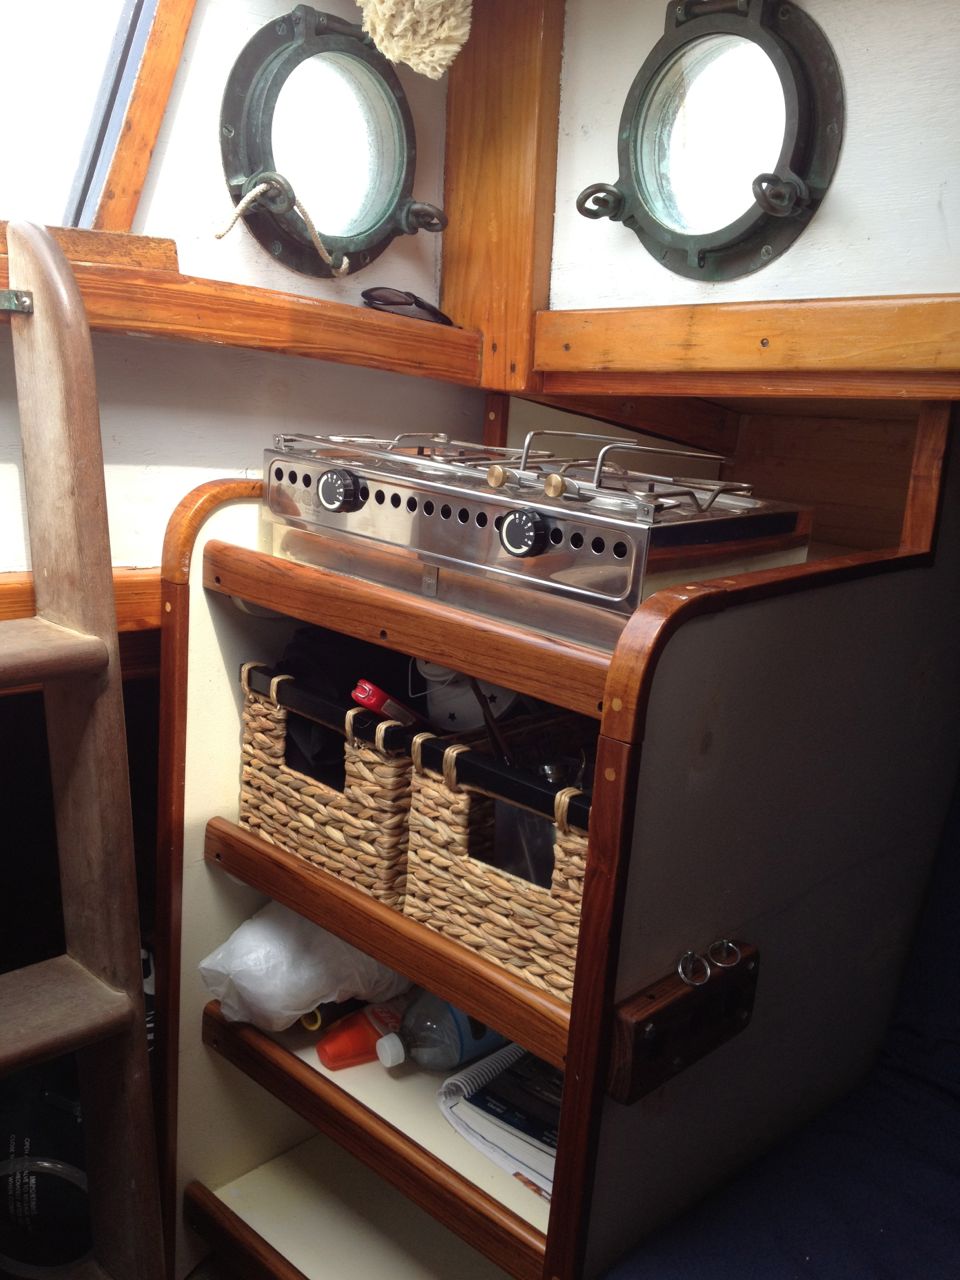 |
| Four 10x12" baskets hold everything on top self. Second shelf will hold four additional baskets. |
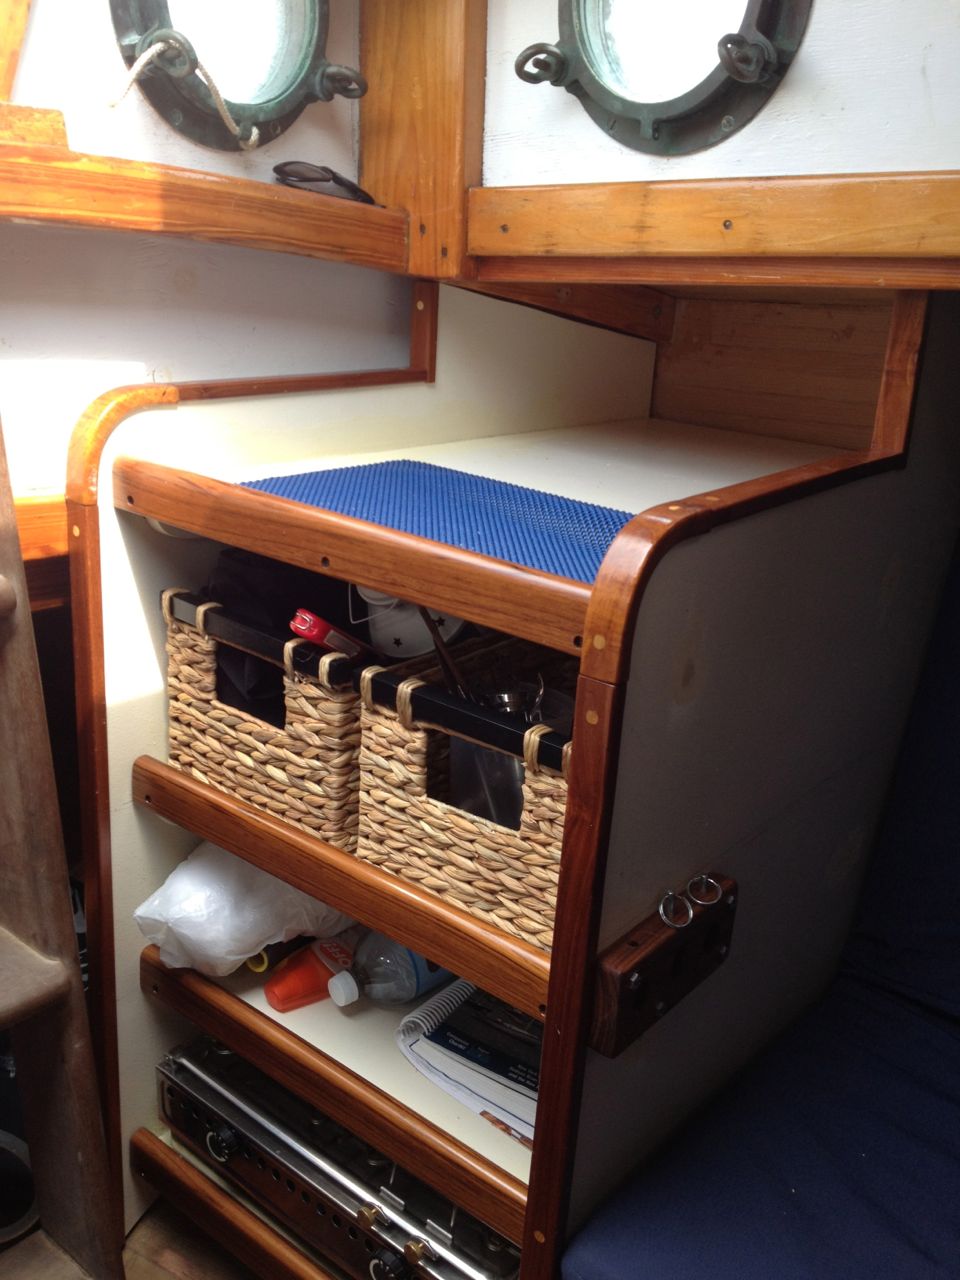 |
| Bottom shelf is dedicated to the stove, freeing up the top shelf for dishwashing, charts, etc. |
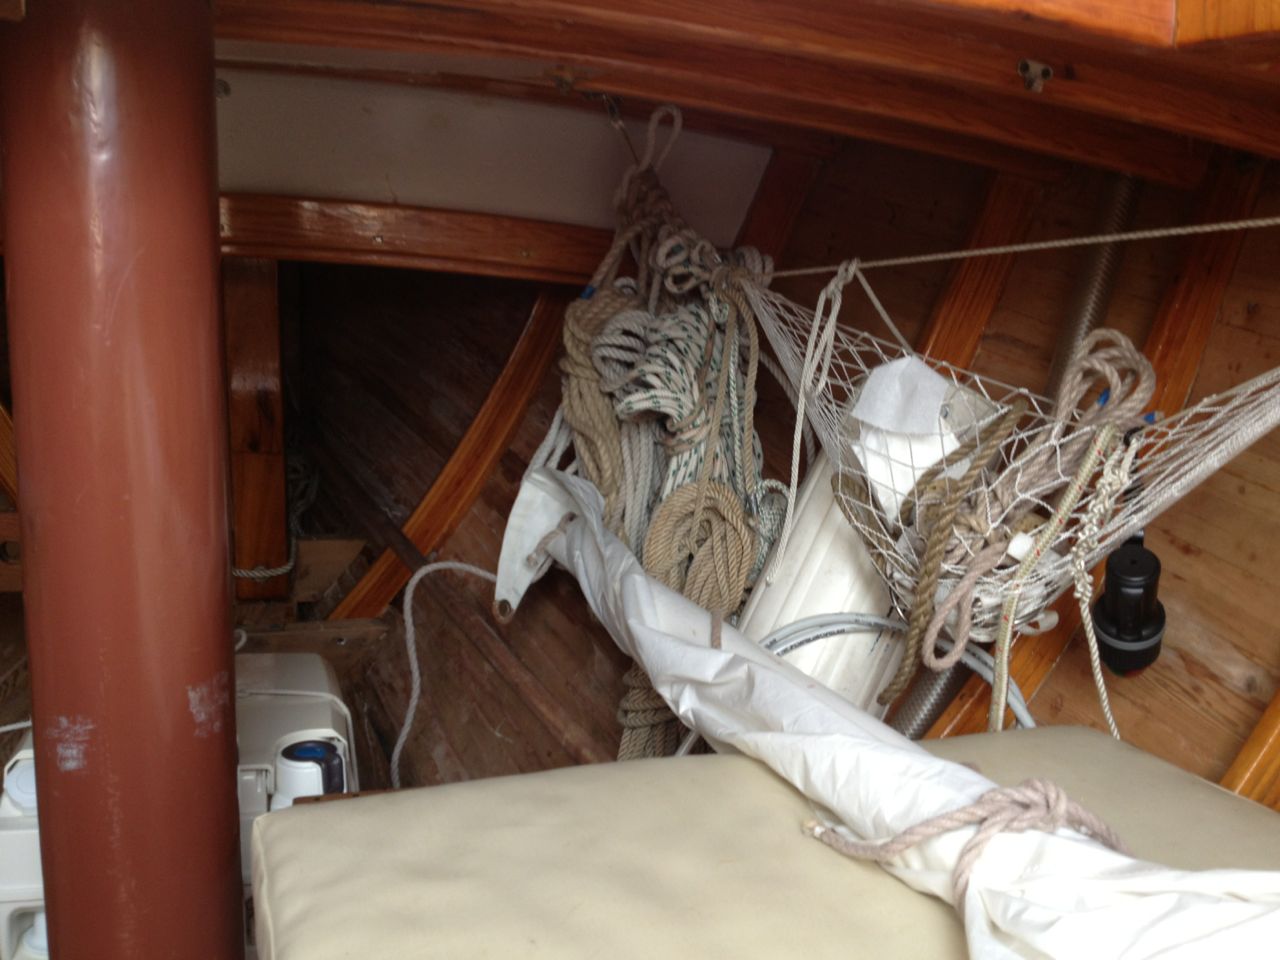 |
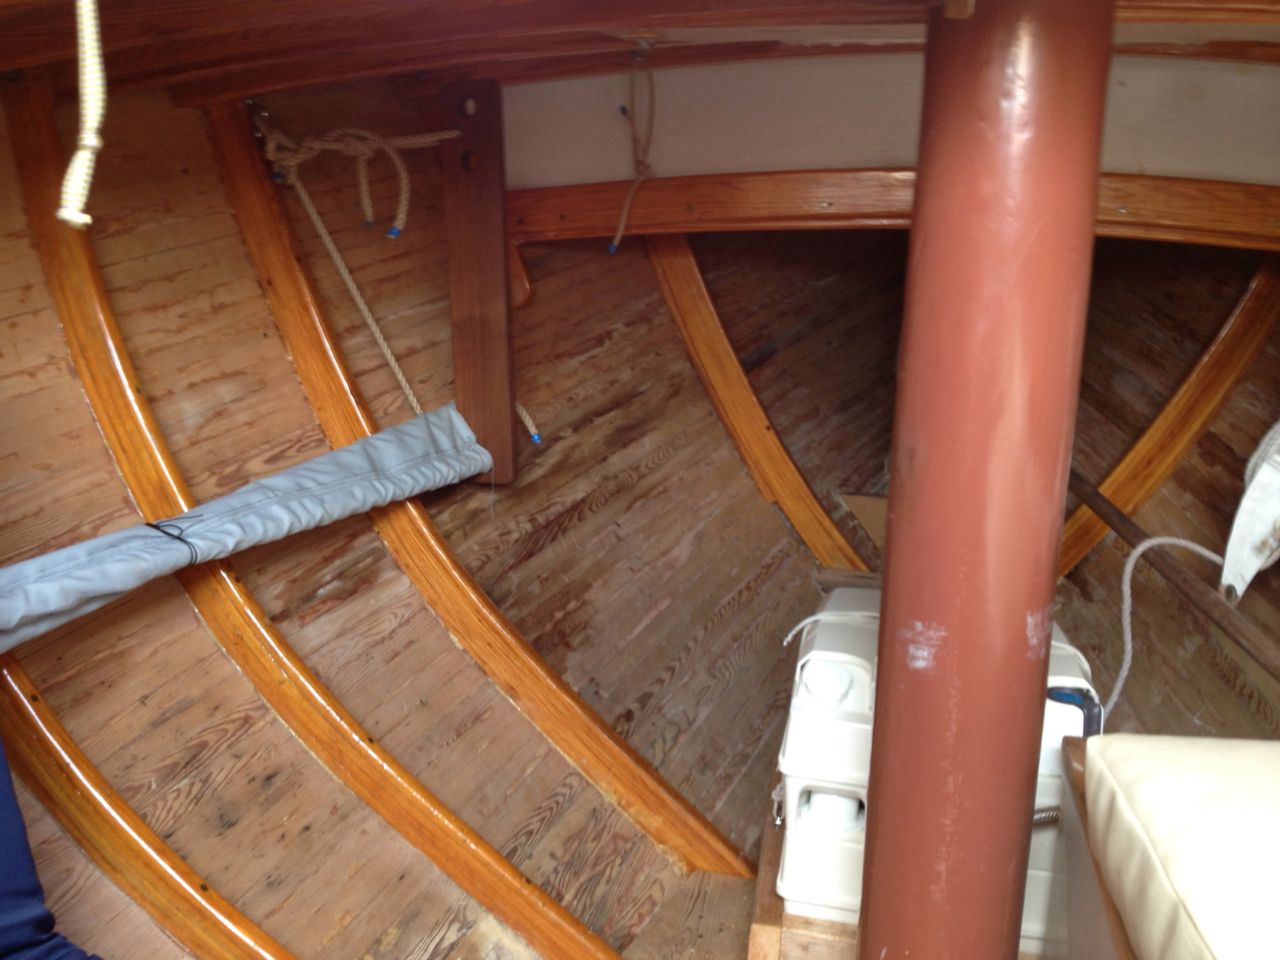
| Head is in Foc'sle -- eventually I will string up a curtain forward of the mast |
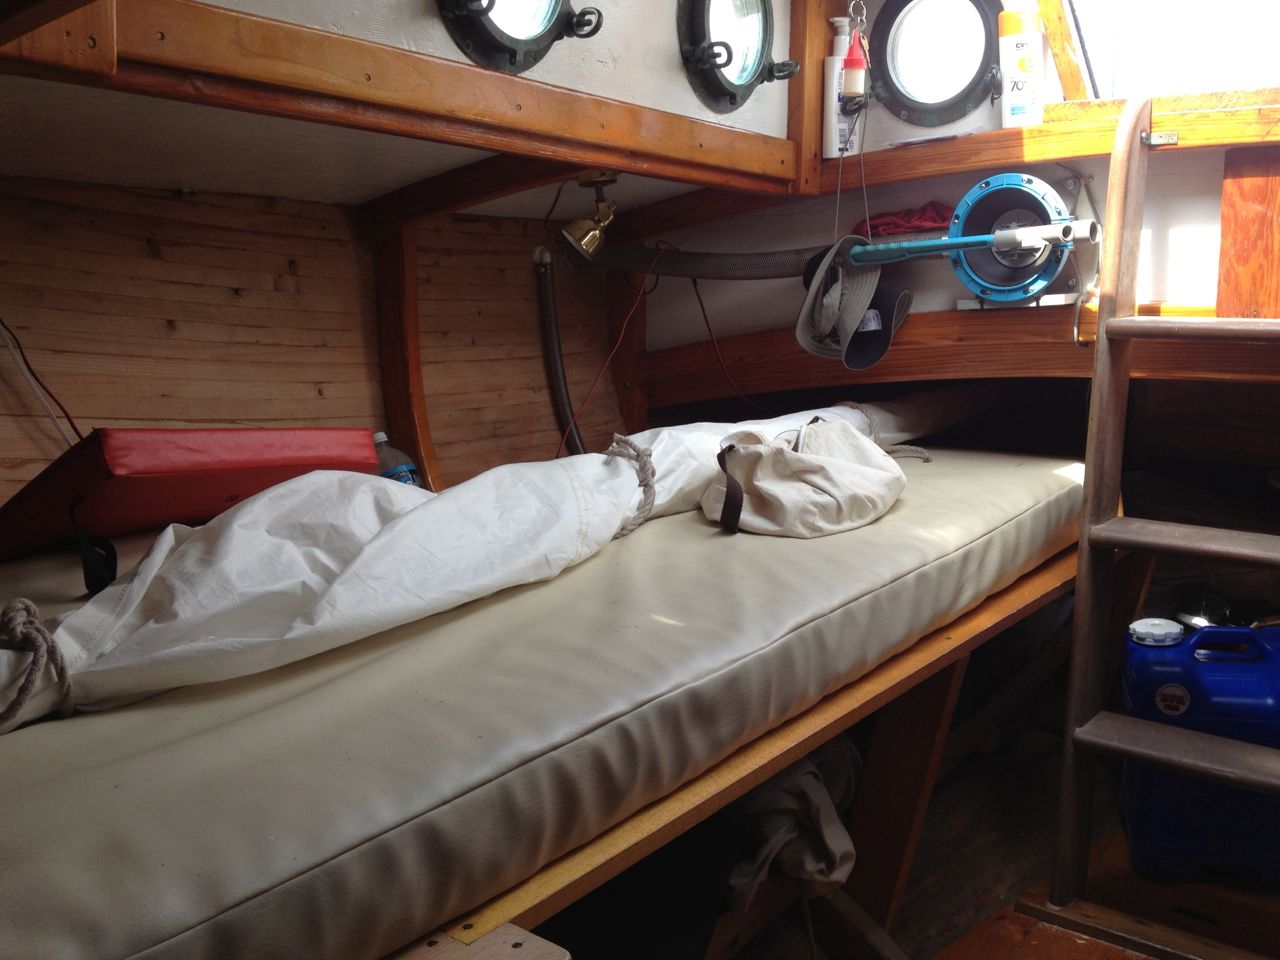 |
| Still have big, comfy berth on starboard side |
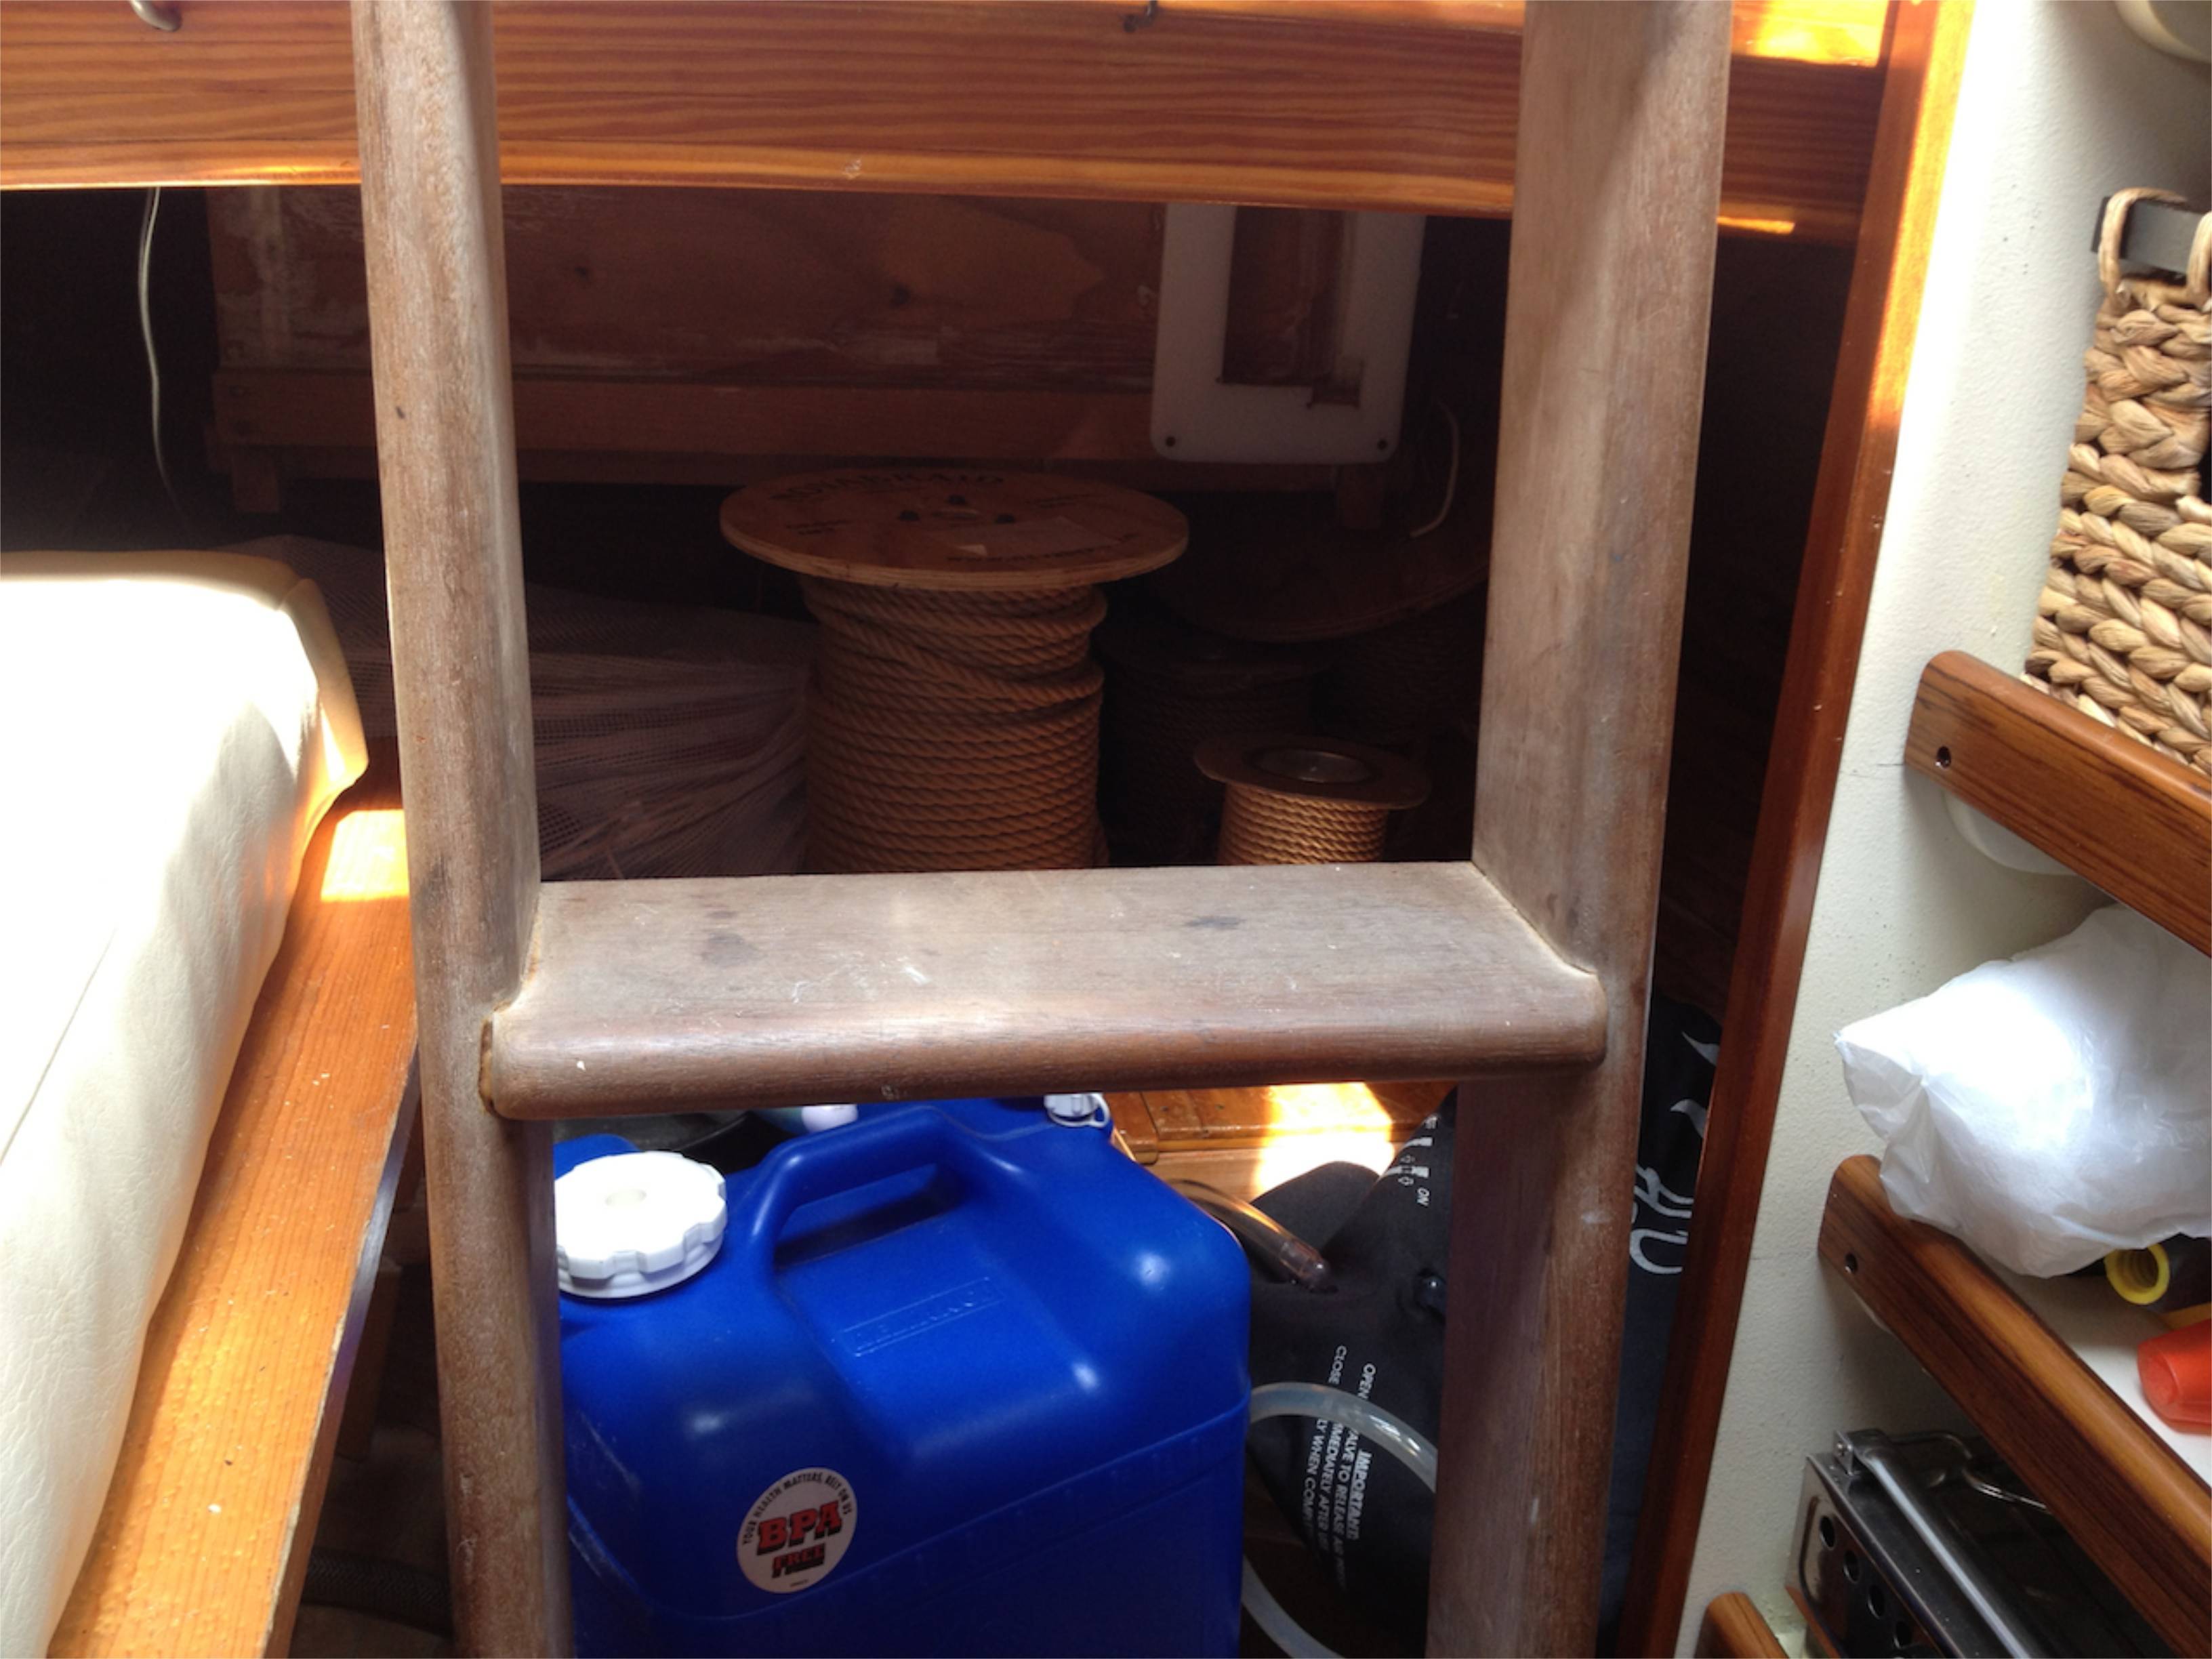 |
| Lots of storage under the cockpit |
Helena and I were planning to take the Blue Moon and Cabin Boy on a fall cruise down Long Island Sound and up the Connecticut River, but as I hinted earlier, Fate has intervened with an even more exciting adventure. More on that soon!
Next Episode: An Unlikely Voyage
Hi.
ReplyDeleteOld ideas frequently have the great virtue of not only being low tech/simple, but usually work - that's why they are stil around!
Jim Gregg.
PS Sad sight this weekend, The Indonesioan sail training ship (Barquentine) Dewaruci arrived in Fremantle having lost her figurehead, whole bowsprit, fore topmast, and everything above it - a steel tubular mast about a foot + diameter bent through 180deg and all hanging down, and also broke both main and mizzen wooden topmasts.
On her way to a Cavalcade of Sail in Sydney I believe. The Indian ocean gets very nasty at times!
J.
John, I don't know how to do the math on this, but keep in mind that the tighter you keep the cloth, the greater the force the stretcher and galley side have to withstand. The forces can become much greater than the mere weight of the occupant. There must be some sort of published graph or formula giving the resulting increase with the angle the cloth at the pipe makes with the vertical when in use.
ReplyDeleteJohn - evertything looks just wonderful - love the galley! ox
ReplyDeleteCan you repost the photos? They seem to have dropped.
ReplyDeleteHi John, I was wondering what are the dimensions of the pipes?
ReplyDeleteYour post inspired me to build root berths for my Danish double ender.
I don't know why google won't let me sign in to leave this comment, but... I believe they were 1" galvanized pipes. It was a long time ago!
ReplyDelete