The second demonstration I was anxious to watch was John Brook's Routers. Specifically, using routers for boat building.
Having recently purchased my first router, I am hooked on the usefulness of the tool. As John pointed out in his presentation, while most power tools are direct replacements for traditional hand tools, routers do many things that no hand tool ever did. It's one of those rare things: a new tool.
Routers are so flexible, its hard to imagine half the things they can do, so getting tips from experienced builders can really give you a boost along the learning curve.
Speaking of curves, John's first demonstration was how you can use a router to make complicated pieces using a pattern.
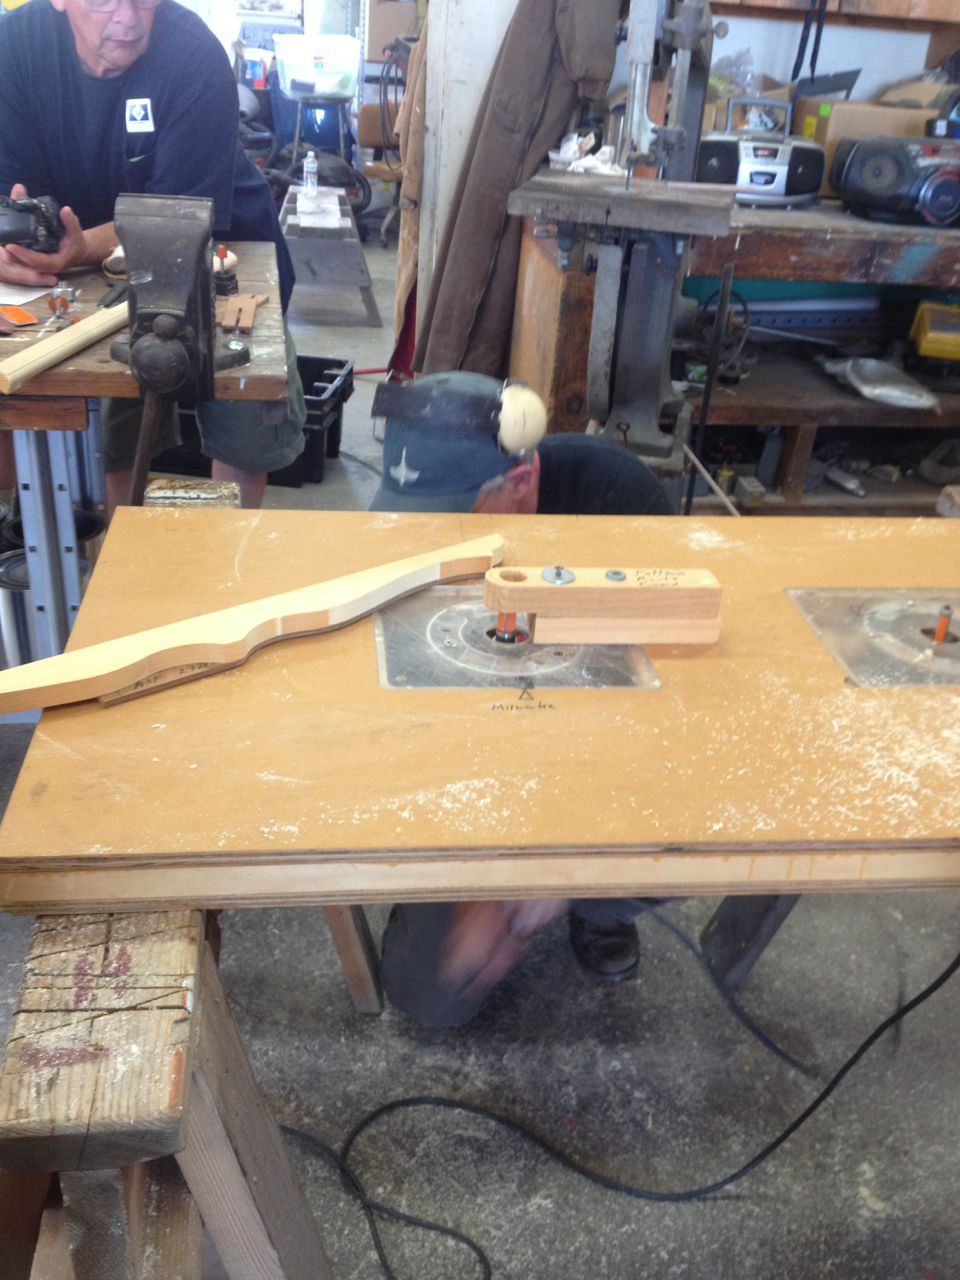 |
| Using a pattern |
The pattern rides on the bearing, and the wood is cut away by the bit. To make a symmetrical piece, like the one above, you use a half-pattern, flipping it over to cut the other side.
The trick here is to make the cut in sections, according to how the grain runs, moving the piece from left to right or right to left, to avoid making a climb cut, which besides being somewhat dangerous, could break a piece off if the bit catches the grain the wrong way.
I noticed that this expert woodworker and boatbuilder made his own router table, and it was pretty much as rough and ready as mine! Even his fence was similar. His was twice as big, though, and had two holes cut for two routers. Saves changing bits when he's doing production work. Great idea. Also note the shop-built guard. More tool making!
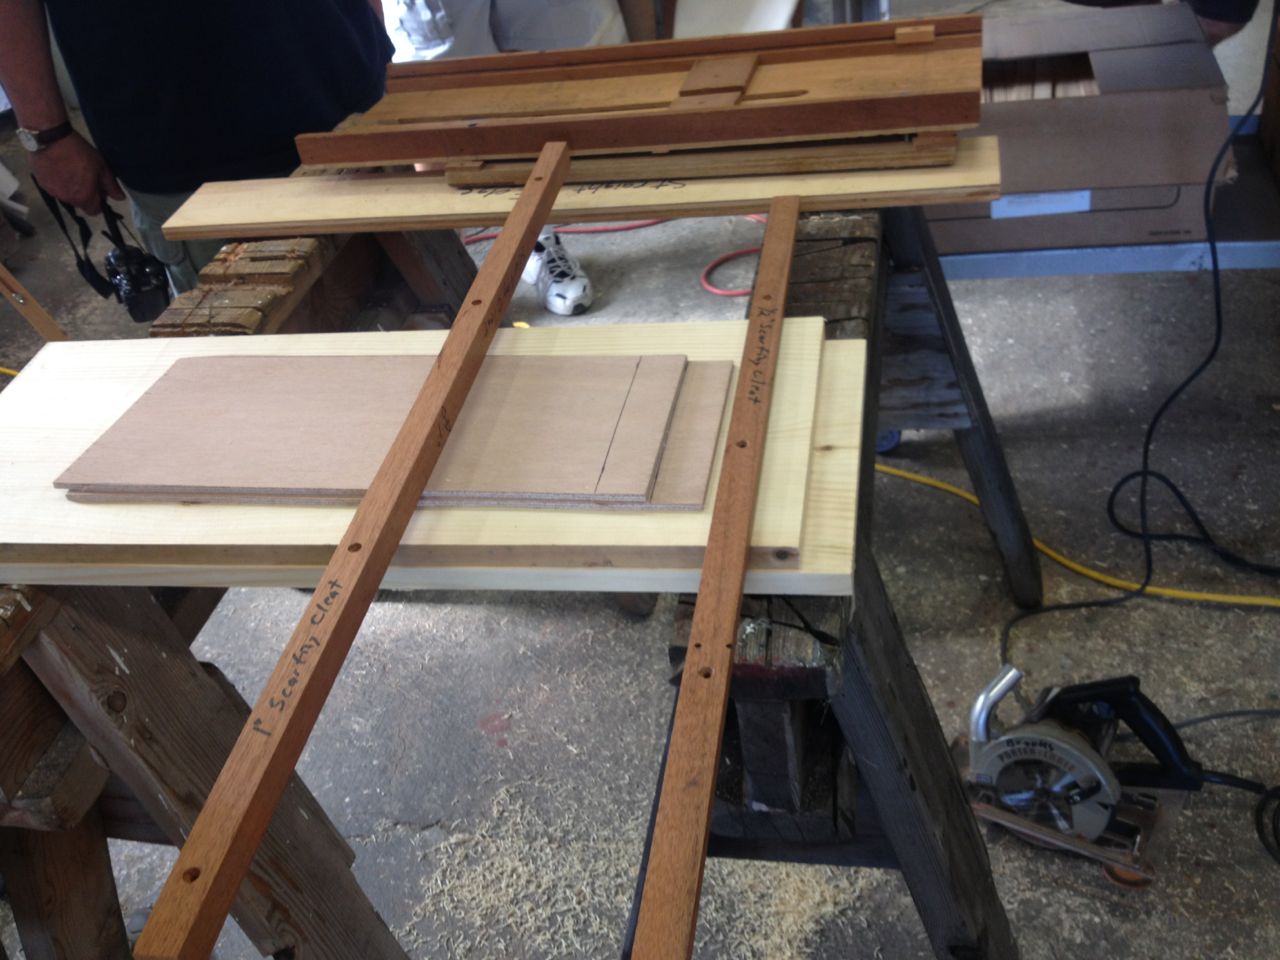 |
| Scarf cutting jig |
It took me a minute to get my head around the idea of using the bottom of a straight bit to do the cutting, but if you think about it, you can see how it works.
When I think how much time I spent scarfing two bits of plywood together for Cabin Boy's sheer strake, I could cry.
Another enormous time saver is John's 'Gain-o-matic'. This simple jig is used to cut the gains in the kind of glued lapstrake boats John builds. A gain is the kind of ramping cut that allows lapstrake plank ends to blend together.
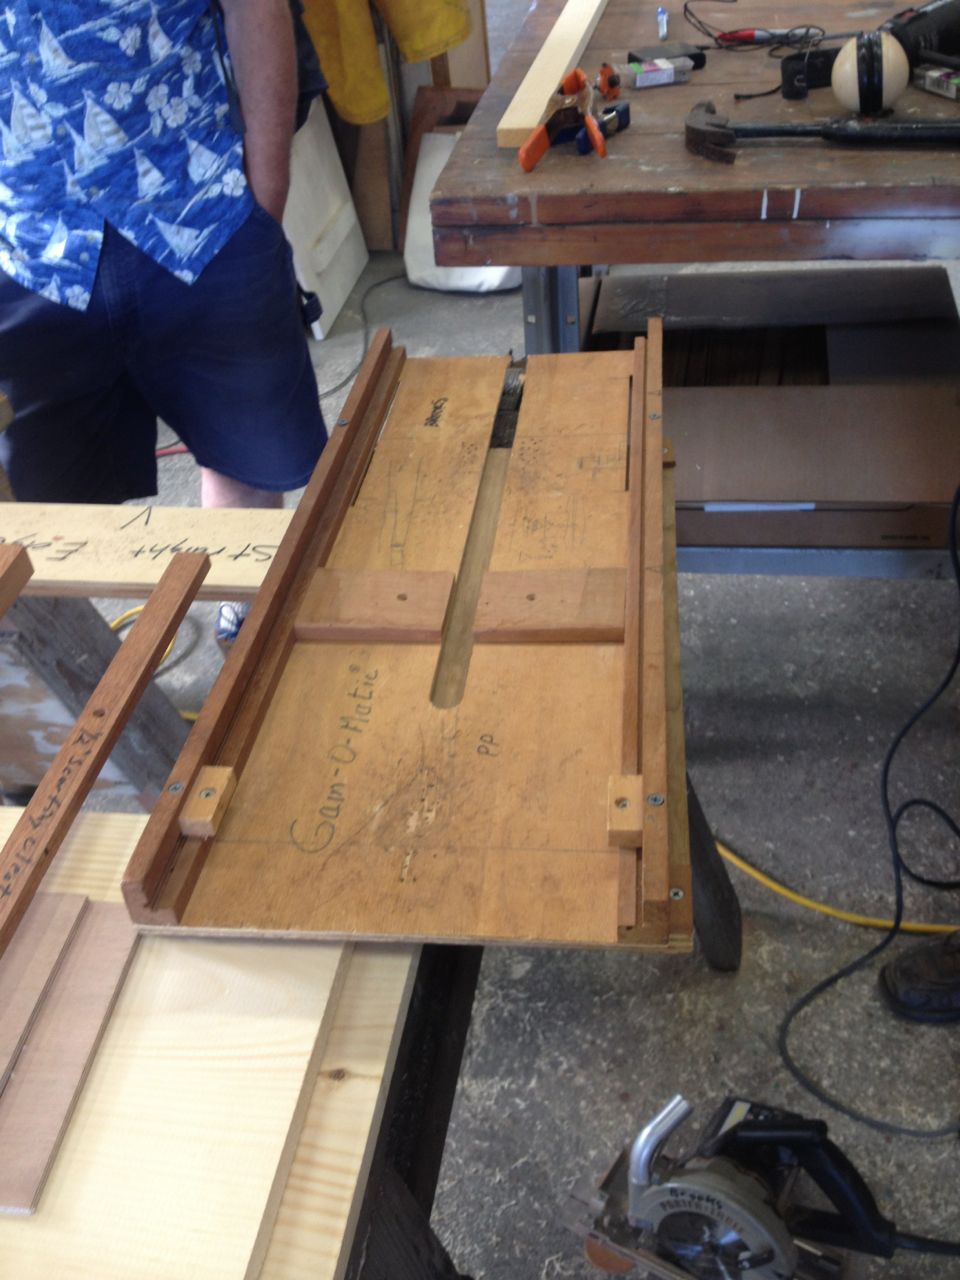 |
| Gain-o-matic |
The theme of all the demonstrations was the same: simple, often shop-built tools can not only make a job easier, but can help you do the job better. Good tips for unhandy builders like myself.
Speaking of boats, there were two more boats that caught my eye at the show. One was a Oughtred Caledonia Yawl, built by Geoff Kerr of 2 Daughters Boatworks. These are very popular boats, and for good reasons. Every time I see one in person, I'm impressed with how well thought out they are. As much as I love my Blue Moon, I can definitely see the advantages of having an 18-foot boat that you can pull out of the water and store in the driveway over the winter.
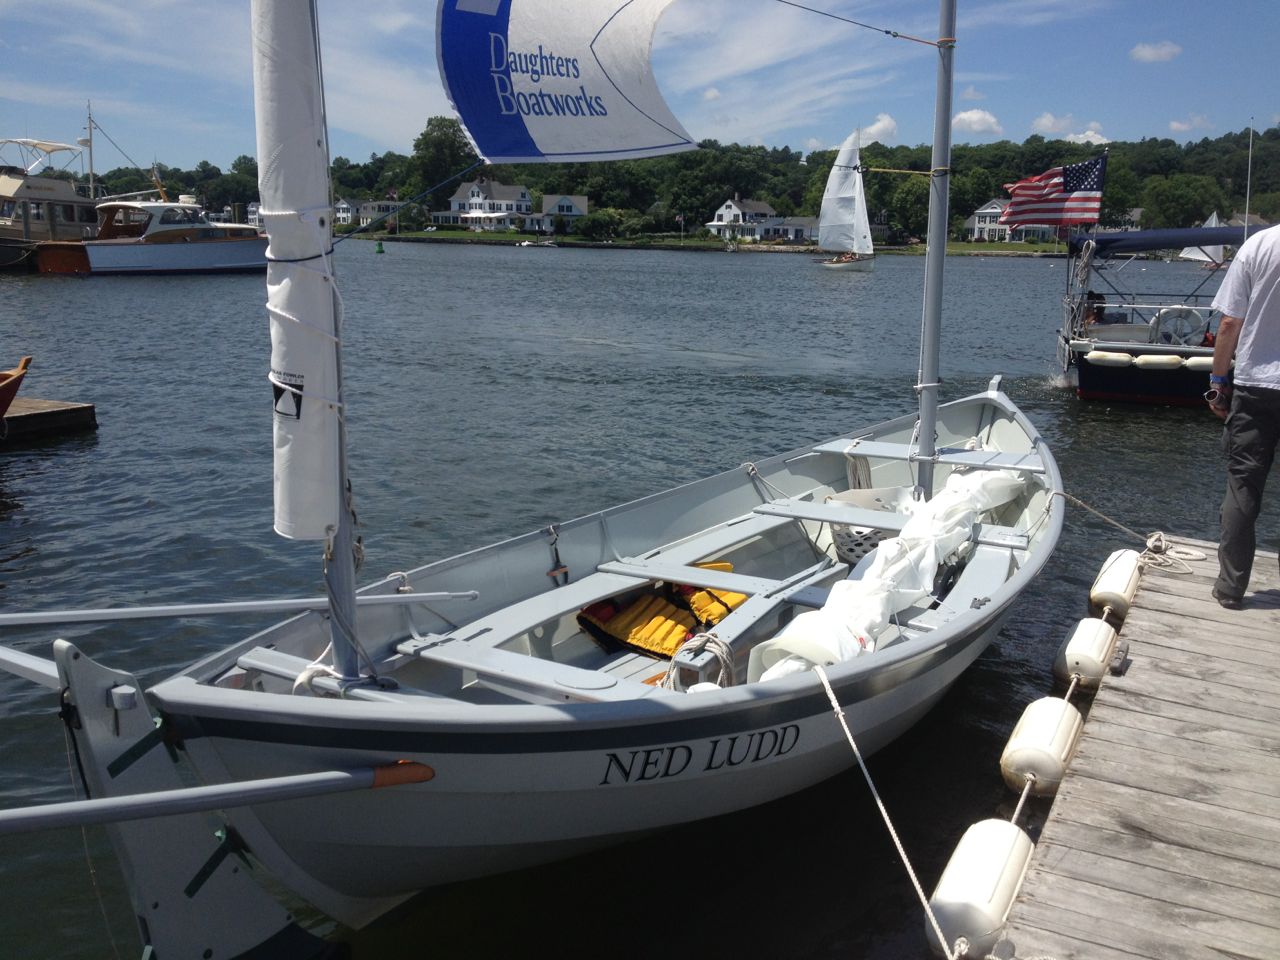 |
| Caledonia Yawl |
But this year Nick had a beauty where he took the time to select and match the strips so that they blended together well enough that from several feet away, you could hardly notice the strips. In fact, it looked planked, rather than stripped.
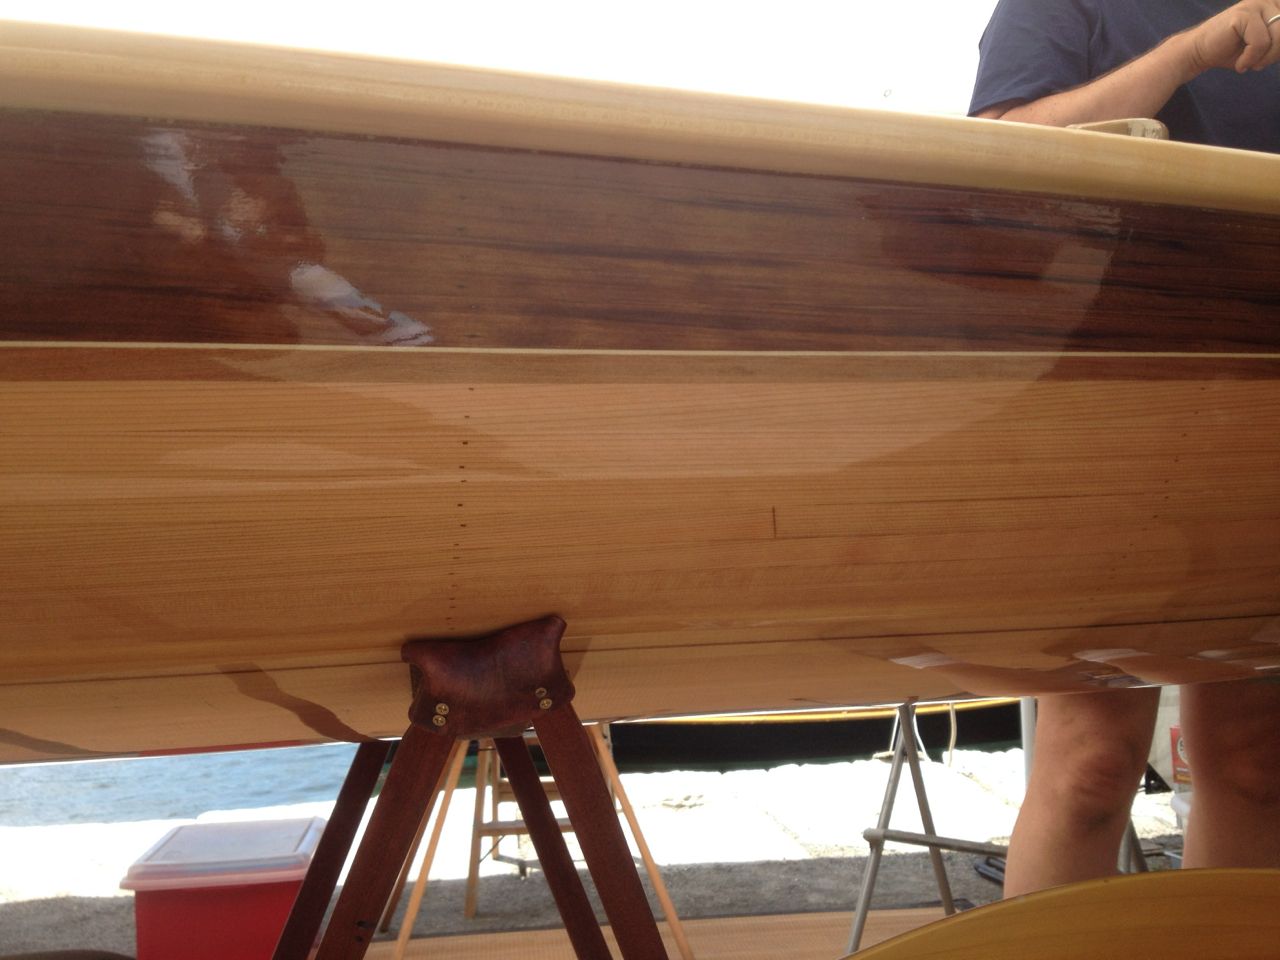 |
| Strip planks that don't looked striped |
Another boat I'd like to build sometime. Where will I find the time, though?
Finally, I made two purchases at the show: a decent riggers knife that Hamilton Marine had on sale for an irresistible price:
 |
| My new riggers knife |
At another booth, two young men were showing off their blacksmith skills. They had a wide variety of caulking irons and other heavy duty tools that I probably will never need, and a small variety of shop-made cabinetry hardware, like hinges and knobs.
The little drawer that I made for my new galley still didn't have a knob, because I've been waiting to find the 'right' one. The ones you can find at Home Depot and hardware stores looked a bit too polished for my little gallery. I just couldn't warm up to any of them. But I was instantly taken by the wrought iron knobs made by these two gents. They didn't have any stock, but they let me buy one of the demonstrator knobs.
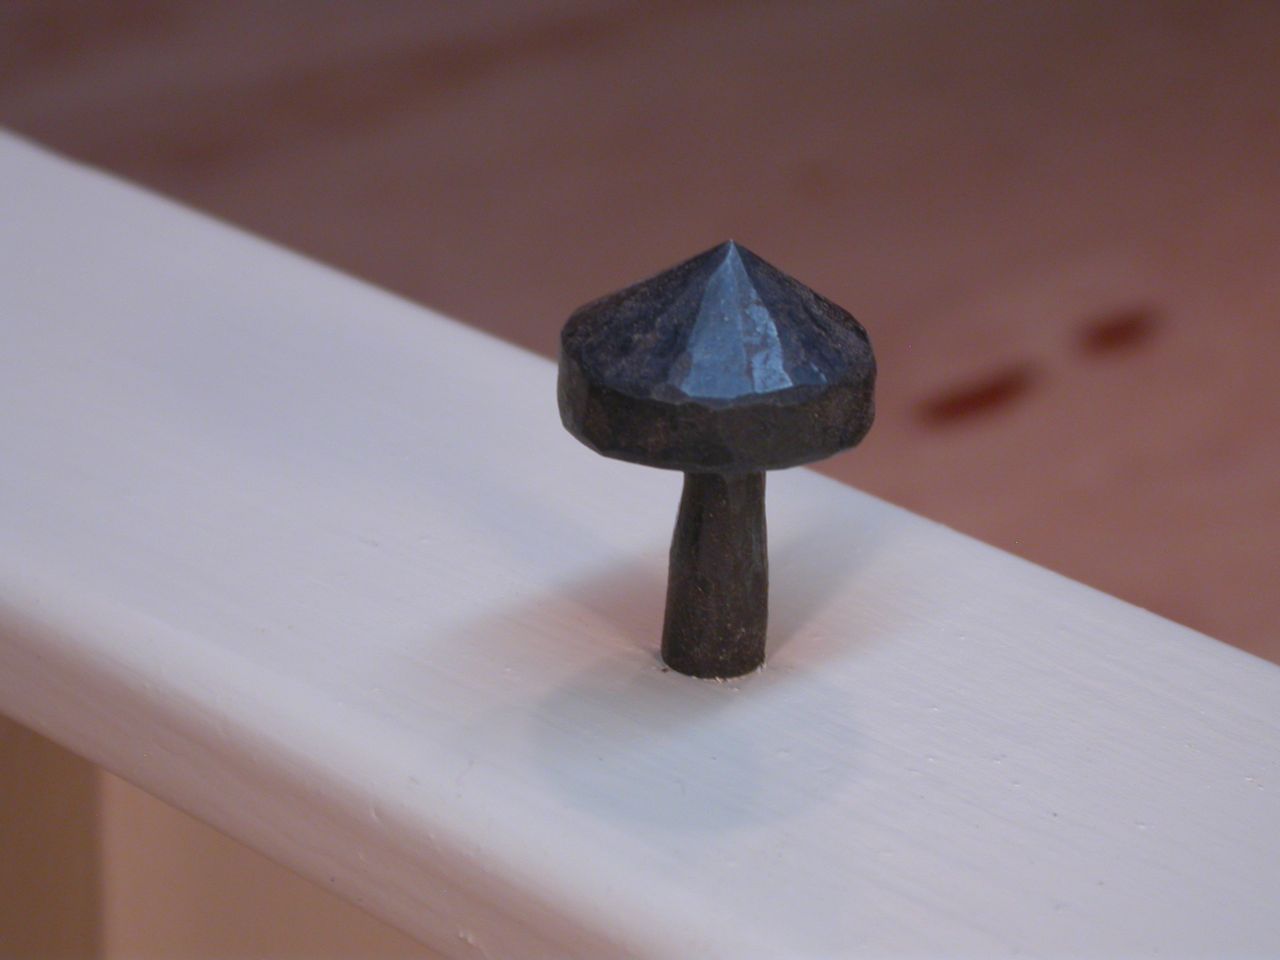 |
| Hand made iron knob |
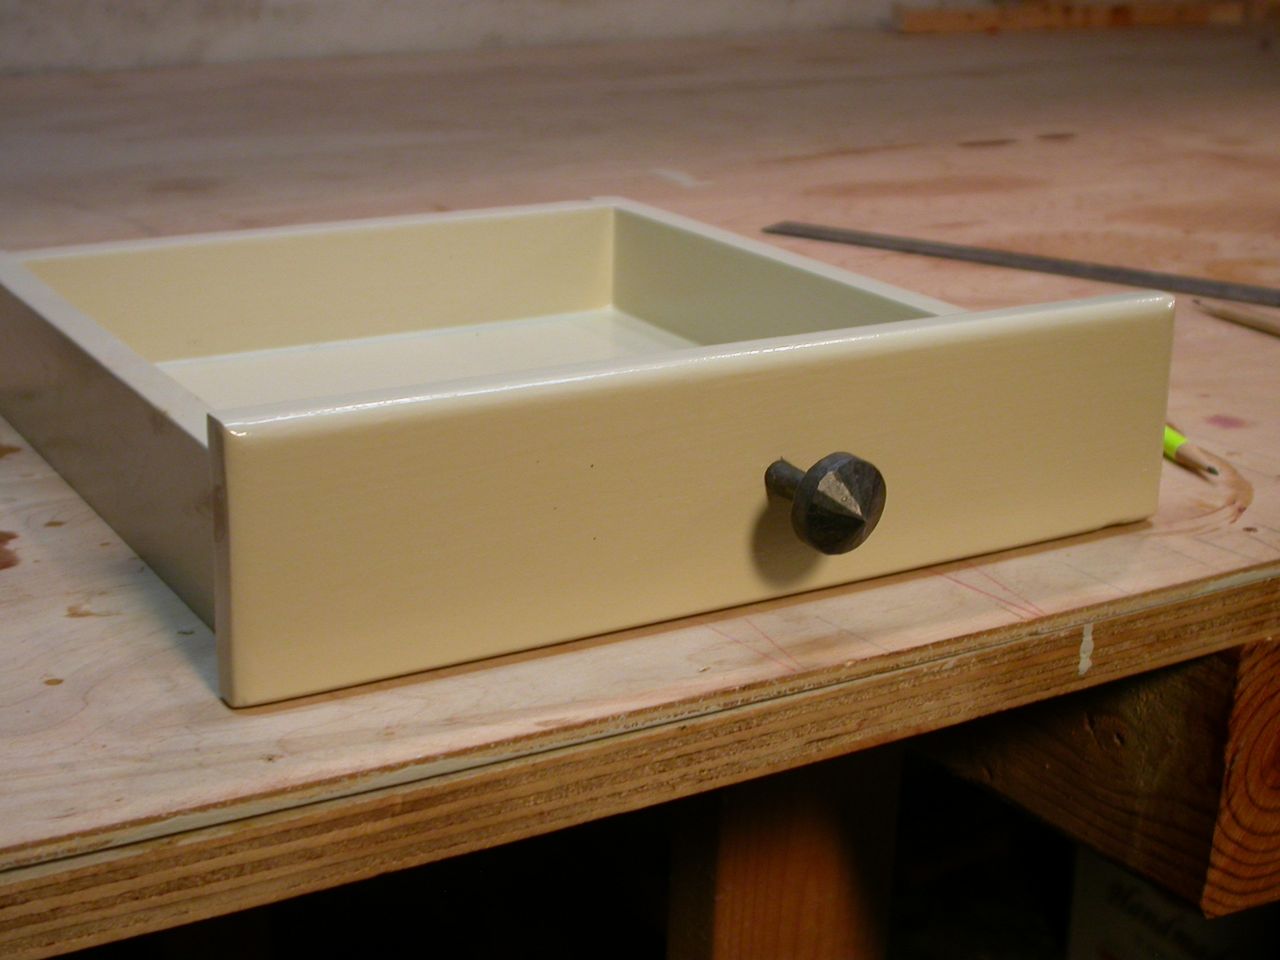 |
| Love it. |
So, all in all, a very productive and worth-while show.
And, I'm back to building, at least for a little while...
Next Episode: Bucksaw
Just mind that you aren't thrown in to that knob when in a seaway John, it looks like it could pierce you and then get a hold!
ReplyDeleteGosh, you are right! It looks like the tip of a spear. I never thought about that.
ReplyDeleteLuckily, this drawer is really tucked away, under the side deck. No way you could ever be thrown against it.
I just realized I haven't posted a picture of the installed dish rack--or even taken a picture of it. I'll do that next time.
But definitely something to think about when selecting a knob.
If you ever need forged items like this, there are a ton of blacksmiths on Etsy.
ReplyDelete