With the first wall scraped, cleaned, and painted with two coats of water-resistant paint, it was time to tackle the next wall, which is currently devoted to a substantial pile of scrap lumber left over from other projects. Some of this lumber is cheap stuff, like 2x6s and 1x8 cedar, but most of it is hardwood: oak, maple, mahogany, walnut, a delicious cherry plank from my uncle Marty, and a fairly precious piece of teak.
This 'scrap' pile has been growing steadily, and has recently grown to the size of a problem. It is in the way, and is so disorganized that I hardly know what I have anymore.
But the biggest issue for me is that I've started to think that storing wood in this haphazard way might not be good for the wood itself.
Plus I needed to get at that wall to scrape and paint it.
 |
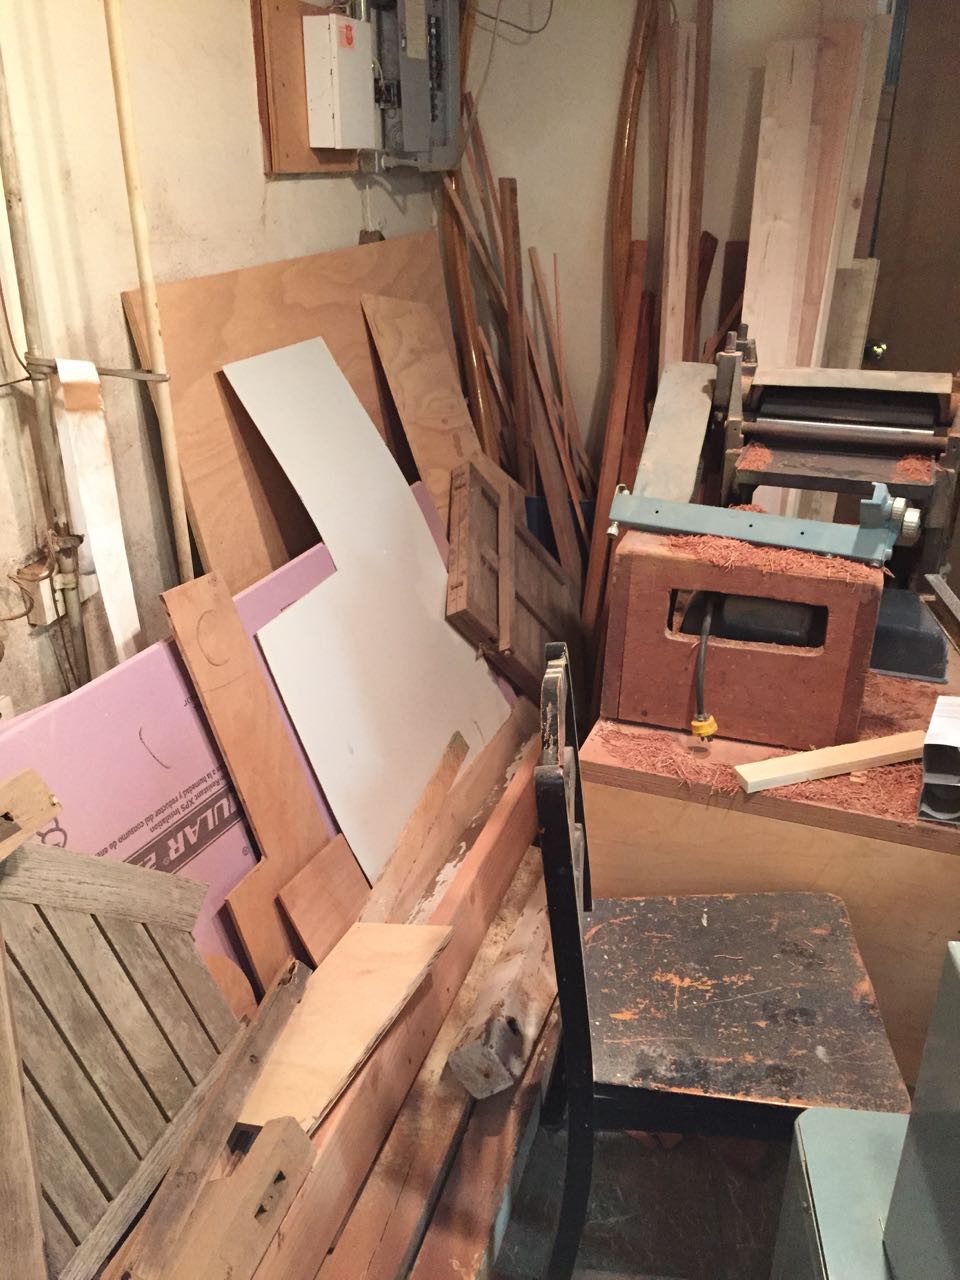
| The problem: loads of lumber |
If you just look at the picture above, you might wonder what the problem is, but behind my planer and bandsaw is what Paul Harvey would call, 'the rest of the story': a total pig-pile of junky and not-so junky wood.
I really had to do something about it.
 |
| It's even worse than it looks... |
So that was the problem. The solution? A 12-foot long wood rack that I've been dying to build for at least a year. Equipped with a gift-card to Home Depot (thanks, mom!) and a day to myself, I finally made the dream a reality.
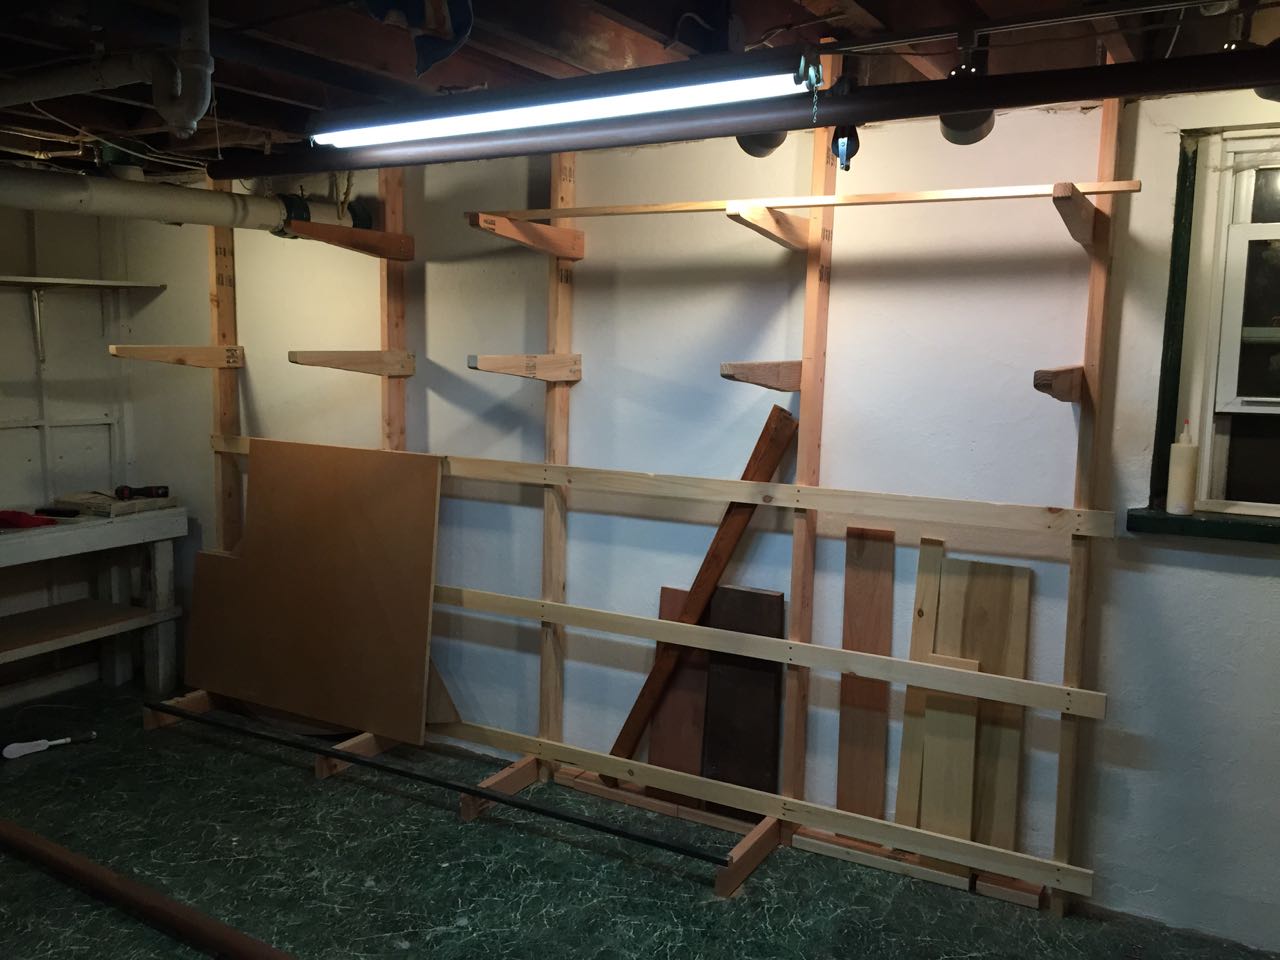 |
| The solution - a l2-foot long lumber rack |
The construction was pretty straight forward. I lag-bolted the 2x4 uprights to floor beams, then screwed the 1x3 strips to the front, being careful to keep them level so they looked right.
Next I screwed the 2x4 floor pieces to the uprights, and fastened my old black batten to them. These floor pieces are big enough to hold 6 or 8 sheets of plywood off the floor.
The horizontal 1x3s create a space to hold all the 2-4' off cuts that seem to proliferate around every project. These are all hardwood scraps and each one is a little memory of a fun project, so besides being thrifty, I just like looking at them.
 |
| Waiting for glue to dry... |
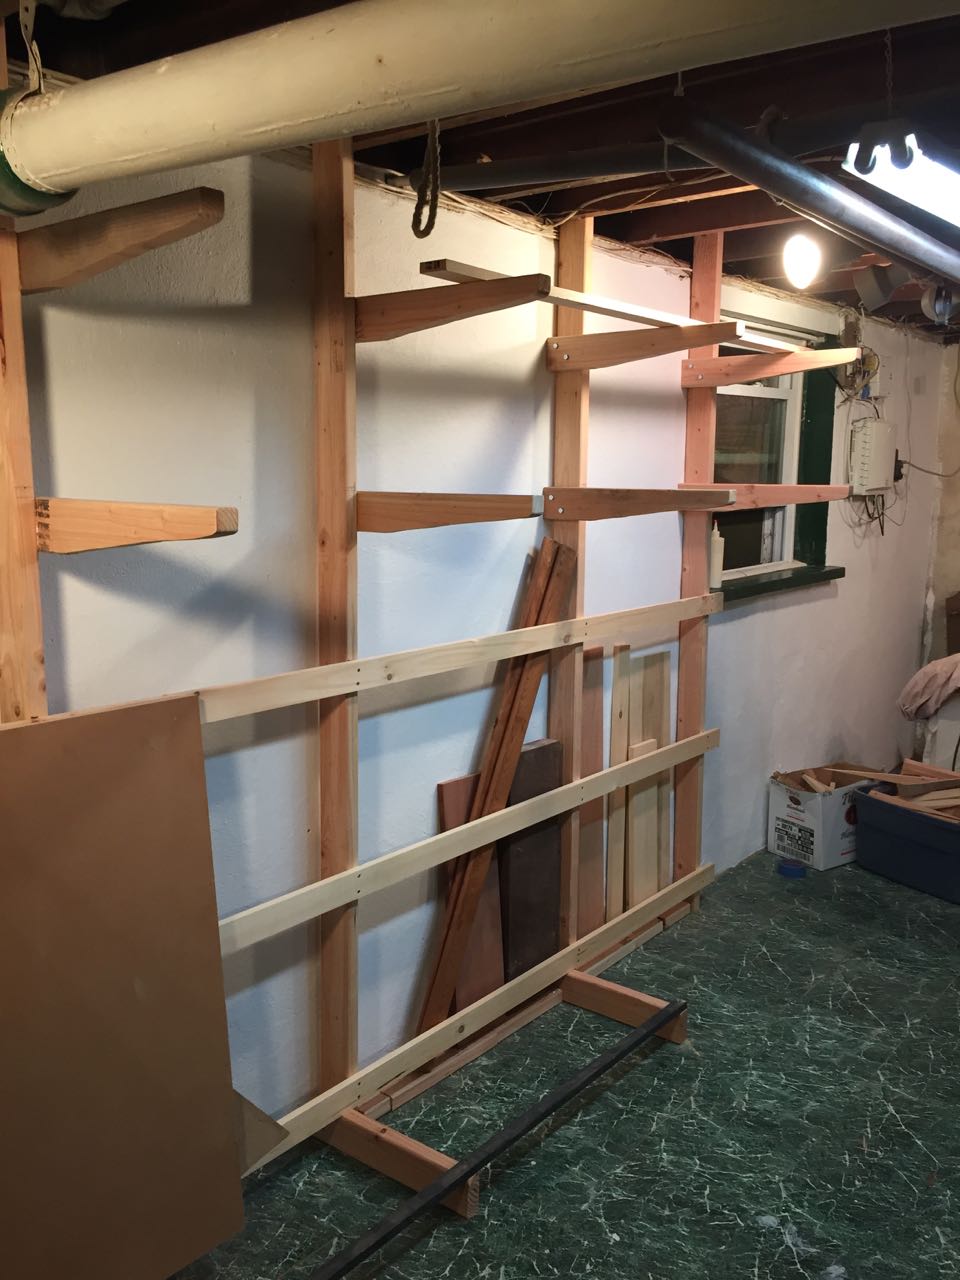
Half the project was building the 'shelves'. I decided to get fancy and shape the shelf brackets in a simple way. This makes the rack look a bit more finished and 'professional' I think, and wasn't that hard to do. I made the first one free-hand, and then used it as a pattern for all the rest. I cut each piece to length with a handsaw (on my lovely bench) and cut out the pattern on the bandsaw.
 |
| The key design issue: getting shelves perfectly level |
The tricky bit was to get all the shelf brackets to create a flat, even surface. I used a long, straight batten and a spirit level to mark the location for each bracket, and used the spirit level again to make sure each bracket was level. It took a bit of care, but the result was worth it. Now I know my wood will be lying on flat shelves.
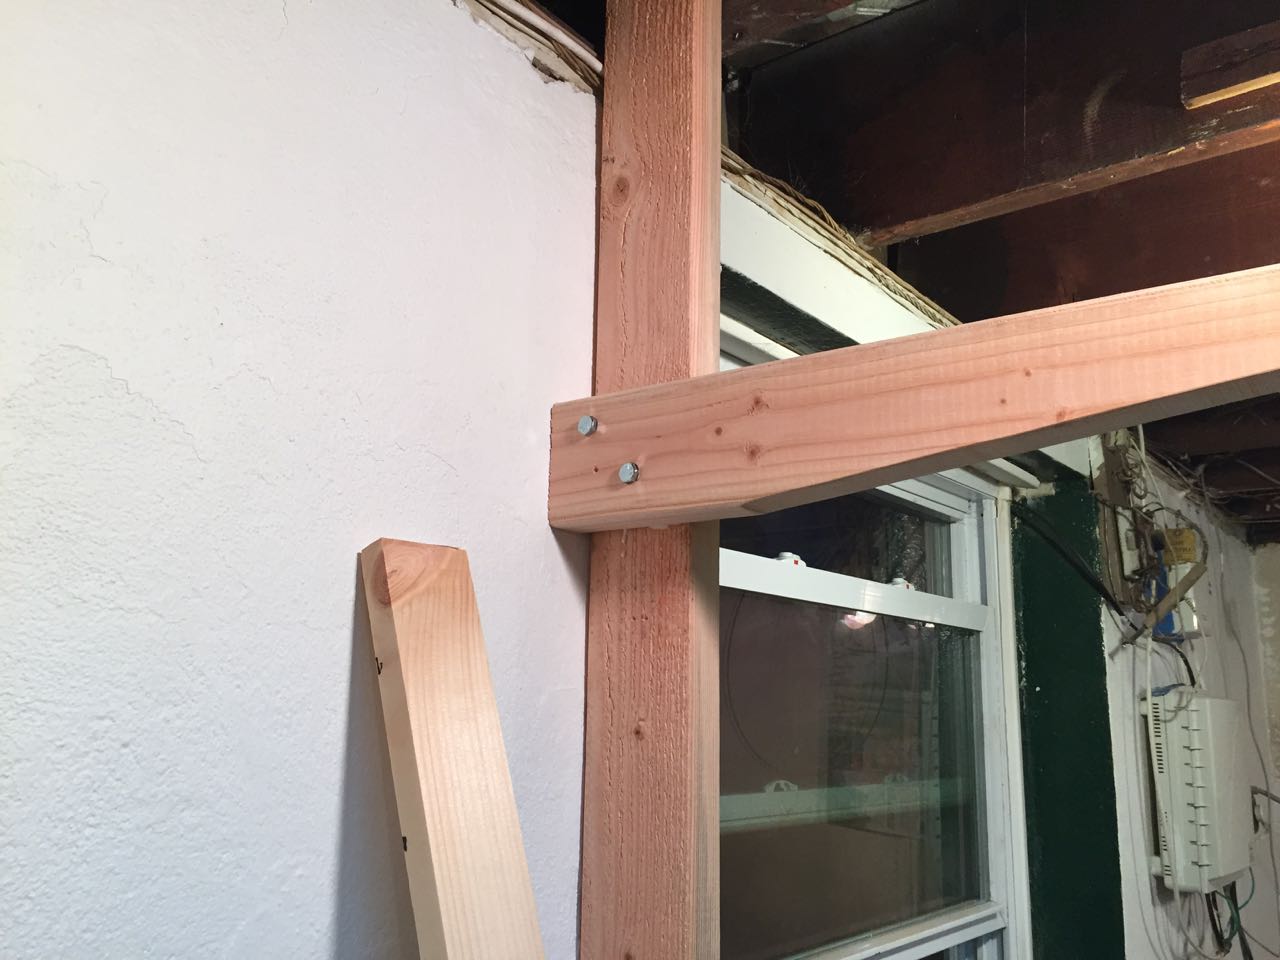 |
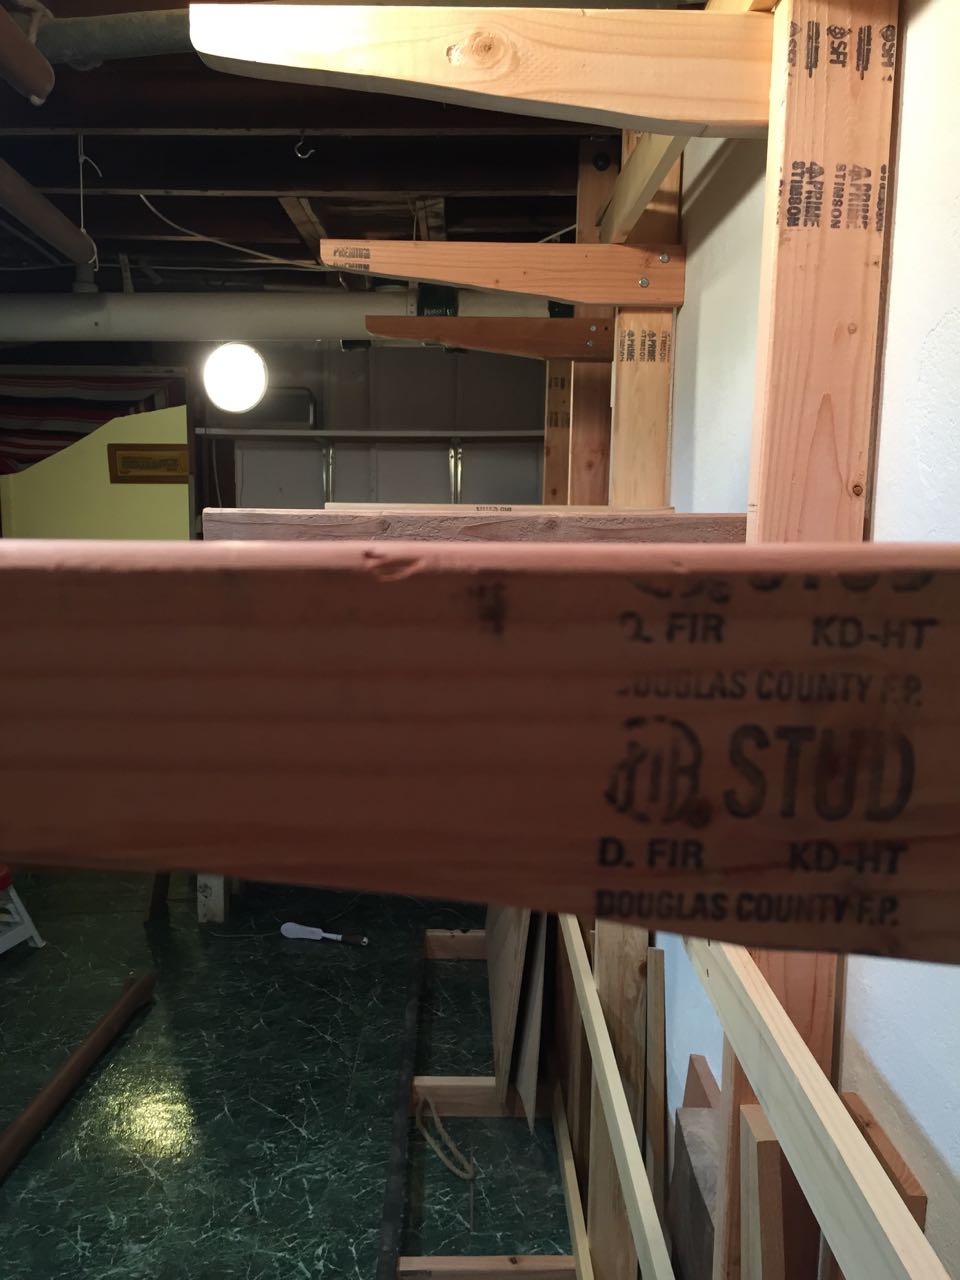
| 2 lag bolts plus glue |
To make sure the shelf brackets stayed level, I fastened them to the uprights using 5/16" lag bolts, and glued them for good measure.
Then I resisted the urge to 'try them out' by piling lumber on them before the glue dried.
Tomorrow will be soon enough to organize my old scrap pile.
Finally: a one day project that actually took one day!
Next Episode:
Electrifying Progress
Your blog title is increasingly inaccurately named. Soon you'll be "The Most Likely Boatbuilder".
ReplyDelete