I set a high bar for this handle. I took as my model the handle of an old D-8 Disston saw that had long hung on the wall of my shop. Though missing a horn, the handle of this saw is still the most comfortable tool handle I've ever had the pleasure of holding. The craftsmen who built these old Disston saws put a lot of work into them, which is why even Disston gave up making them that way after awhile. But it shows what can be done if you spend enough time at it.
That is, assuming you know how to fit a wooden handle to a human hand, which I did not, but I was willing to give it my best shot, and wouldn't be happy until it was good as my old Disston.
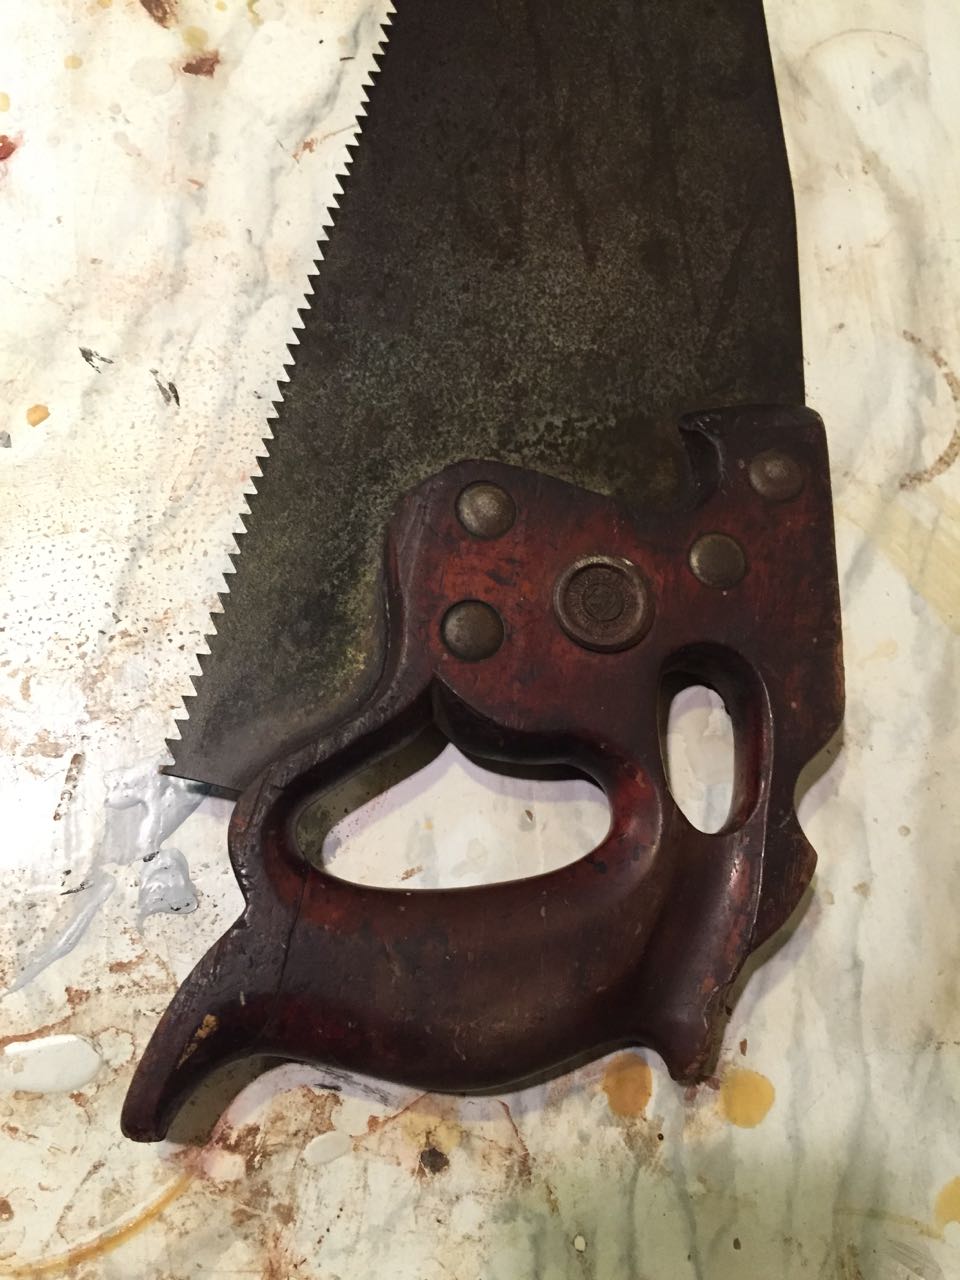 |
| My model for comfortable fit - and old Disston D8 |
I began with the blank. I had a small scrap of walnut that looked about right. I re-sawed it to the correct thickness on my bandsaw, and then smoothed it. Of course I used my new plane, this time with the blade sharpened. The plane worked beautifully, as you can see, even without a handle.
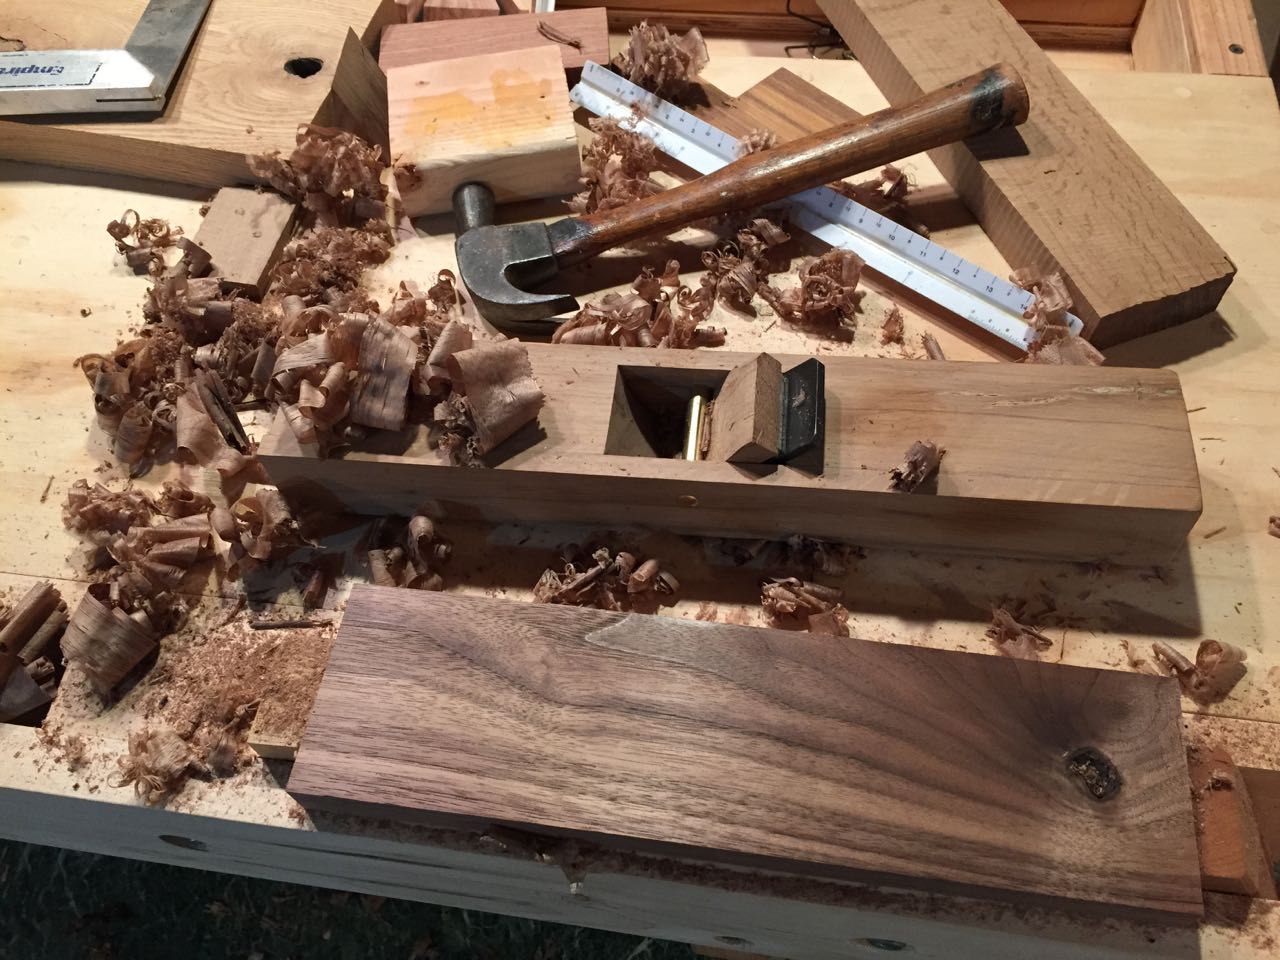 |
| Smoothing the blank for the handle |
Then I glued a template for the handle to the wood and cut out the basic shape on the bandsaw.
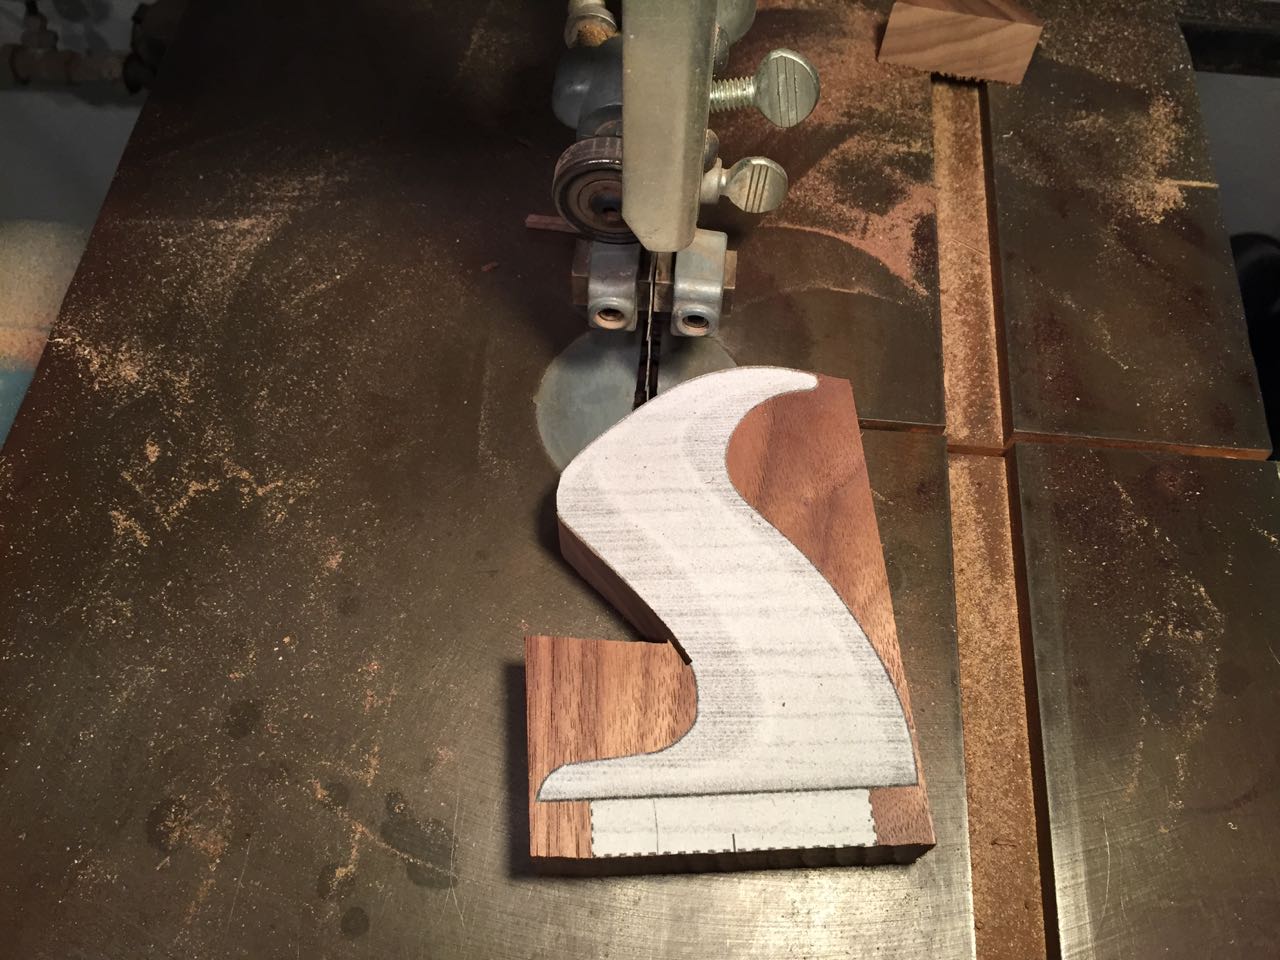 |
| Using template for cutting |
That was the easy part done. Then it was time to start shaping the handle with various rasps I've accumulated over the last few years. None of them are very good, but they were all I had, and had to do.
To hold the piece at a convenient height, I clamped it in a Jorgensen clamp, and then clamped the clamp to my bench.
 |
| Add caption |
Using the saw handle as my model, I tried to shape the handle to the right general shape, first using coarse rasps to rapidly -- but carefully -- remove wood.
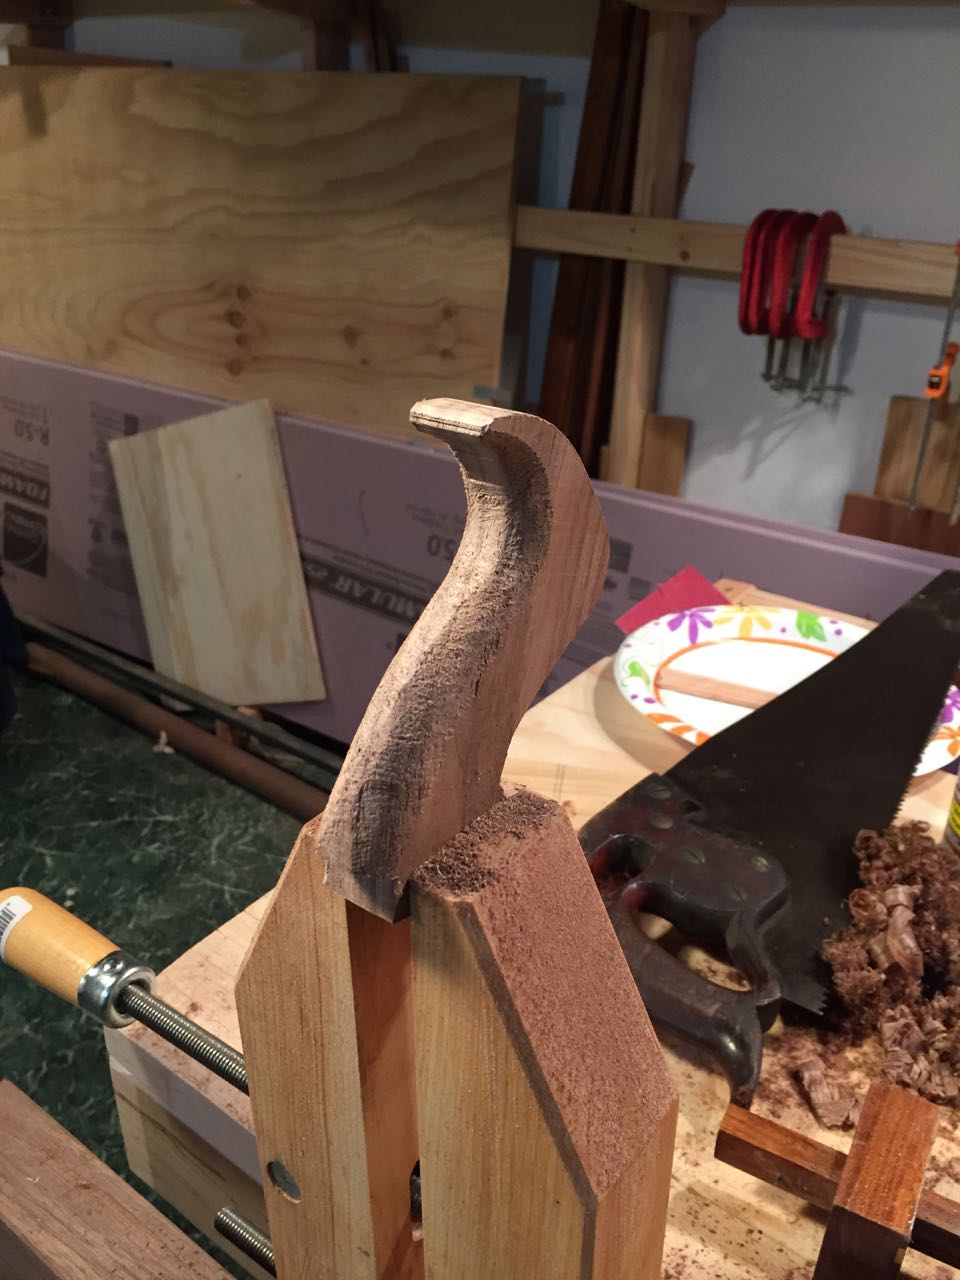 |
| Roughing out the basic shape |
Then I turned to finer rasps to refine the shape. Surprisingly, this work went fairly quickly... I didn't track my time, but it was less than an hour, even proceeding slowly and cautiously.
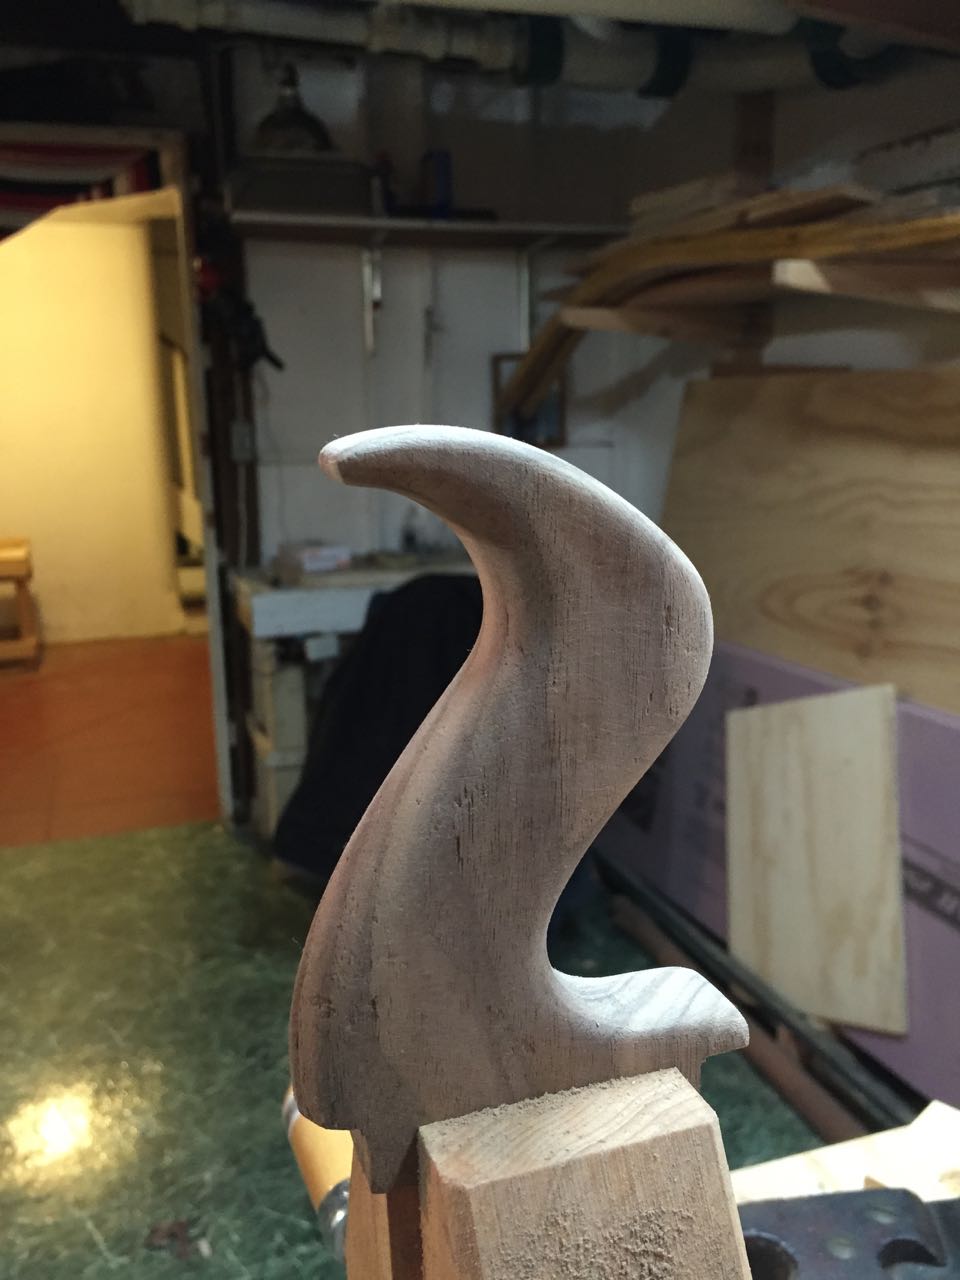 |
| Getting closer... |
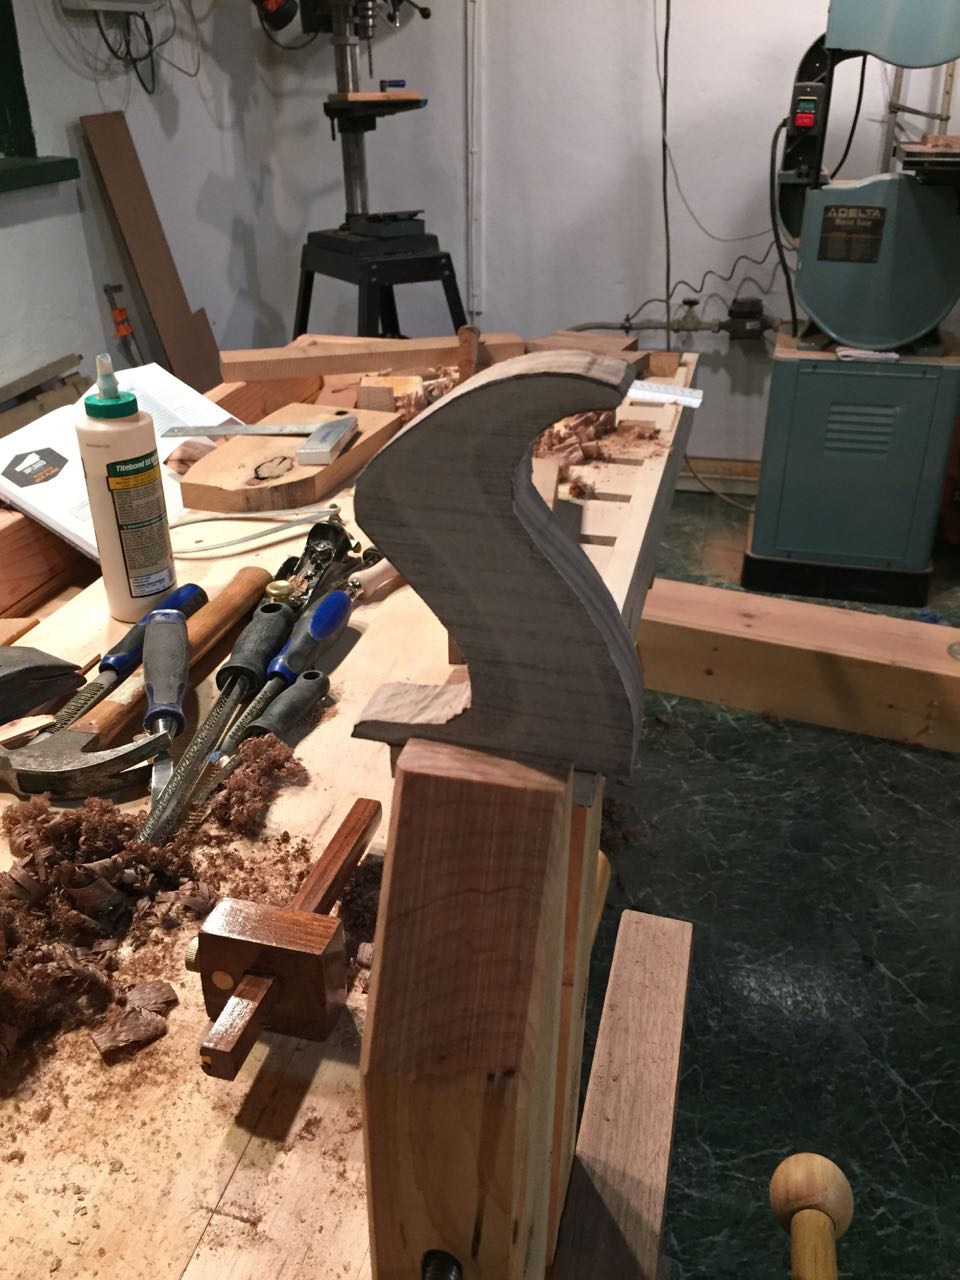
Again, holding the piece in the Jorgensen clamp was a lot more convenient than trying to clamp saw the piece while it was clamped in my front vise.
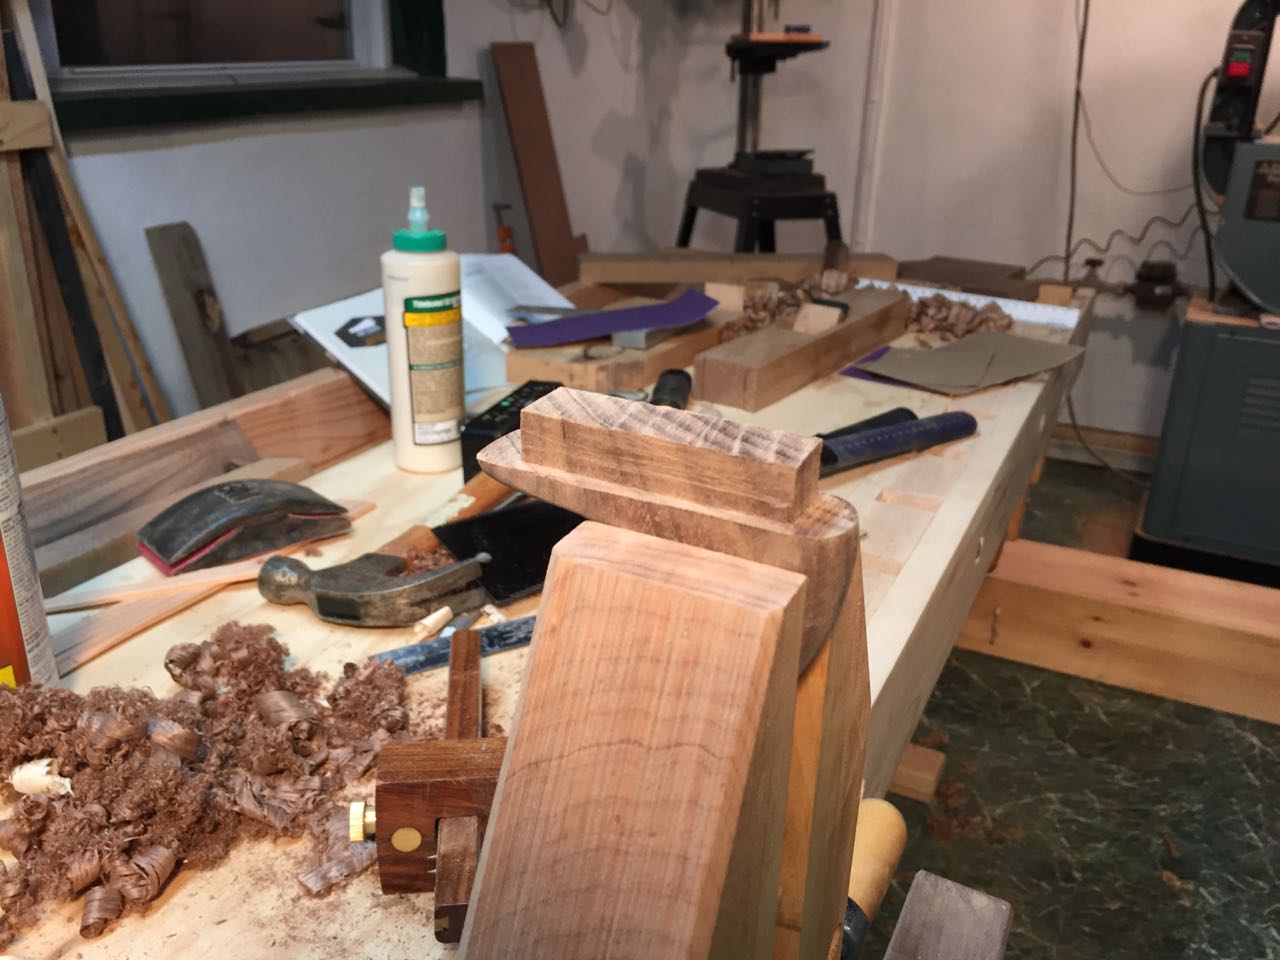 |
| Cutting tenon |
But how to 'fix' it? I had no idea.
I again turned to my books and the Internet, looking for ideas, but no one seems interested in this fitting process, anymore. Again I failed to find a single hint, so was forced to figure it out on my own.
I sat in my 'thinking chair', holding the handle, trying to 'feel' where it was wrong. When I squeezed it hard, as you would when actually pushing a jack plane across a rough board, the handle felt 'uncomfortable'. This information was too vague to guide me, so I had to think more. Why was it uncomfortable?
After turning this question in my mind for several minutes, I gradually realized that there were several 'pressure points', for lack of a better term: points where the handle pressed uncomfortably against my hand. In particular, the handle pressed painfully at the heel of my palm, and on my index finger.
Since these areas were pressure points, I reasoned that if I took some wood off these points, the pressure would be relieved. This seemed logical, so I began shaping these two areas, alternately squeezing the handle (while it was held in the clamp) and rasping off wood.
Amazingly, this simple process worked. Very quickly, I relieved the two major pressure points, and then continued to squeeze and search for smaller and smaller pressure points, relieving each as I found it.
Sooner than expected, I eliminated all the pressure points, leaving the handle a perfect fit to my hand and completely comfortable to squeeze.
I don't know if this is how old-time tool makers did the job, but it certainly worked for me. And since, as far as I know, this is the only how-to on the Internet that says how to do it, I think it will just have to do.
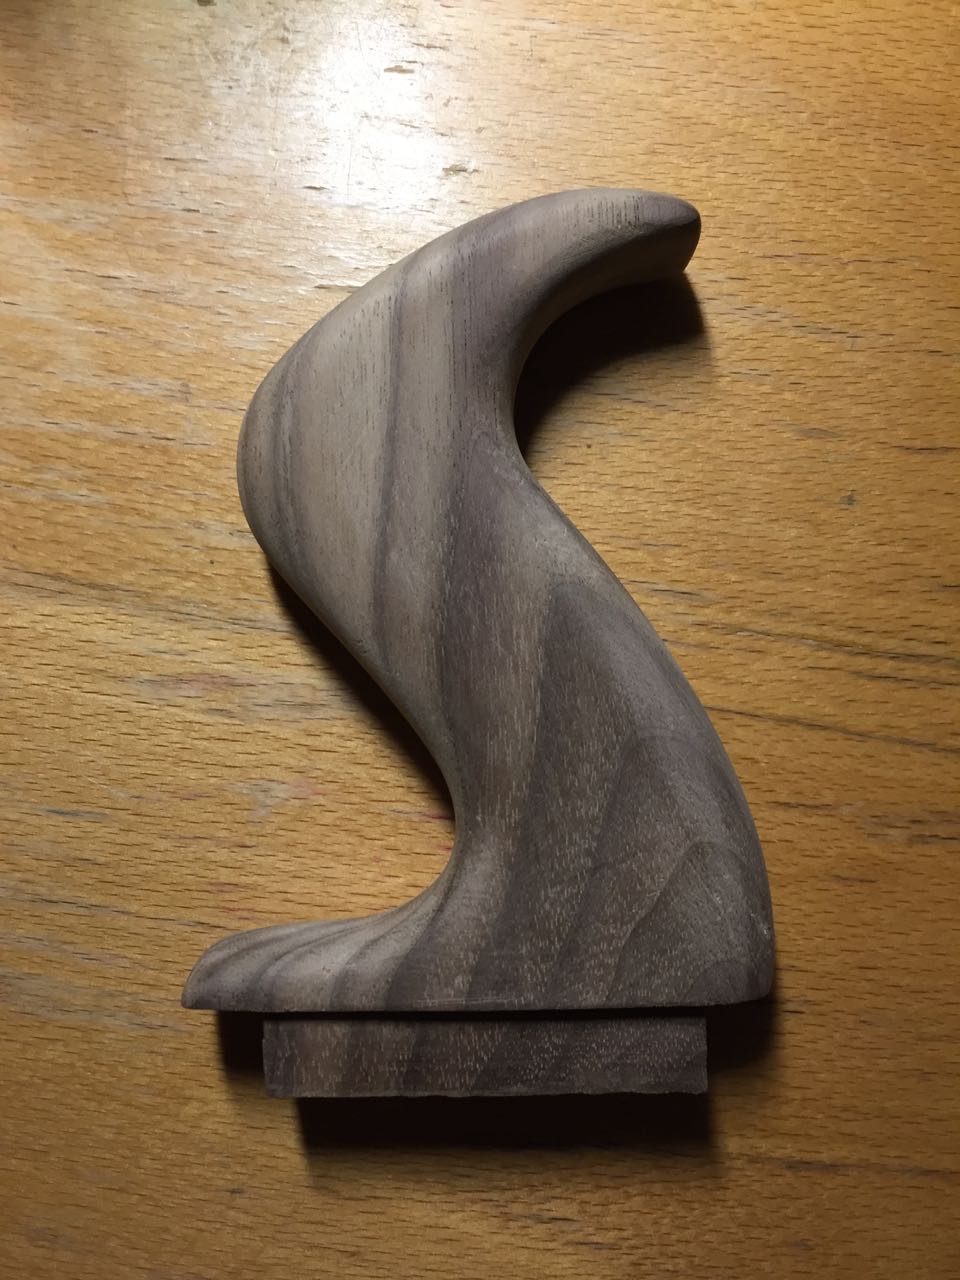 |
| The final handle. |
Very scientific!
 |
| Making mortice |
I removed most of the material from the mortice on the drill press, then very carefully cut the mortice sides with a chisel. I am really bad with chisels, and have botched several previous projects with poor chisel work, so took my sweet time with this one. Sometimes, all it takes is time.
To smooth out the bottom of the mortice, I used my home-made router plane. Obviously, I was not so concerned with handle shaping when I made this tool a few years ago, but it still did the job.
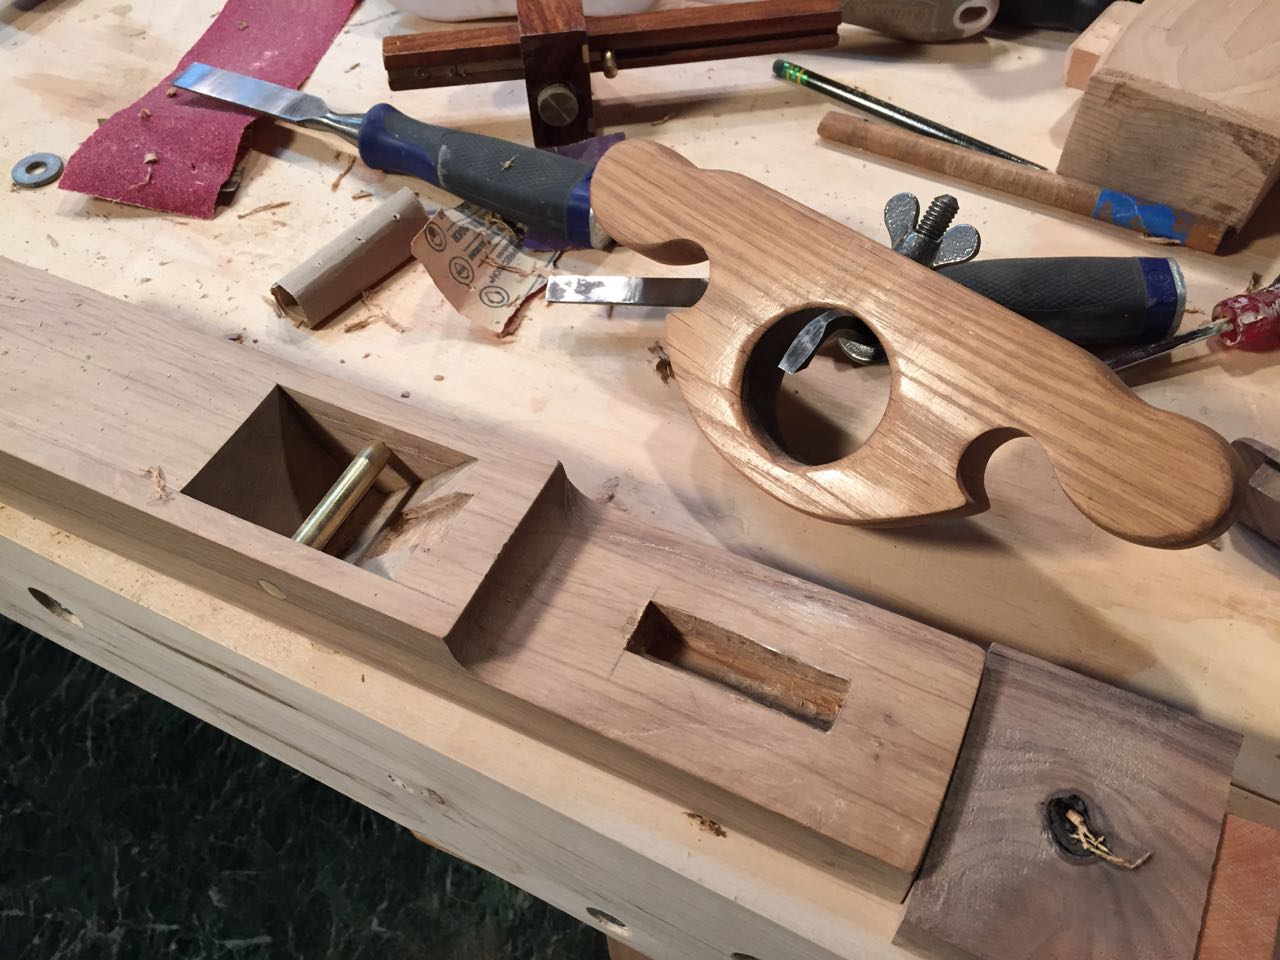 |
| Finishing mortice with router plane |
There was one more step that I didn't take photos of: making a proper wedge to hold the blade firmly in place. I actually made three before I got it right. The first was a rough and ready one for testing. The second was a beautiful thing, made from a choice bit of teak, seemingly a perfect fit until I tried to tighten it up with a few light taps with a hammer. Too thin!
Starting again with a scrap of white oak, I finally got it right: thin enough a the end to fit under the bronze rod, but just the right taper so it held firmly at the right spot. The lighter wood looks nice to my eye, too.
All that was left was to give it a rub down with linseed oil, and to give it a final test. The blade was already sharp. I carefully adjusted it to take a very thin shaving, and gave it a whirl. The result: thin, full-width shavings.
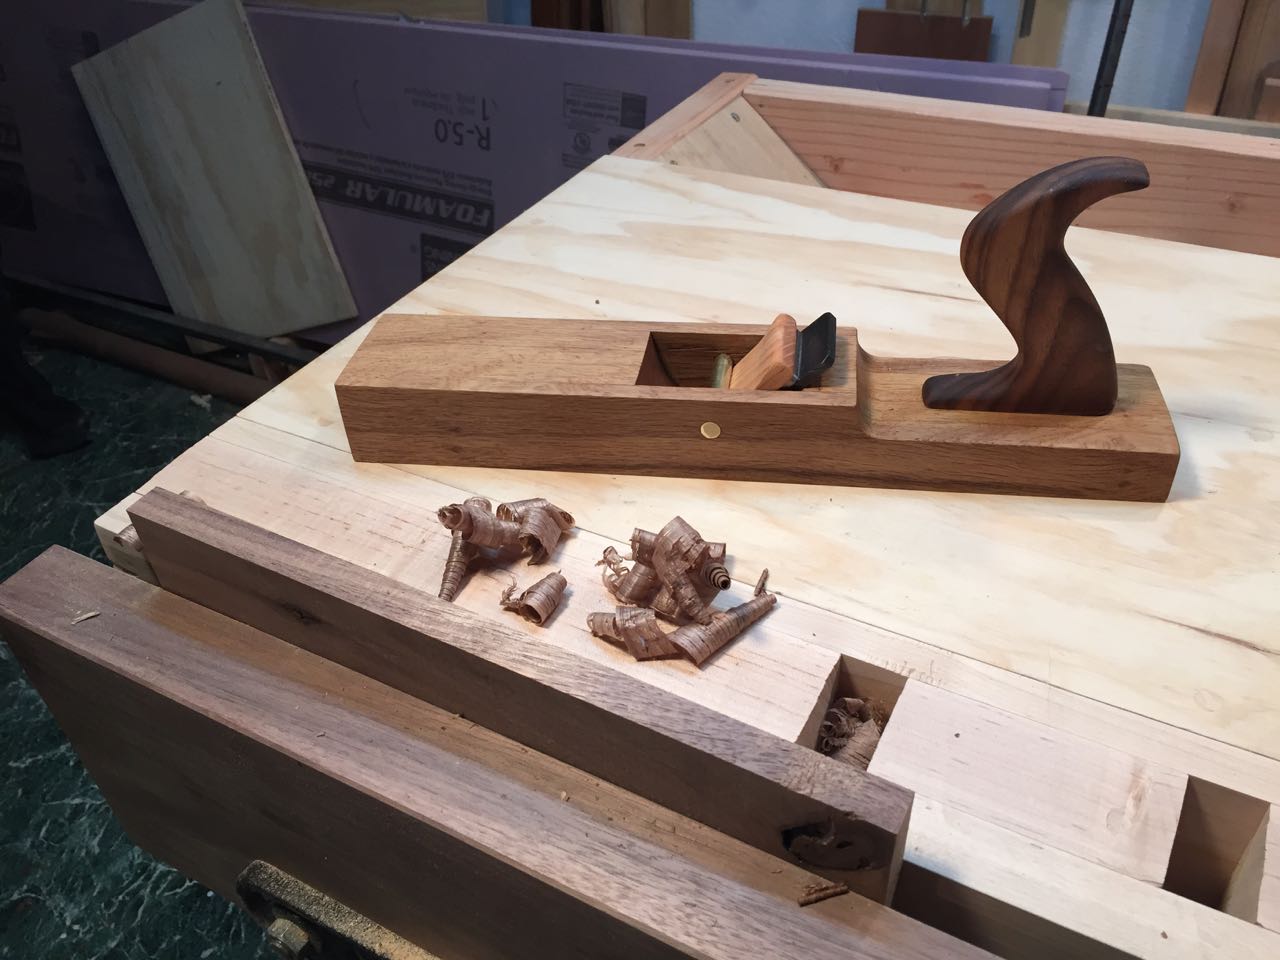 |
| The final test... thin, full-width shavings |
Bottom line, I am totally sold on these Krenov style planes and plane blades. The blades, in particular, are much easier for me to sharpen than the thinner blades often found on old classic woodies. The plane itself is much less clunky than traditional wooden planes, and feels solid and well-balanced in the hand.
Best of all, I can tune it to perfection. Using the piece of marble and several grades of sandpaper, I got the bottom of the plane perfectly flat. After a half-hour's use, the live oak looked slippery, it was so smooth. And indeed, it was slippery. No need to wax the bottom of this plane.
I intend to build a whole set of planes in this method, using whatever scraps of wood I find around the shop. Now that I know what I'm doing, it won't take more than a few hours each to build them. A worth while project, I think.
But no time for that now. I must have the Blue Moon off her winter dock and on her mooring by April 1st. Once again, winter was too short, and spring is here.
No wonder Norwegians are such happy people!
For details on how to build your own planes, check out "The Unplugged Woodshop: Hand-Crafted Projects for the Home & Workshop" by Tom Fidgen.
Next Up: Gripping Vice
Very enjoyable read, and thank you for the "how-to"!
ReplyDeleteI follow all Your projects and like reading about them. Even that I wont make a lot of things You do it gives me always an encouragement to carry on with my own boat which has to see water hopefully this Year. Greetings Karl
ReplyDeleteI love the whole set of blogs and learning. Your writing is good too. Thank you and greetings from Scotland!
ReplyDelete